I'm a Know Me pattern Designer
Get to Know Me…
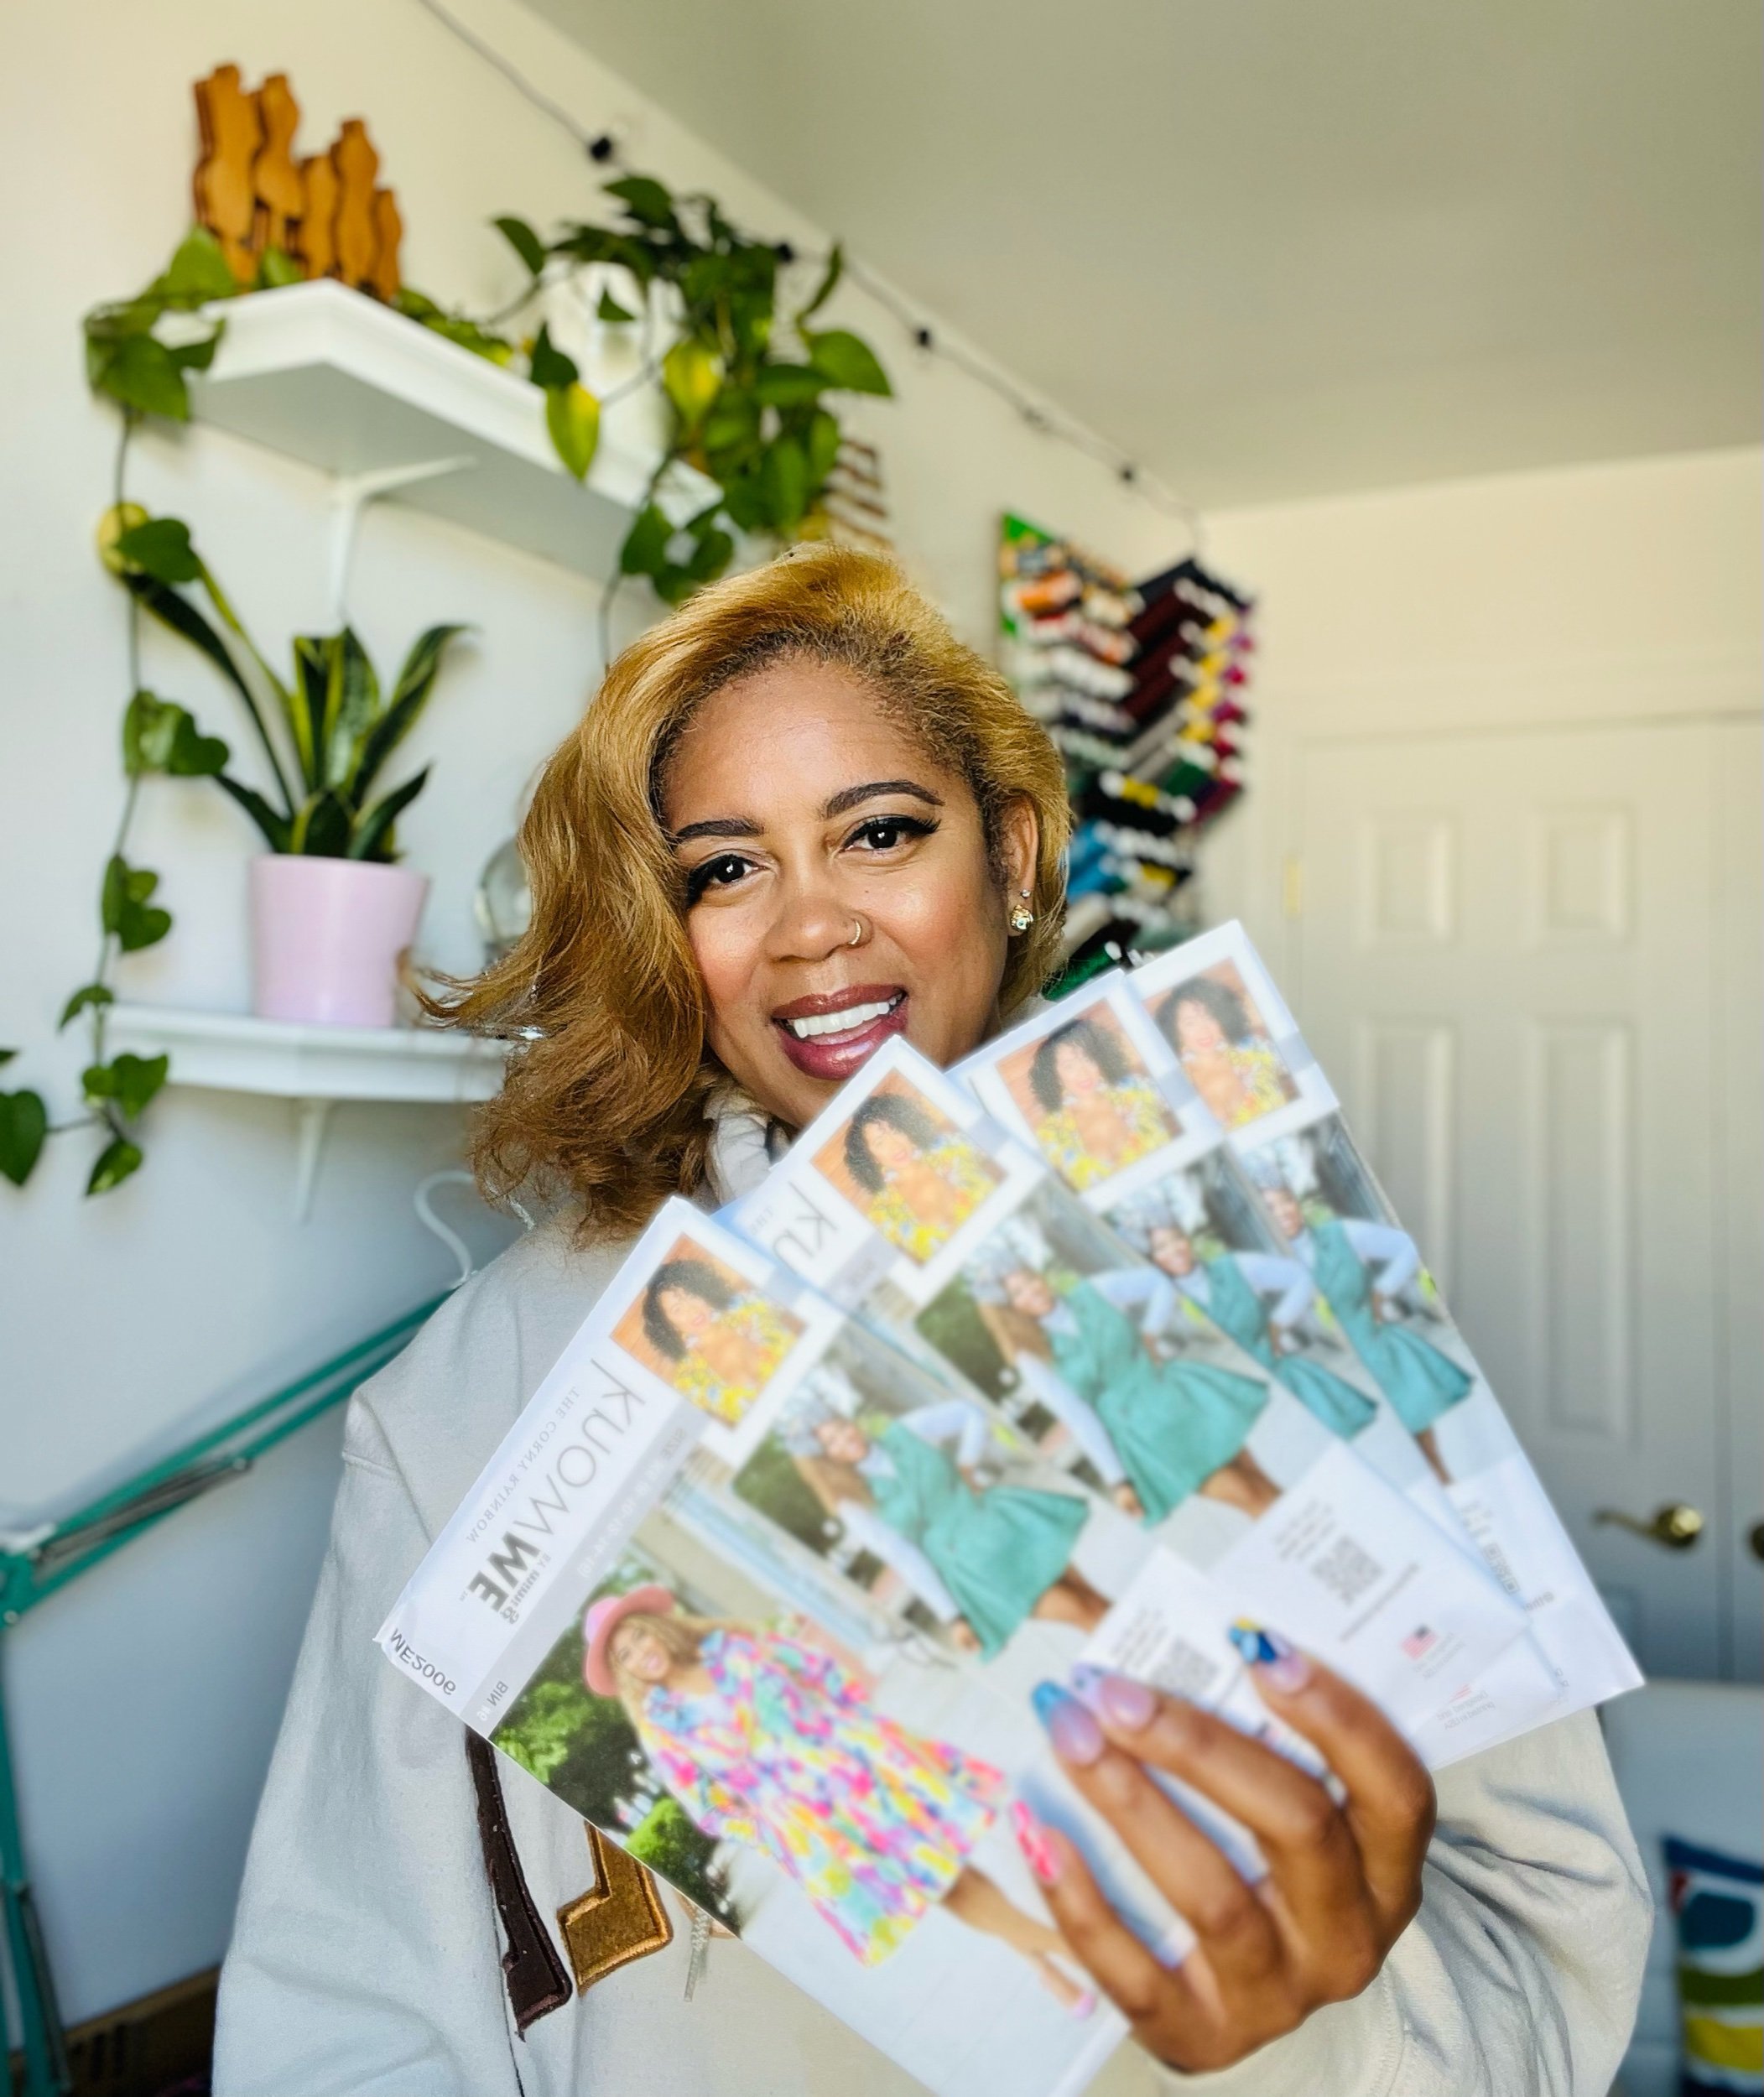
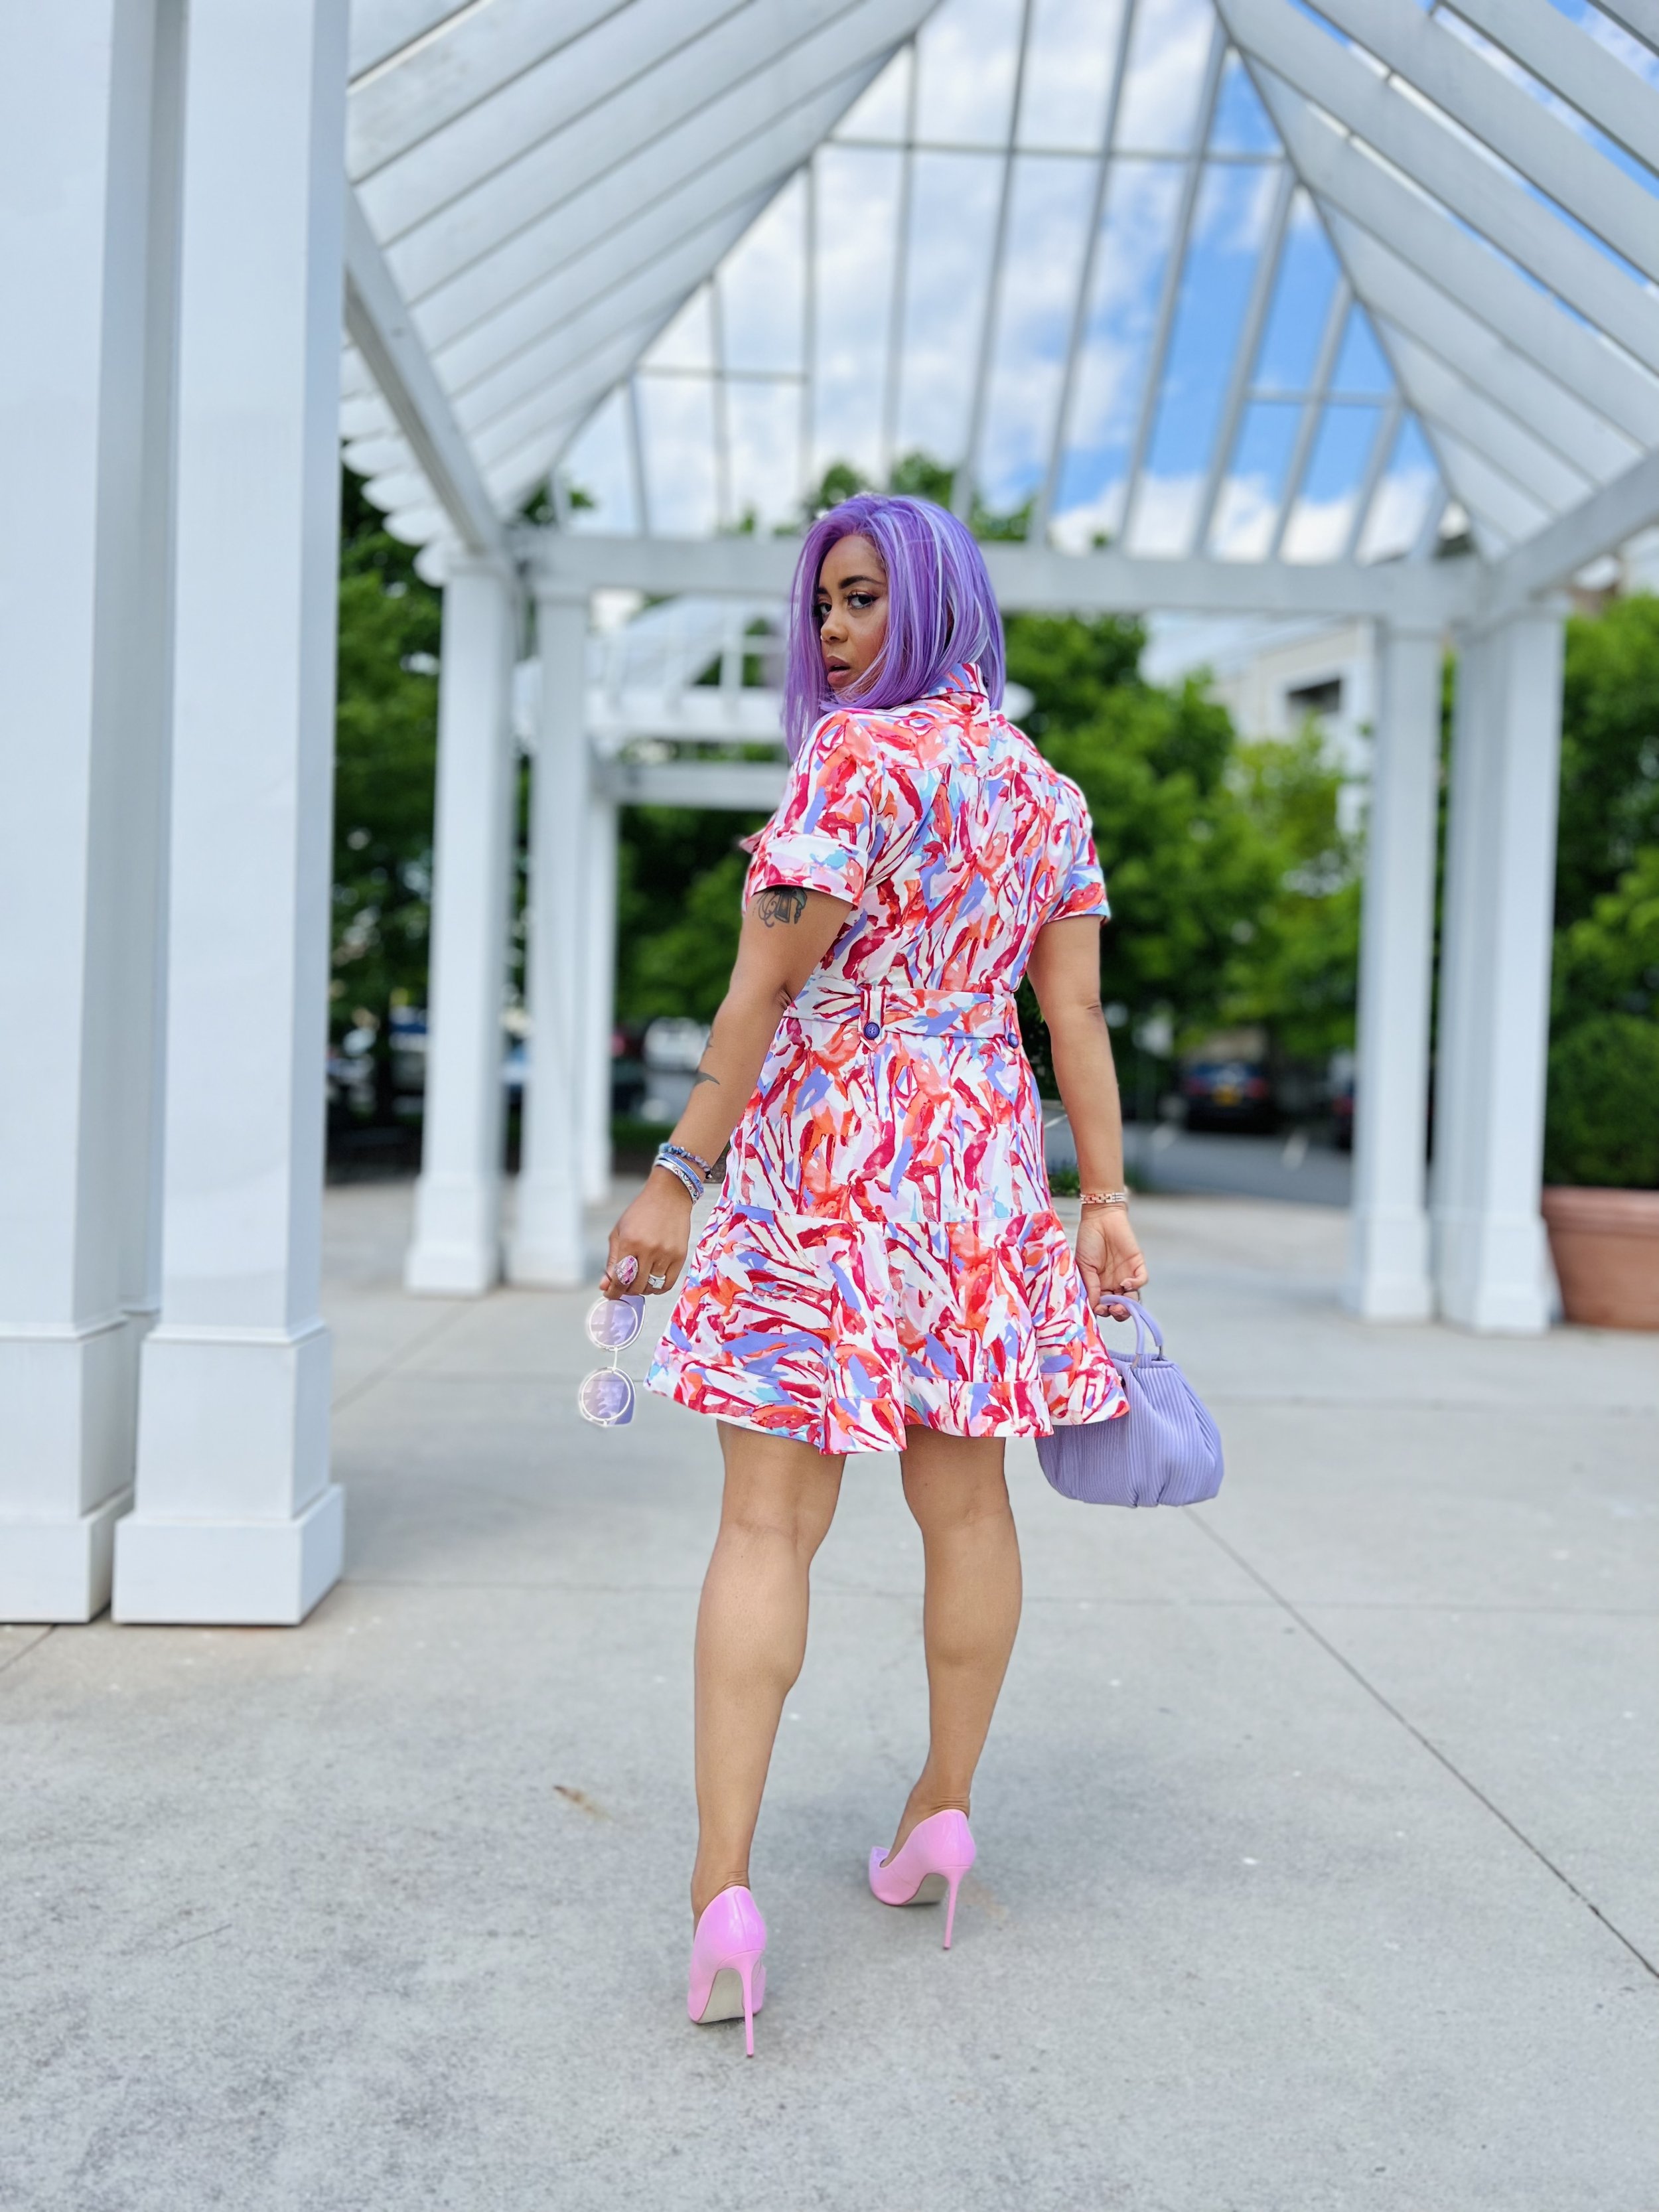
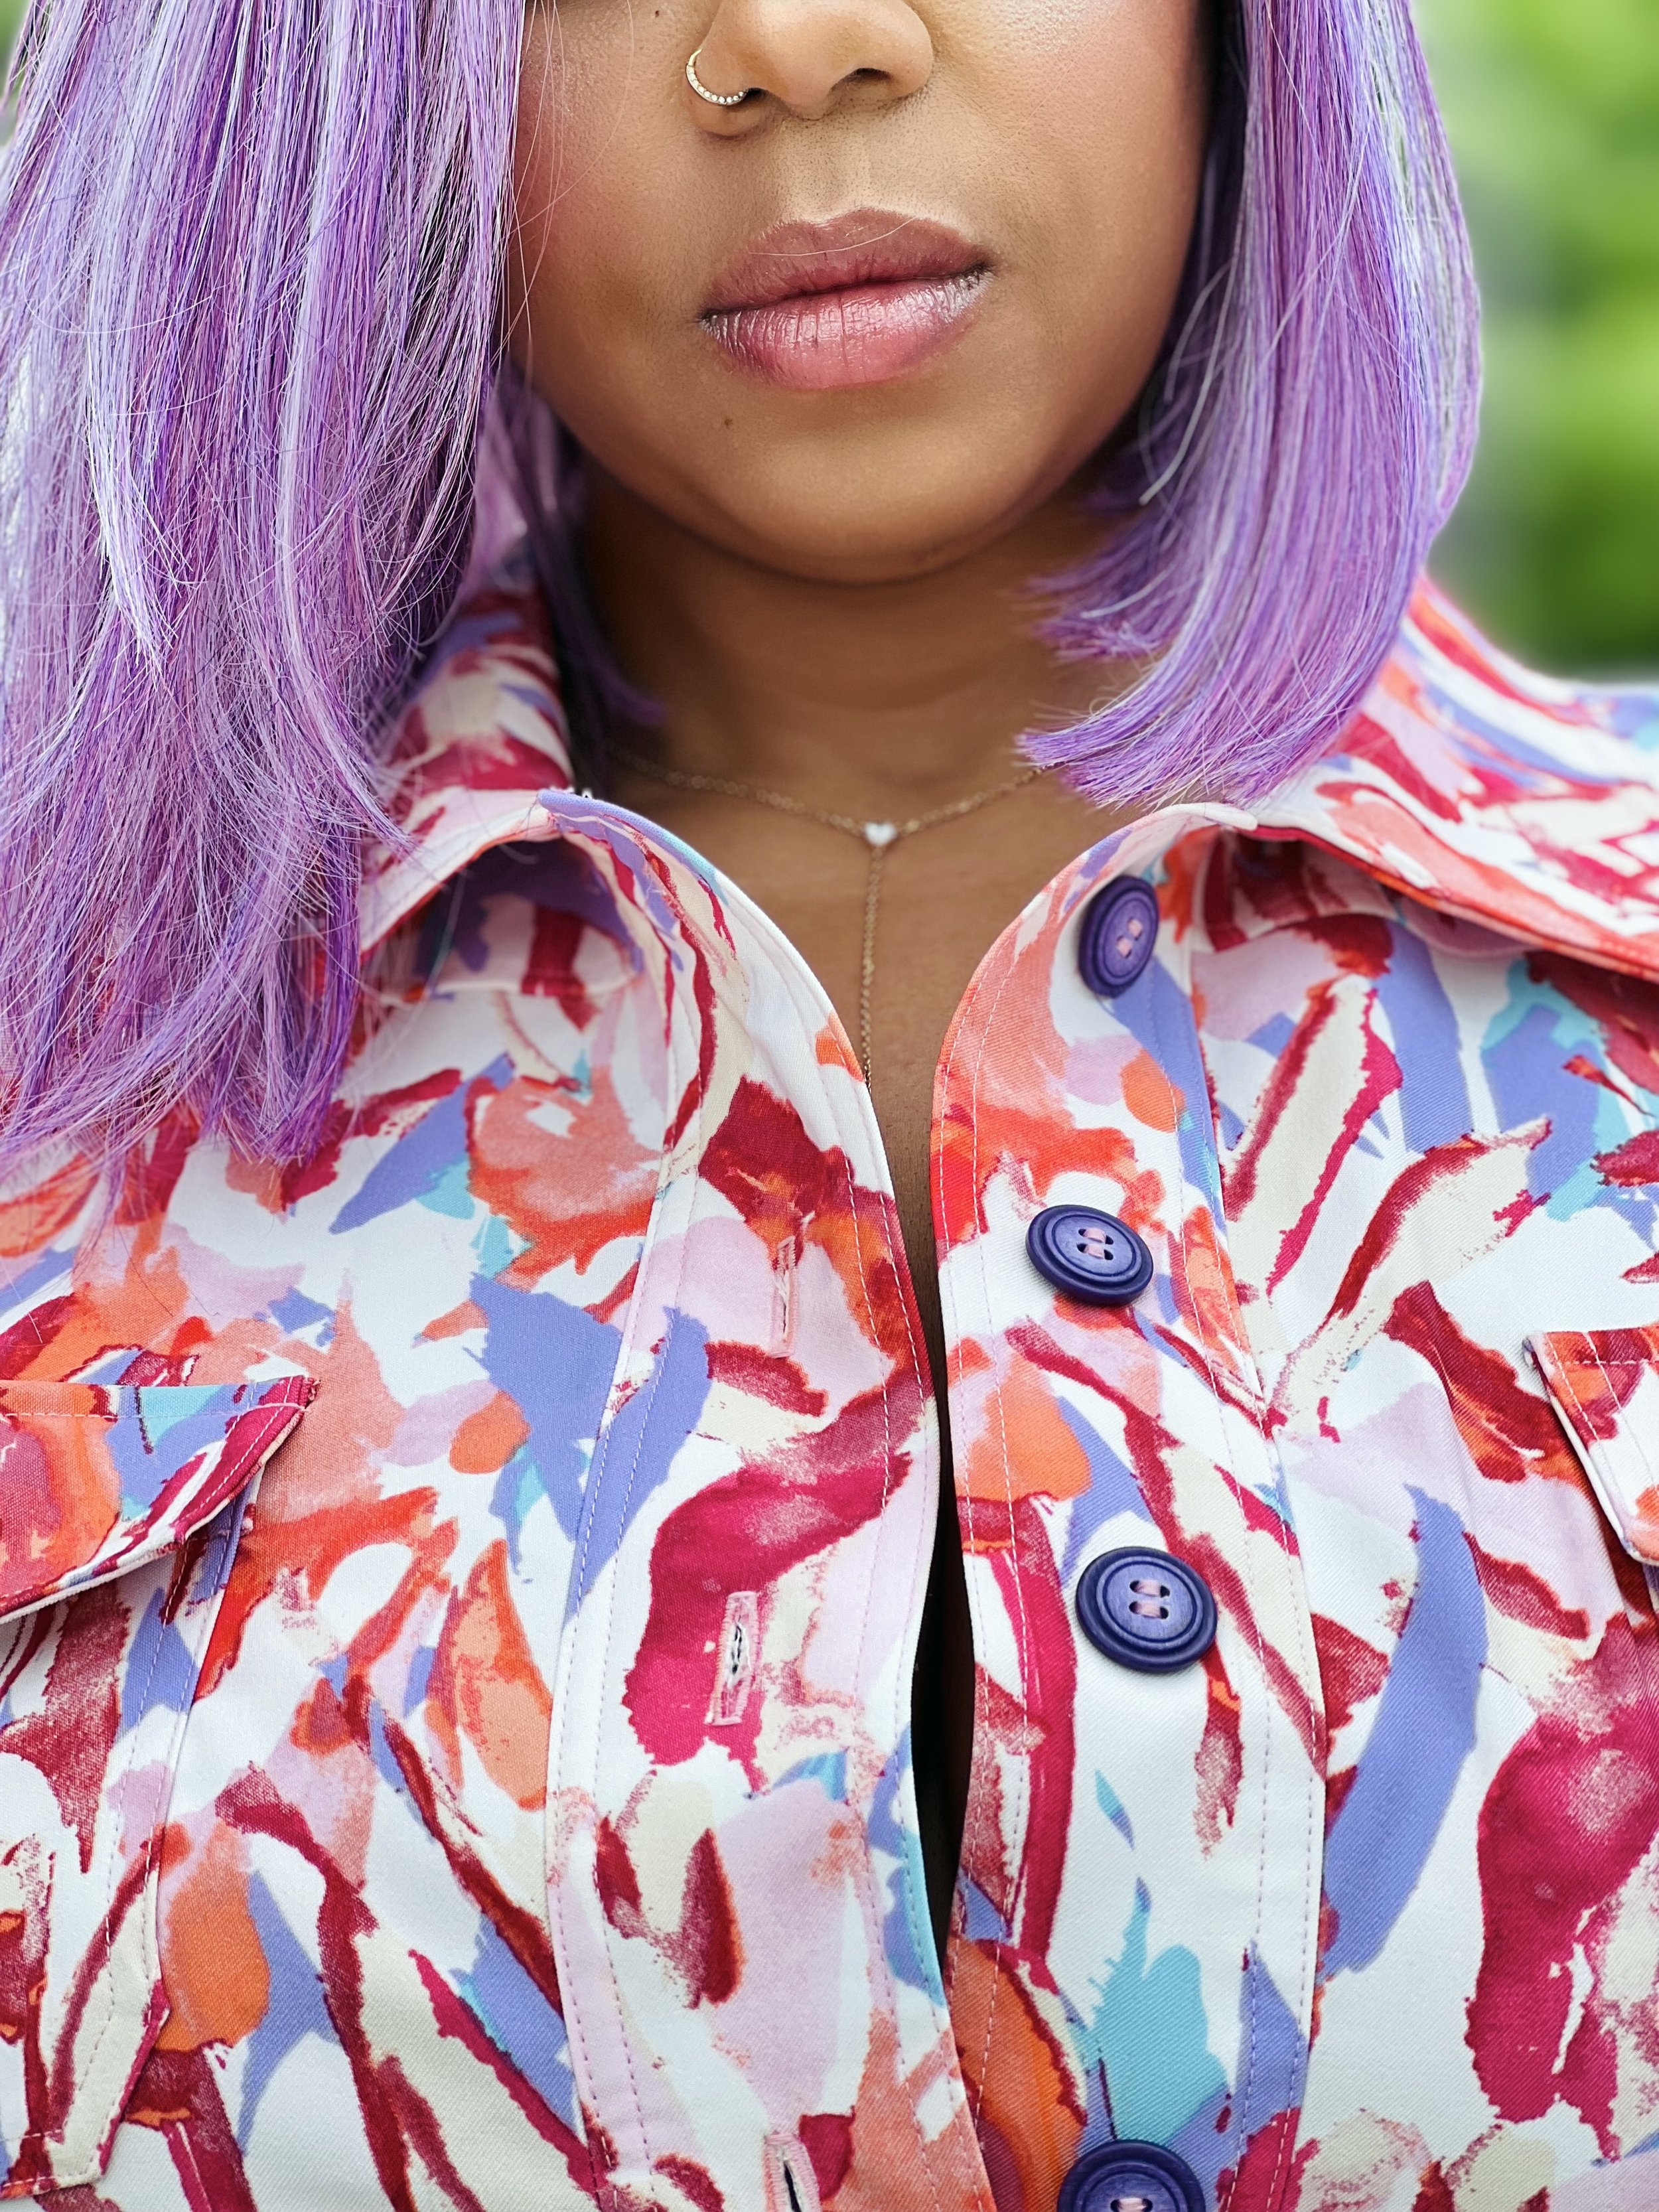
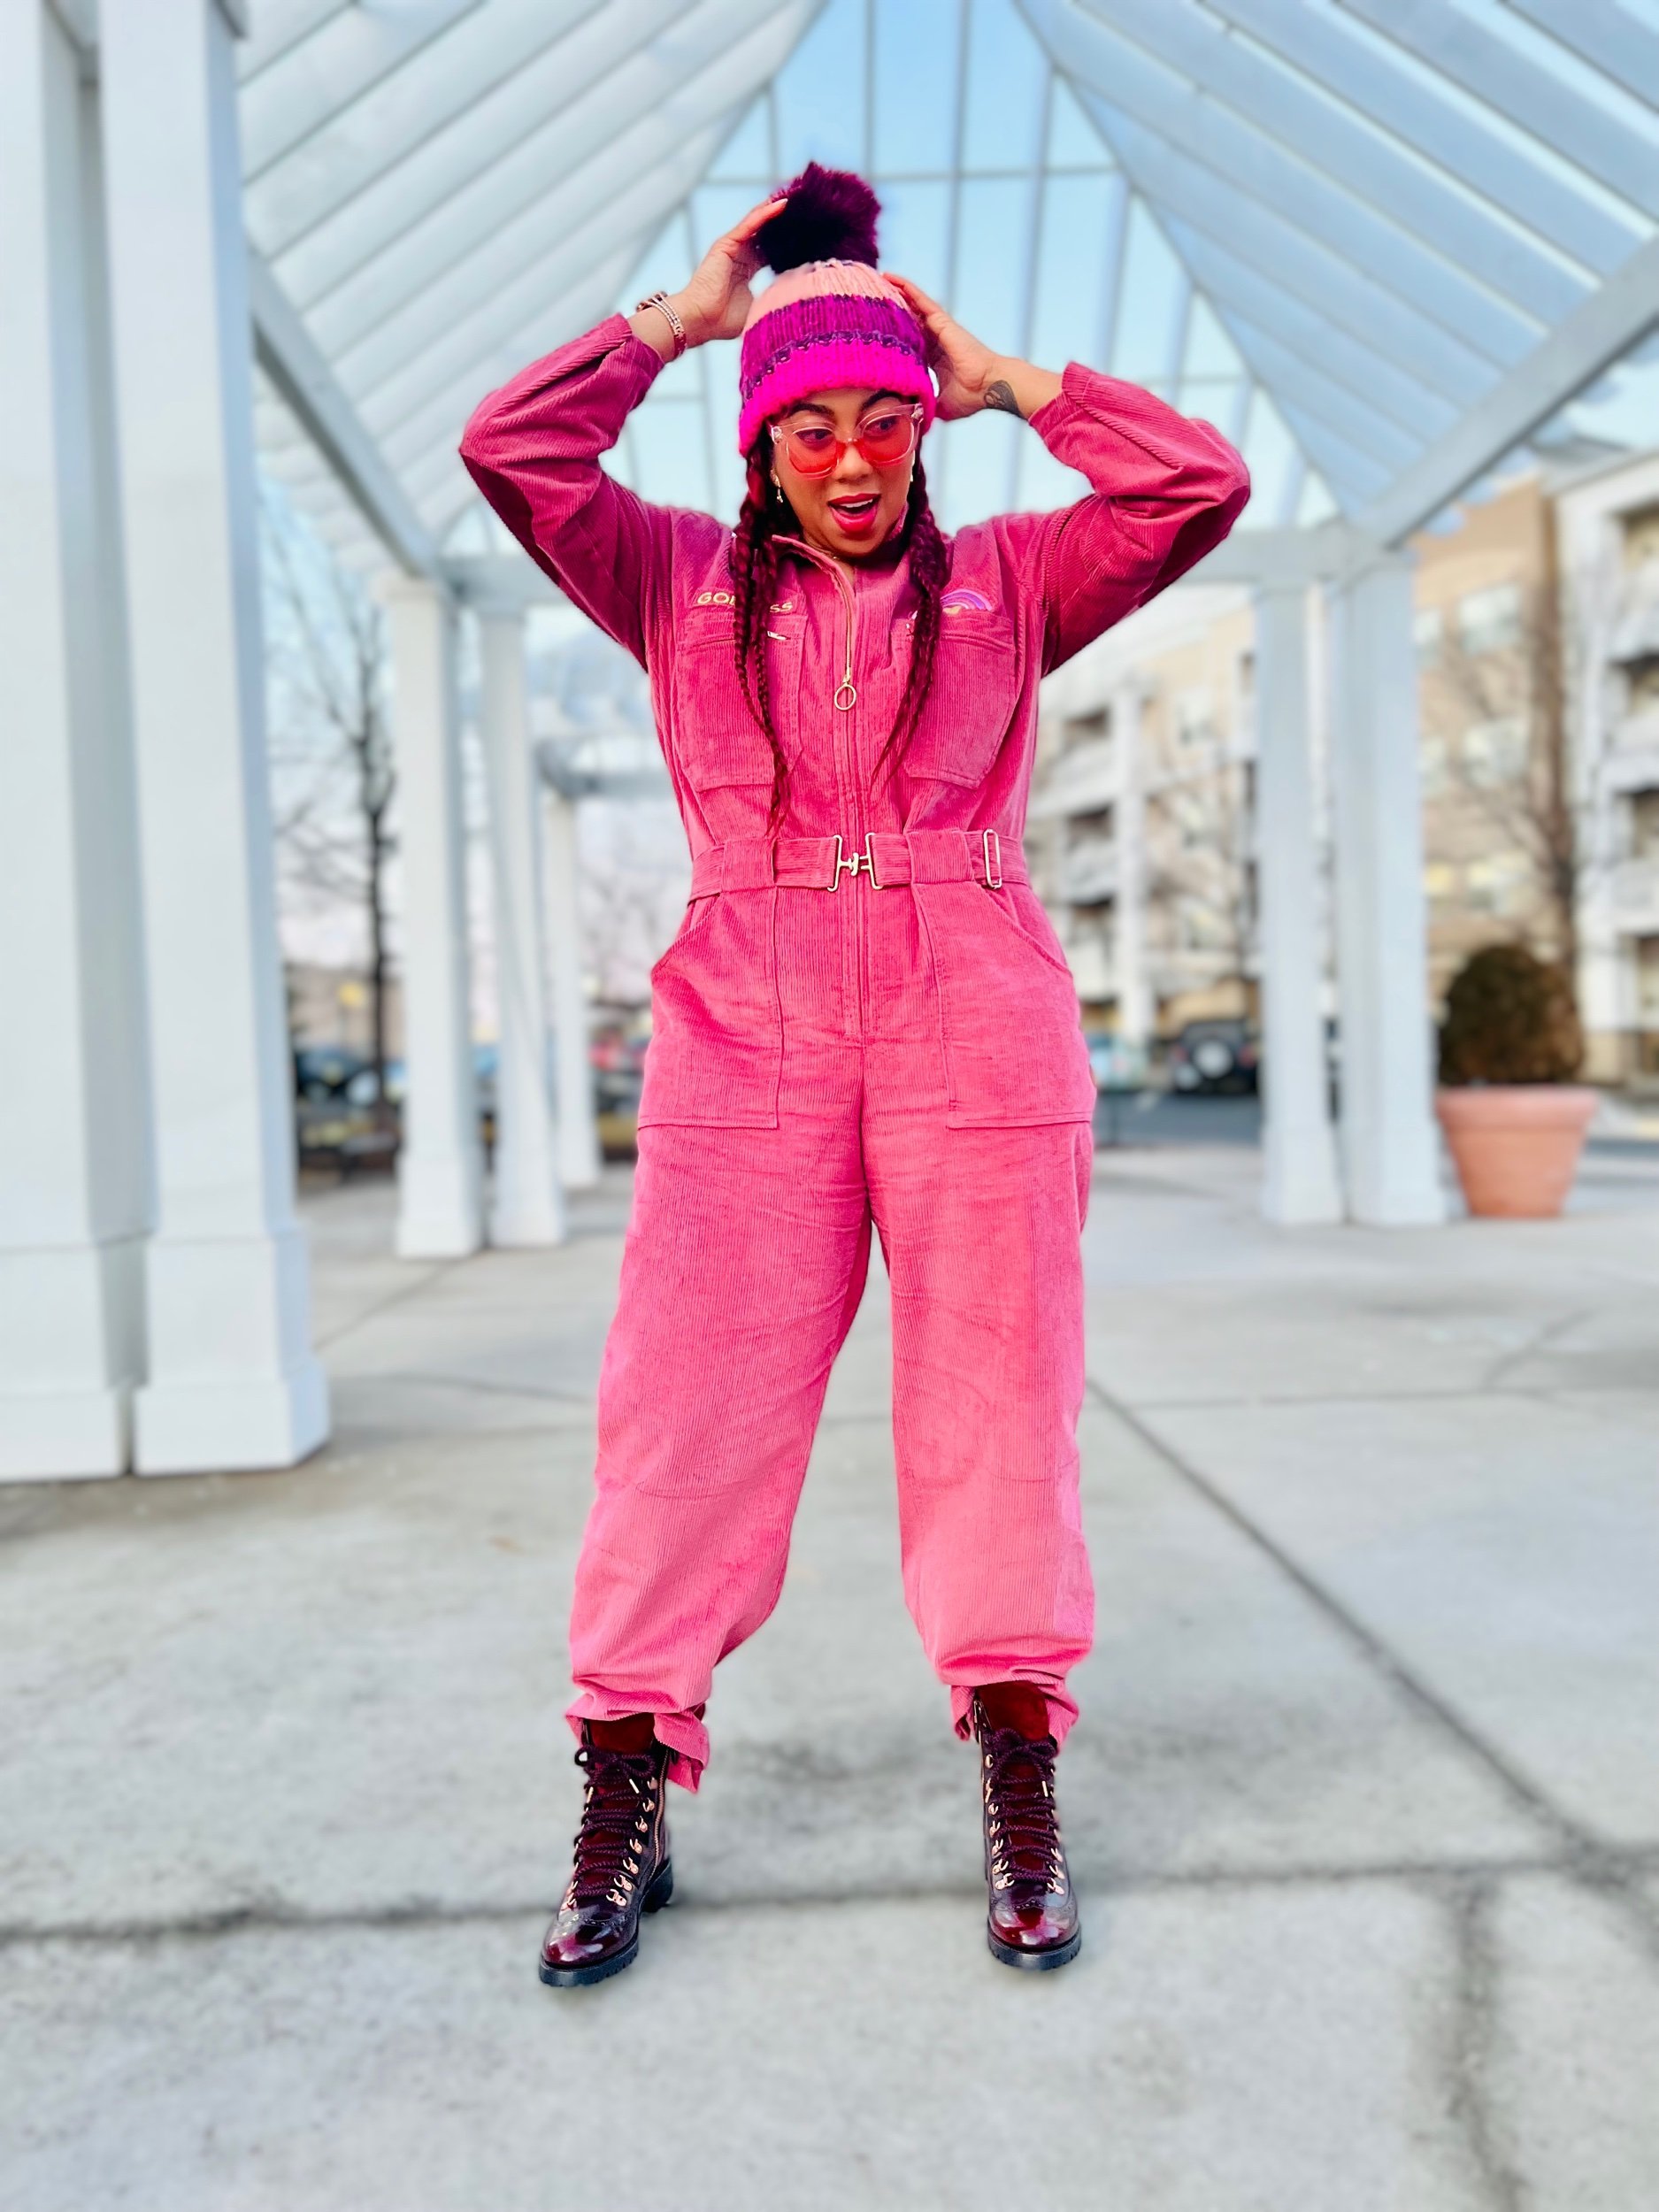
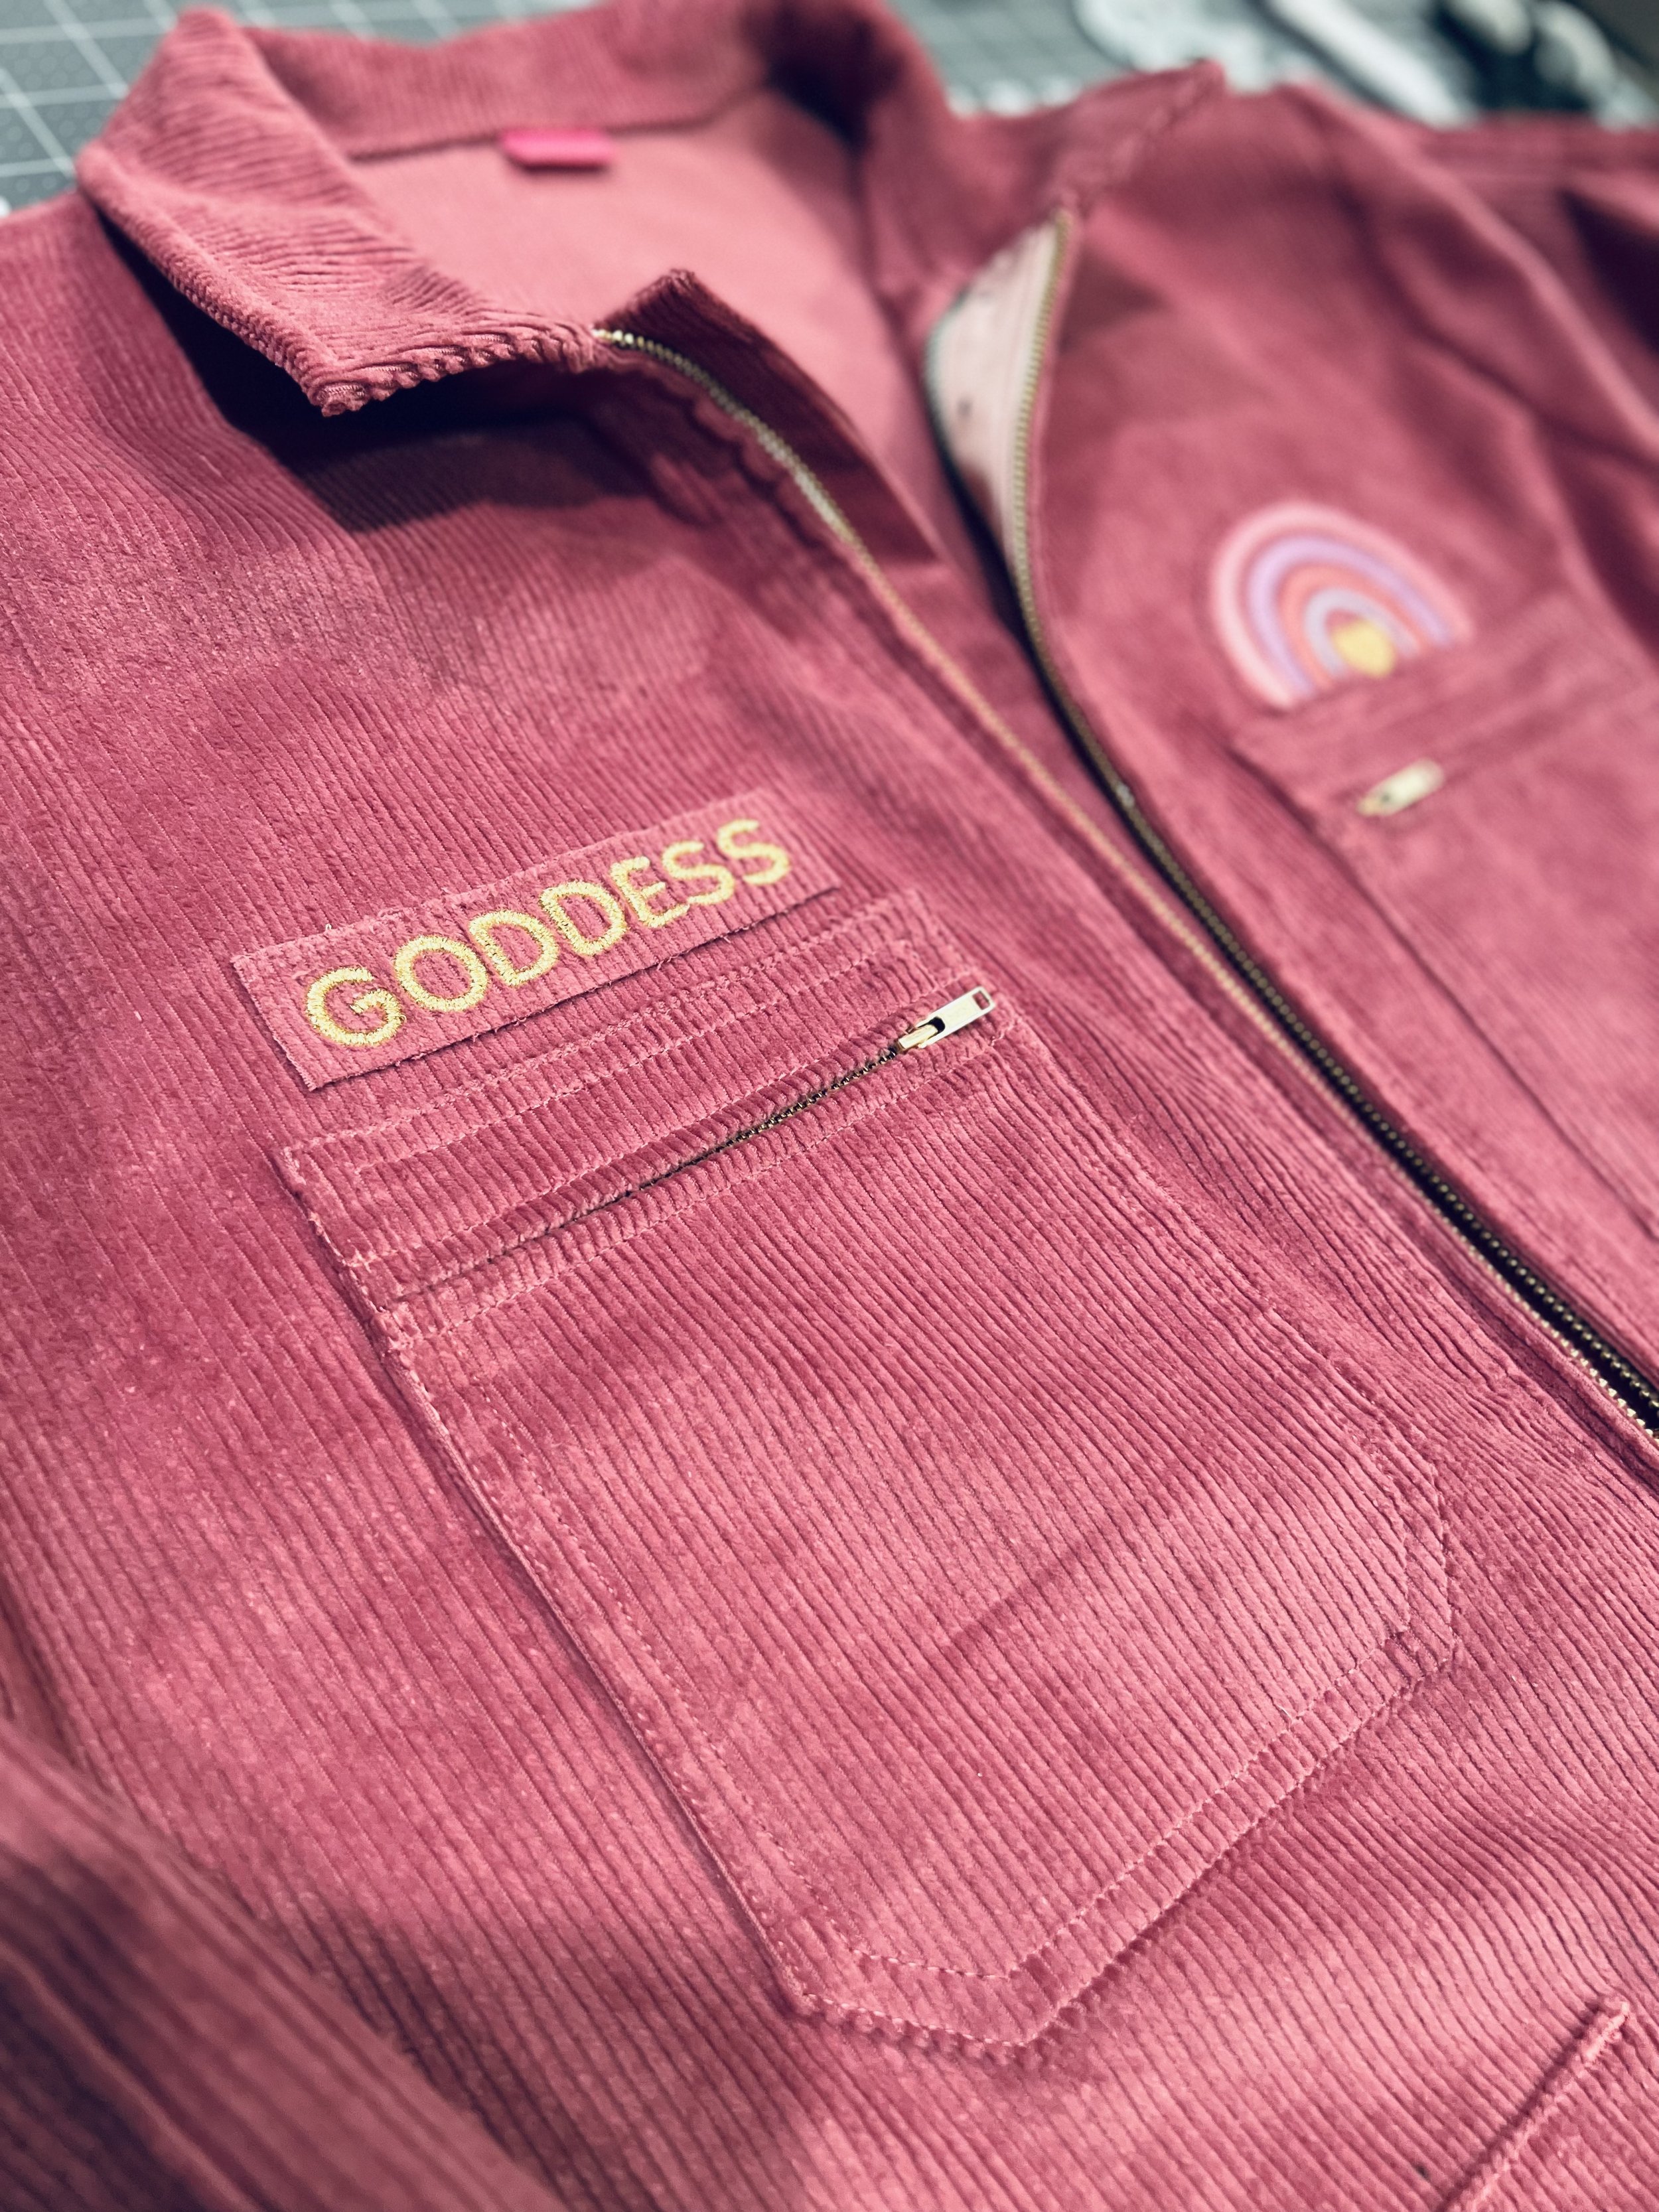
I’m still pinching myself and my Fall pattern ME2006 is in stores!
When I got the call from Mimi I was having a very tough time still dealing with a miscarriage and had recently been relocated on my 9 to 5, 50 miles from my home. I’m not gonna lie, I cried a lot mainly because I was talking out my dreams with a sister a year or so before telling her I wanted to make my own patterns. After that conversation with my friend, I simply wrote down my goals and I didn’t think about it again until Mimi reached out.
Once the news got out about “The Big 4” now being “The Big 5” the love and support from the sewing community has been so amazing.
So how has being a Know Me designer been?
Well, keeping the big news a secret was really fun lol. Then there’s creating designs. I didn’t know when Mimi wanted designs or how any of the process would play out but I went to my sketches and I had about 10 designs ready. I sat on those designs for a few months (maybe more than a few lol) but when Mimi came back and said okay I need your fall designs I was more than ready.
I sent her like 3 designs and finally decided to go with my jacket/dress design. I absolutely love blazers, coats, and jackets so this look was it for me. In my mind I already knew how I wanted to style this pattern (both casual and dressed up).
Once the pattern drafting and instructions were complete, I received my pattern and then it was time to sew it up and photograph. After sewing, cutting out, and hacking so many patterns over the past 10 years it was surreal to now cut out and sew my own pattern. The only other time I have ever been so intentional and focused on sewing a garment was when I made my vow renewal dress. It was kinda easy and that’s when imposter syndrome kicked in. Having sew brothers and sisters to help navigate all the feels really helped during the process.
I have to talk about the pictures because y'all, my husband has never been labeled as my photographer but for my pattern pics…I needed him to step up. For those who don’t know, I take 99.5% of the pictures you see on my socials and here on my blog and I’m a photographer. I was not blessed with a partner who will tell me I have a wrinkle or this angle aint it honey. He will snap 100 of those bad shots with no words lol. A whole ass struggle y’all. We managed to finally get on the same page while shooting and he got some really good shots. So for that, I’m thankful.
Then there are the other amazing Know Me Designers who are sharing this experience with me. Everyone brings something different with their designs and I’m so honored to be apart of this group of creatives. I actually want to sew the mens patterns for hubs and that normally takes an act of God!
This journey is just getting started and Early Spring 23” is right around the corner. Thank you again to you all for supporting me on my creative journey. And thank you for supporting Know Me Patterns and all the designers.
Sew alongs are now live on the Know Me YouTube channel HERE
Shop Know Me Patterns Here or in craft stores like Joann!
Fabric: Spoonflower Velvet
Fabric: Suade
Fabric: Joann Denim
Feels Like Summer
My first fabric collection is here!
If you are following me on Instagram then you know I recently released my first collection of designs “Feels Like Summer” now available on the Spoonflower website!
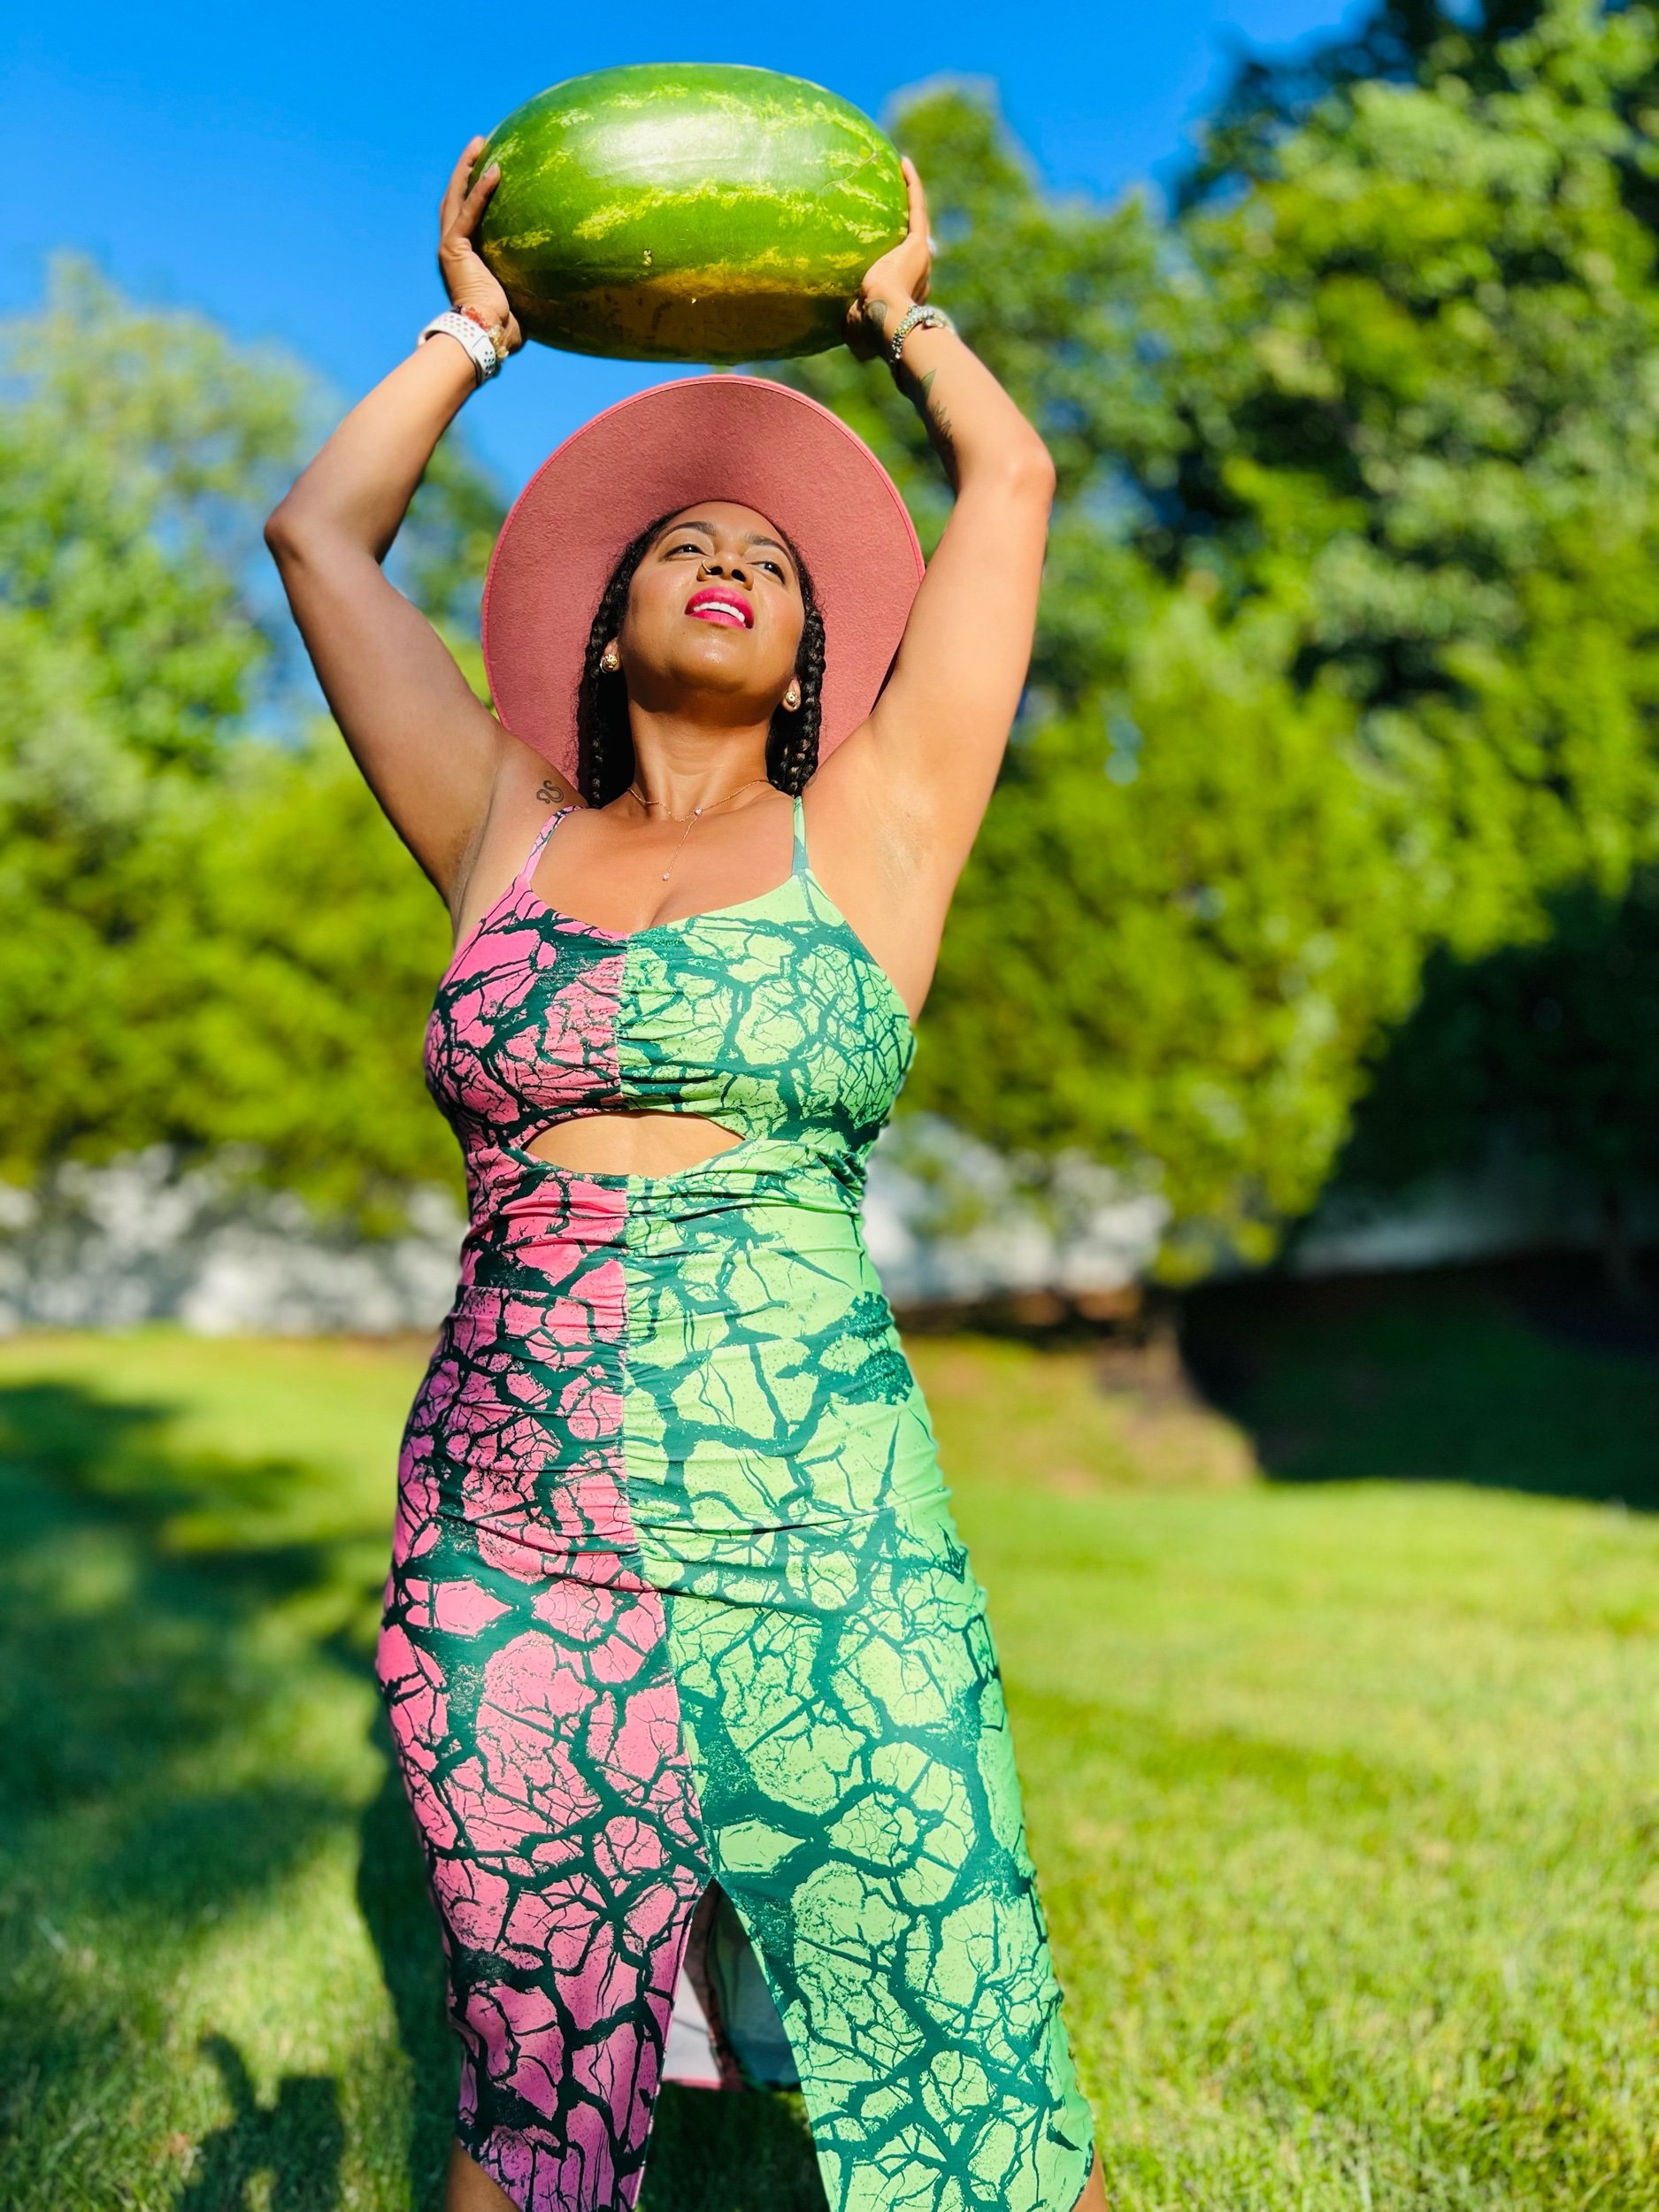
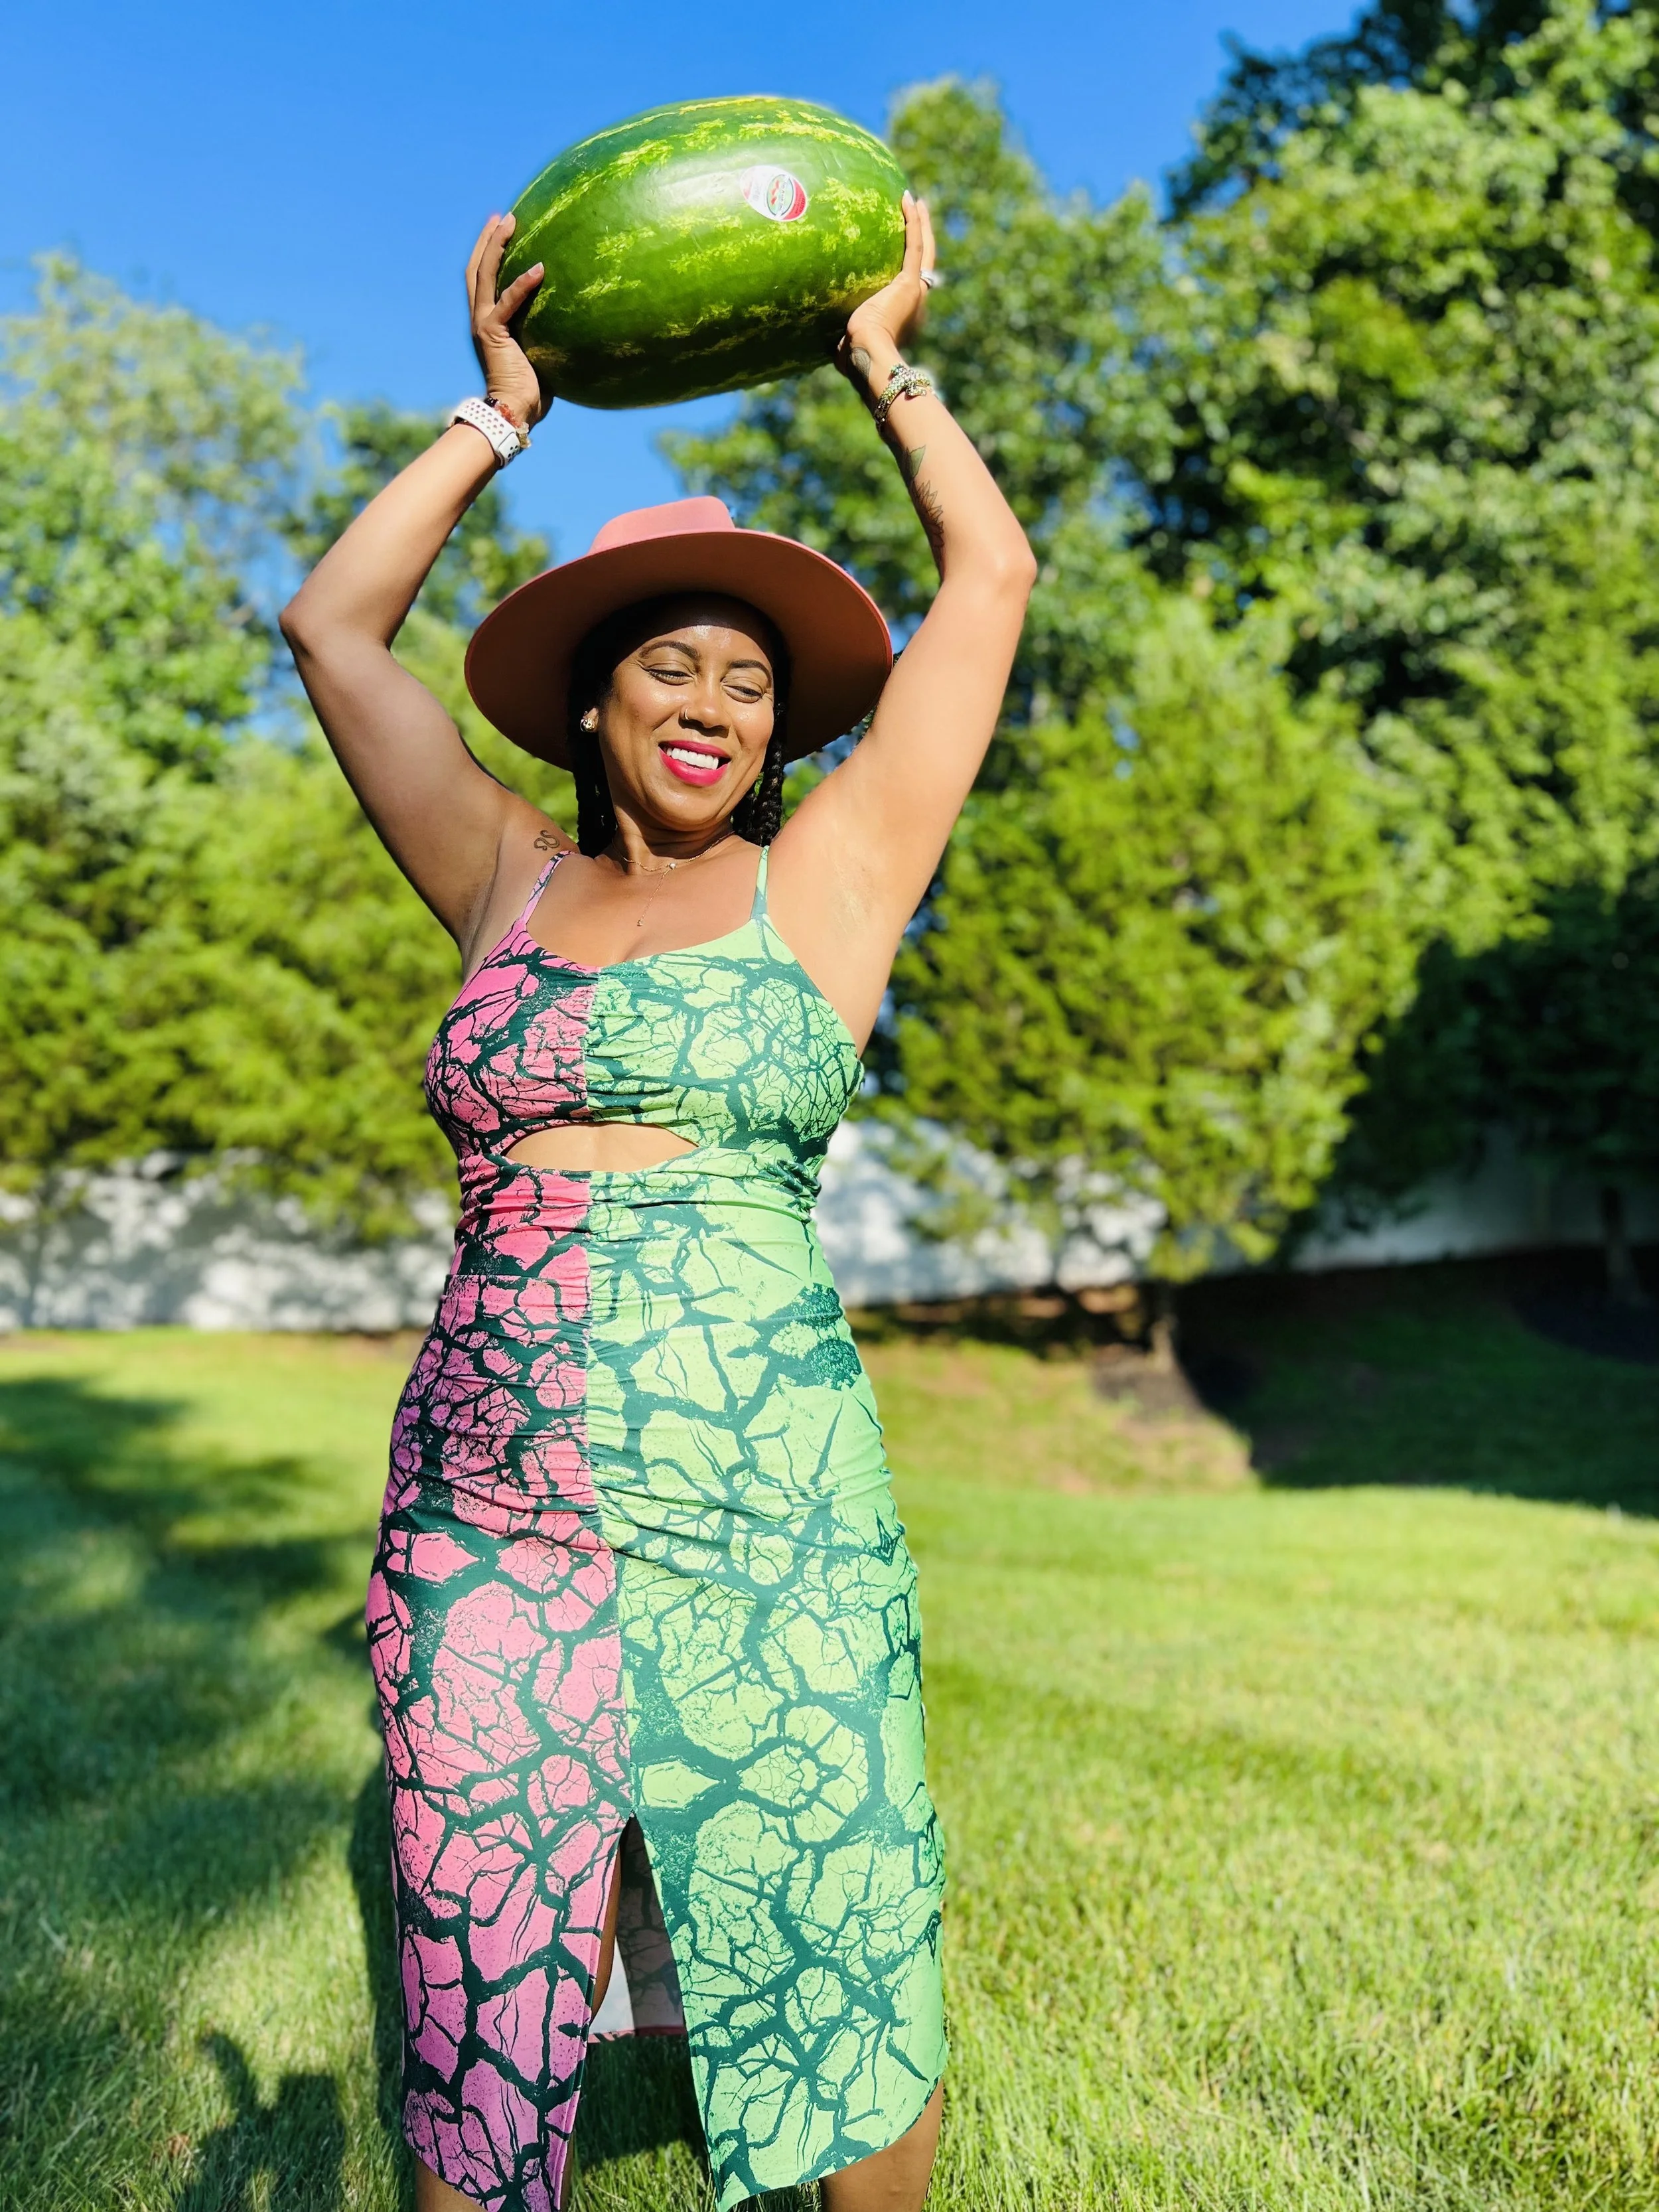
My collection features a few of my favorite things and colors for summer. Obviously I’m obsessed with watermelon and my plant babies.
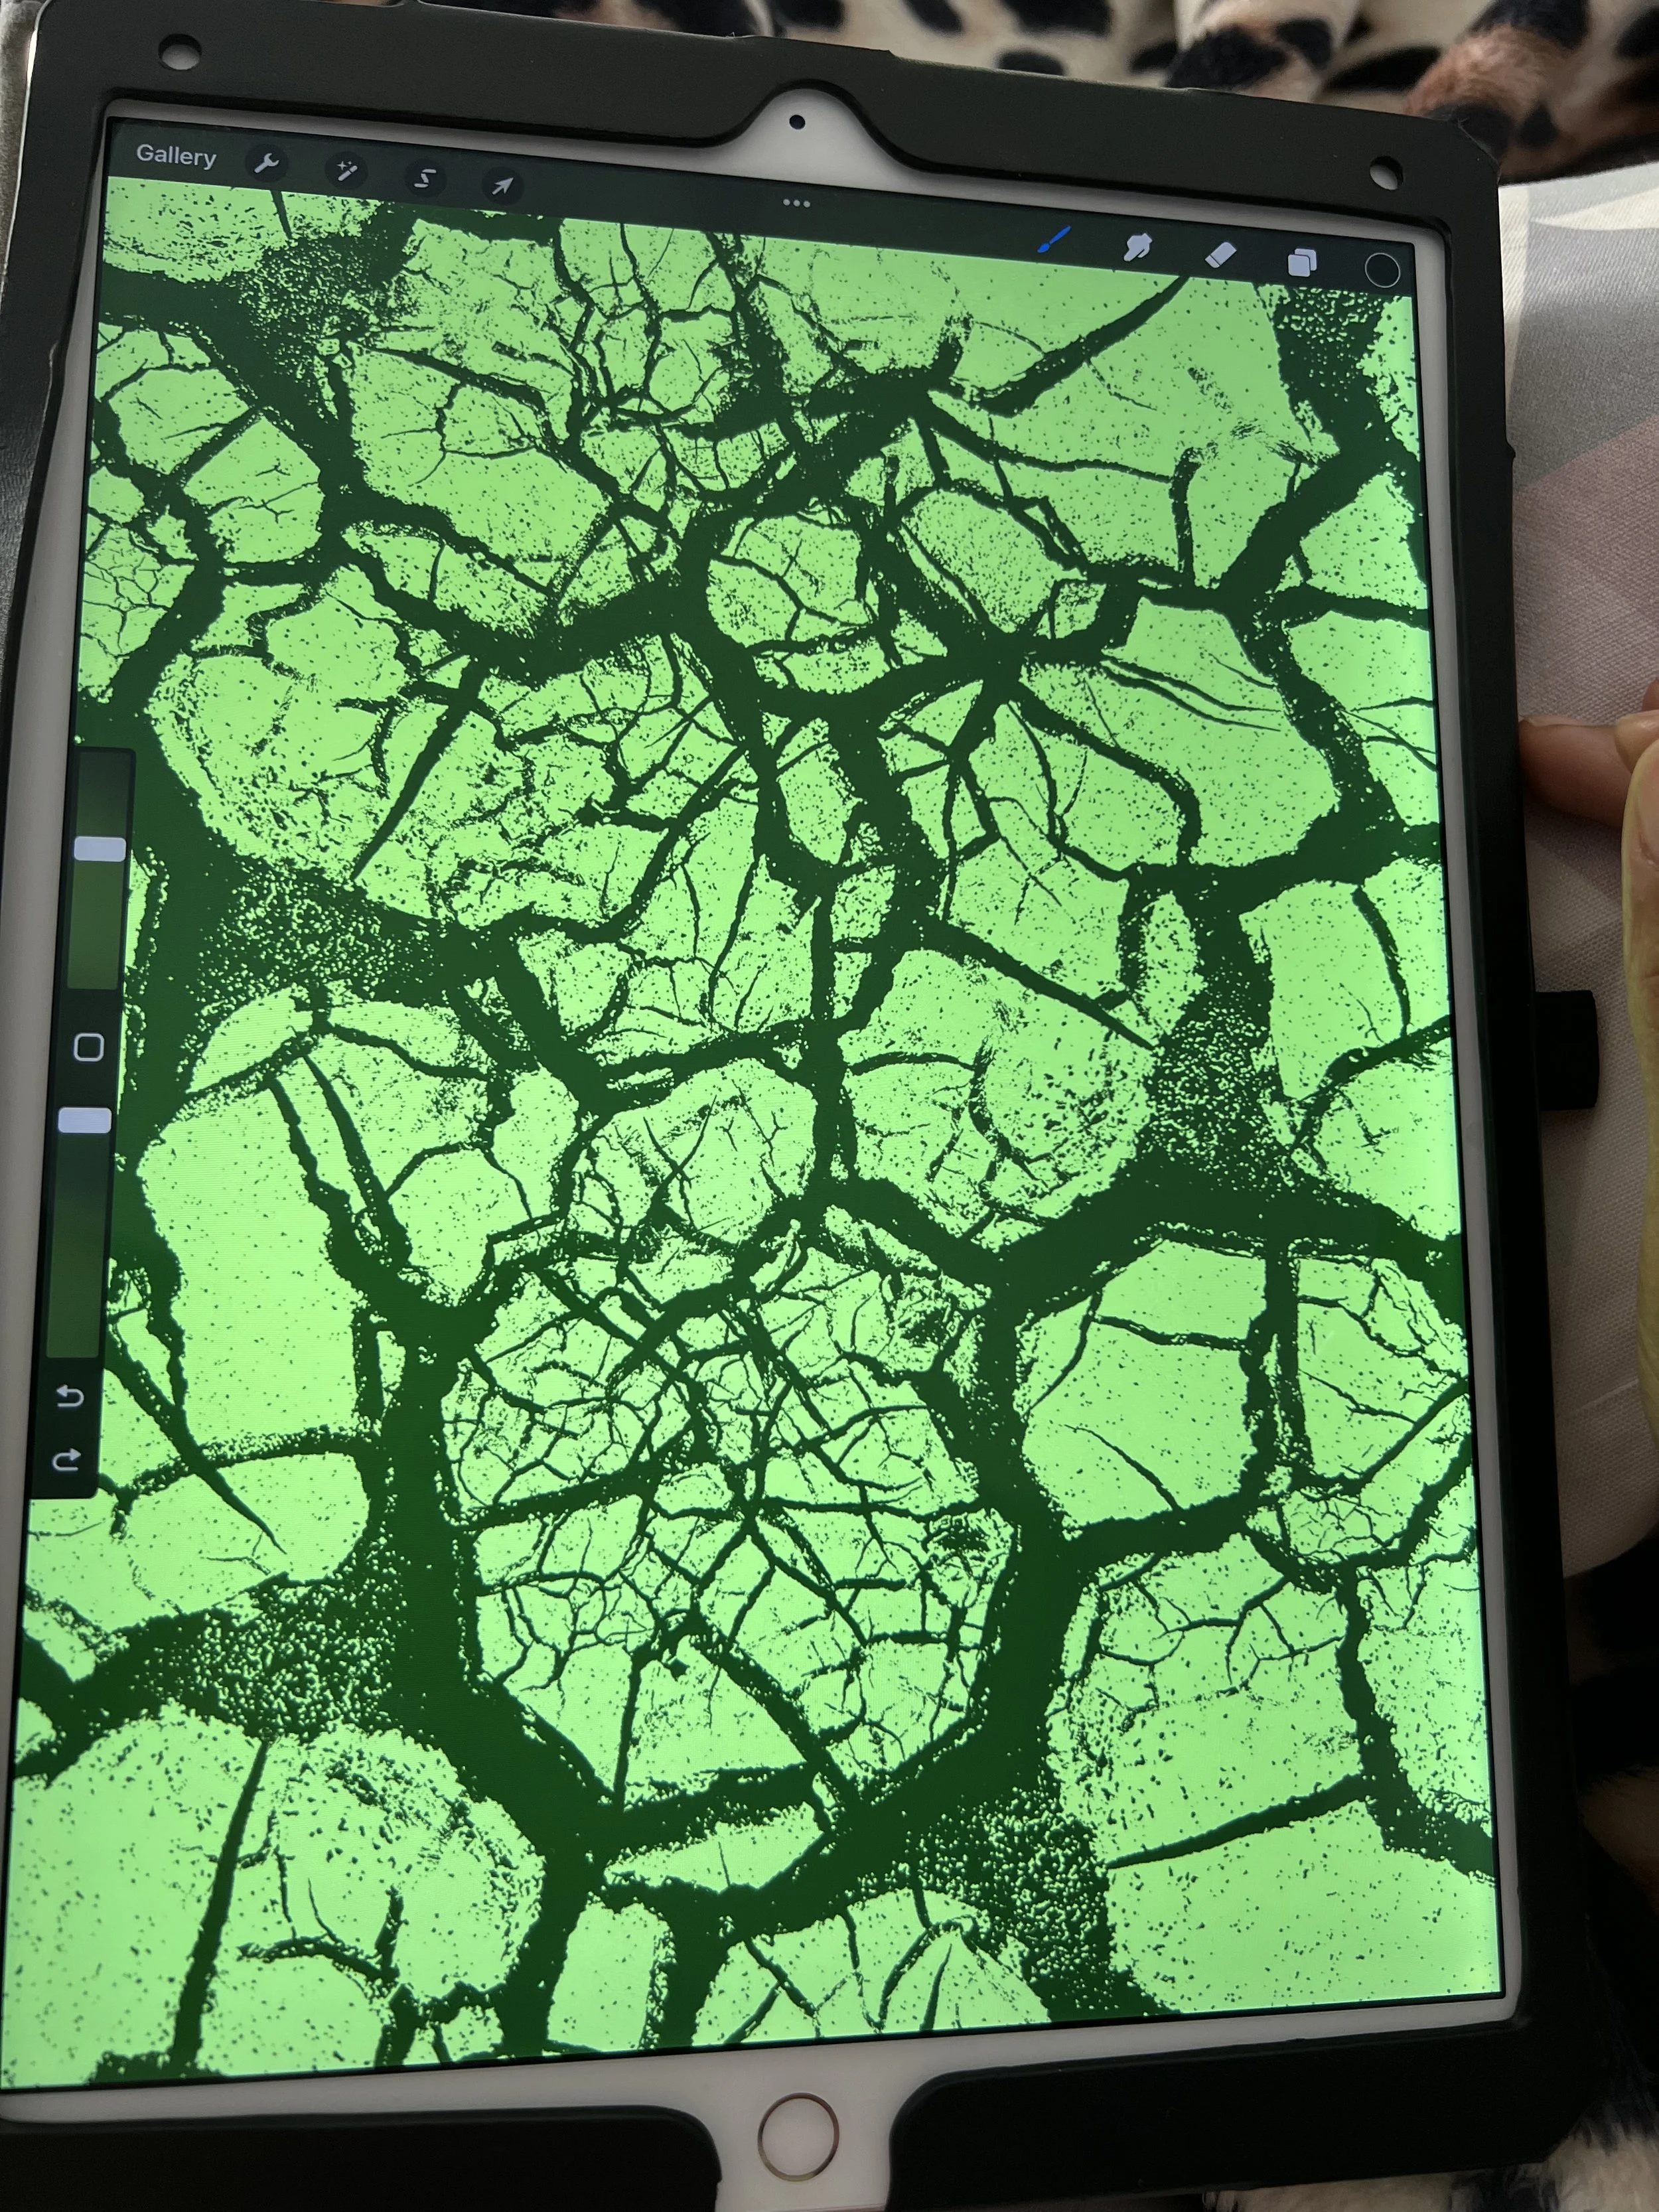
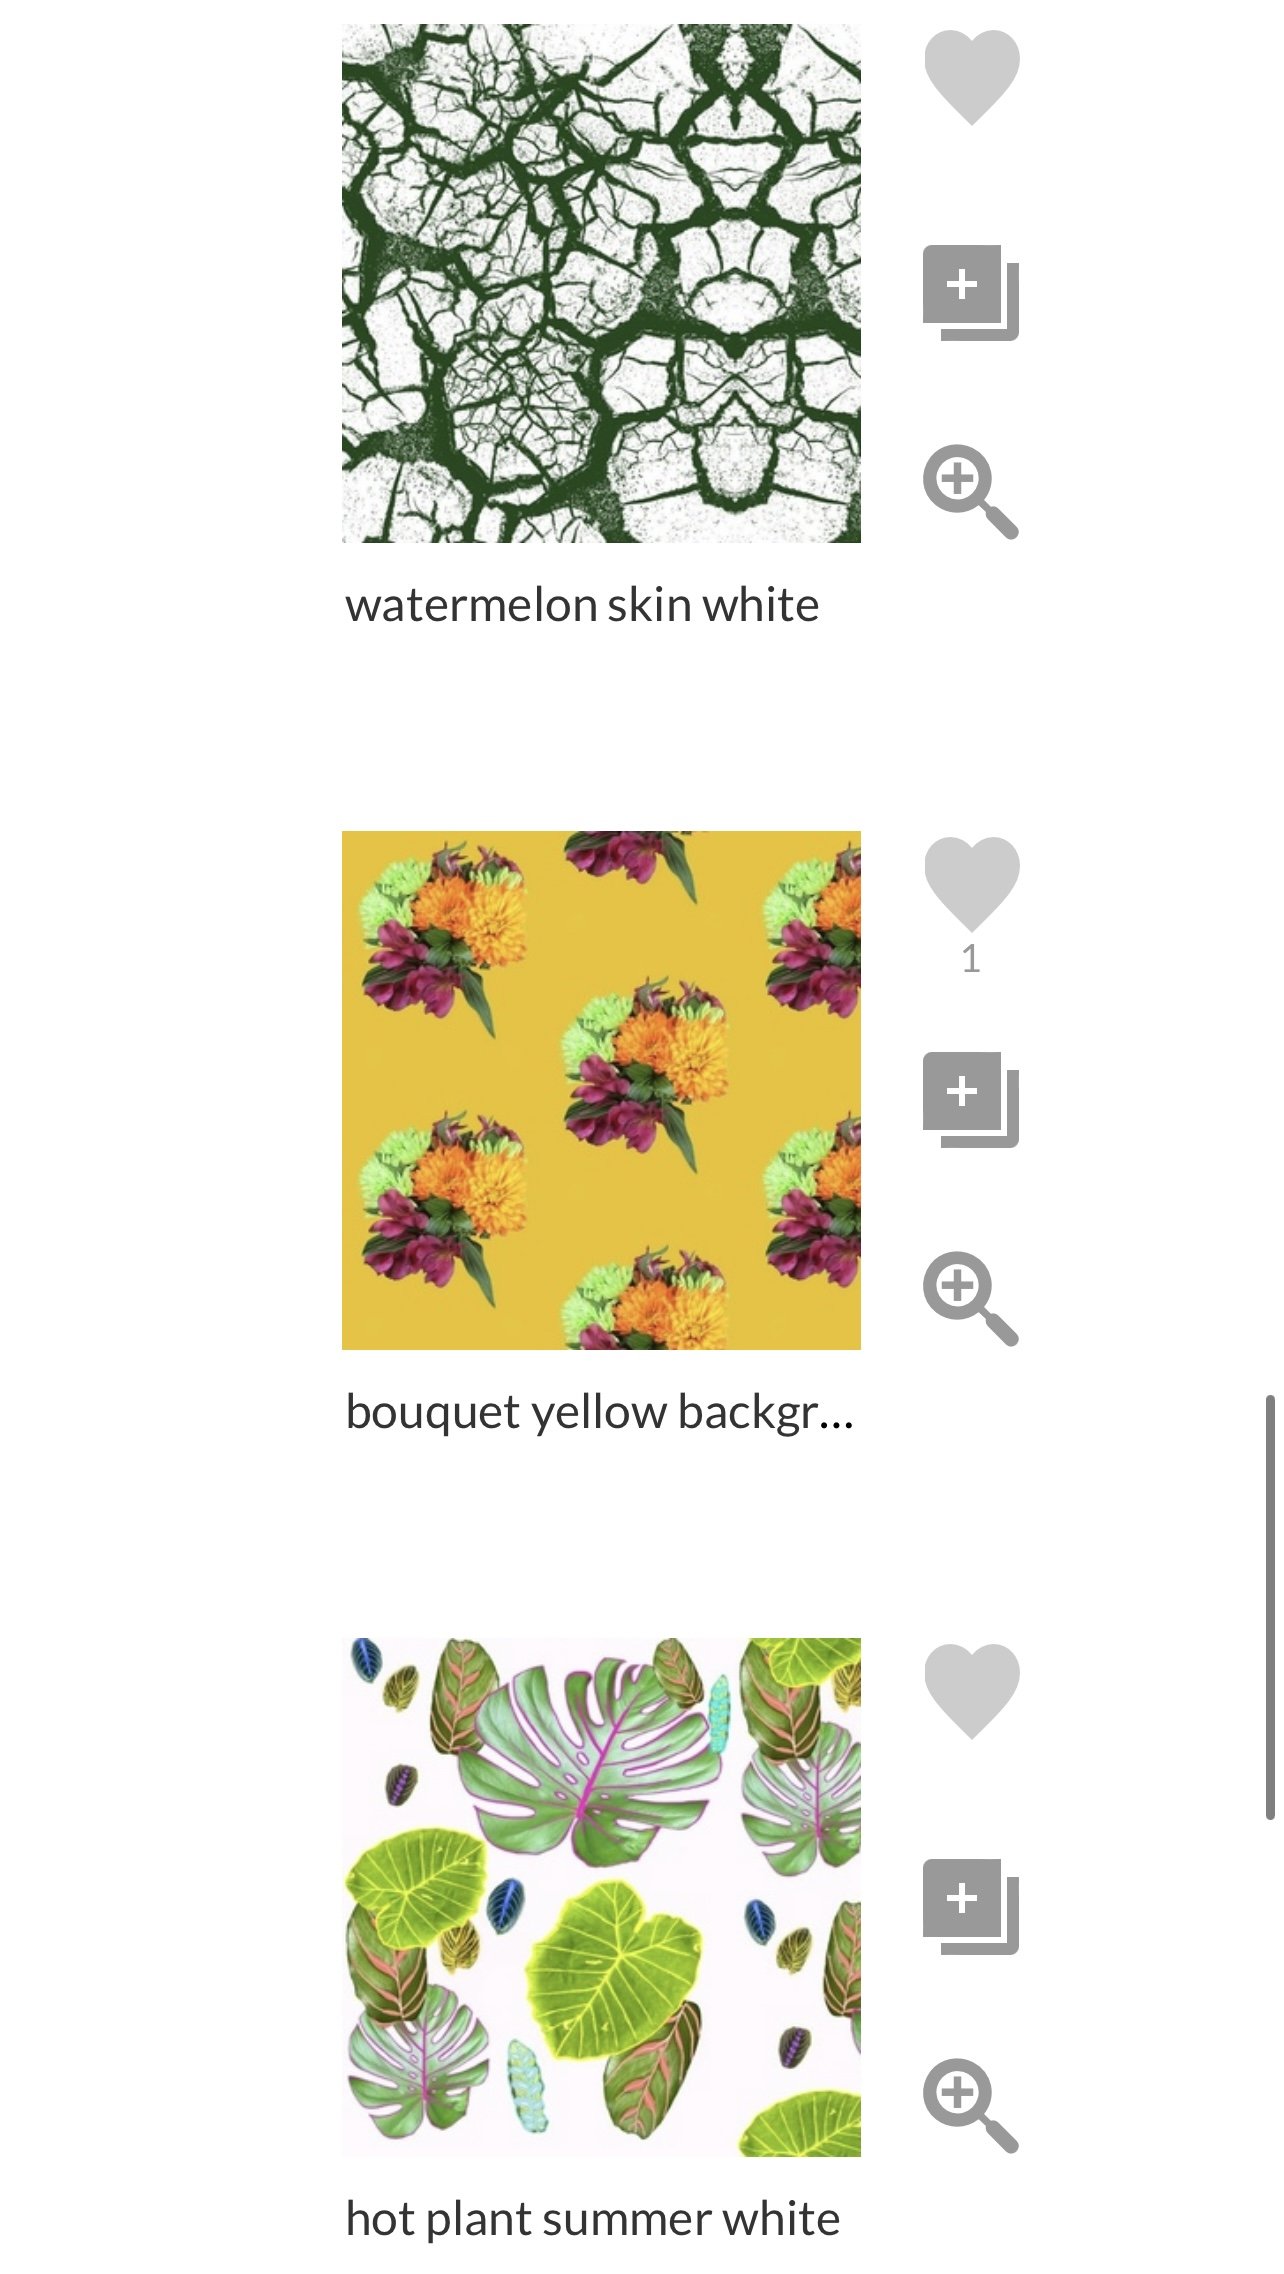
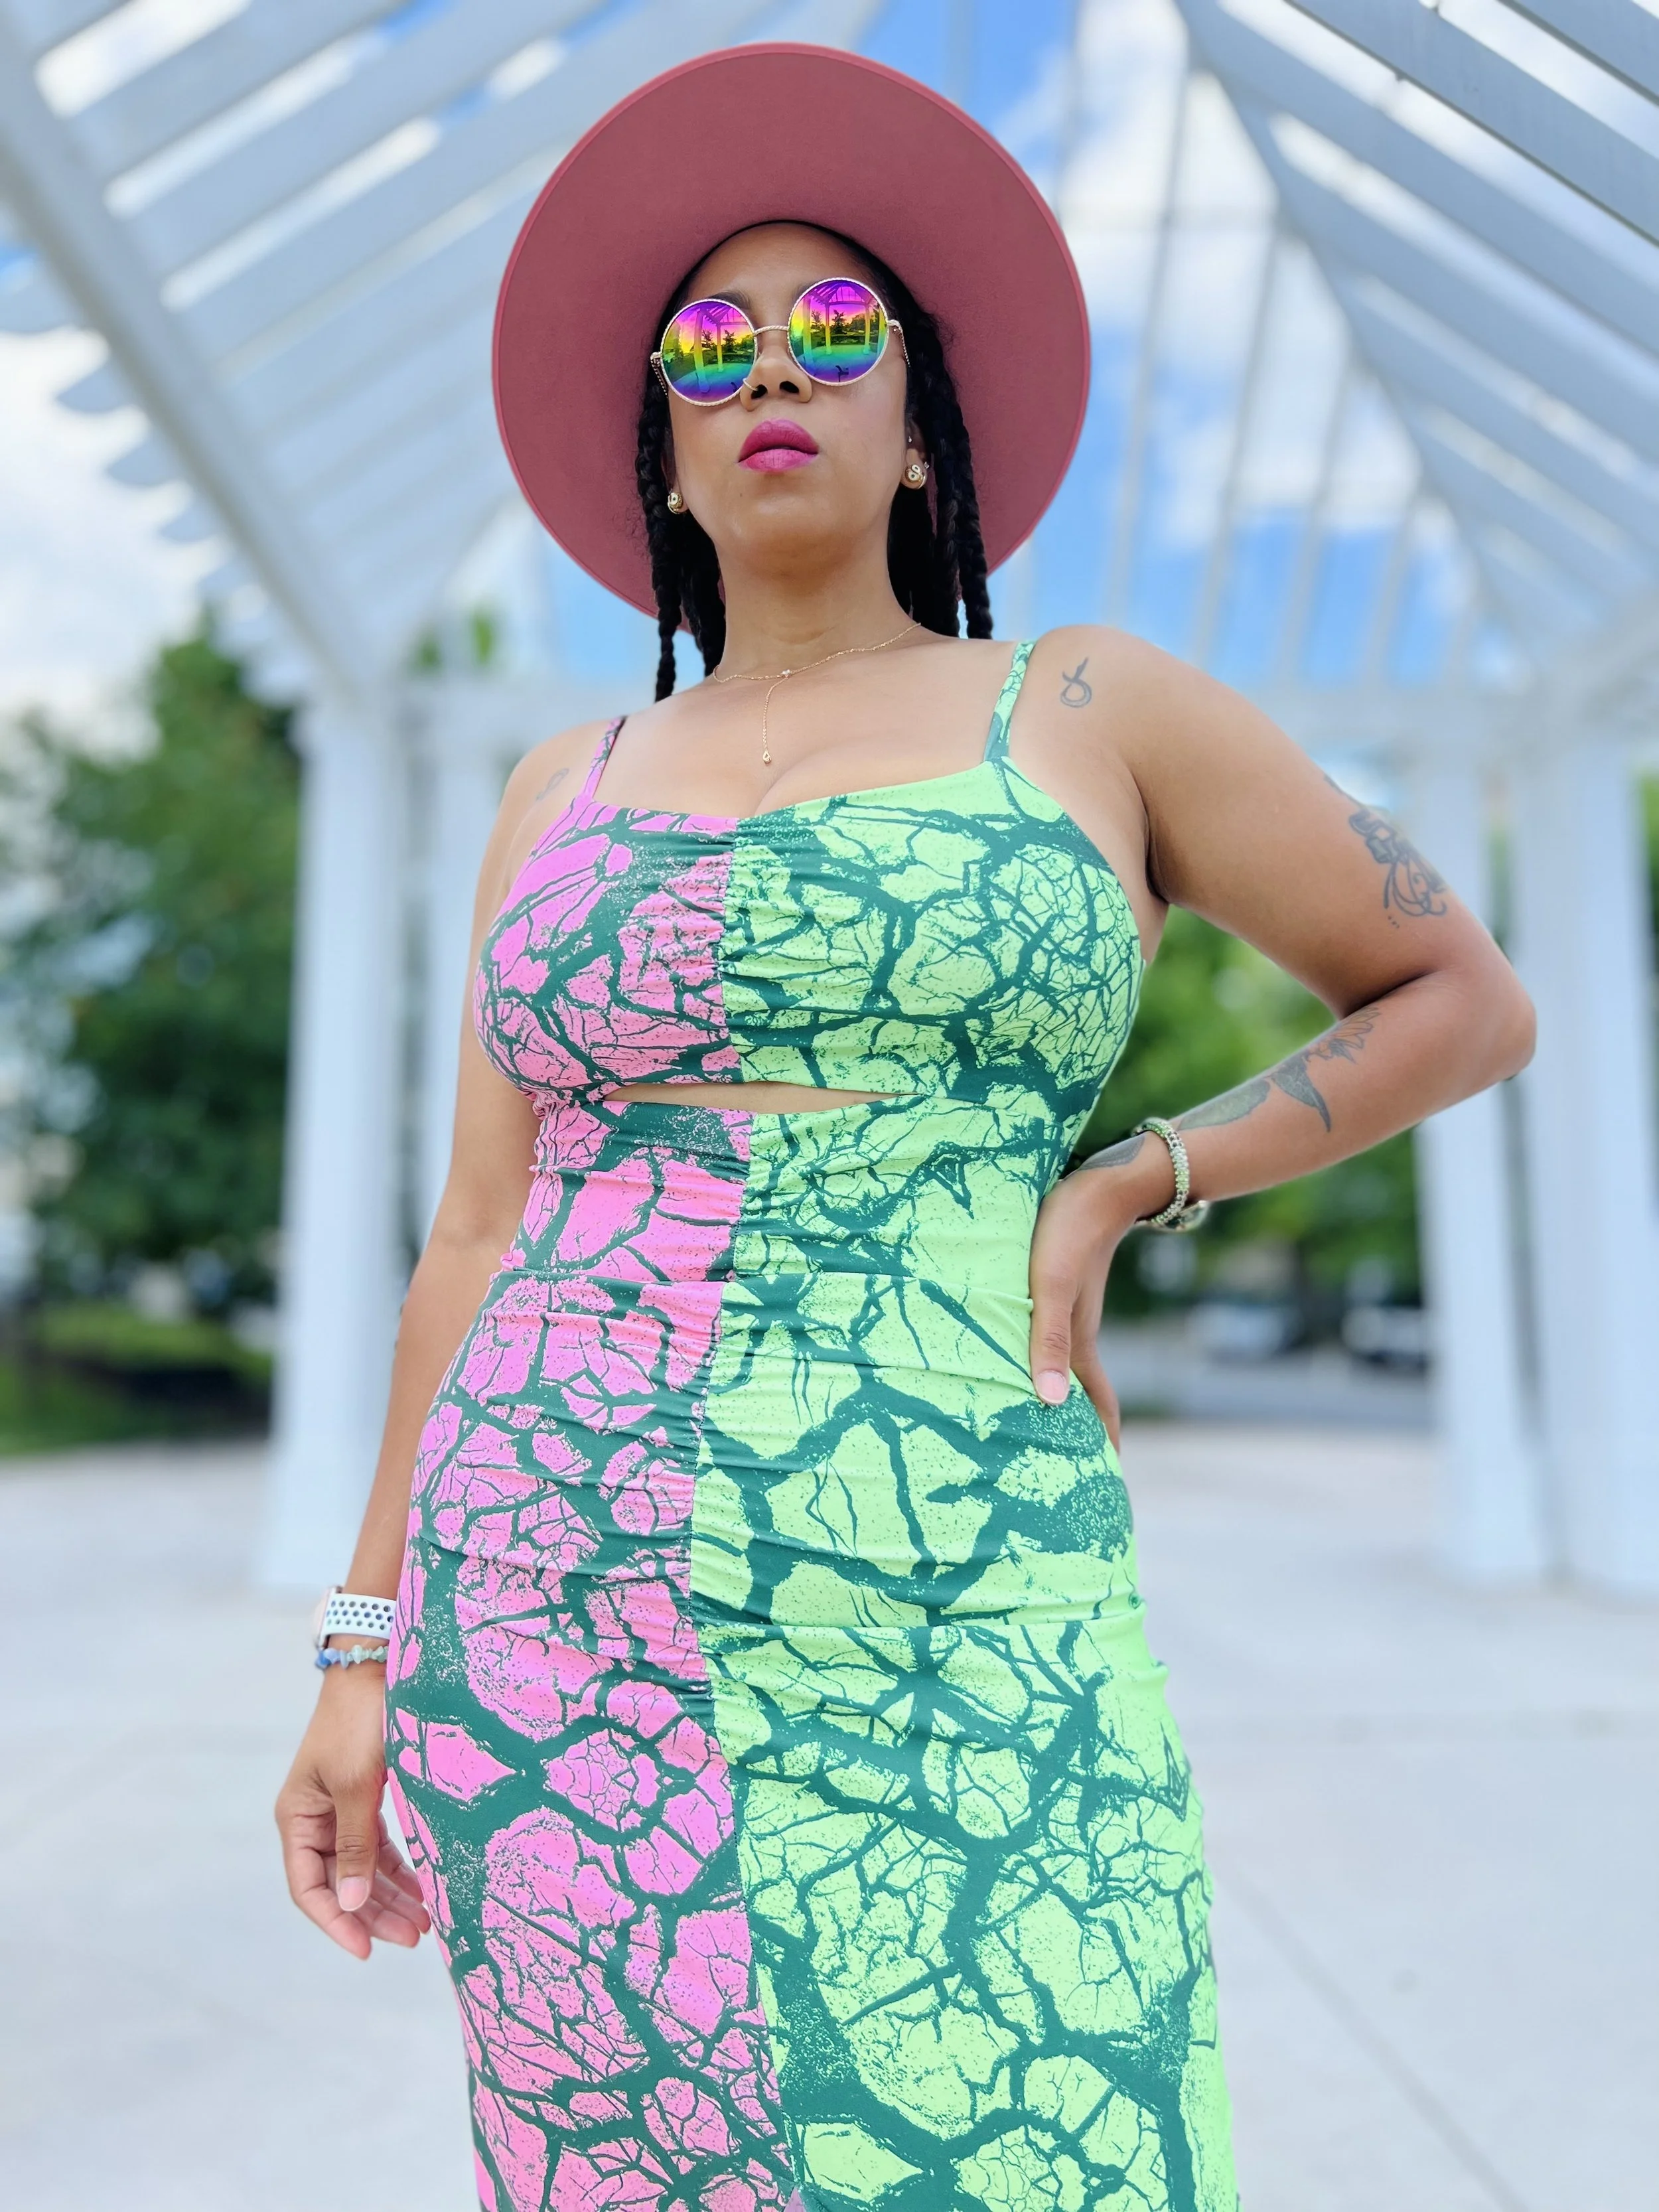
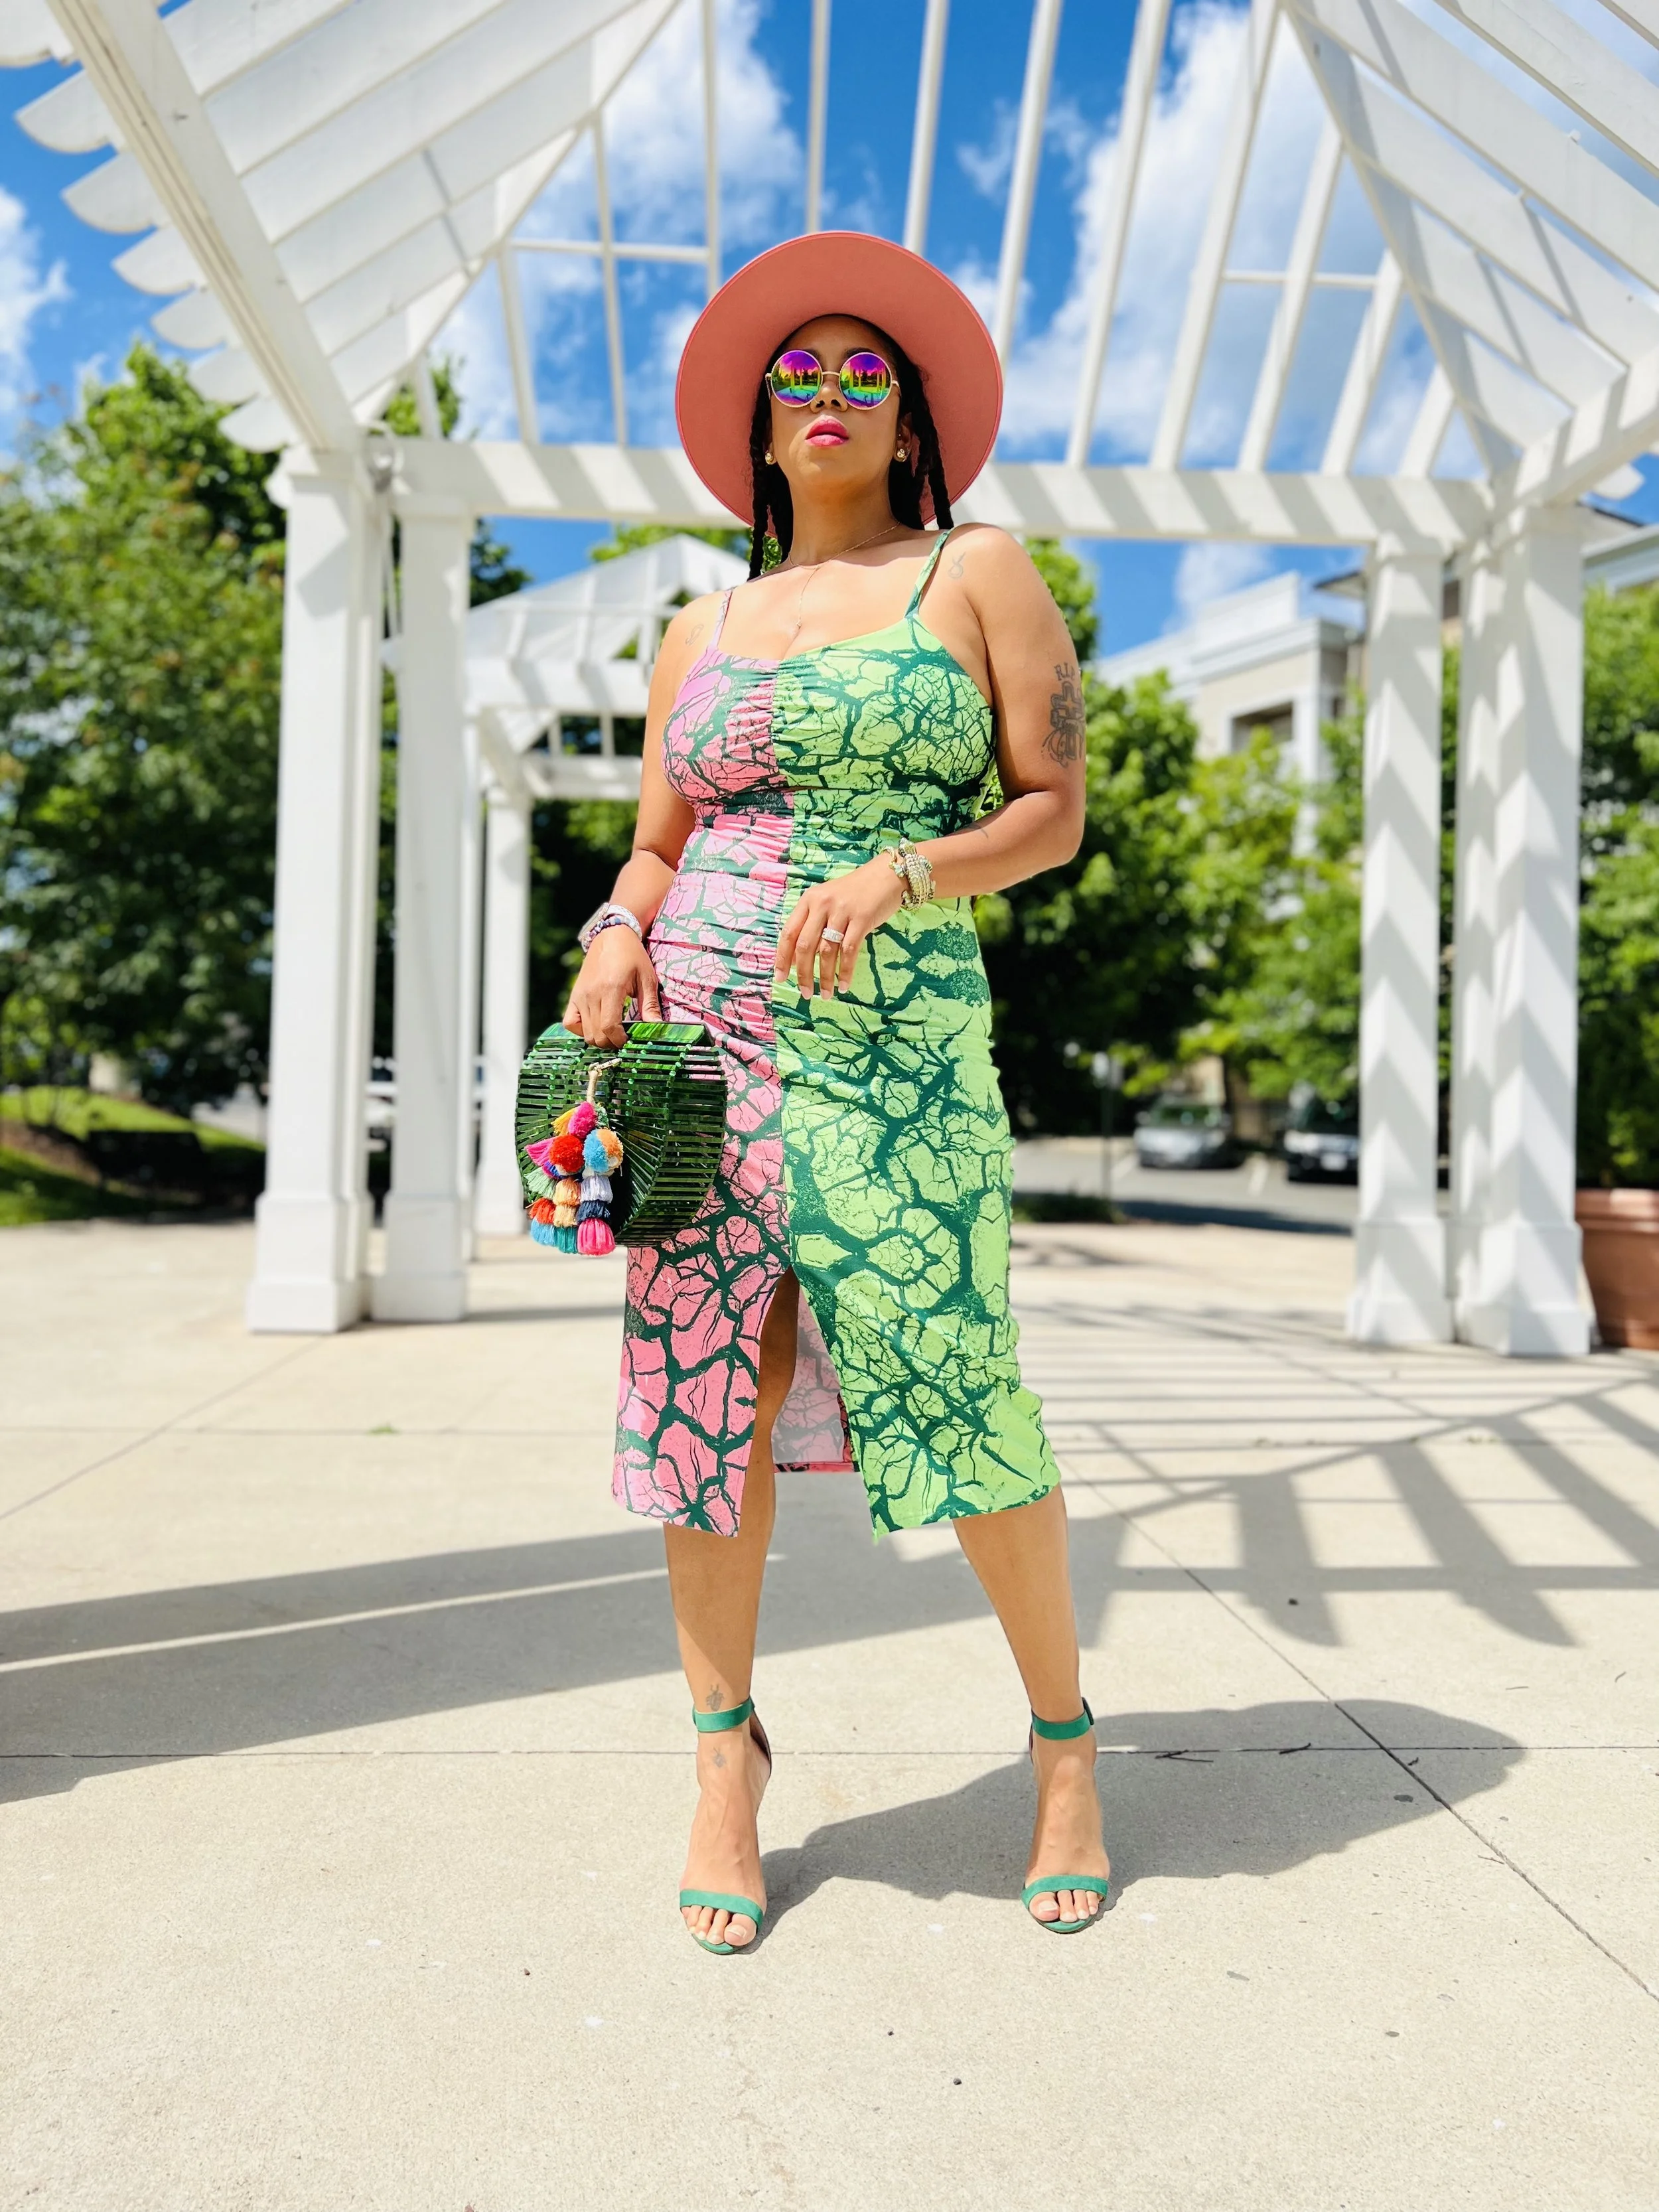
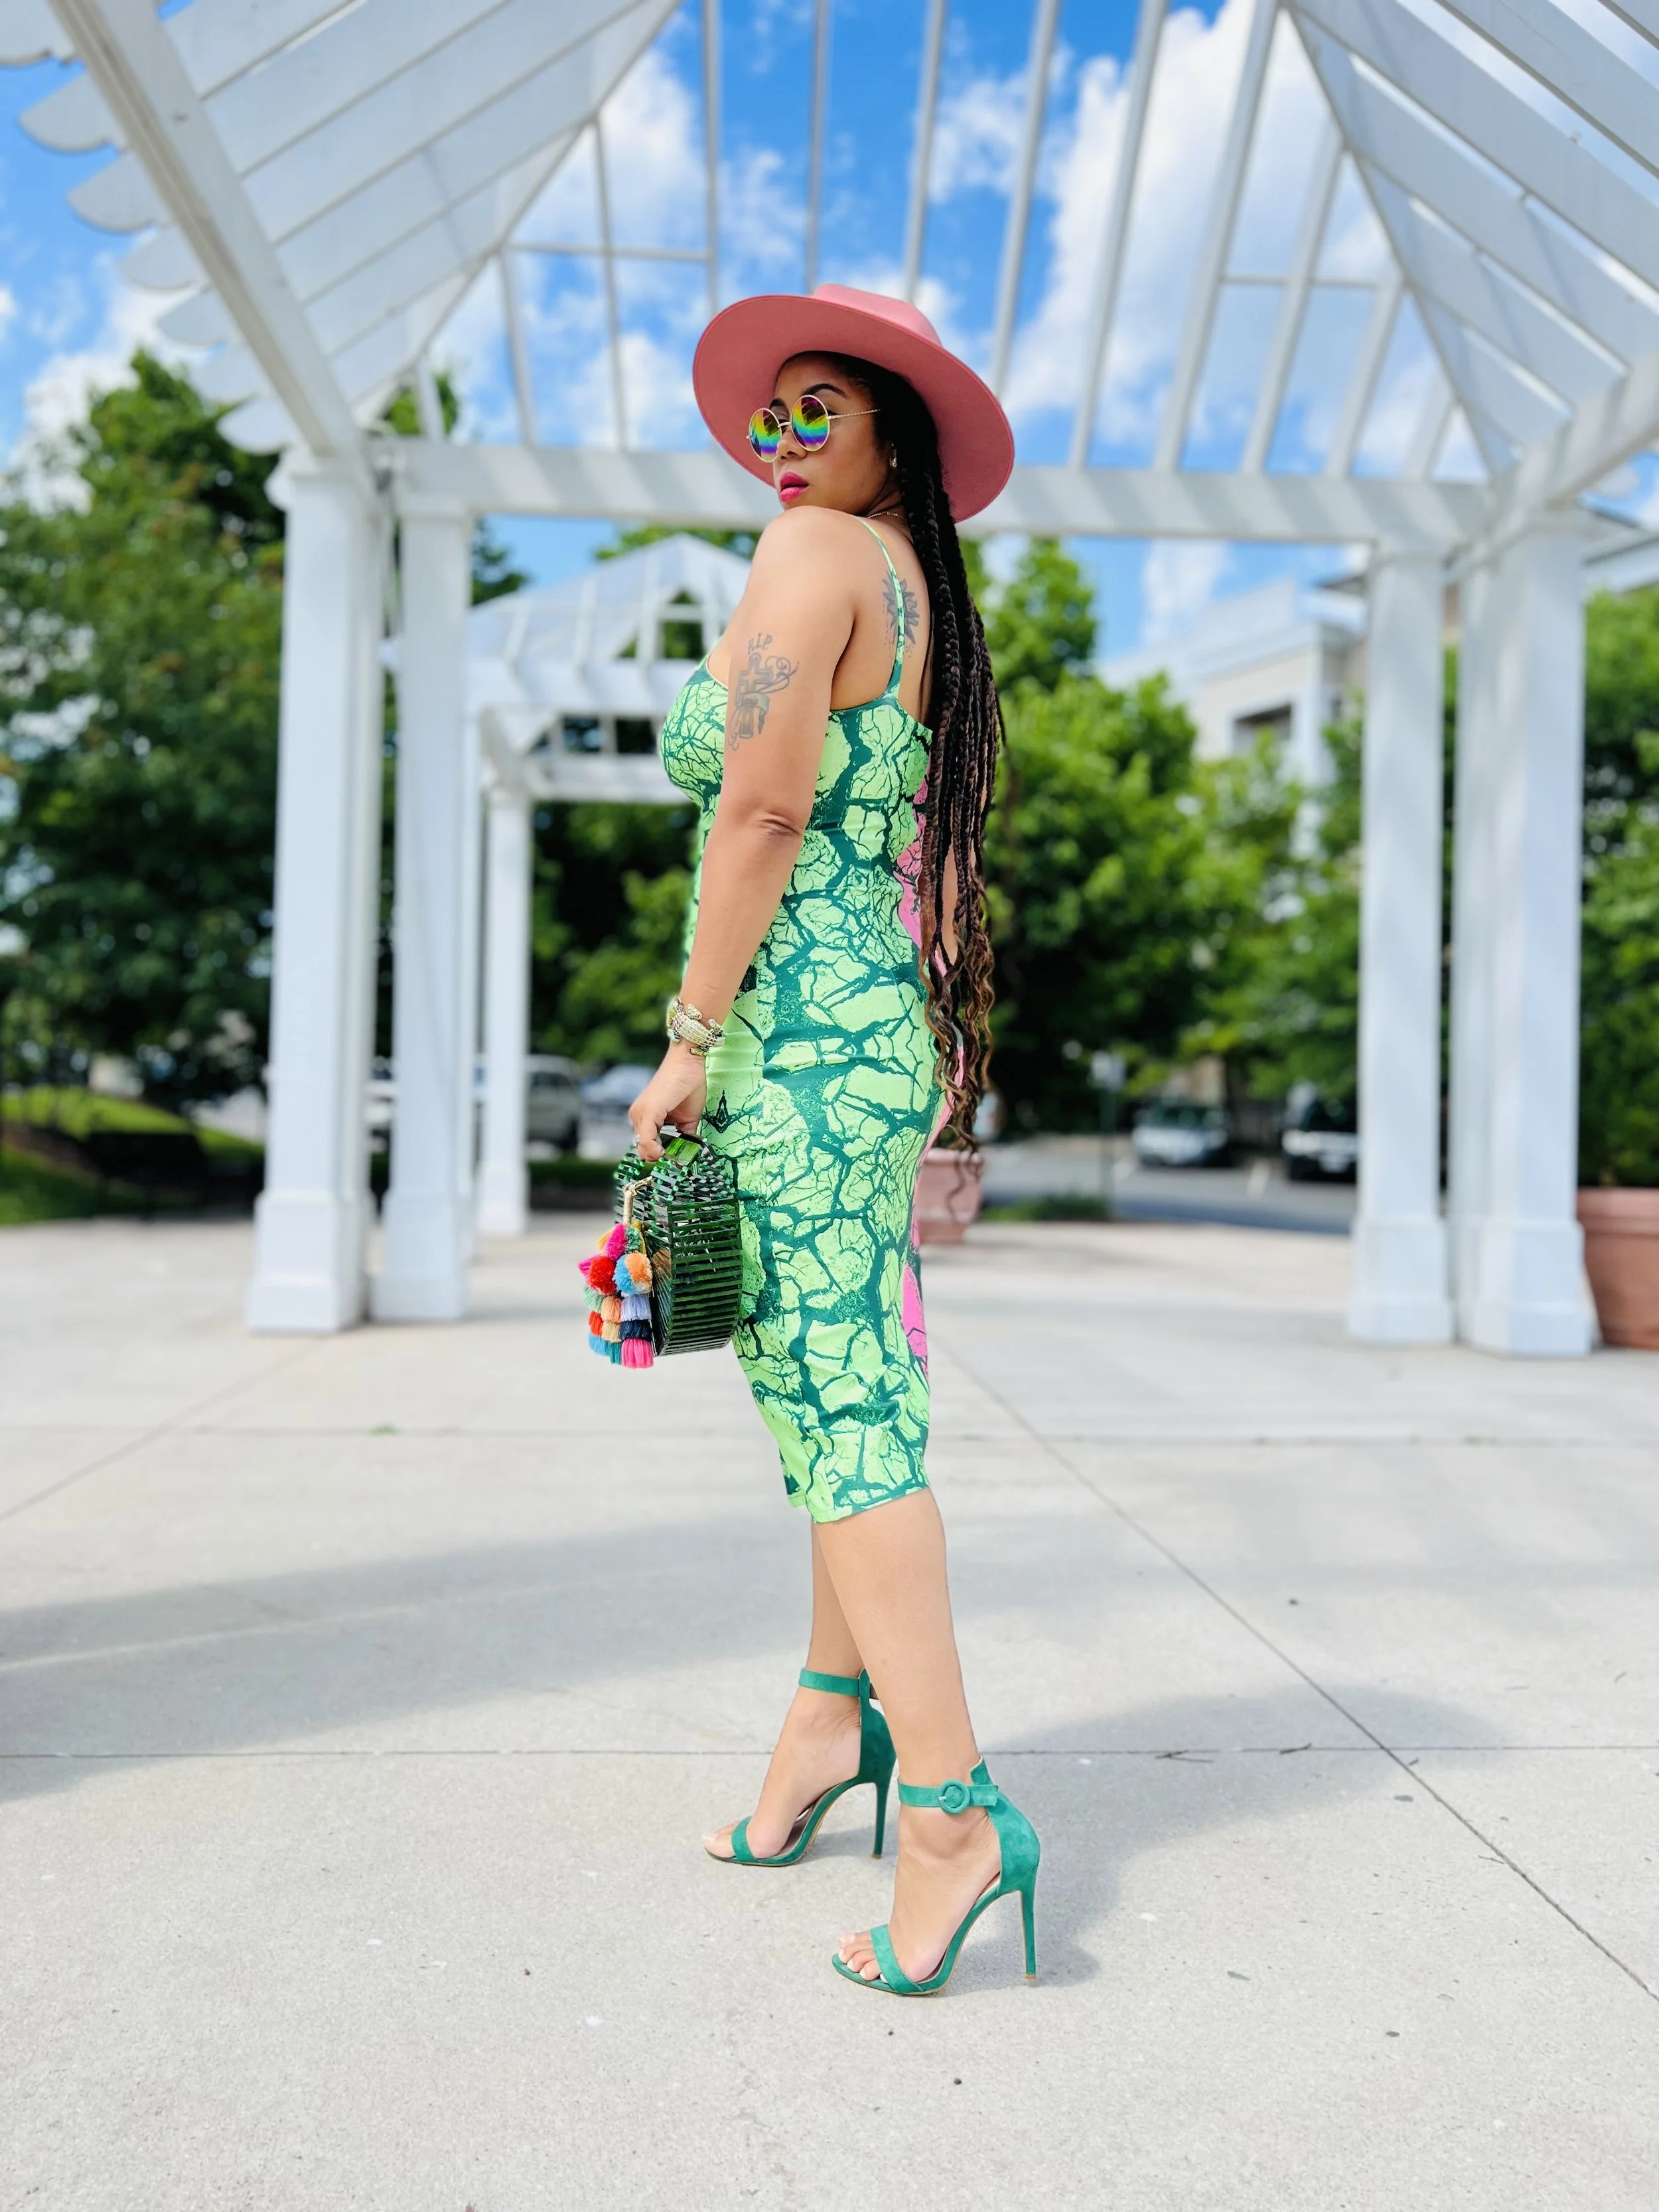
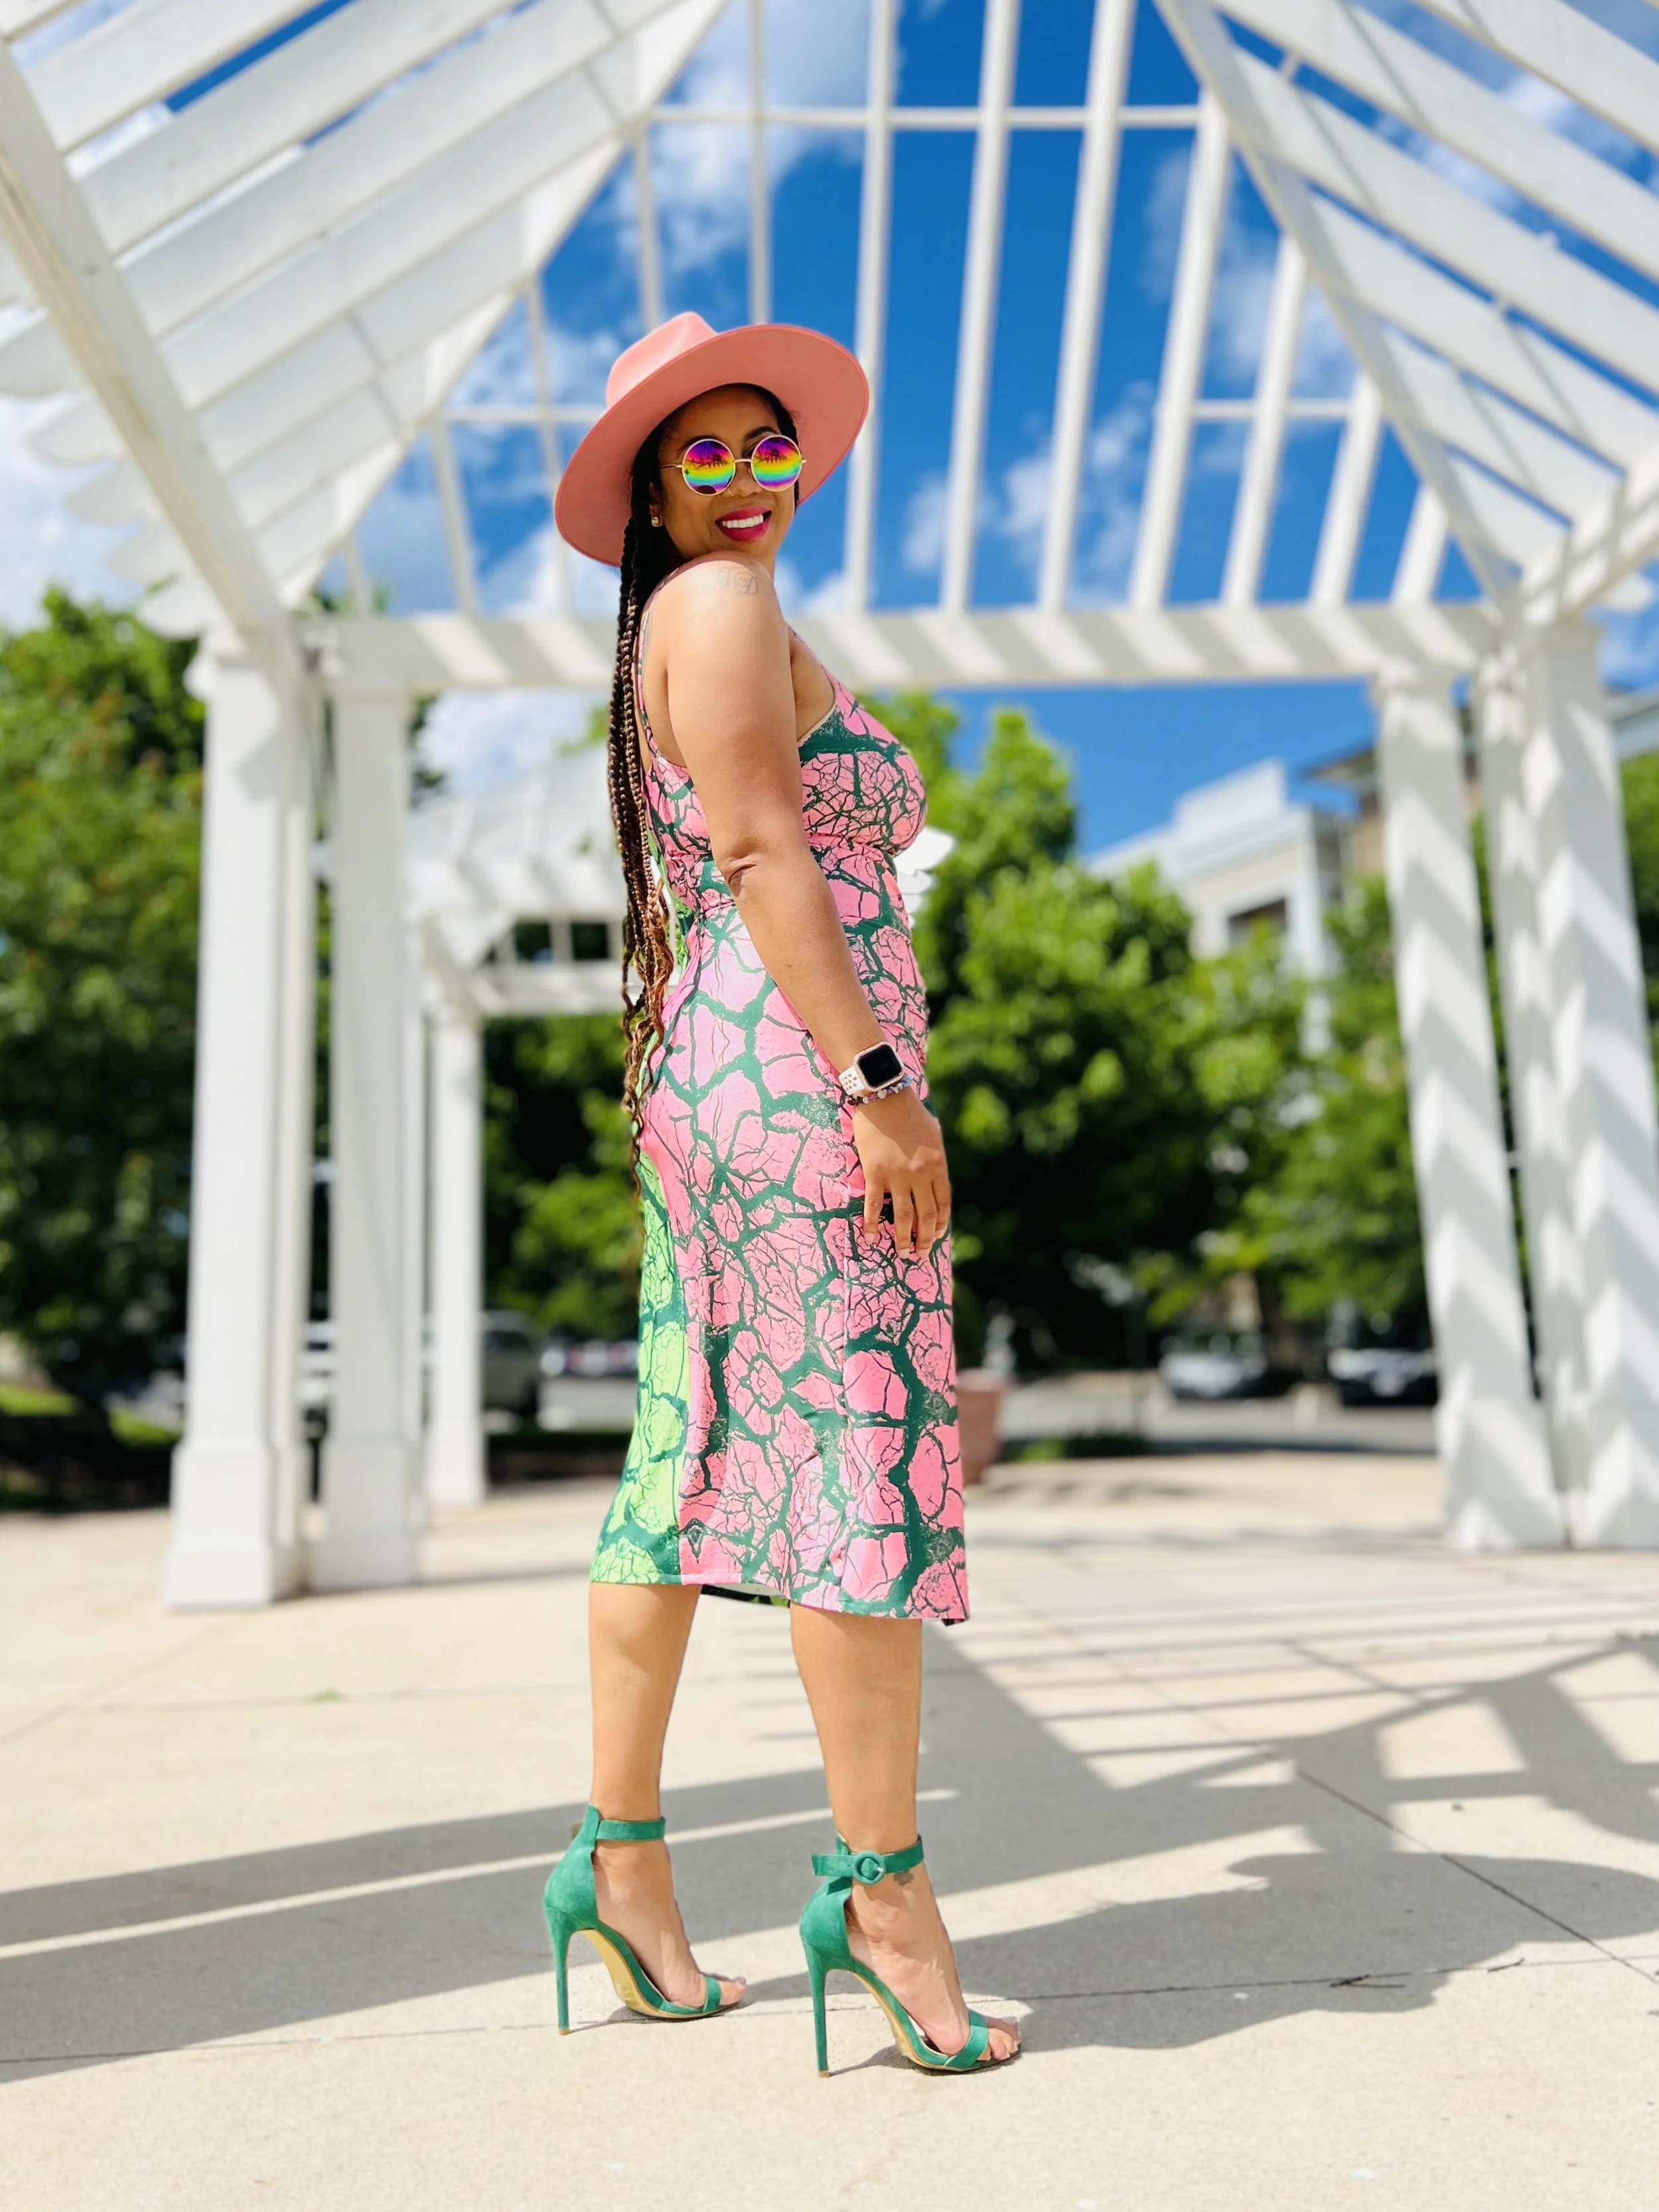
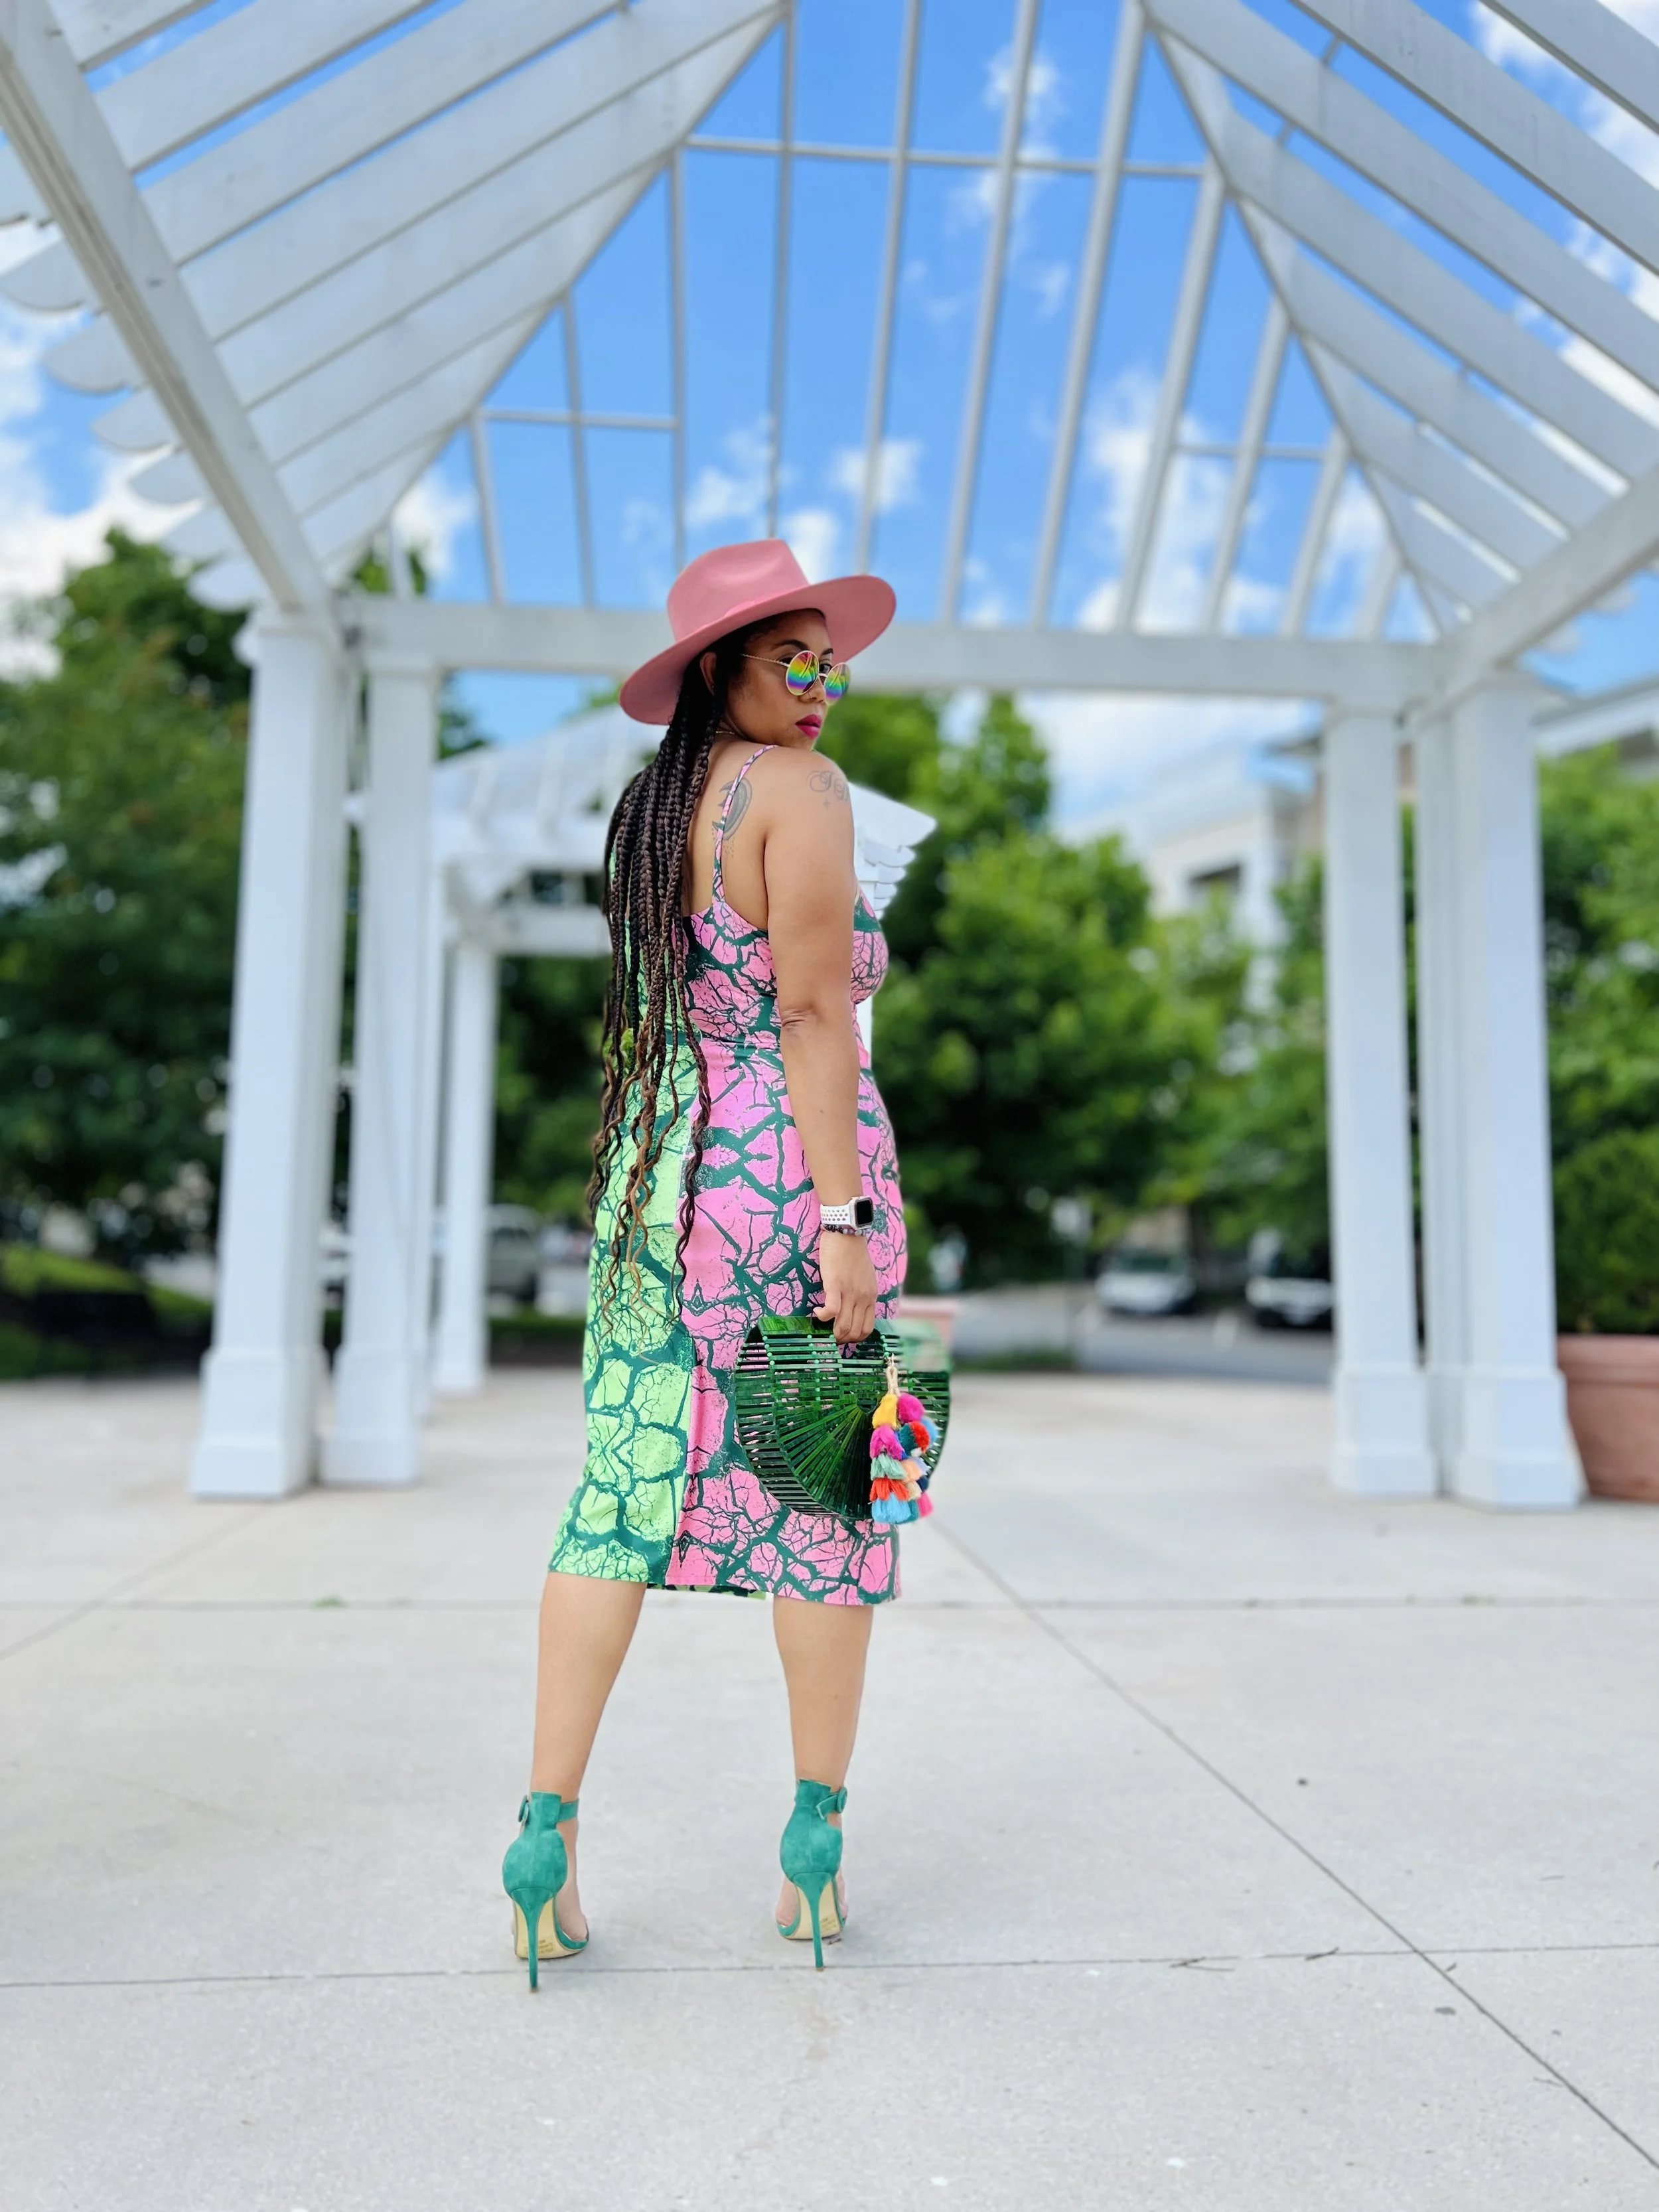
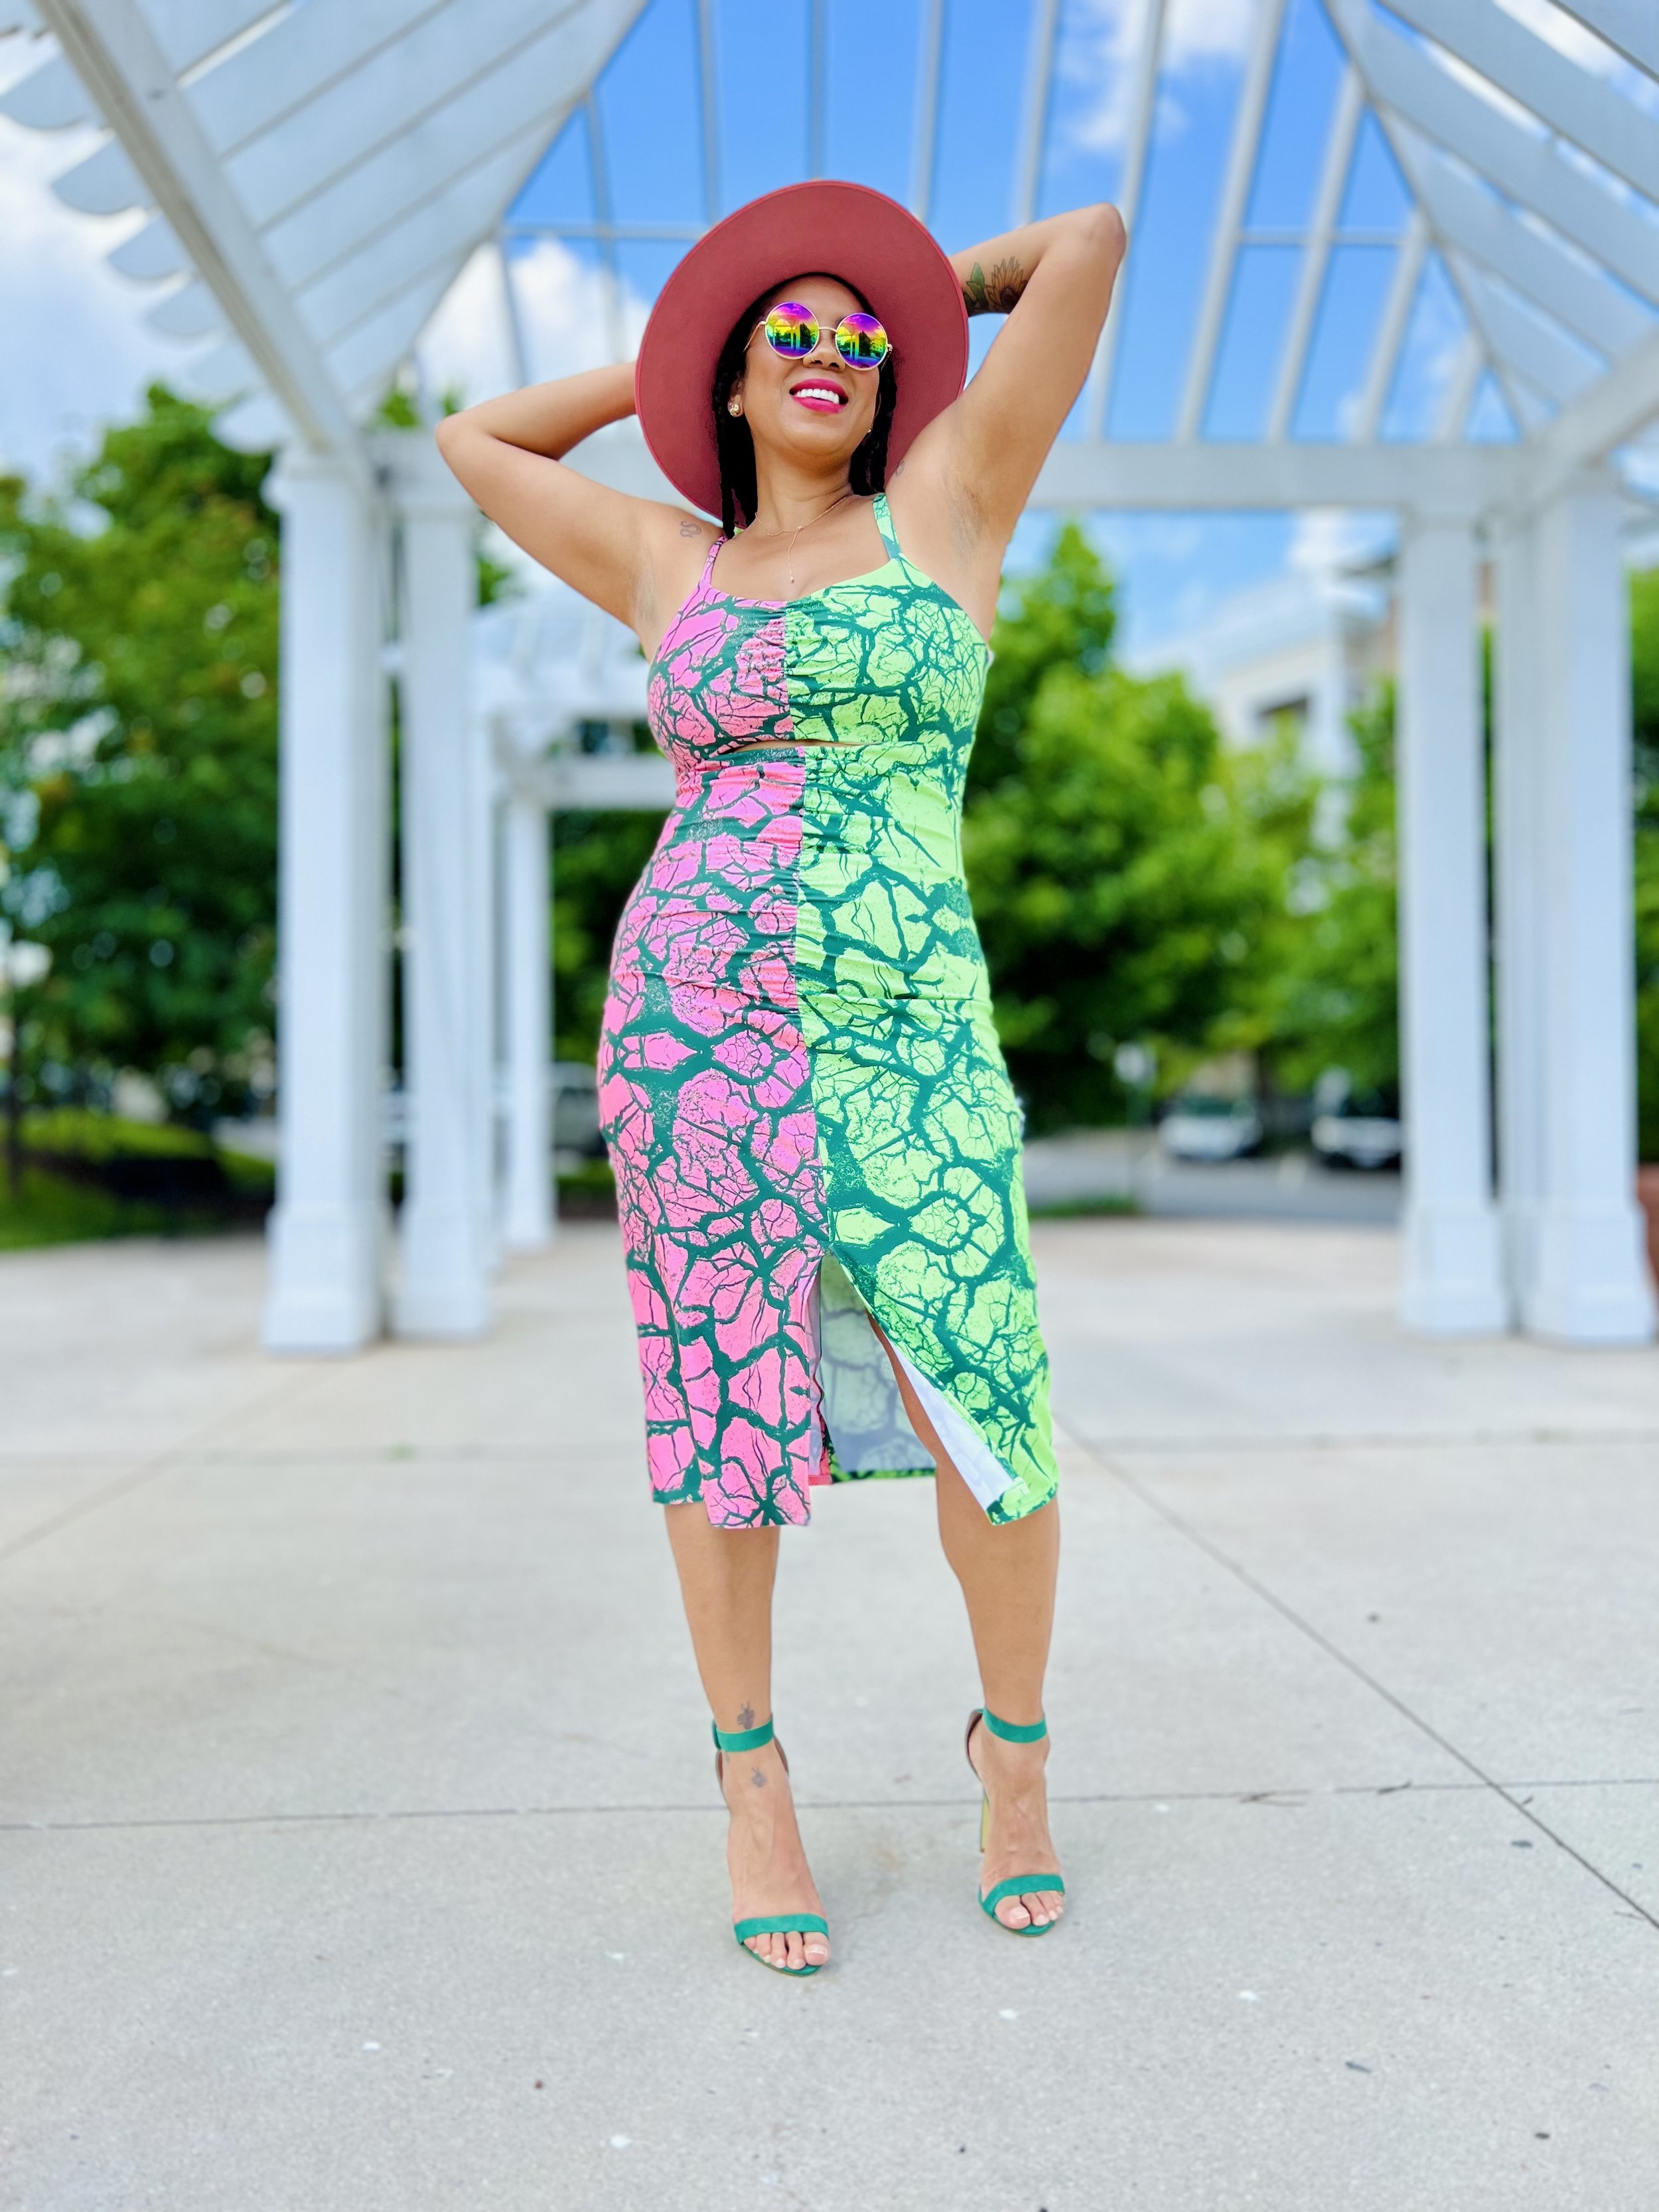
One of my first makes with my own design, I choose Watermelon Skin in original and pink background. You can find these prints in my Spoonflower design studio here.
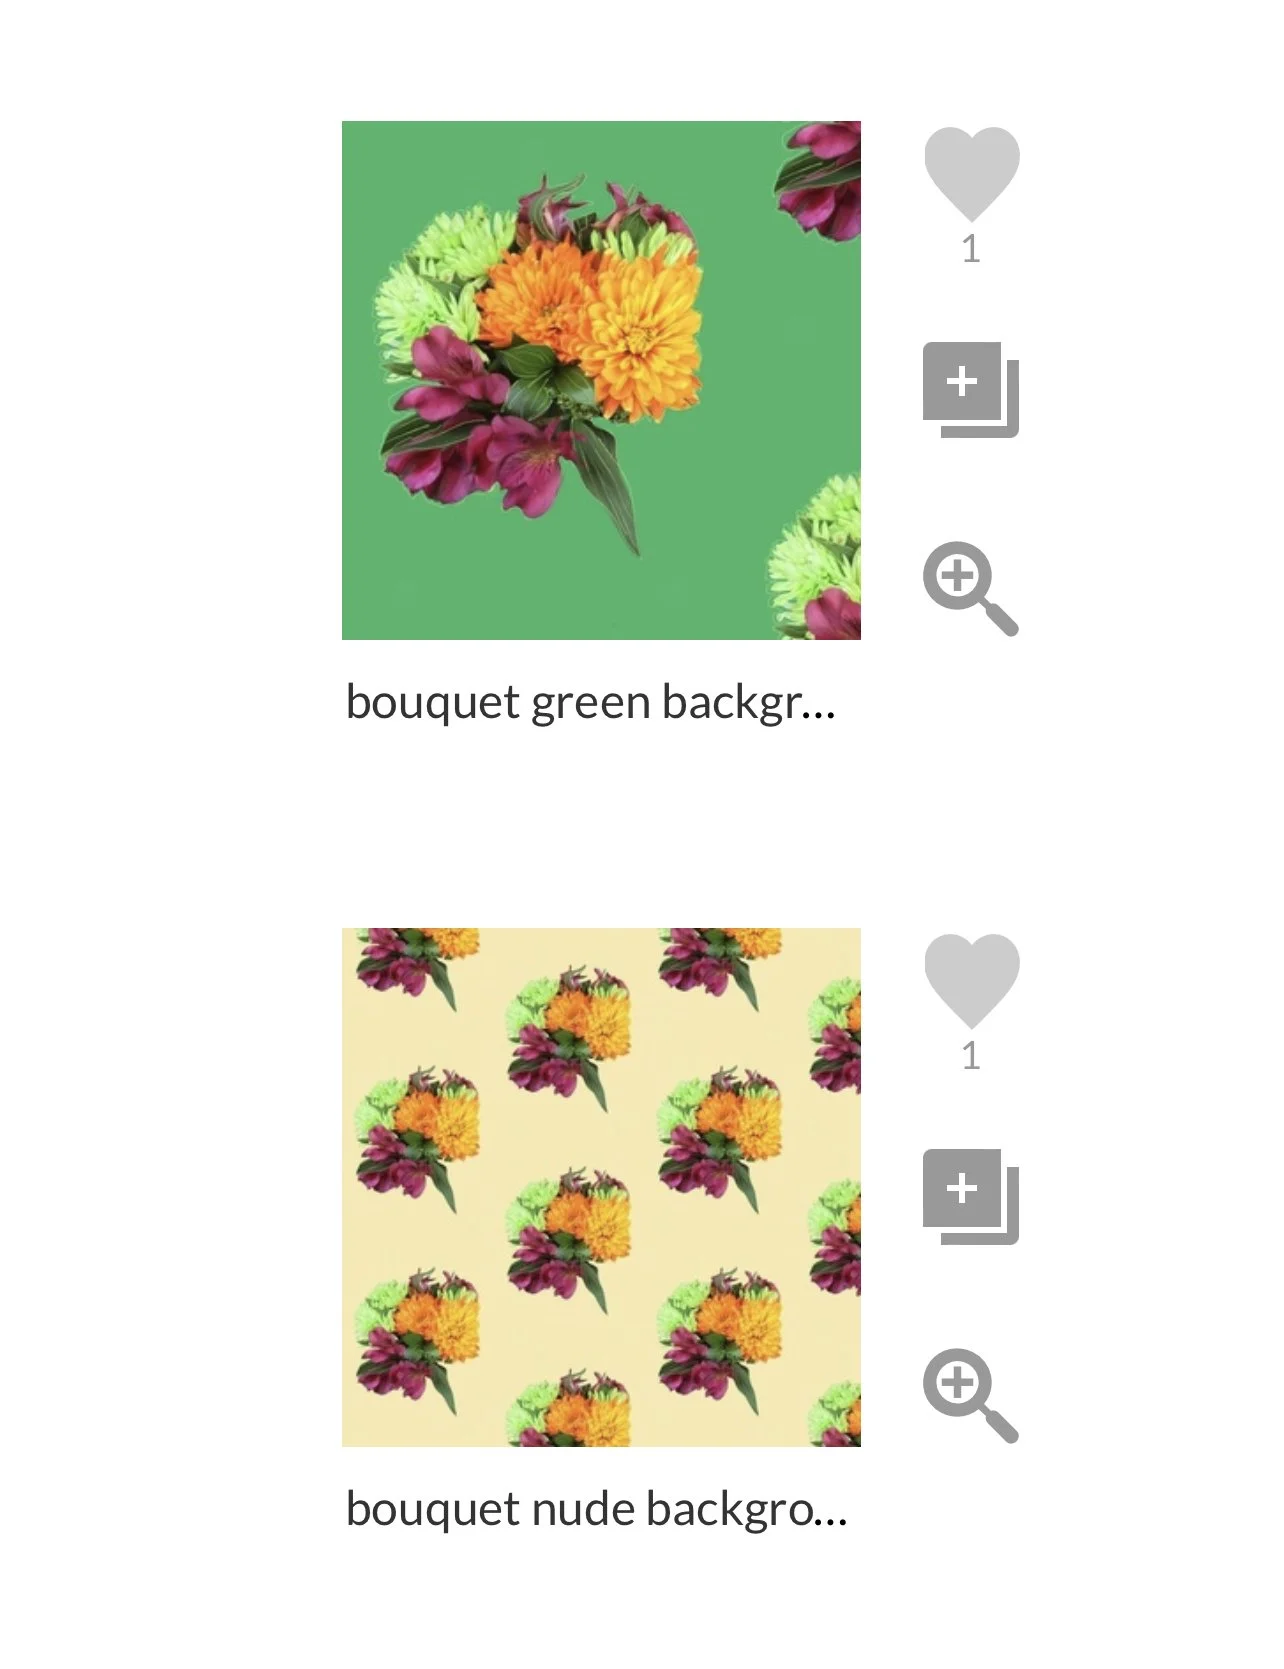
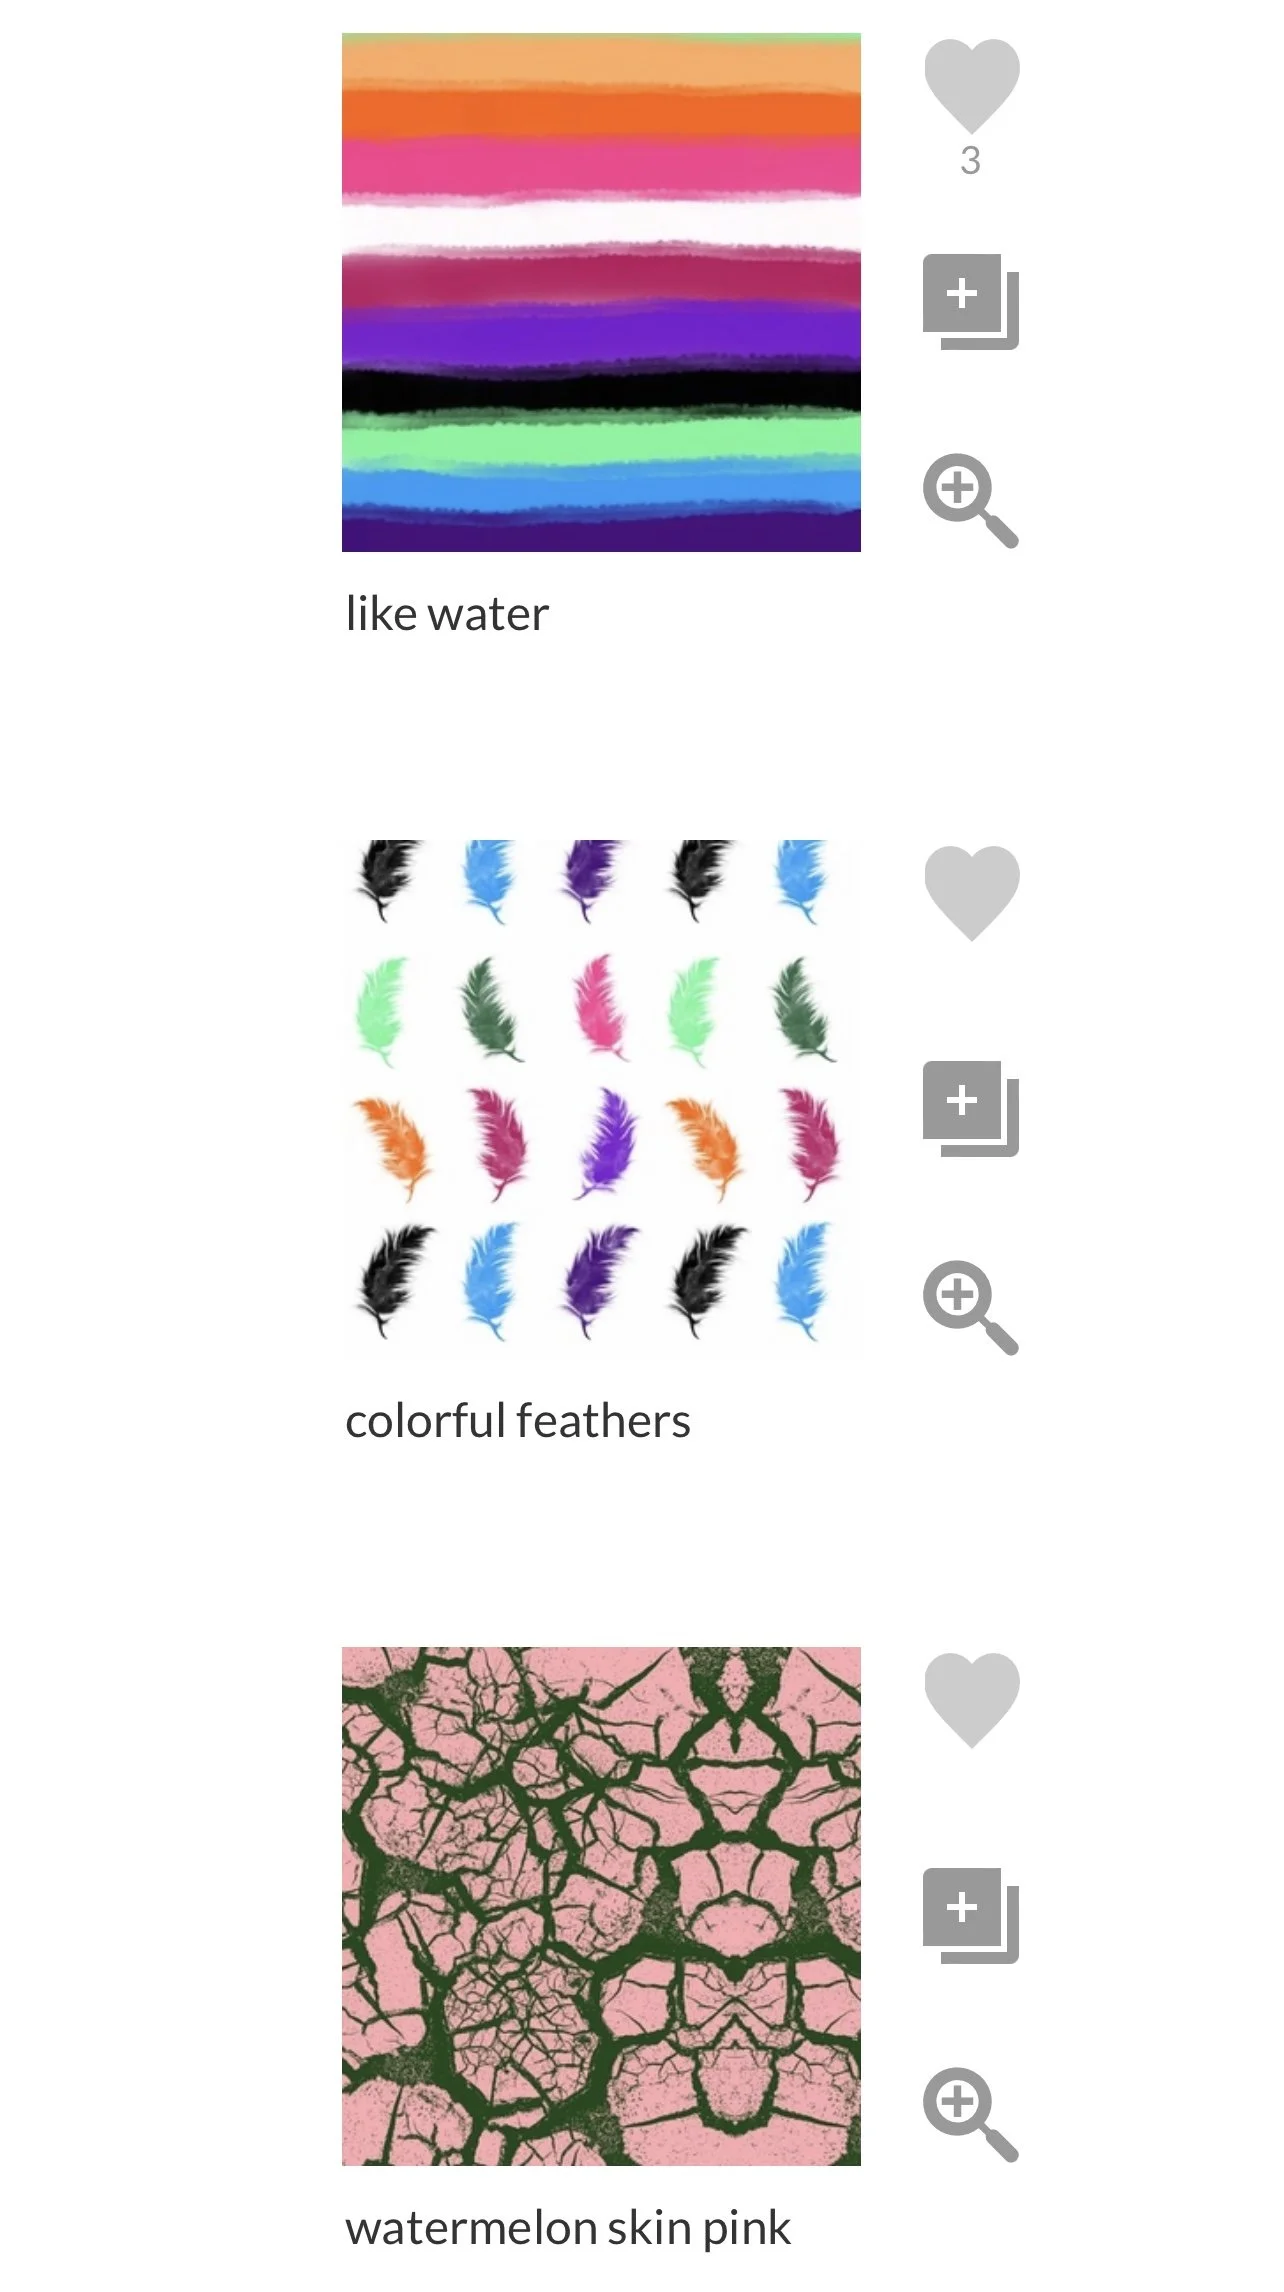
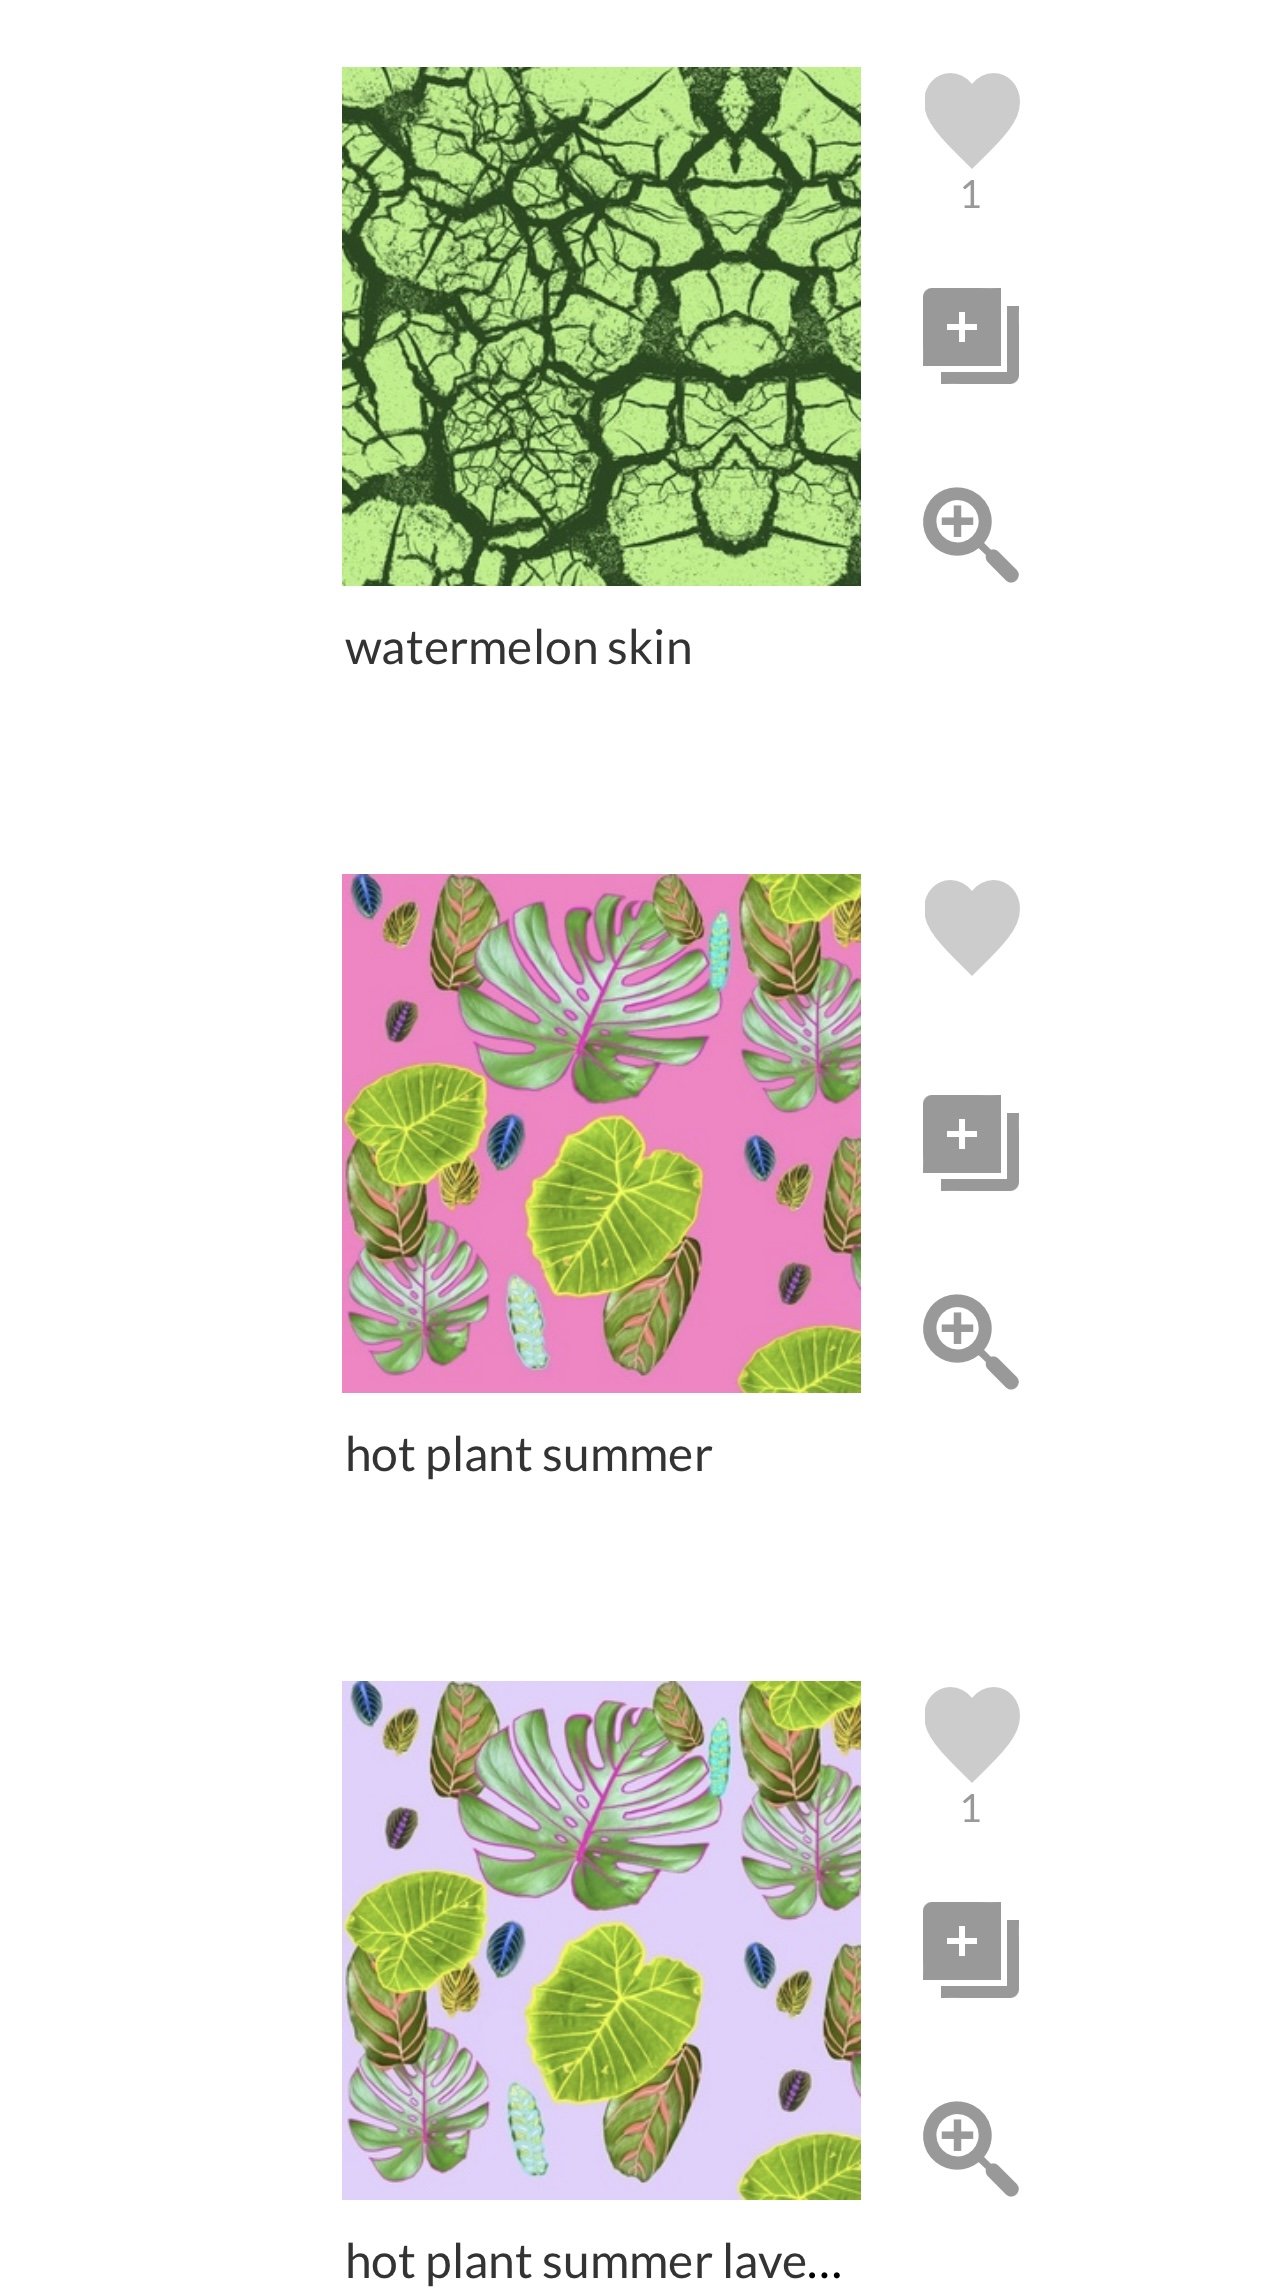
Feels like summer has a total of 11 designs (some smaller scaling upon request). There are currently 3 variations of Watermelon skin, 3 variations of Hot Plant Summer, 3 variations of Bouquet, 1 Like Water, and 1 Colorful Feathers.
This collection was created and intended to mix and match prints with each other. For instance, the stripes in the Like Water design share the same colors as the Colorful Feathers design.
Hot Plant Summer would look beautiful with any mix of the 3 color ways . The Bouquet print features a large scale bouquet in green background, medium scale yellow background, and small scale nude background. I think it would be fun to mix the large scale with the small scale for a fun floral project.
The dress
For my first project I went with the Mimi G Simplicity pattern 8639 and Spoonflower Sport Lycra. While sport lycra is most used for swimwear, I love to also create dresses and activewear with this fabric. I used a strong power mesh lining for the bodice portion of the dress and a lighter weight mesh for the skirt. Overall the dress hugs my curves very nicely if I might say so myself.
The pattern is very straight forward and does also include an invisible zipper and darts in the back bodice. I feel if you aren’t the greatest with installing a zipper on stretchy fabrics, you can opt out of the zipper as long as the dress will stretch enough for you to put on the dress. The pattern instructions do not specify but some seams need a zigzag stitch and not a straight stitch. You don’t want your seams popping when you put the dress on and if you sew in complete straight stitches, this will happen.
Mimi G has a YouTube tutorial per usual that you can also refer to.
SpoonflOwer Fabric suggestions
My top choice in every print is Spoonflower Satin! I mean why not satin? Satin is lightweight, smooth, sexy (slip dress season) and perfect for maxis, blouses, and as my friend Seweu likes to say booty clappers. Lol
Sport Lycra is my next favorite because we’re making all the swimsuits this season right? But we can also make all the activewear and dresses with this one too.
All the knits Spoonflower offers are a great choice, Modern Jersey being high on my list for color boldness.
Chiffon and Poly Crepe de Chine are also perfect for those flowy lightweight blouses, coverups, and dusters for summer.
The Lightweight Cotton Twill has won me over in the bottom weight fabric category. I have plans to make several boiler suits and jumpsuit with this fabric.
Cotton Poplin and Cotton Lawn are great for all those gathered, big, puffy sleeves we want this summer.
I love creating new designs so this is only the beginning. My next collection will be dropping soon!!
Please subscribe to my newsletter so you can stay up to date with new drops. I’m so excited to share this portion of my creativity with you all and I can’t wait to see what you create!! Thank you for stopping by and your continued support.
Happy Summer!!
Peri-ish
A break can do you good
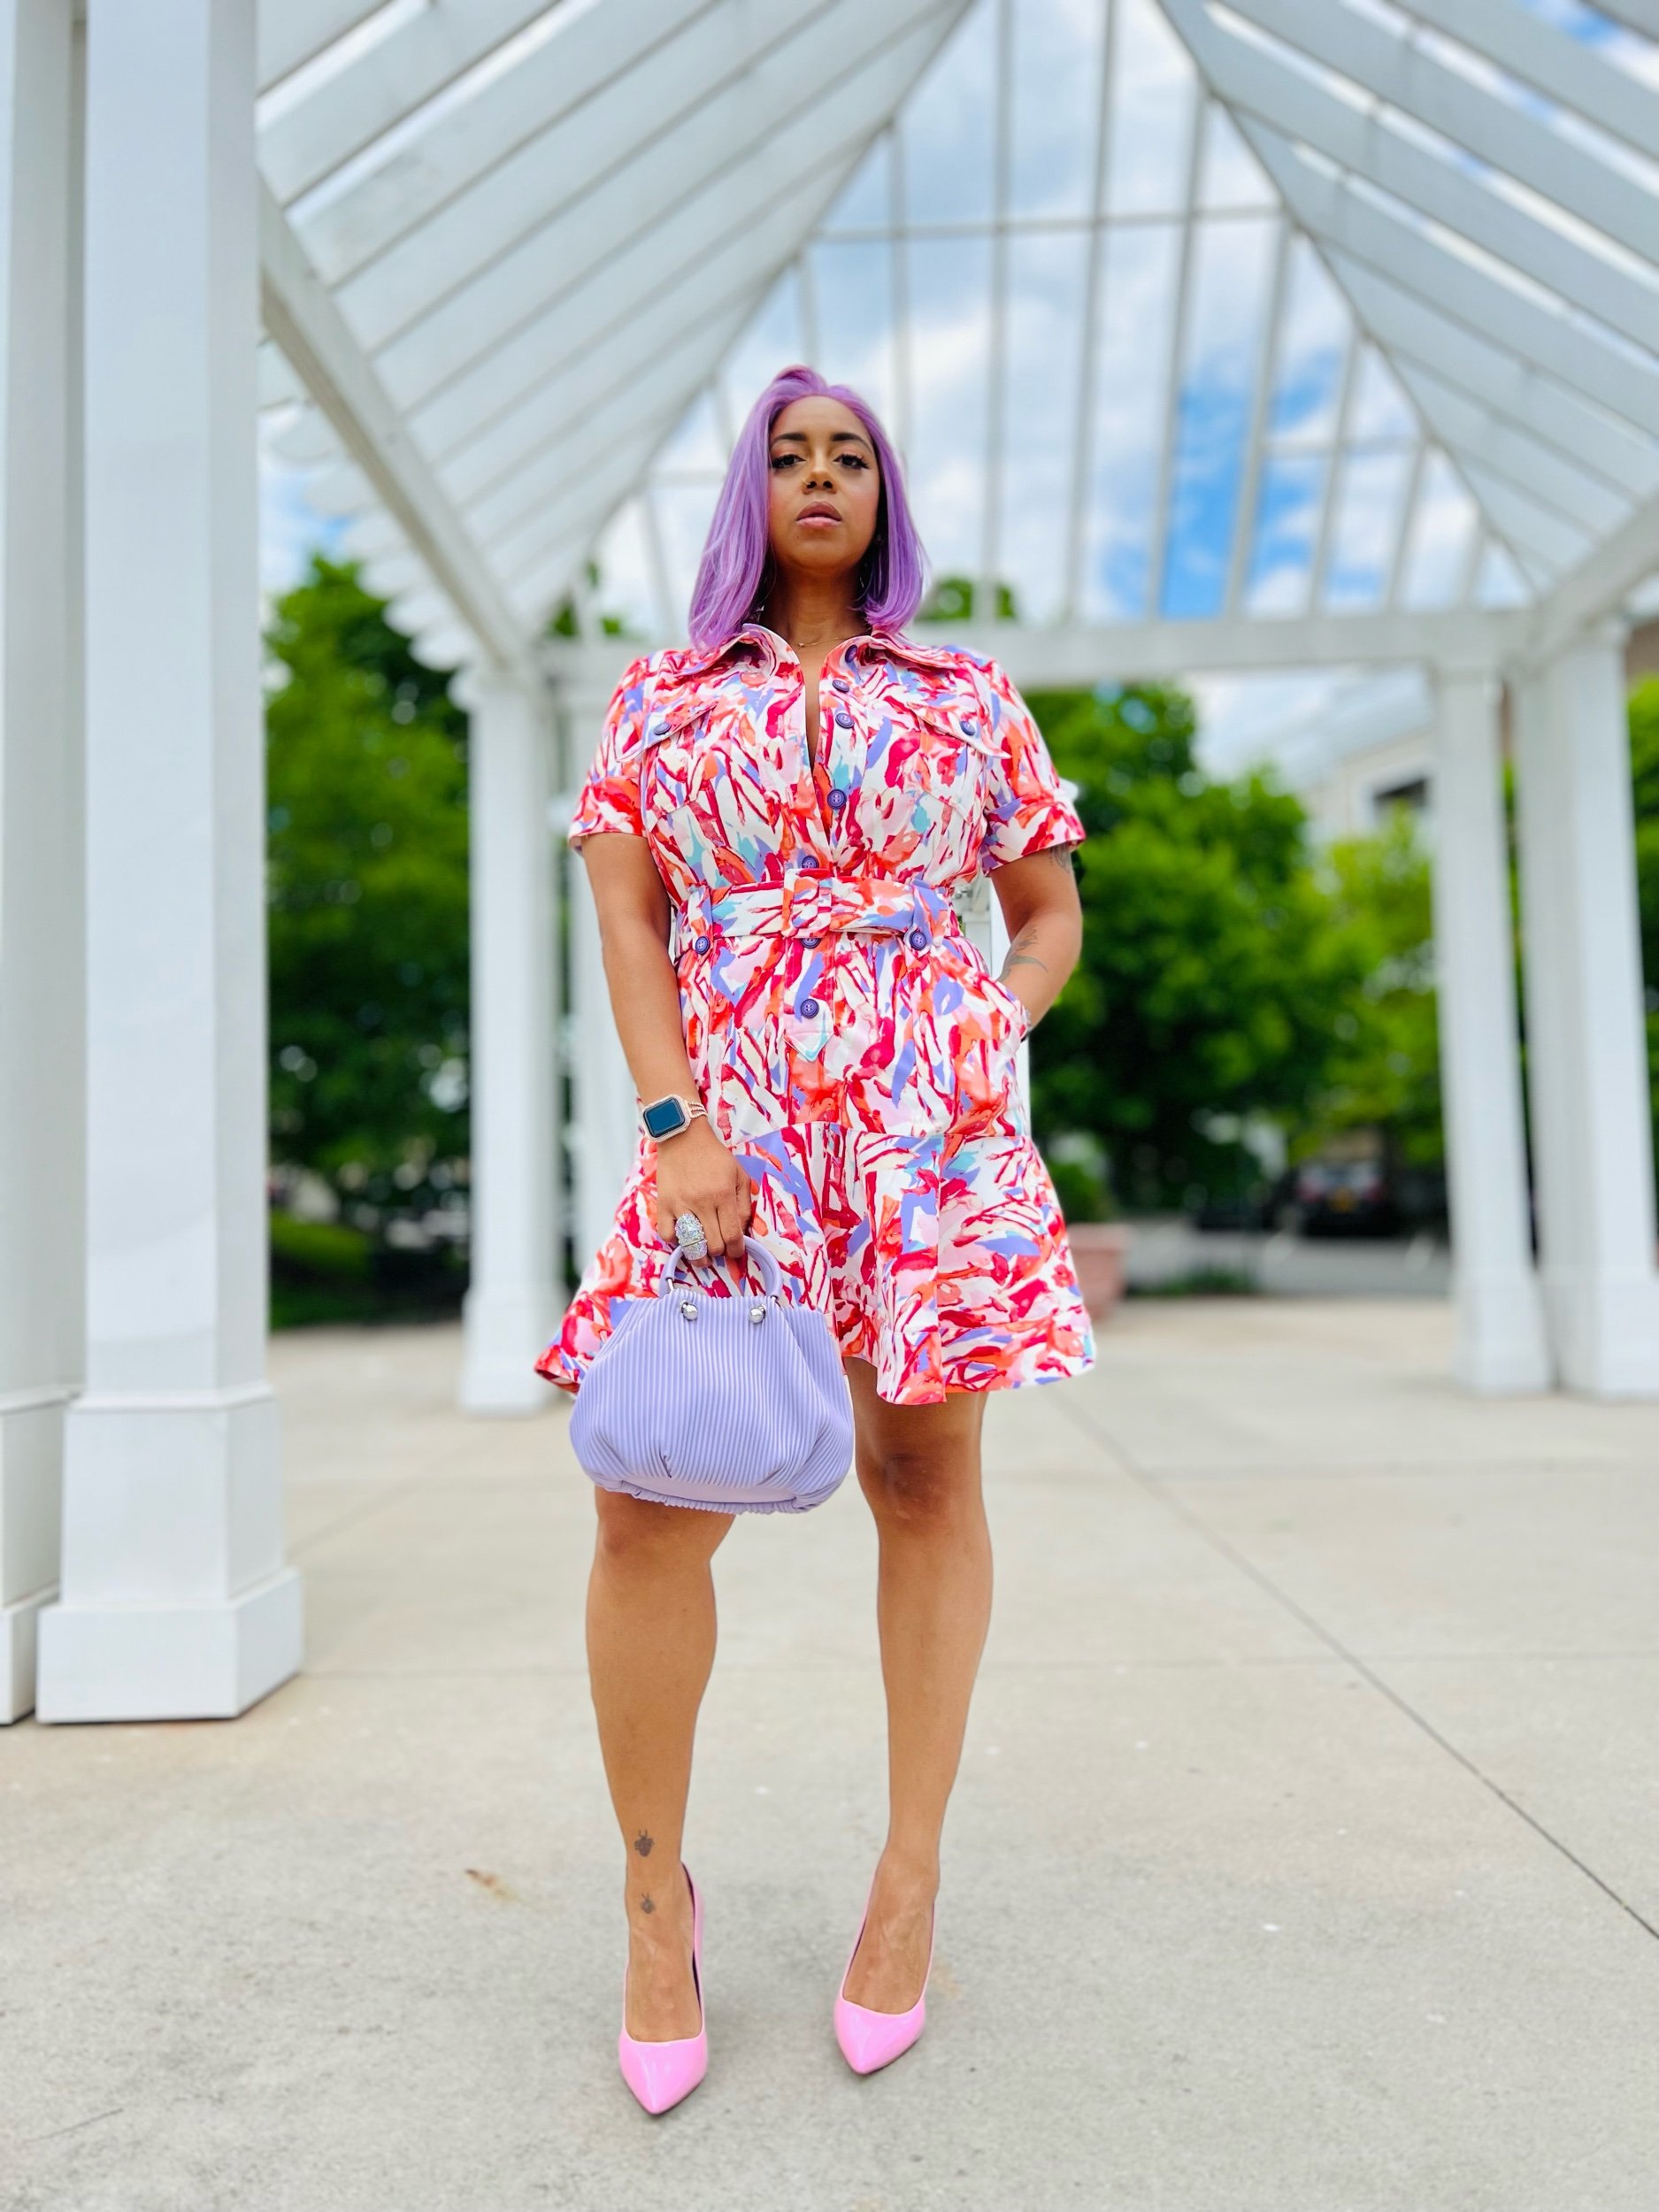
I have been back and forth to Georgia for family and to say goodbye for now to a friend and I just have not felt like sewing. I was also under the weather my first visit home so there’s that. Well, I needed a project that was going to challenge me enough to finish in a day or two and this Mimi G Simplicity pattern 9463 was IT!
I purchased this fabric from Melanated Fabrics and I initially wanted to make a spring suit jacket with but I wasn’t in the mood to sew a jacket. With Very Peri being Pantones color of the year this print is perfect for spring.
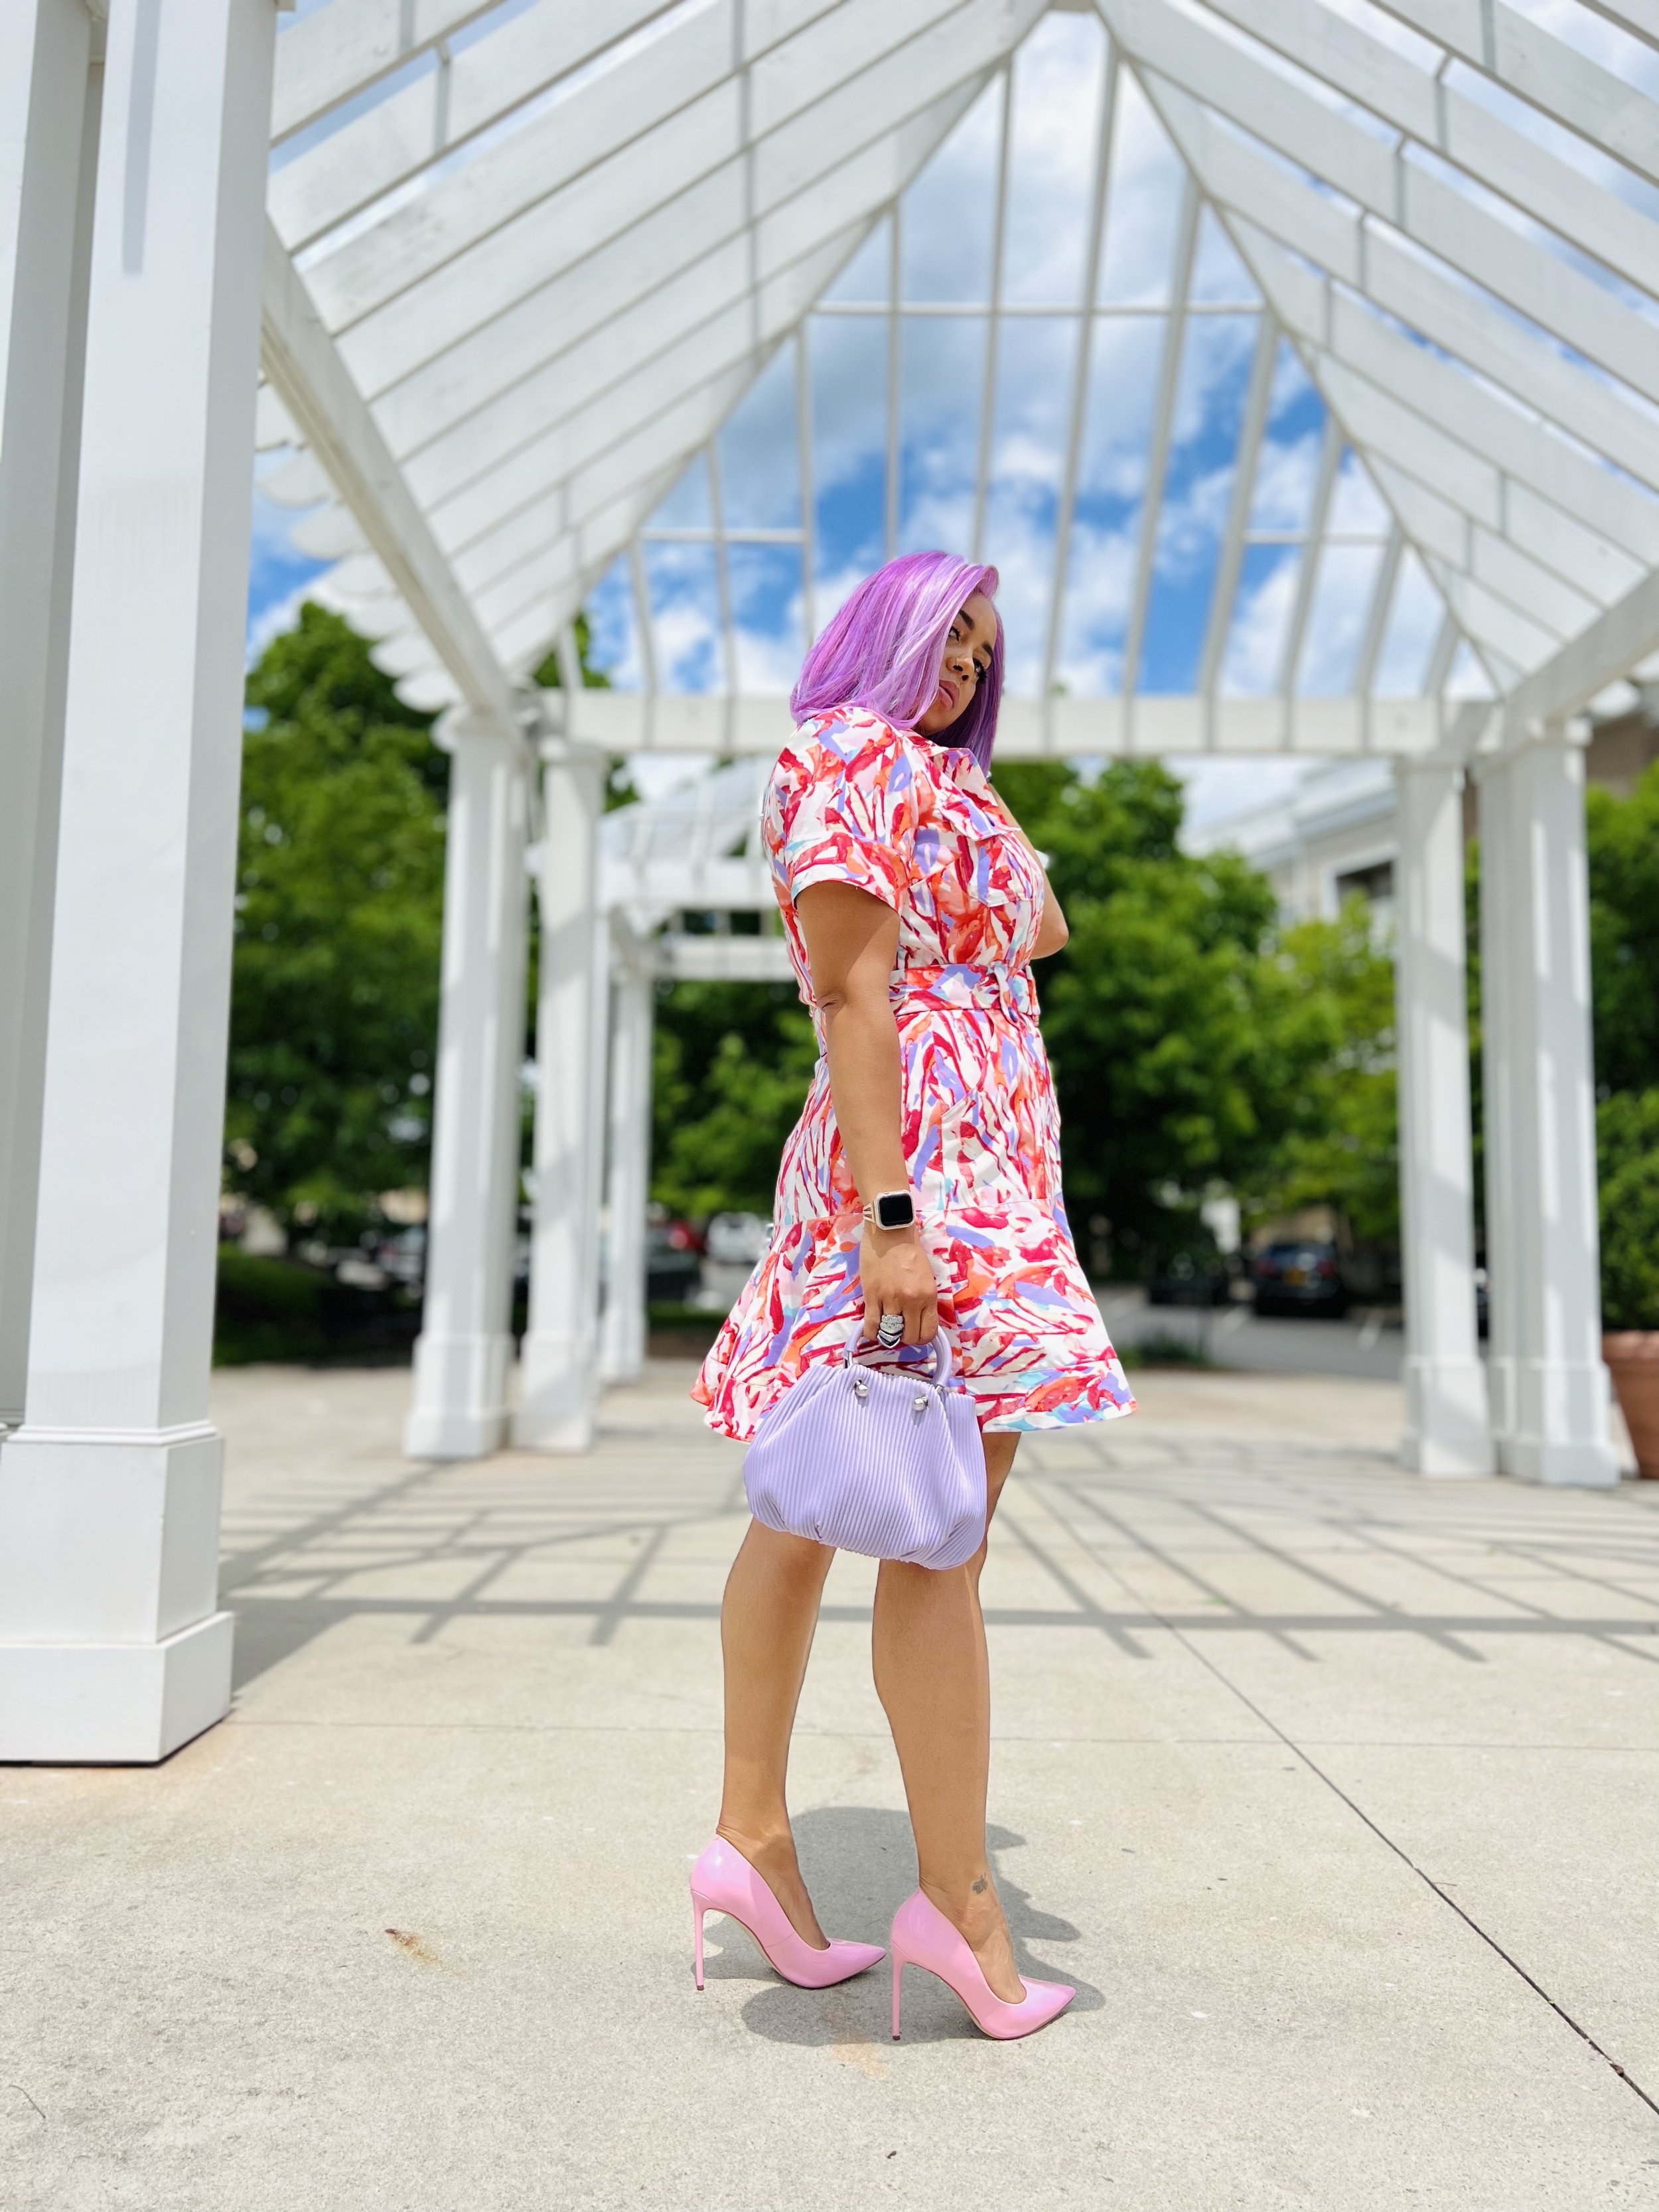
The pattern is very straight forward and I didn’t have any issues. I will say the sew-a-long by Norris Ford was very helpful. Check out the YouTube video here I even made the belt!! I did two rows of topstitching and I edgestitched the flounce and the sleeves bands. I opted out of the topstitching on the skirt flounce and on sleeves because I didn’t feel it would pop with this print. If I were using a solid color then I probably would add that option.
If you’ve been with me you know I am not shame of my breast size. I didn’t have to make any adjustments to the sizing but I did change the placement of the belt loops. Normally I will add about an inch to the bodice to hit my waist just right. I’ll be sure to do it on the next make. I did notice that if you’re blessed in the butt you might want to make adjustments to the skirt as well. I will be adding about an inch and a half to the length of the skirt (flounce version).
I had these purple buttons on hand and I thought they would be a nice pop to the Very Peri in the color of the fabric.
My recommendation for fabrics are wovens with slight stretch. This fabric is a Moda Crepe and honestly my favorite for Spring and Summer (I want it in every color). The pattern recommends denim, linen, rayon (I don’t recommend), sateen, shirtings, and twill. I would love to make more of this pattern in linen or denim…soon!
Do you have this pattern on your list of next makes? Or have you sewn this pattern? Share with me and let me know what you think about this make in the comments. As always thanks for stopping by!
Peace & blessings
Pink Cord
Pink Corduroy takes Flight
Okay, for real, for real. This isn’t ya girls first jumpsuit and it won’t be the last. It is however, my first flight-suit, so let’s get into it!
If you’ve been following my IG then you know I am no stranger to corduroy. Over the past two years I have created 5 makes with corduroy you can check out one I actually blogged about here.
GET INTO IT
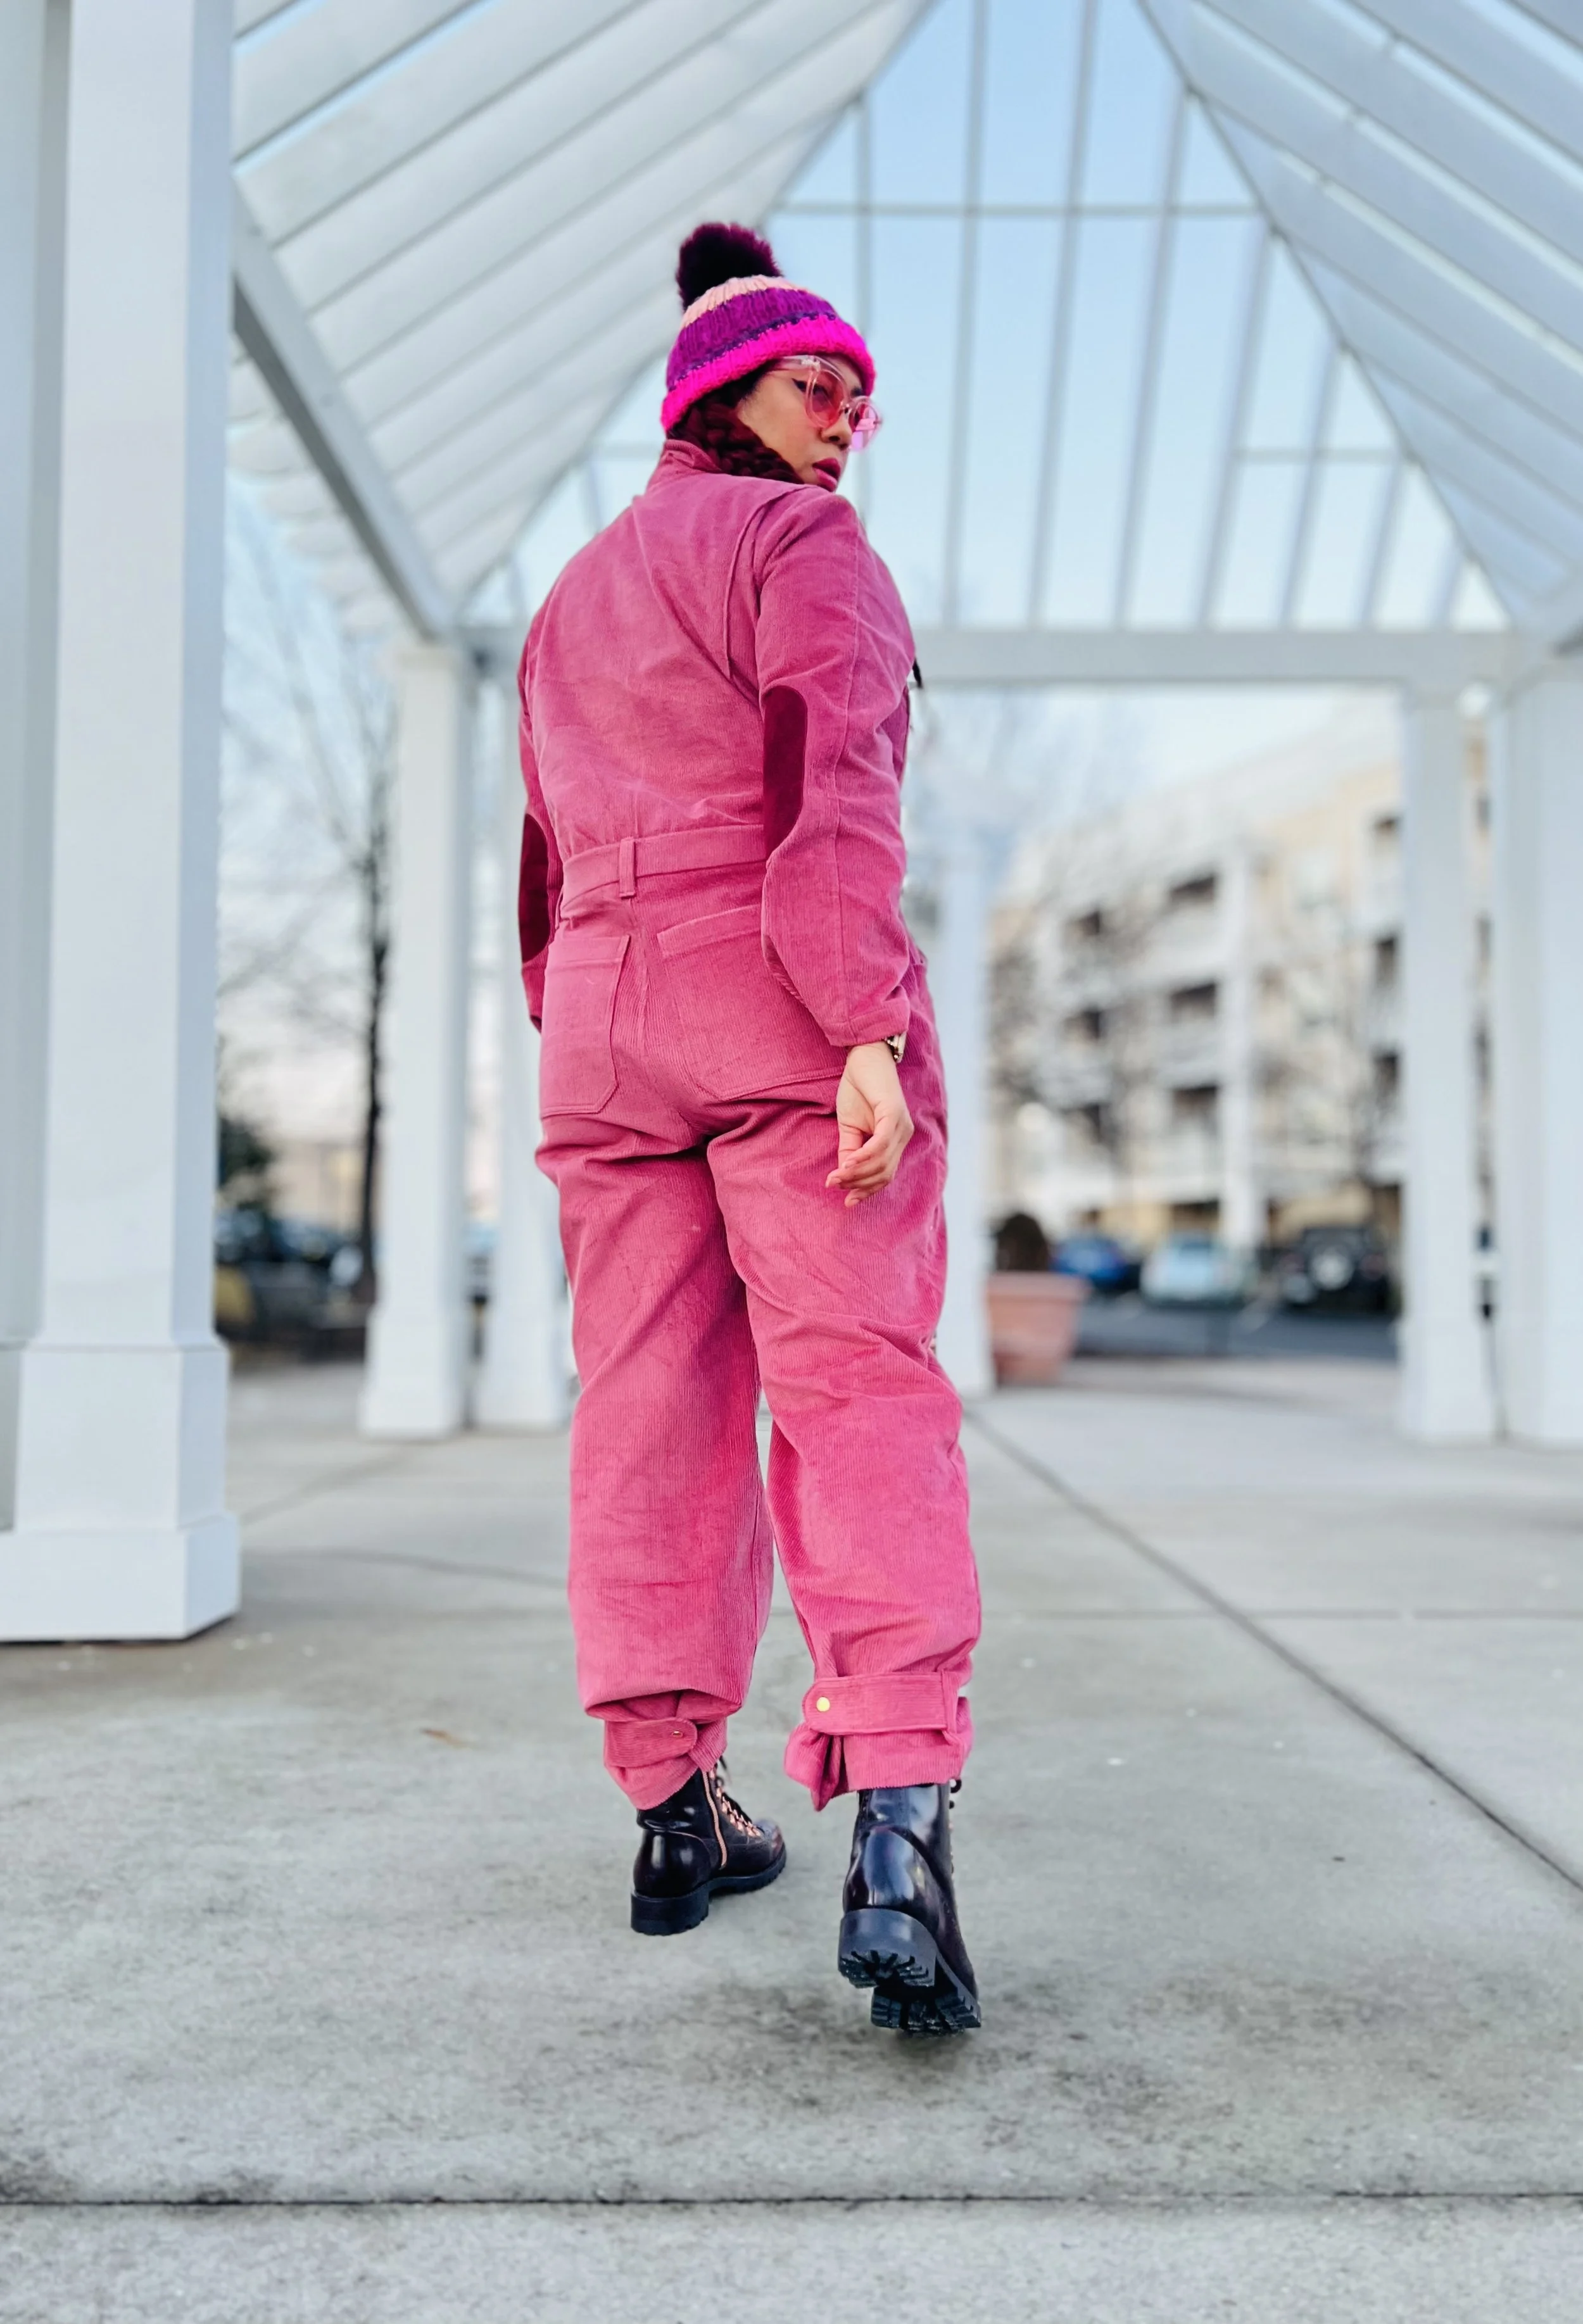
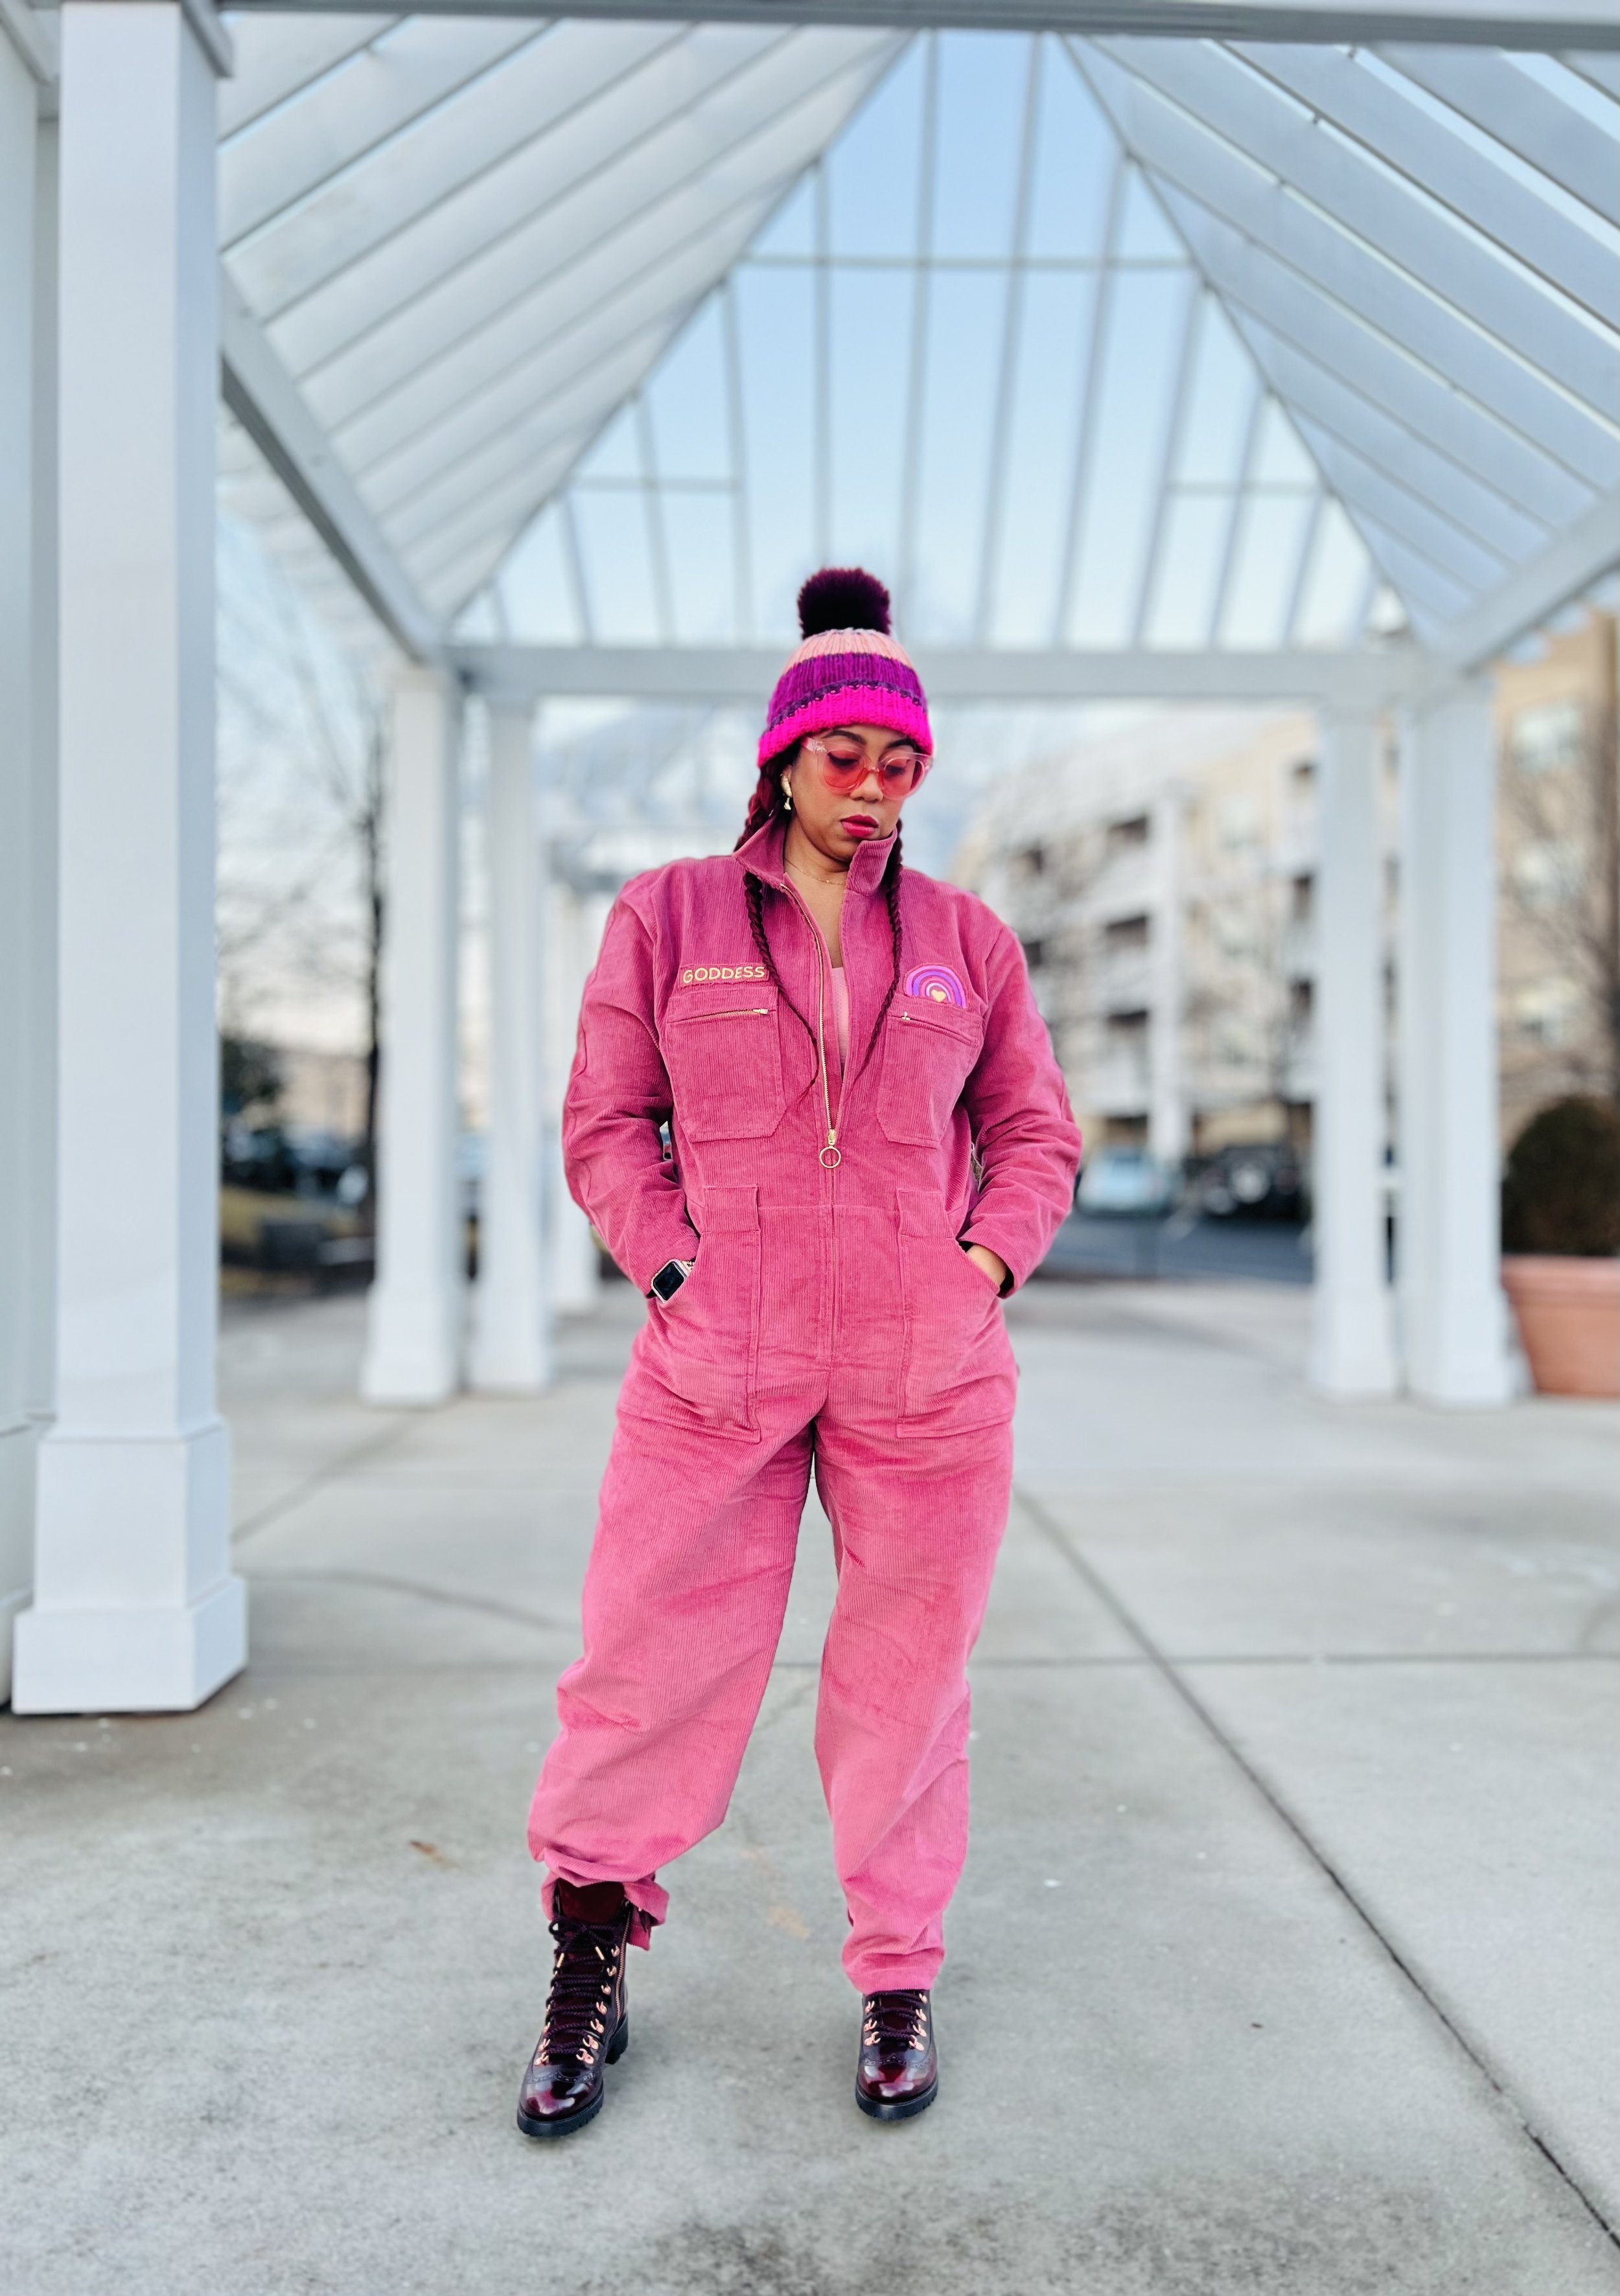
I decided to use the Blanca Flight Suit by Closet Core Patterns. I have had this pattern for at least a year and it has been a year too long. I’ve made other jumpsuits but this flight suit is by far my favorite fit! While I choose a baggy fit for sizing this pattern, it would also be perfect for a more fitted jumpsuit.
FABRIC AND CARE
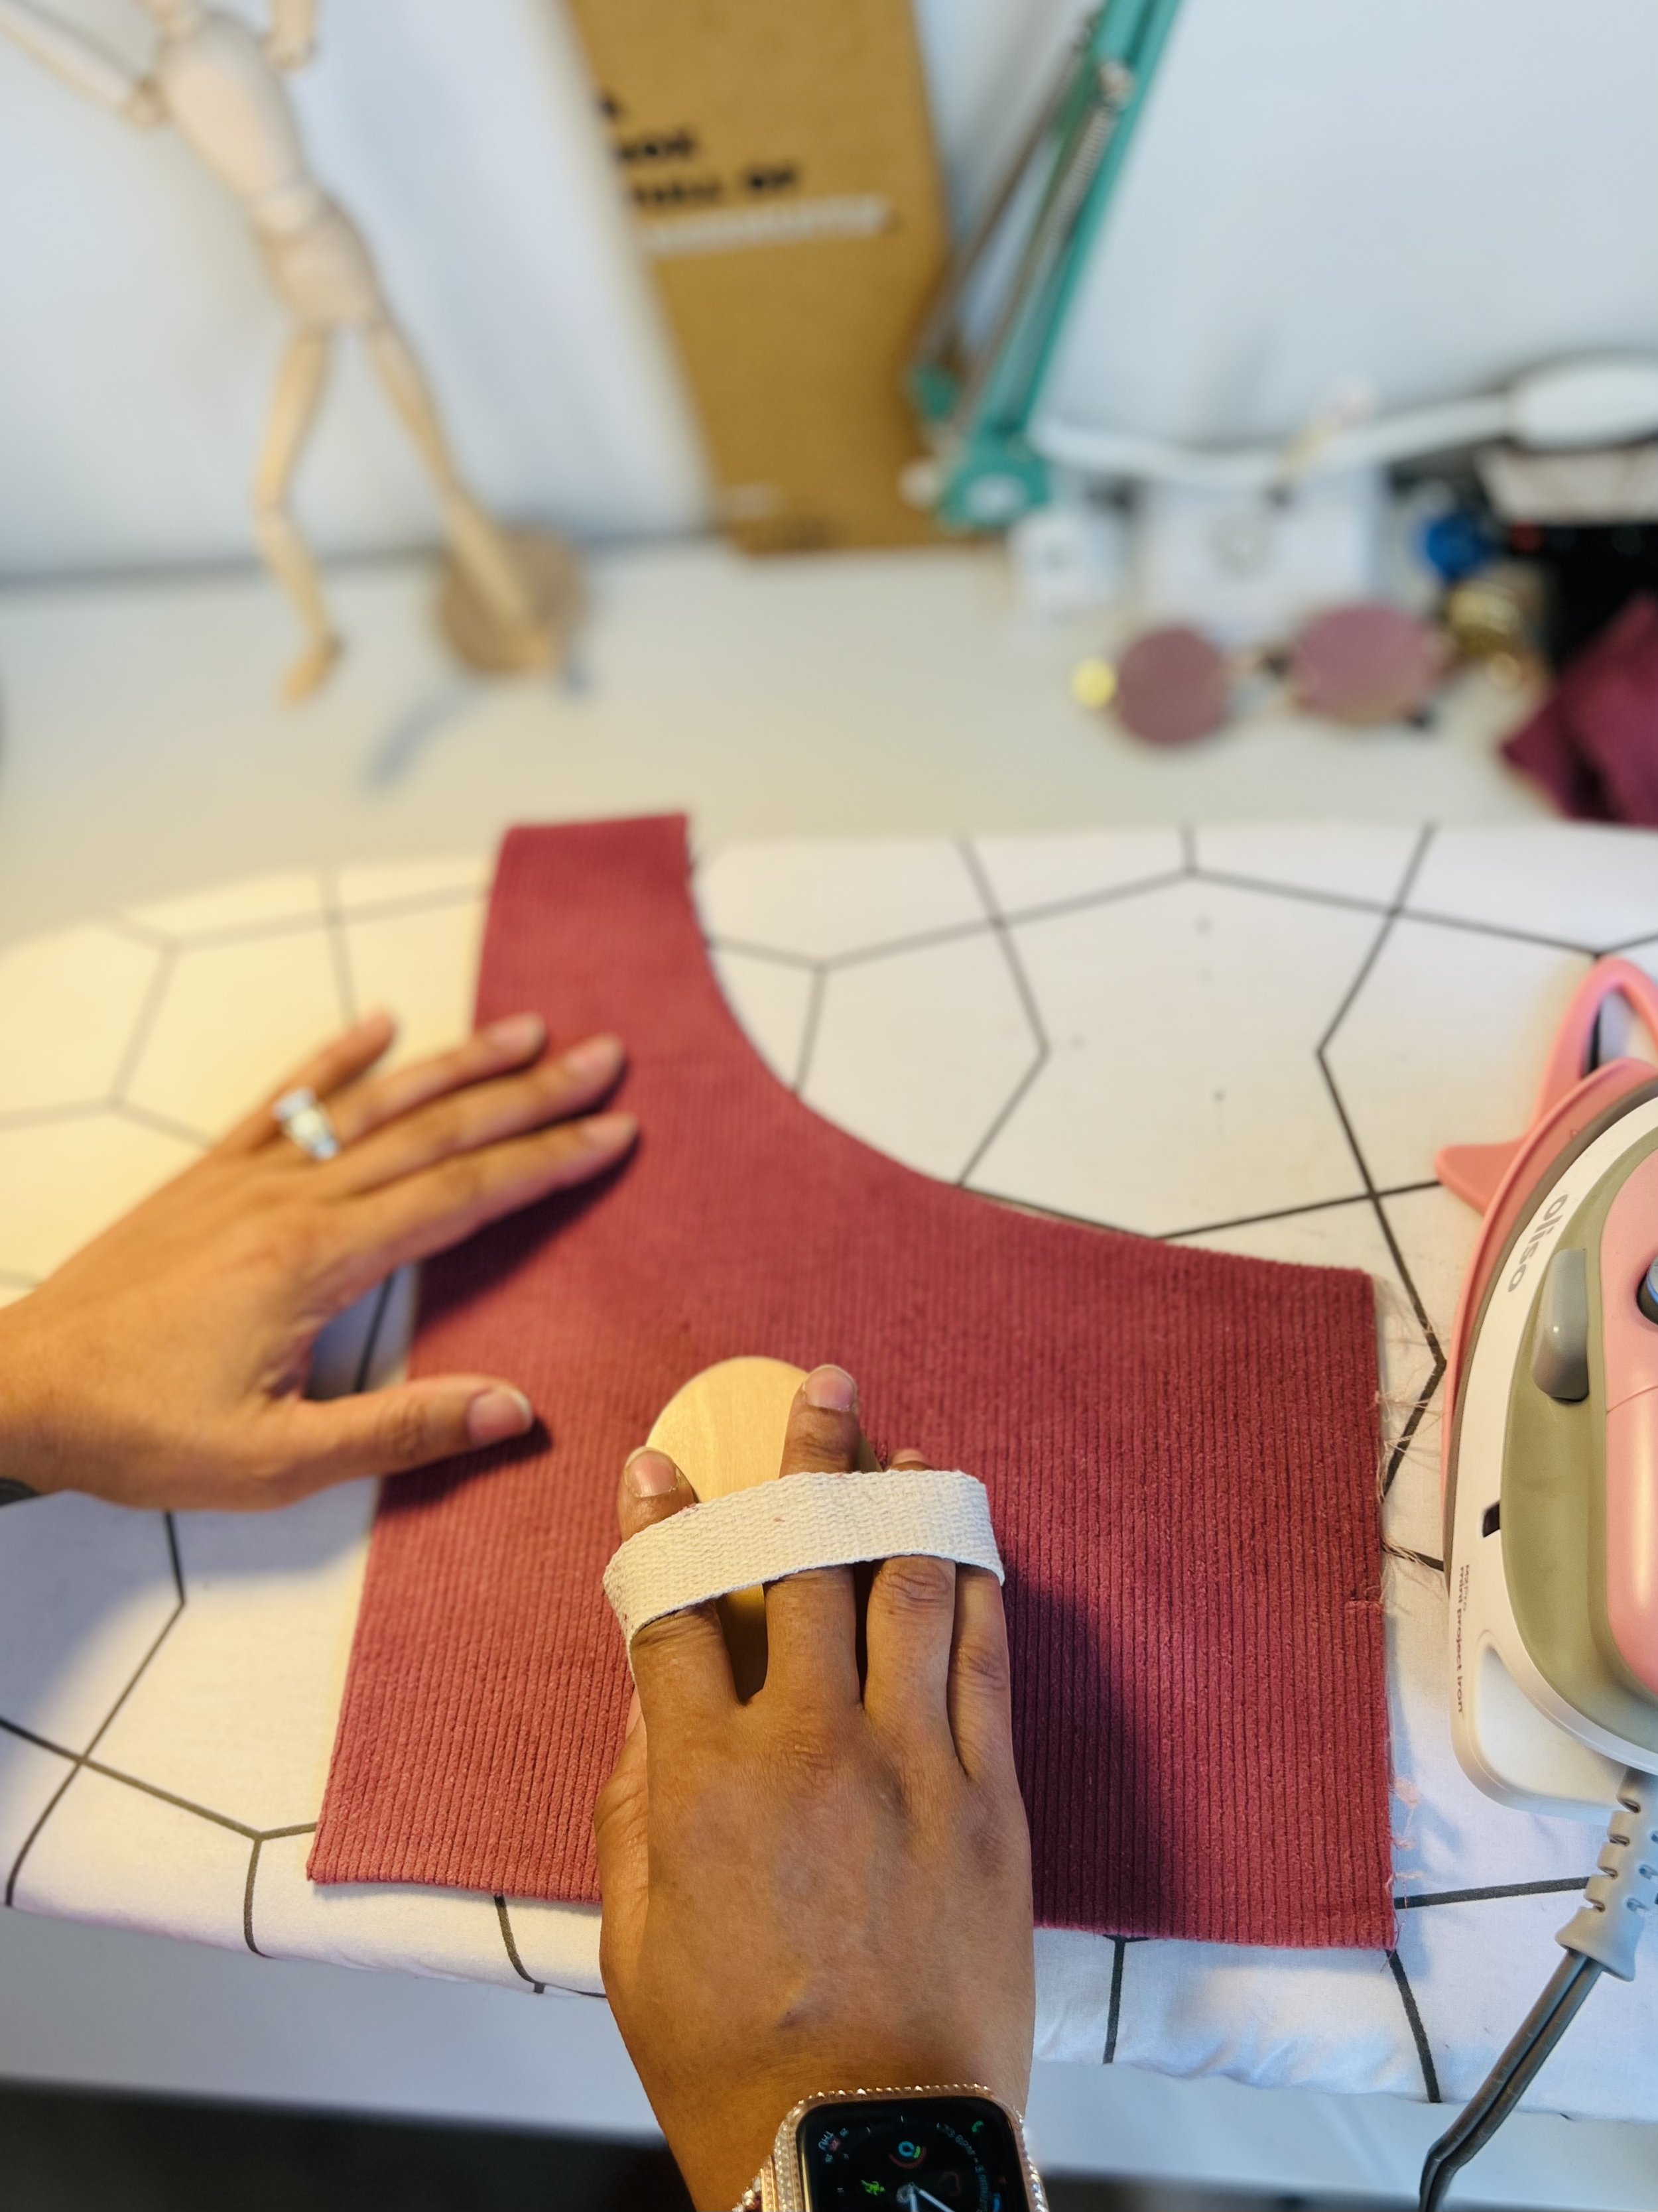
I found this pink corduroy at Hobby Lobby. It has a slight stretch to it and man can it hold some lint, lol. I’m sure there are proper corduroy pile brushes out there but I settled for a skin dry brushing brush I had on hand. If you’re not already aware, when sewing with and caring for corduroy, you shouldn’t press directly on the pile (you can smash it and that doesn’t look good and you can’t get it back). I press on the wrong side only and refrain from using a hot heat setting.
Pattern options
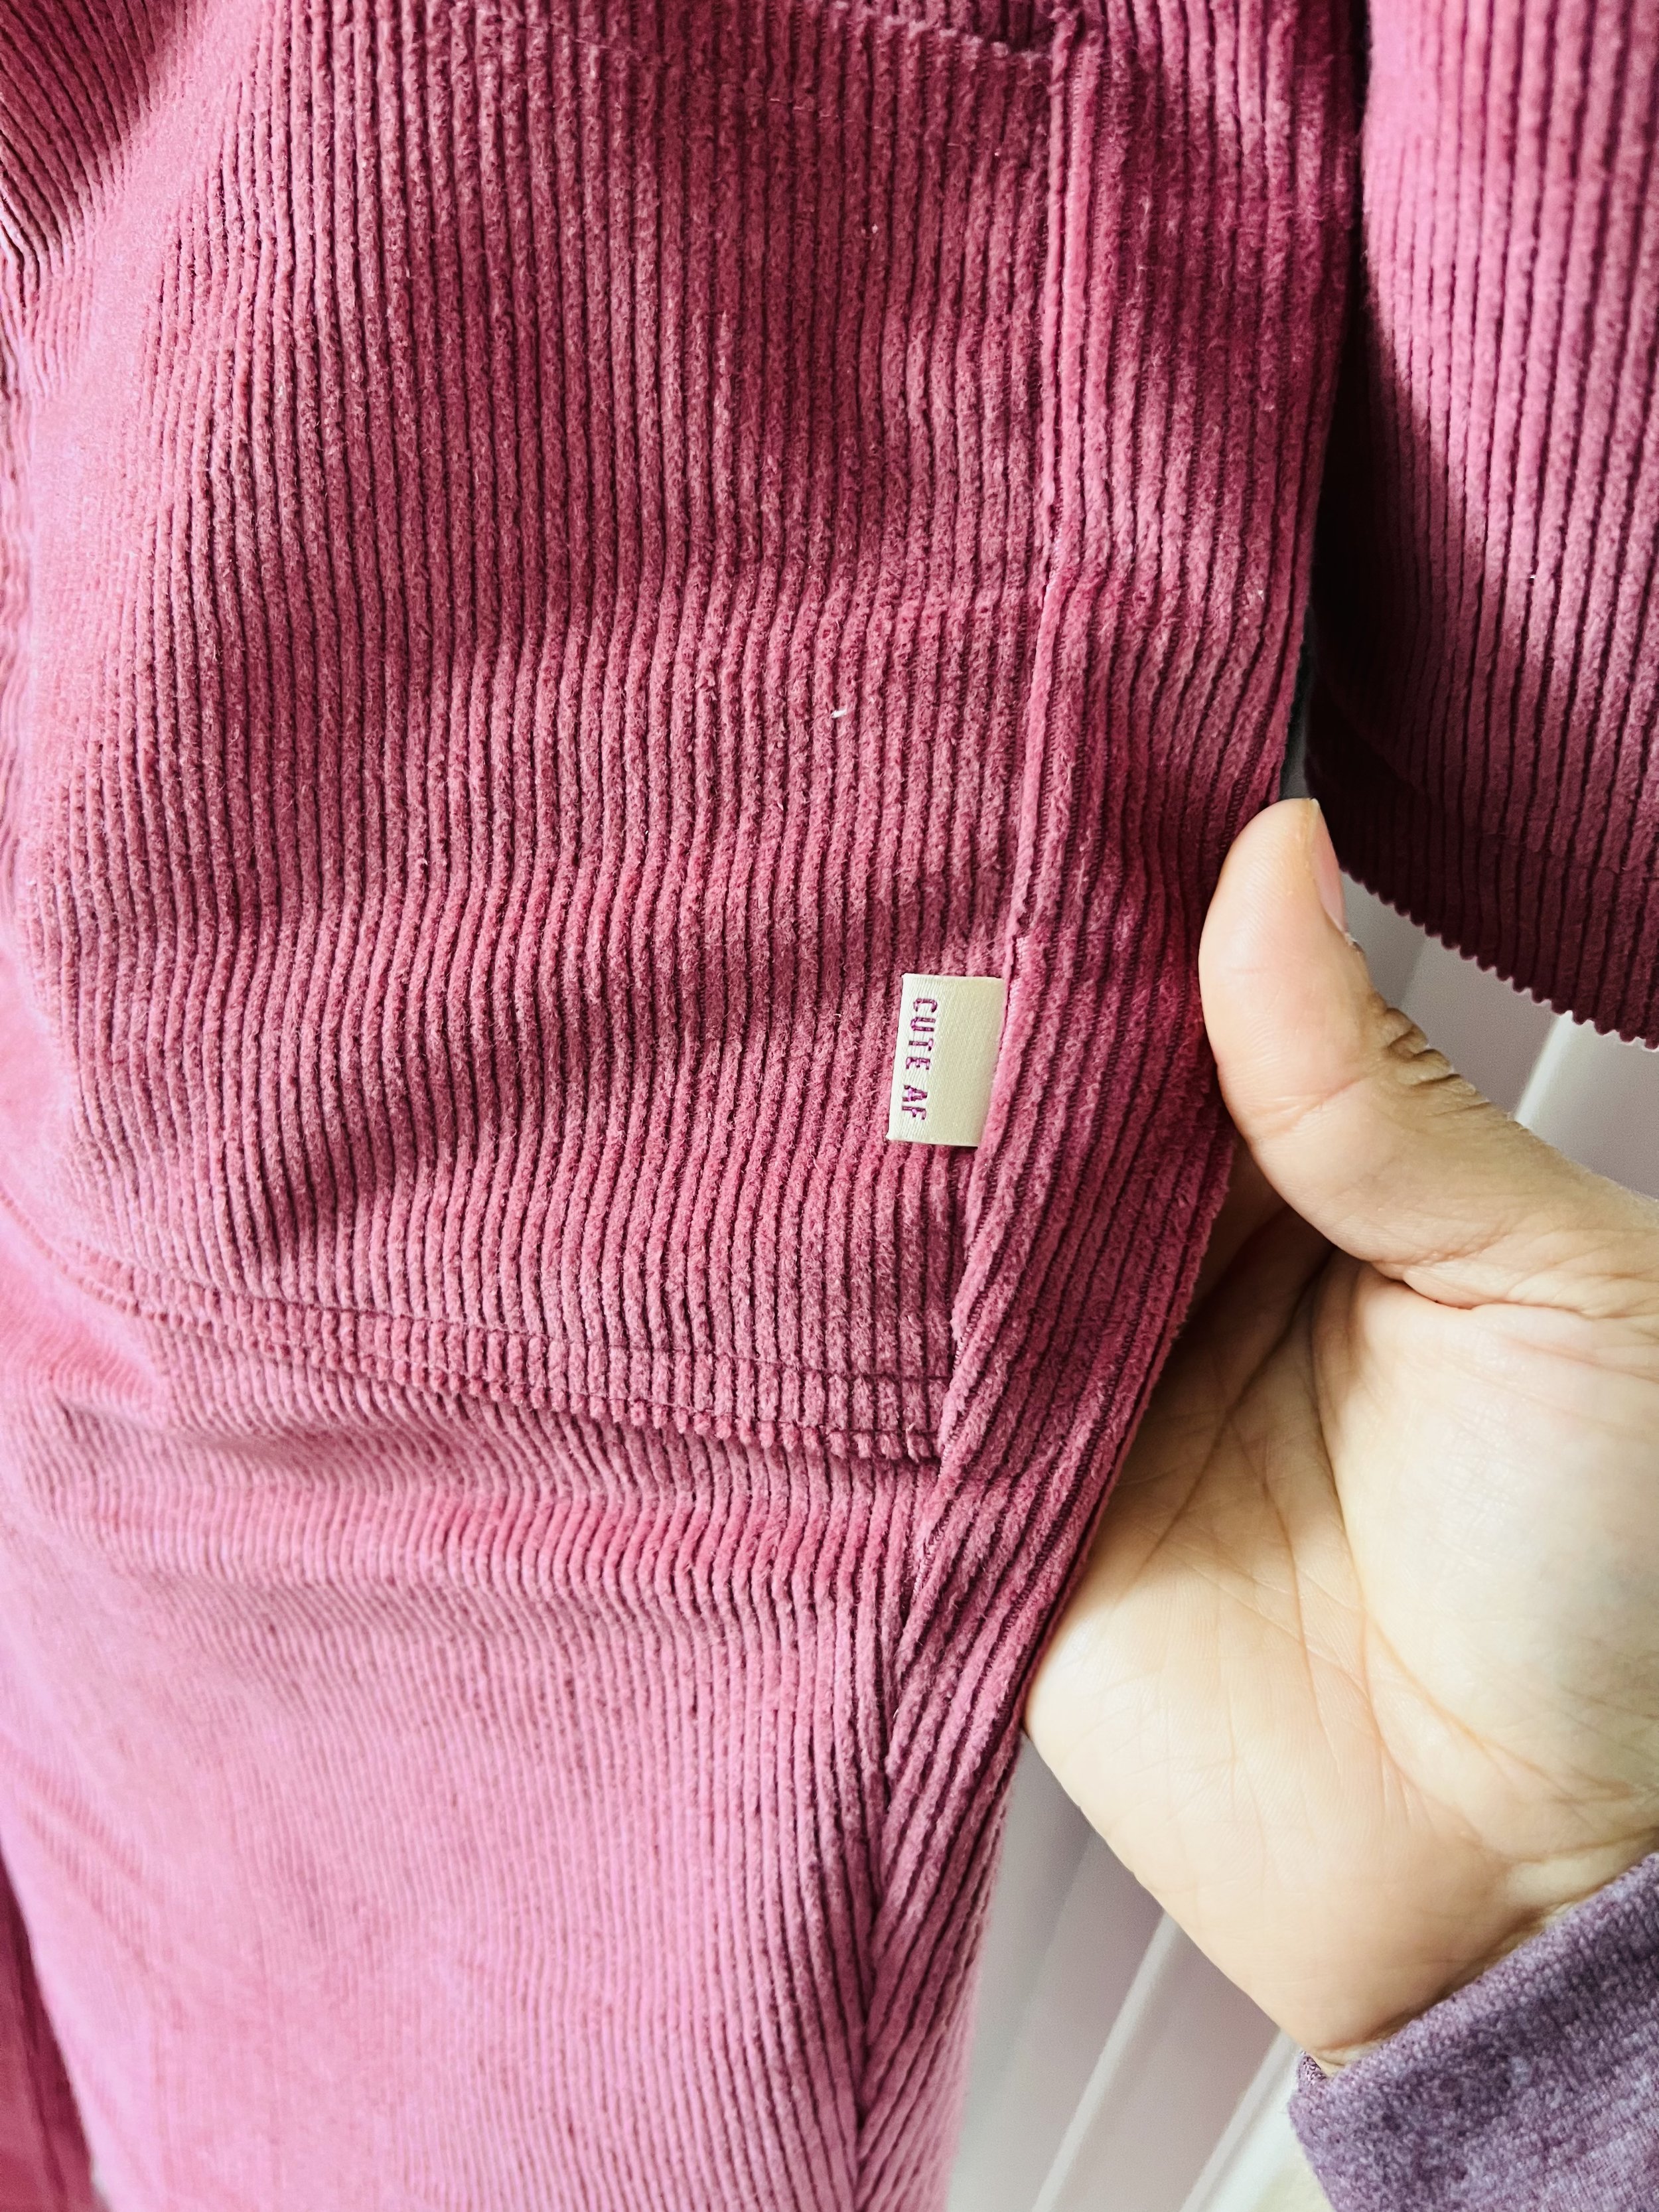
The Blanca has a few options you can choose from like zipper chest pockets, snaps on the sleeves, and tapered legs. I decided to add all three options. If you are on the fence and have never done these types of add-ons don’t fear, the pattern has instructions for them as well. There is a zipper facing on one side but I feel a front facing on both sides and zipper facing is a nice touch. You can opt out of front facing on both sides and simply add binding on the edge of the zipper for nice clean insides.
Customizing Your Flightsuit
Patches are a given when I think of flightsuits. When I thought about the amount of patches and flare I wanted on my corduroy jumpsuit I decided less is more. Trust me, I could’ve went overboard here. There’s no right or wrong way to the amount of patches you add to your flightsuit but for me, I wanted the flare to be subtle.
I purchased the rainbow embroidery design file from Etsy and I played with the sizing on my BERNINA. I wanted to stick with the patch look so I used scrap pieces of the corduroy to create both the rainbow and the goddess patches. For the goddess patch, I simply used one of the fonts on my 880 and sized to fit above the chest pockets. The patches have a slight fray which is the look I was going for.
If you are interested in seeing more behind the seams with my embroidery projects let me know in the comment section.
I used the hardware from an old belt and spray painted gold. You can check that out on my TikTok below!
Overall
Do I recommend this pattern? Absolutely! Difficulty? Advanced. Wearability? Until the end of time, lol!
I also knitted for the first time and made this hat but I will save that for another blog. Stay tuned and let me know what you think about my Pink Corduroy Flightsuit in the comments!
until next time,
Peace & Blessings
HEXY SET
What’s better than one? Two!
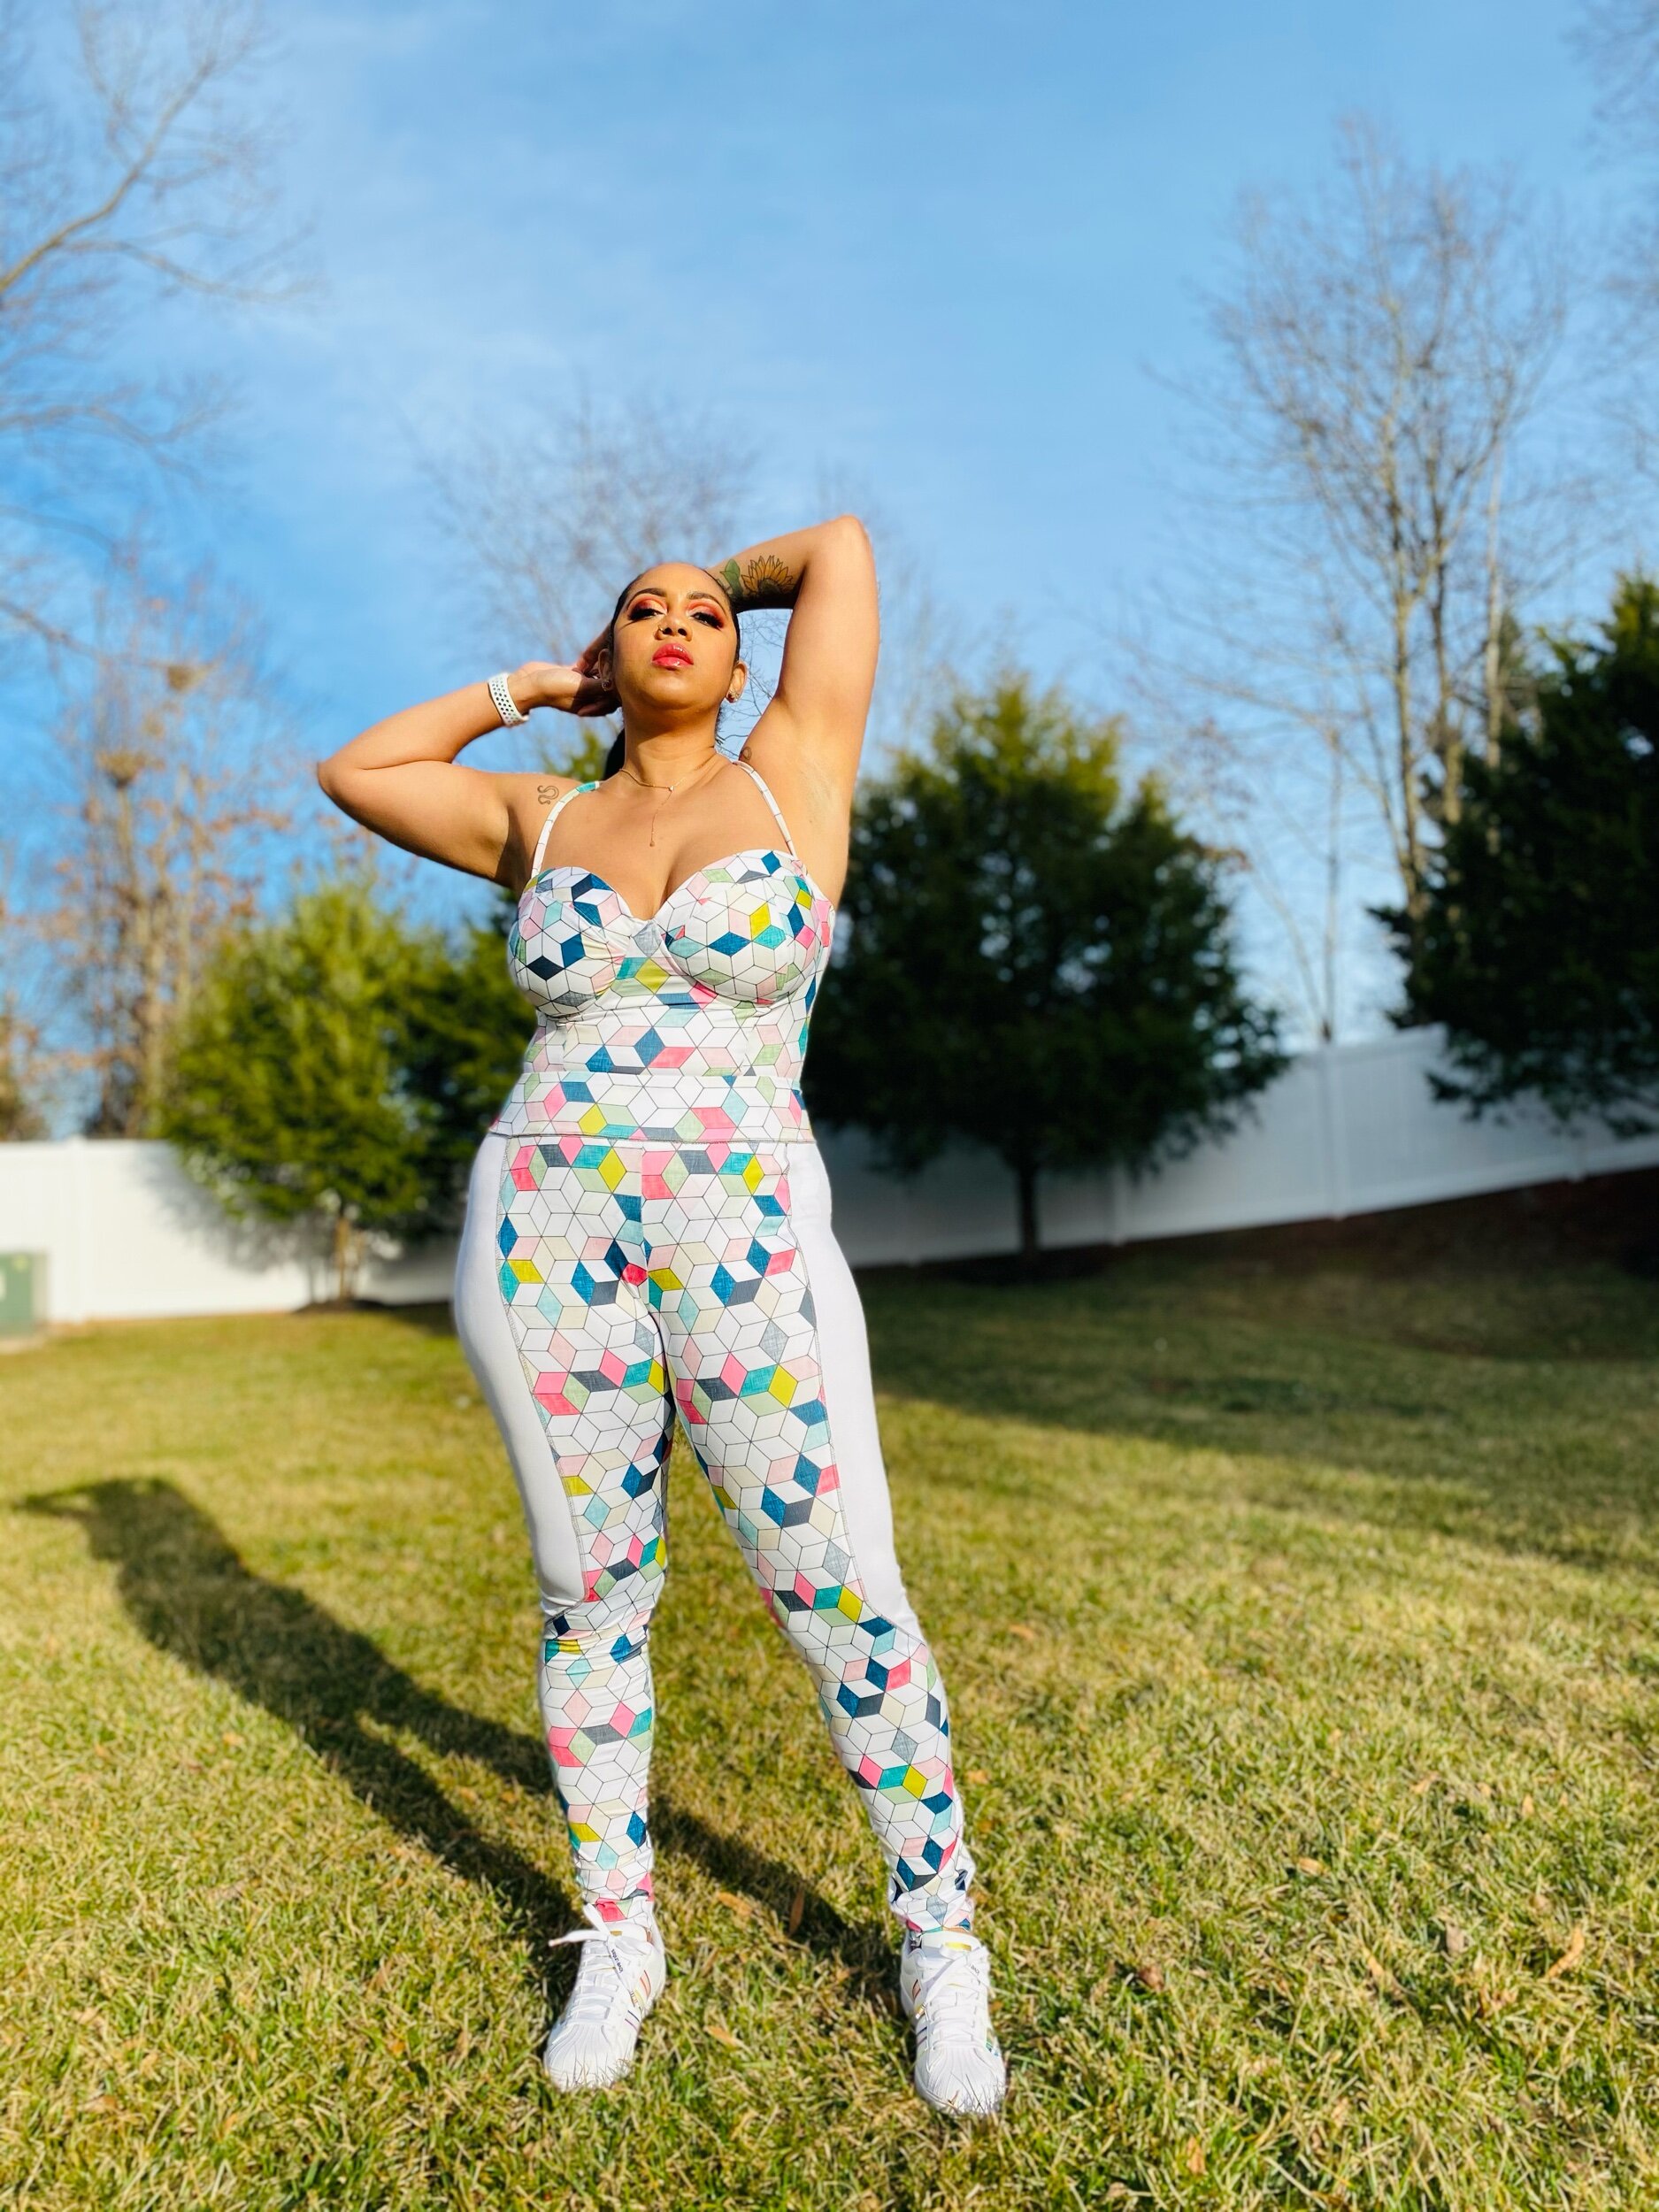
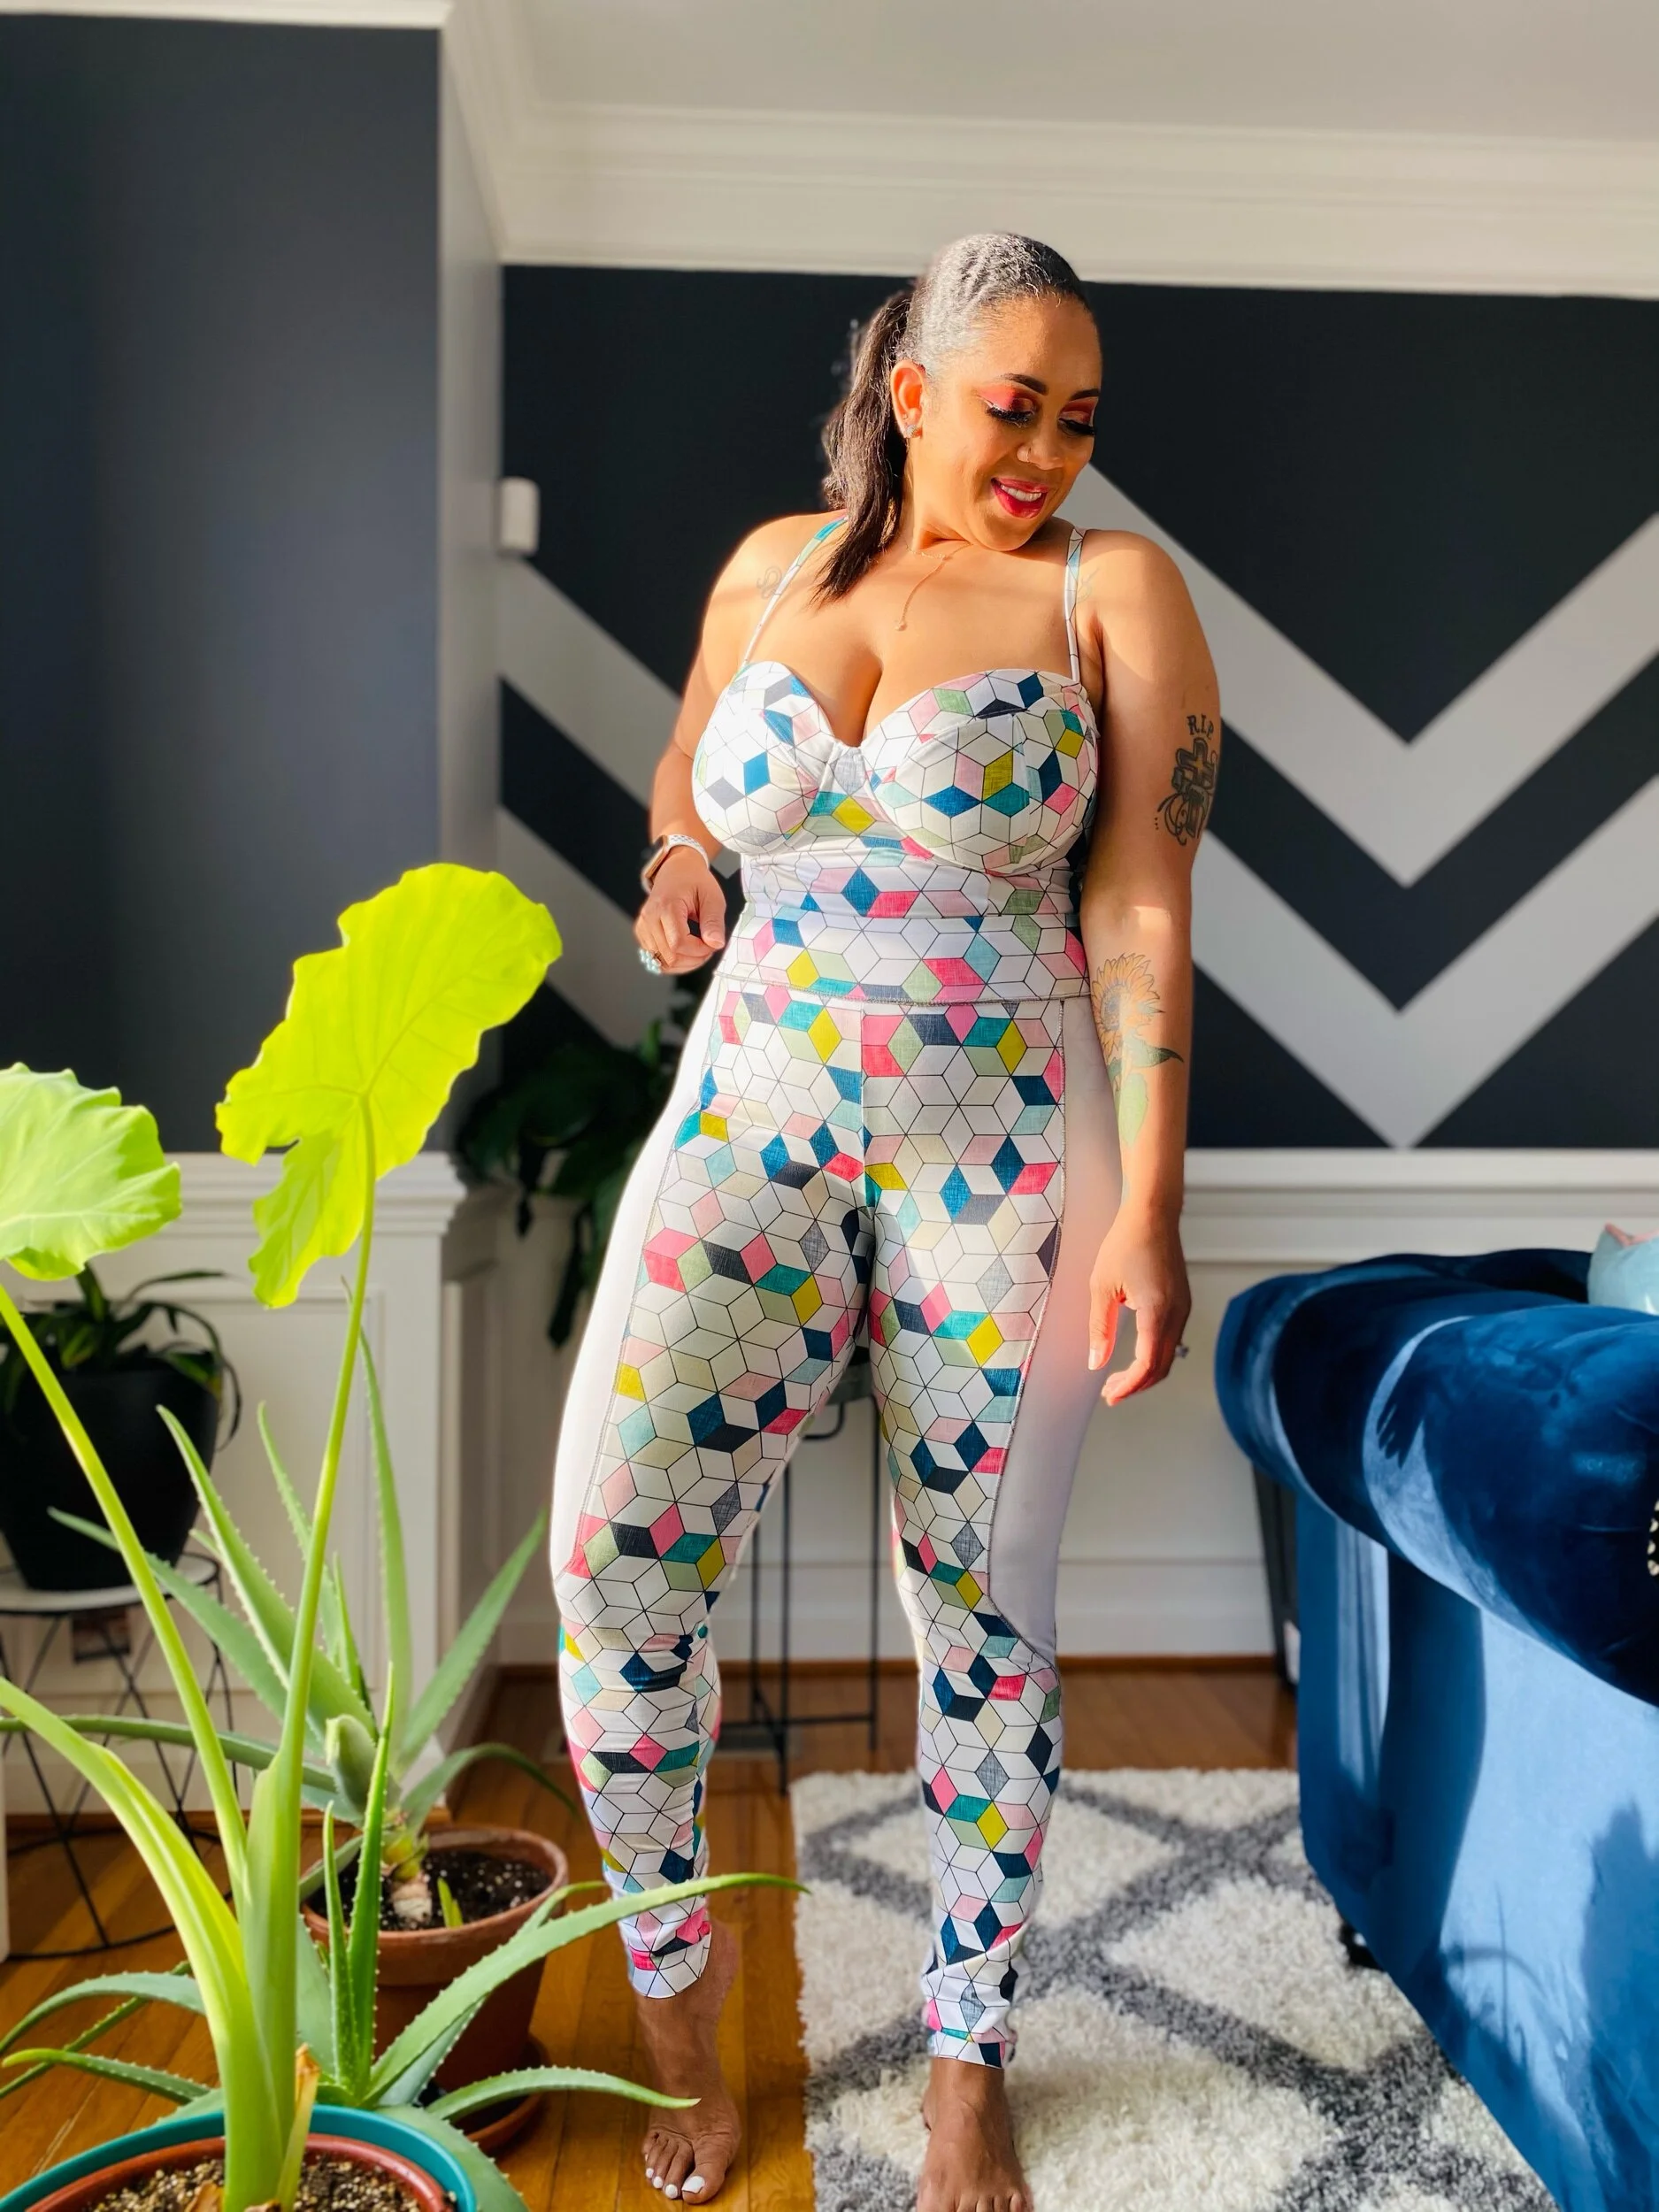
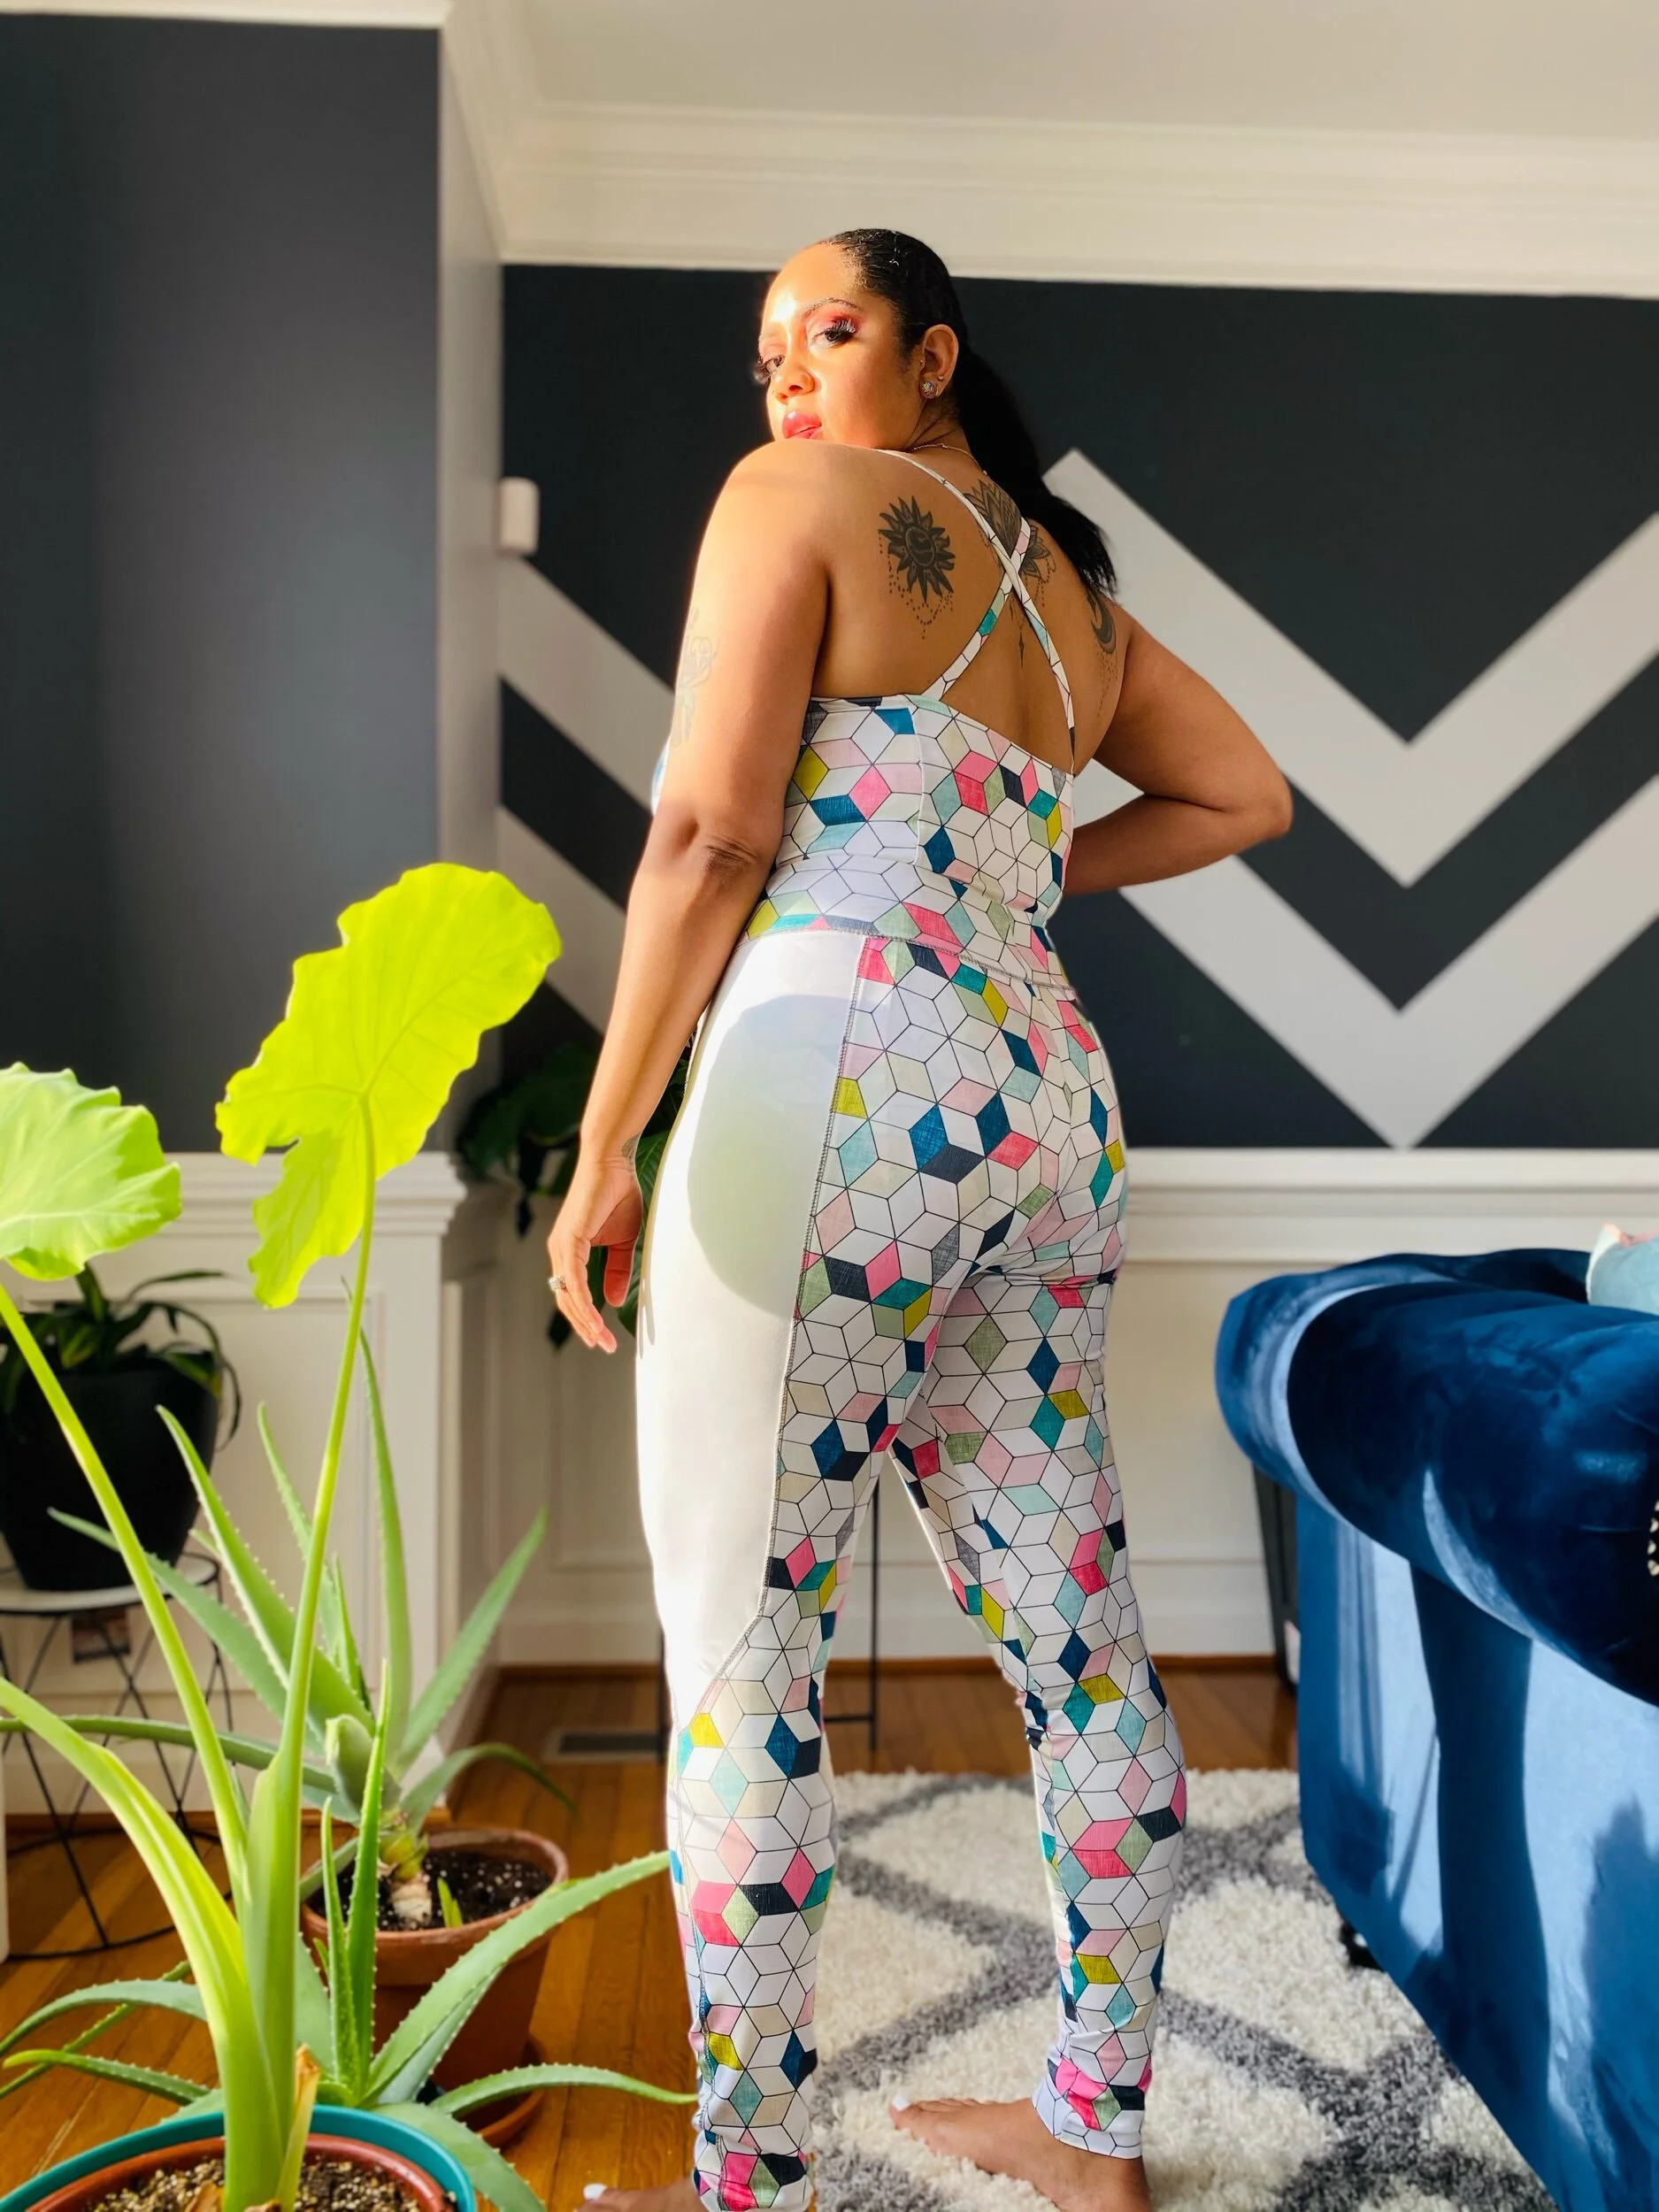
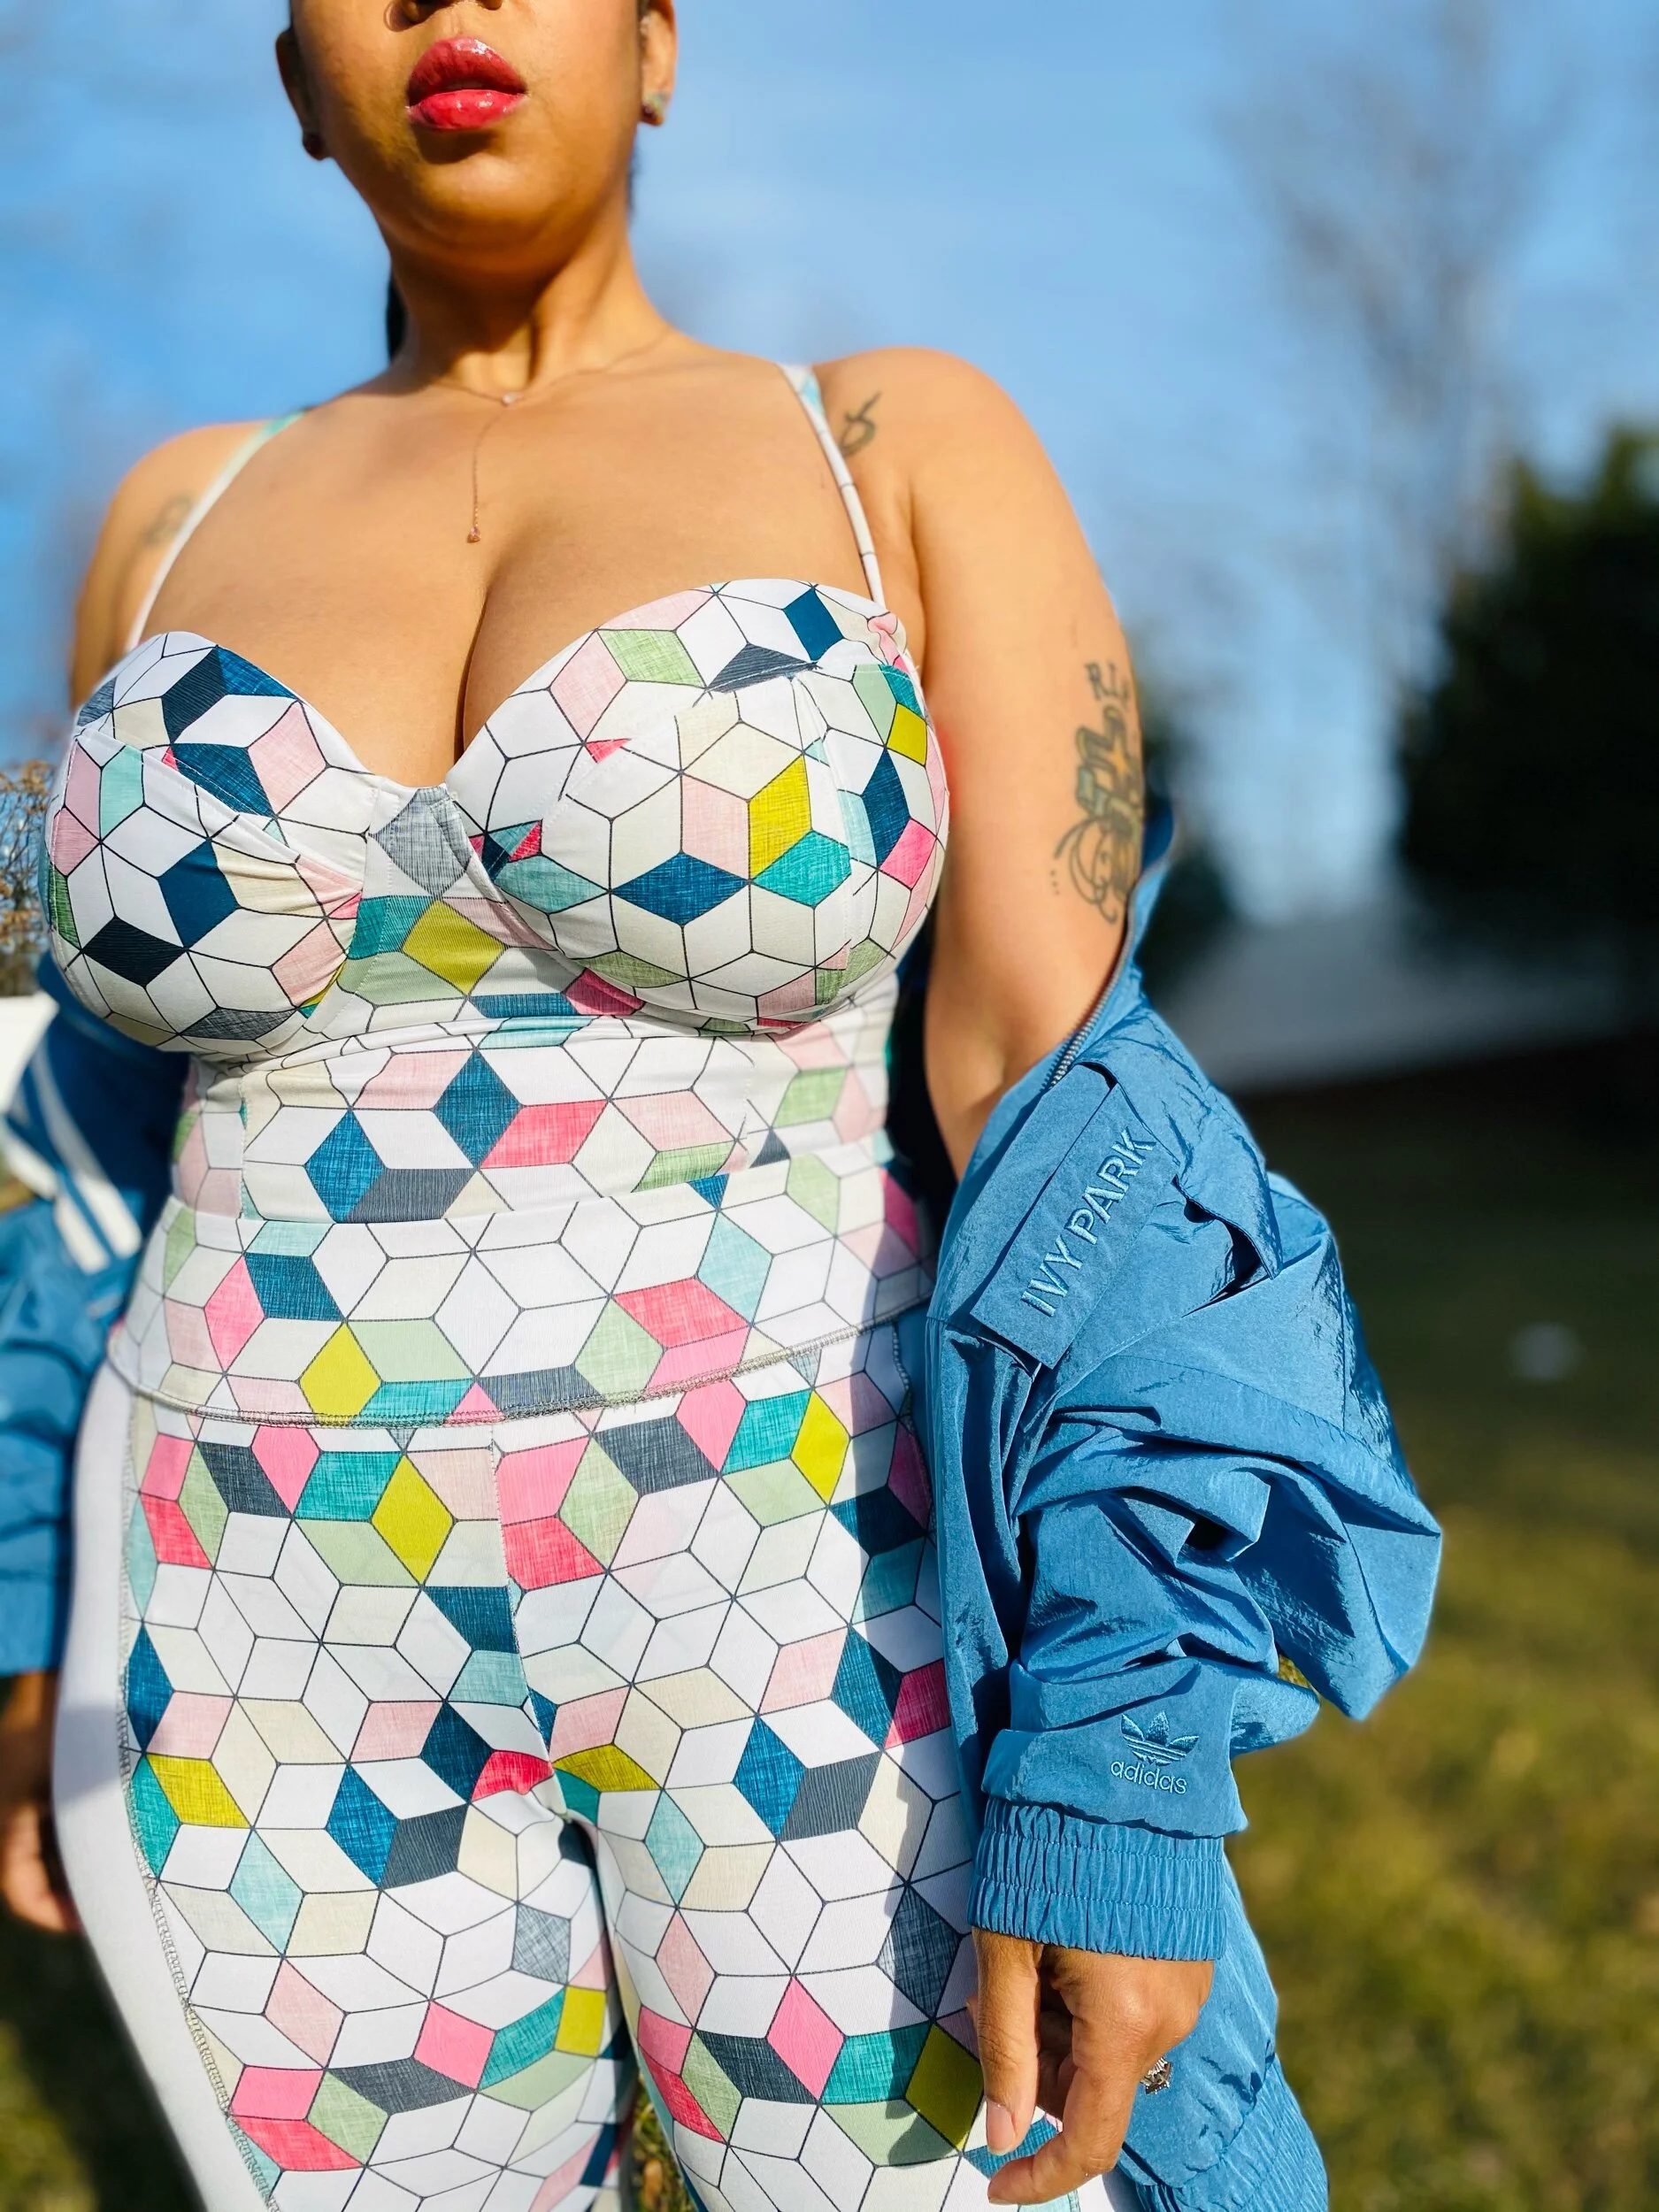
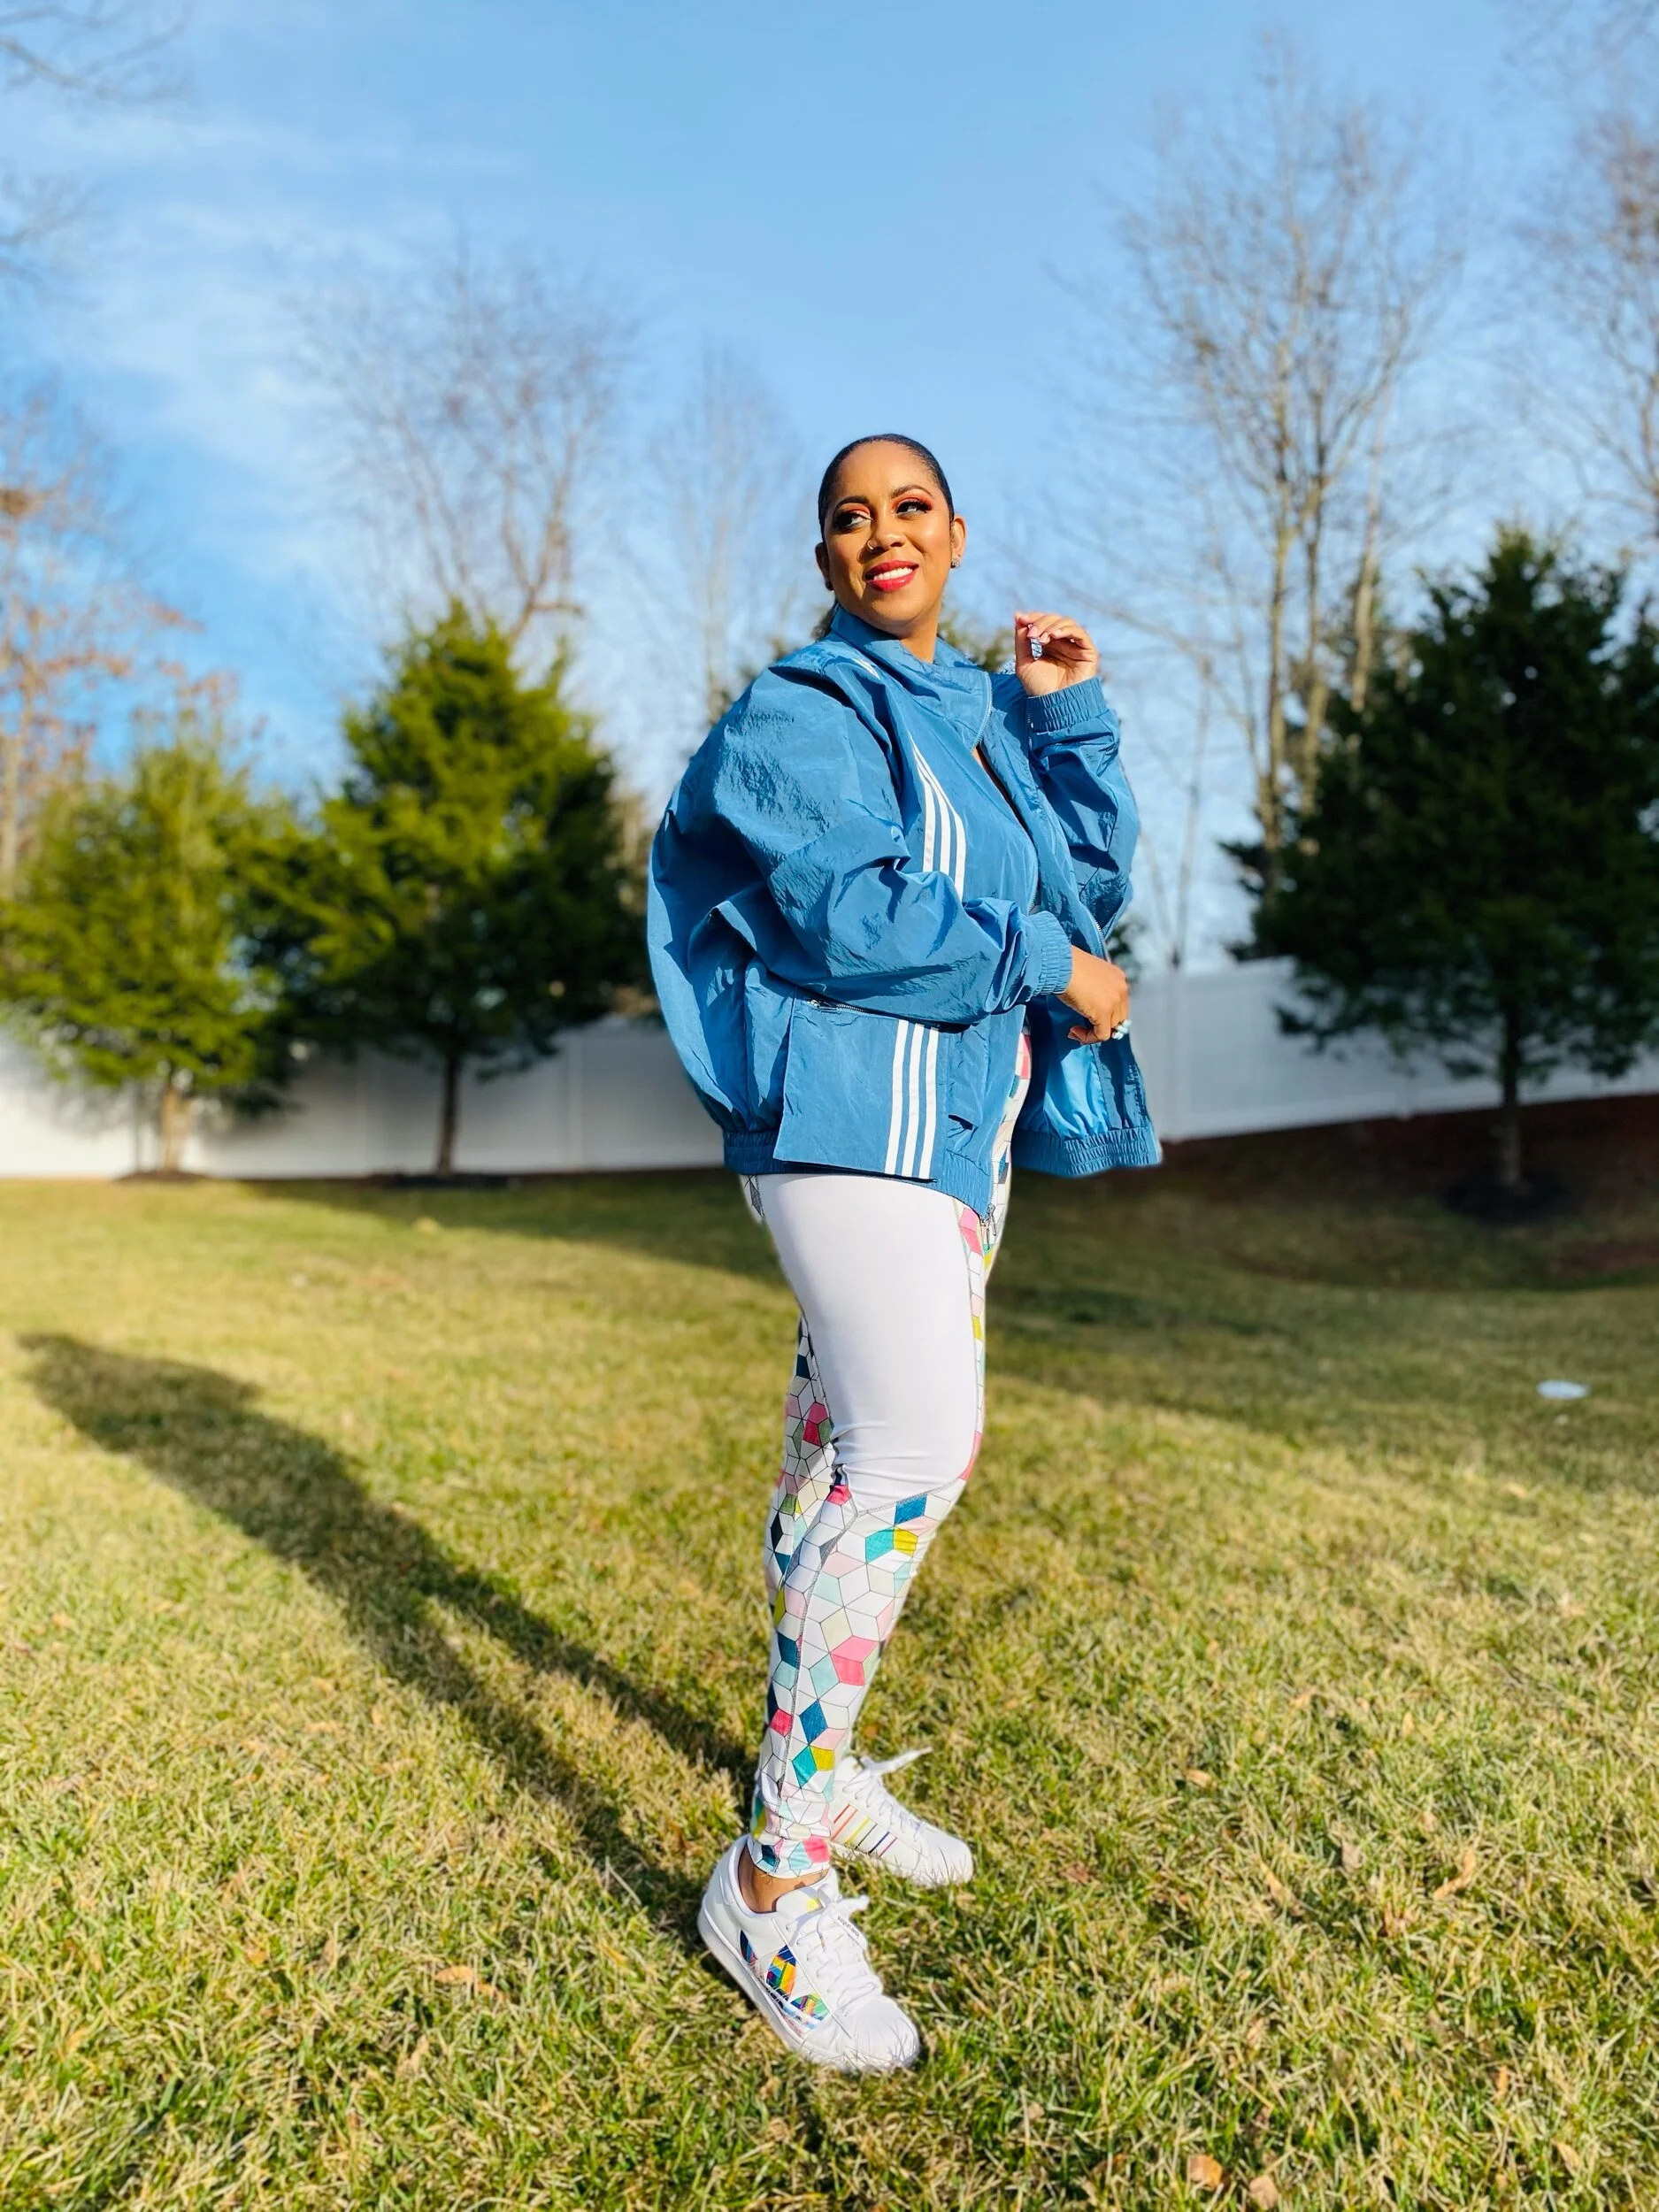
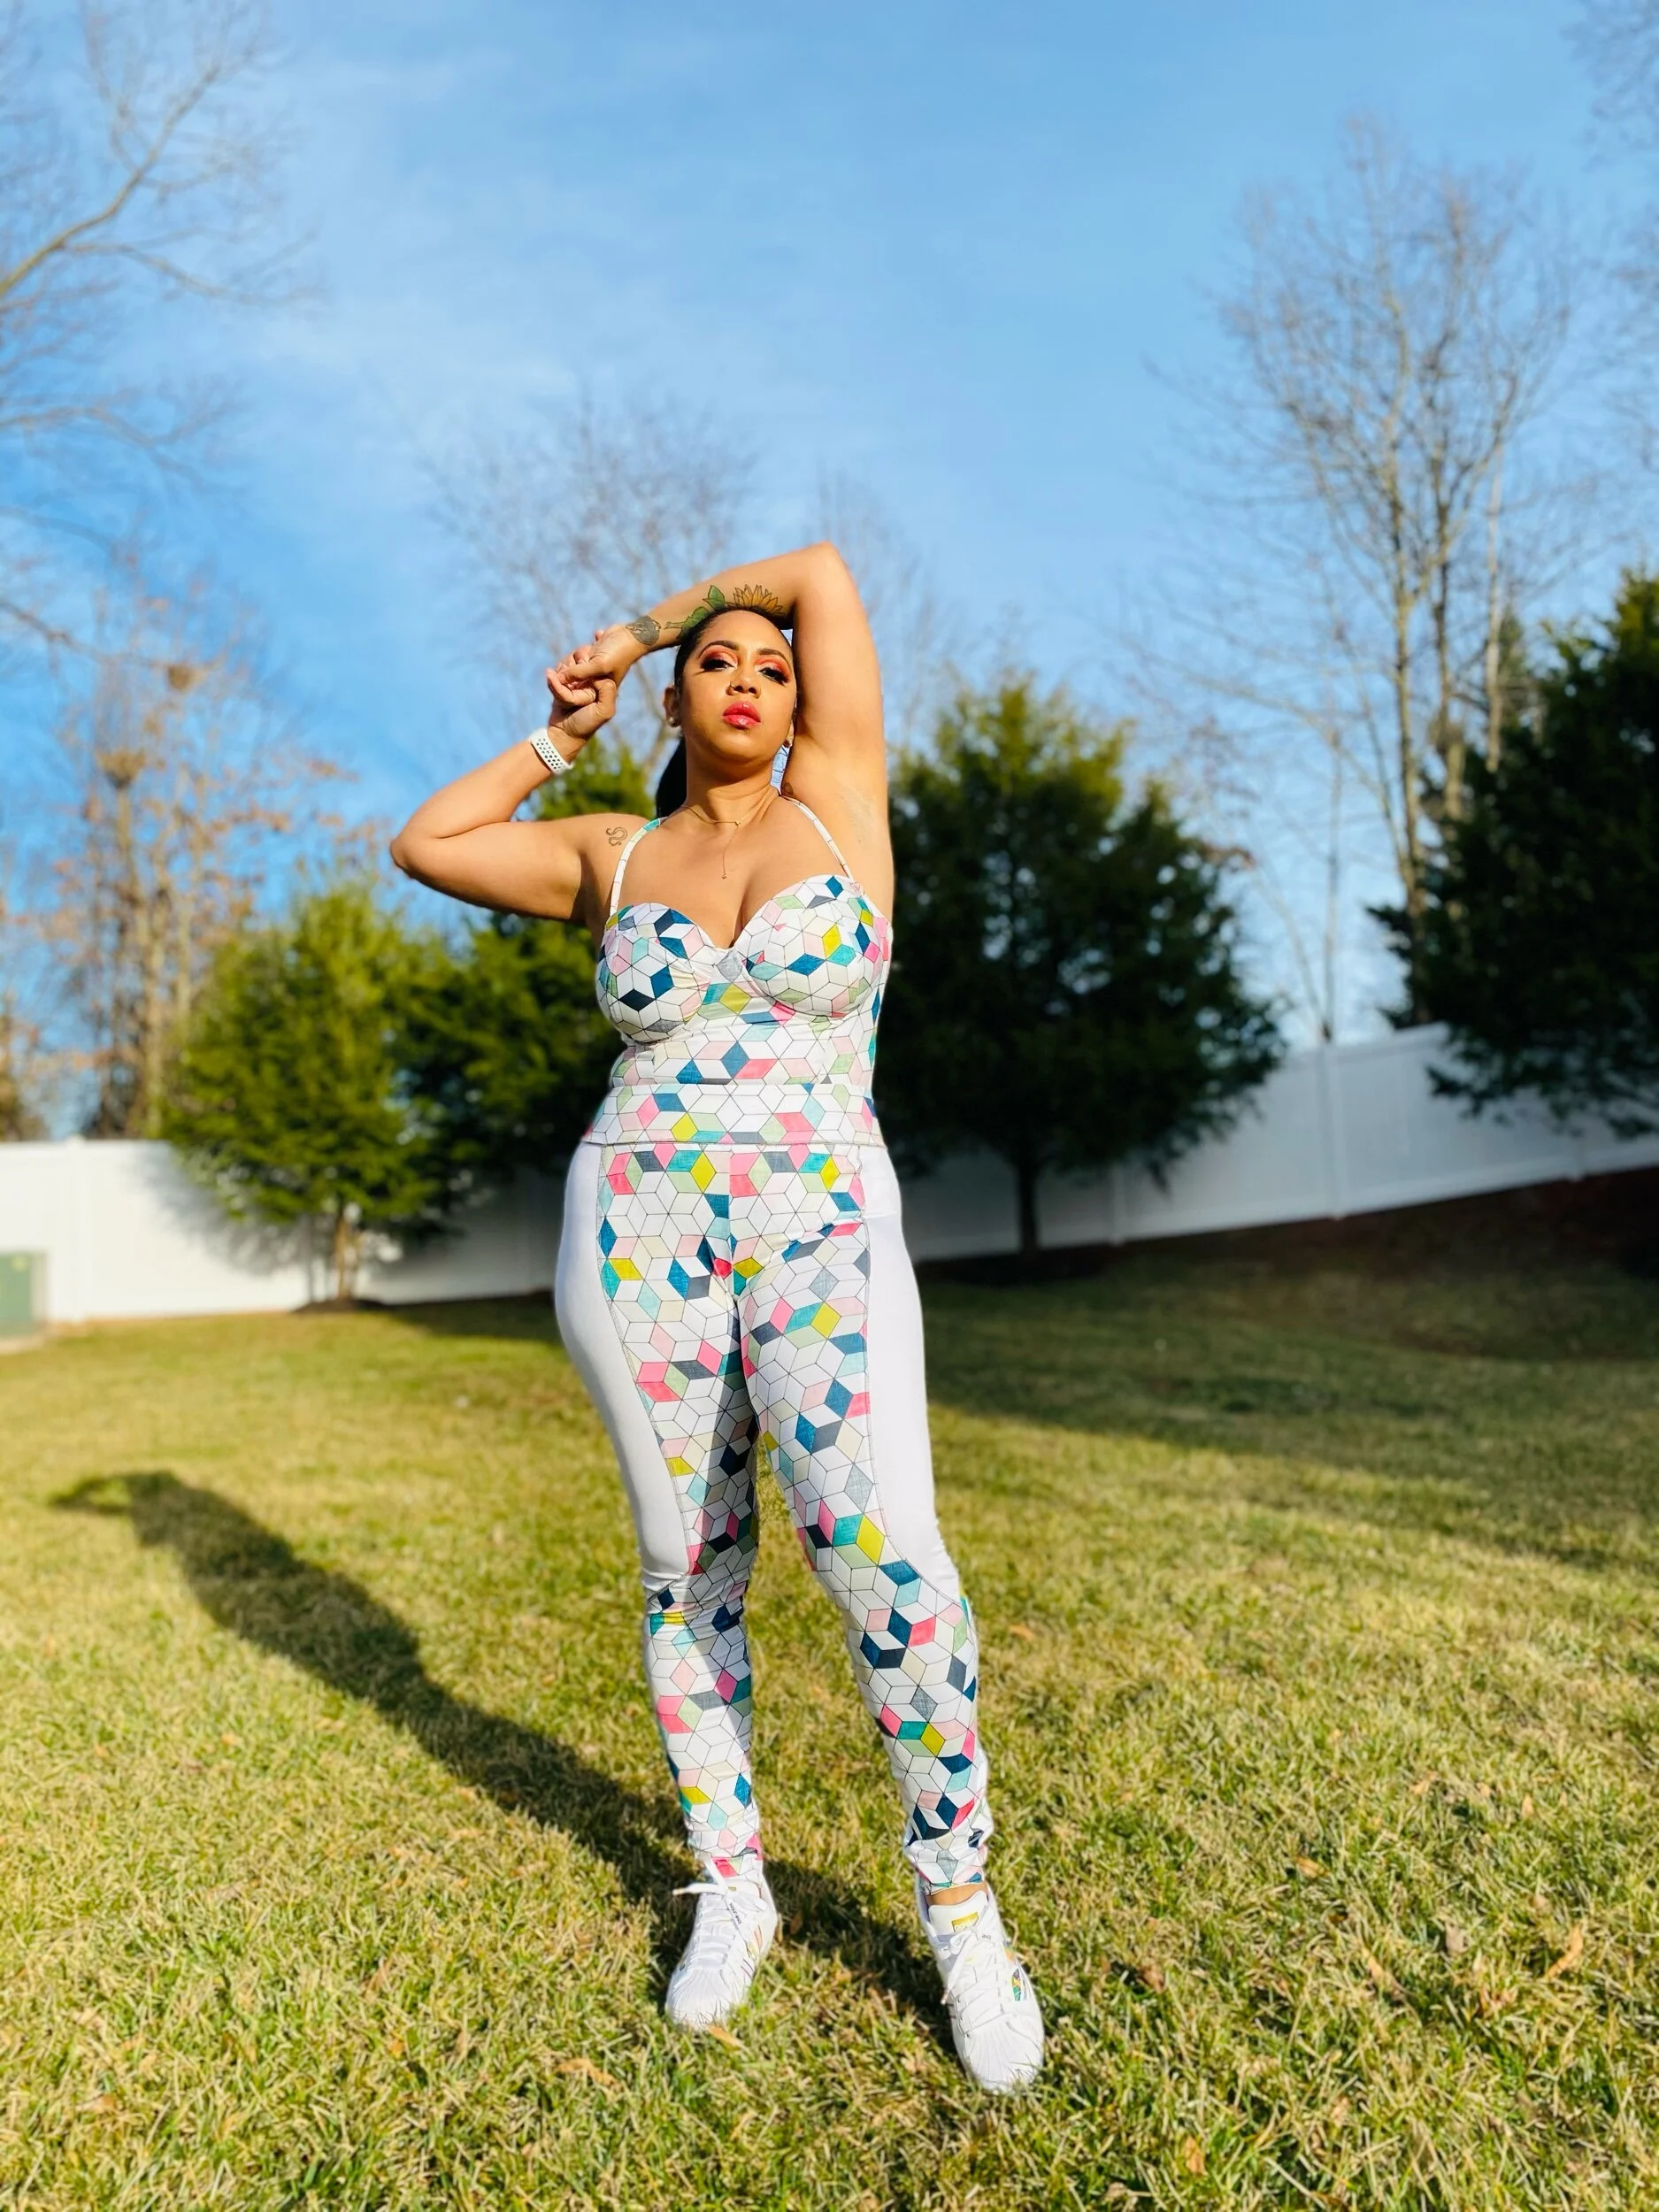
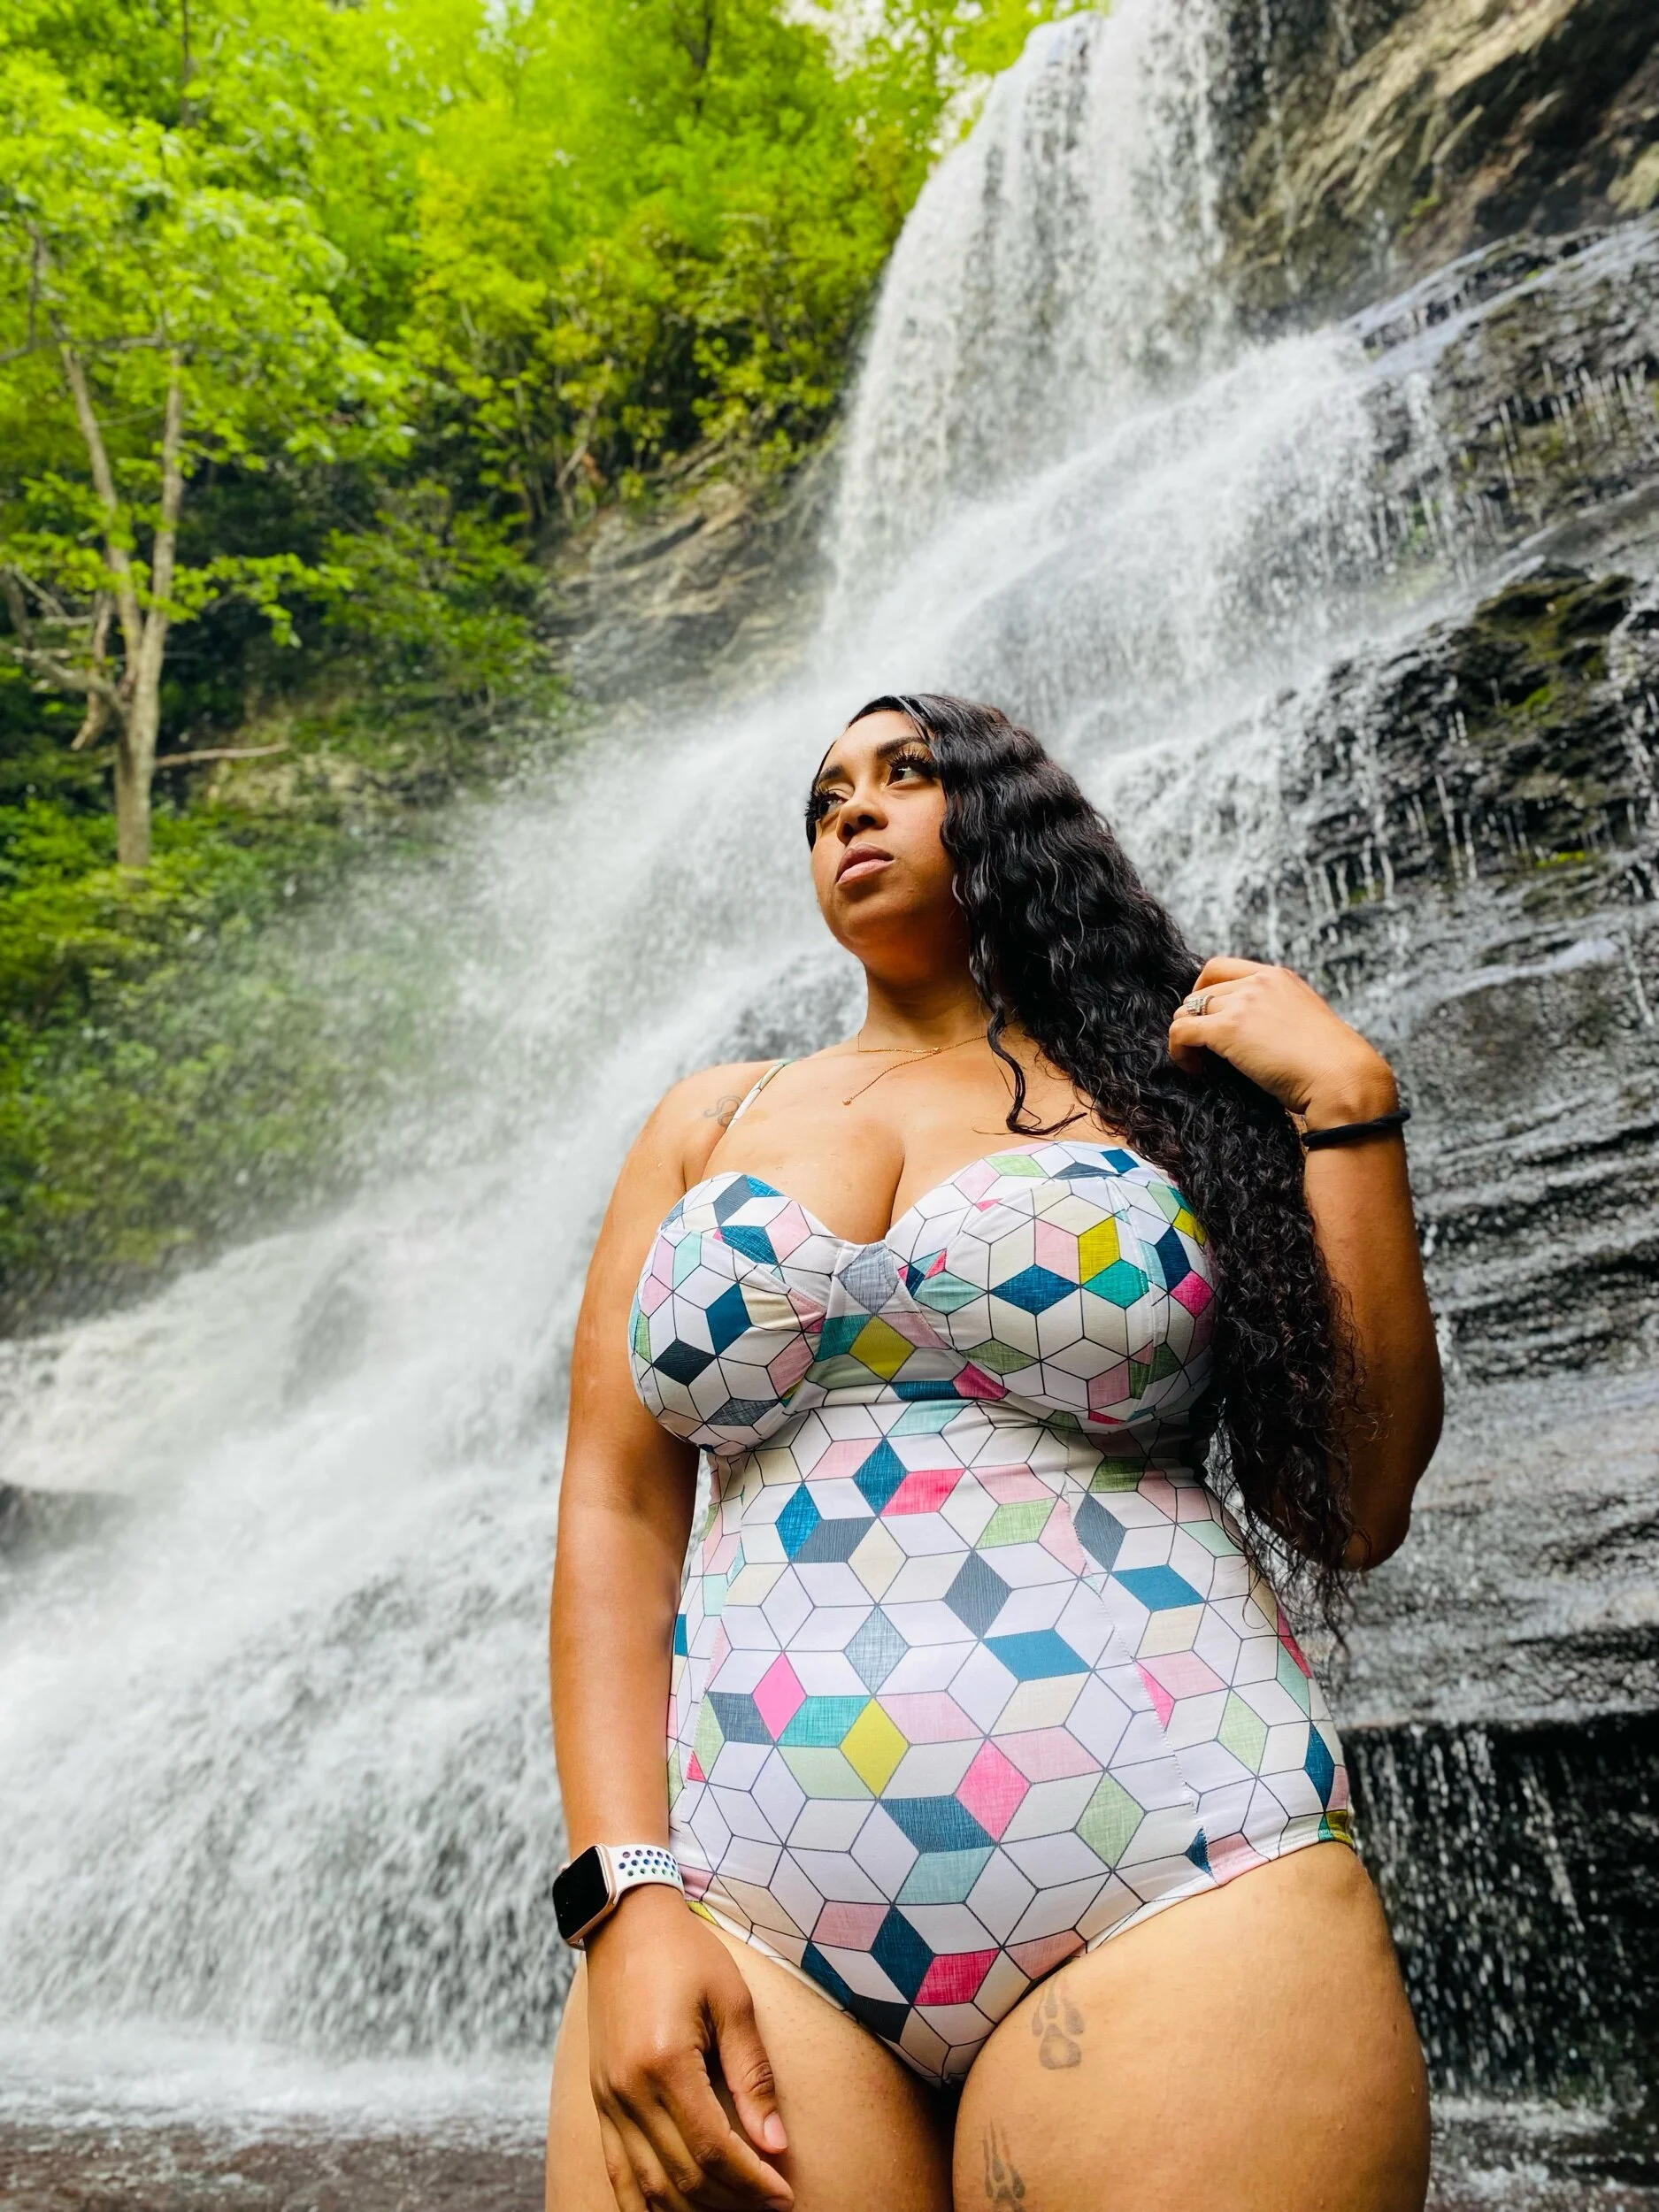
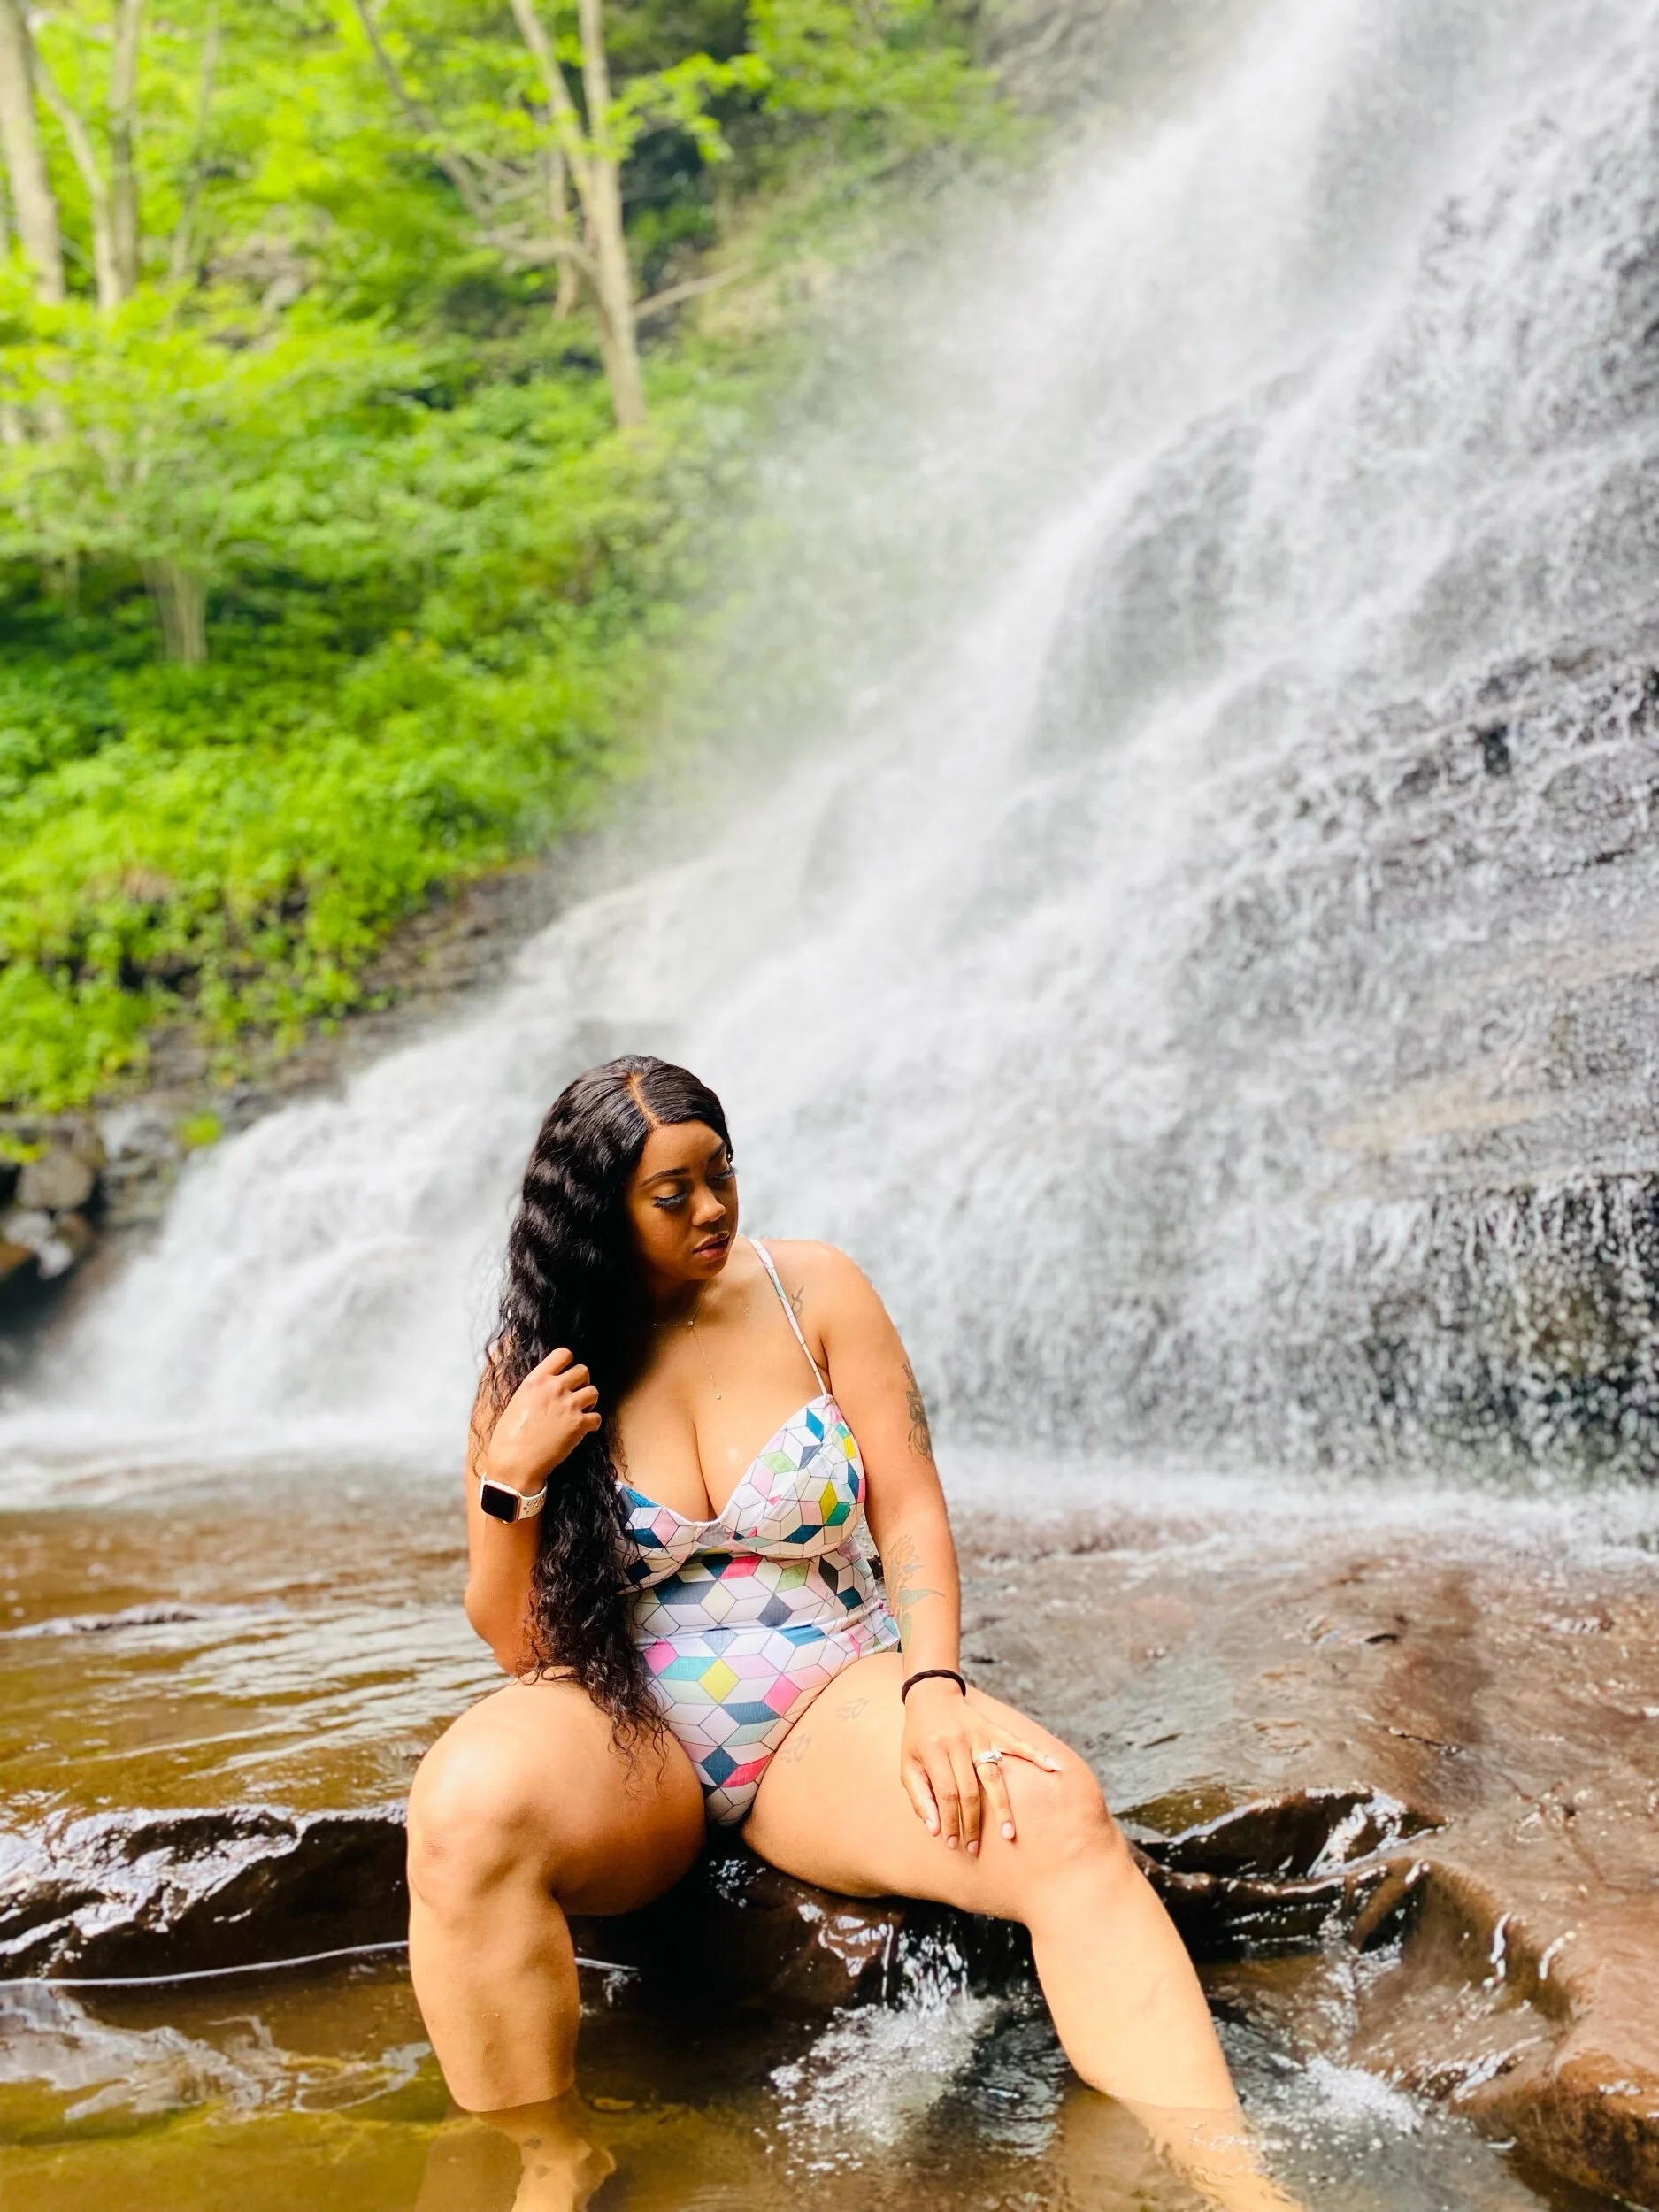
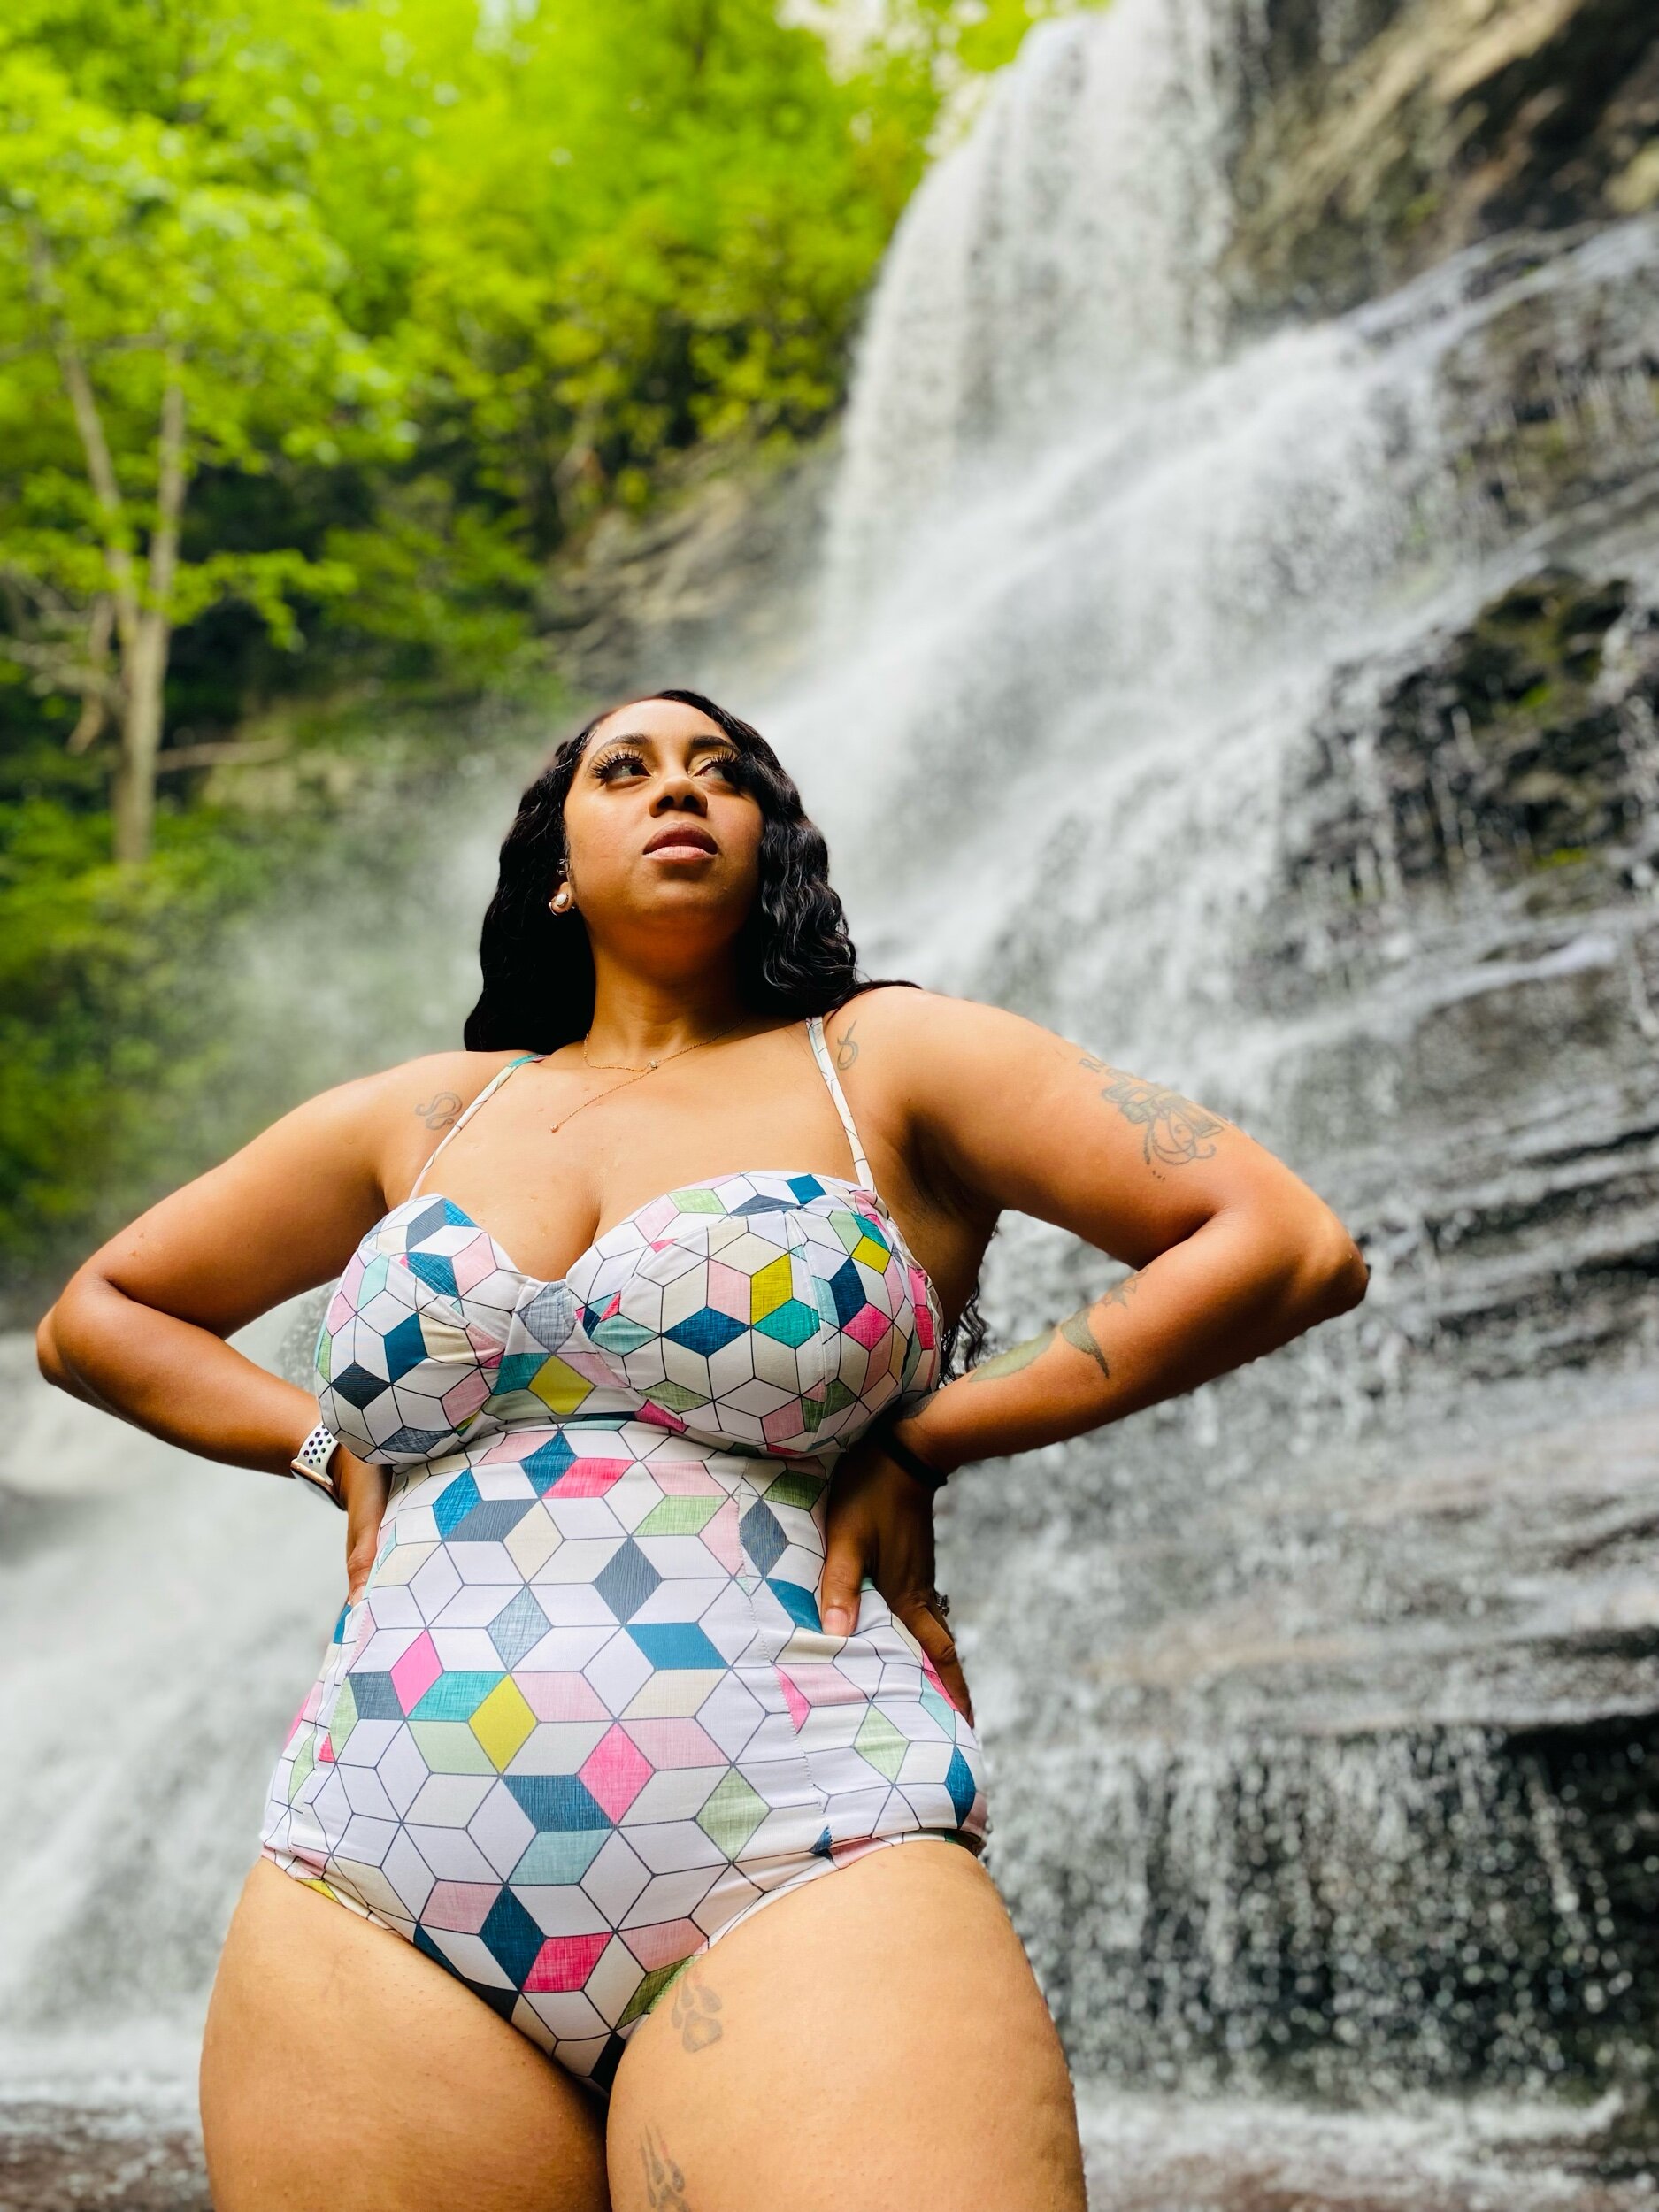
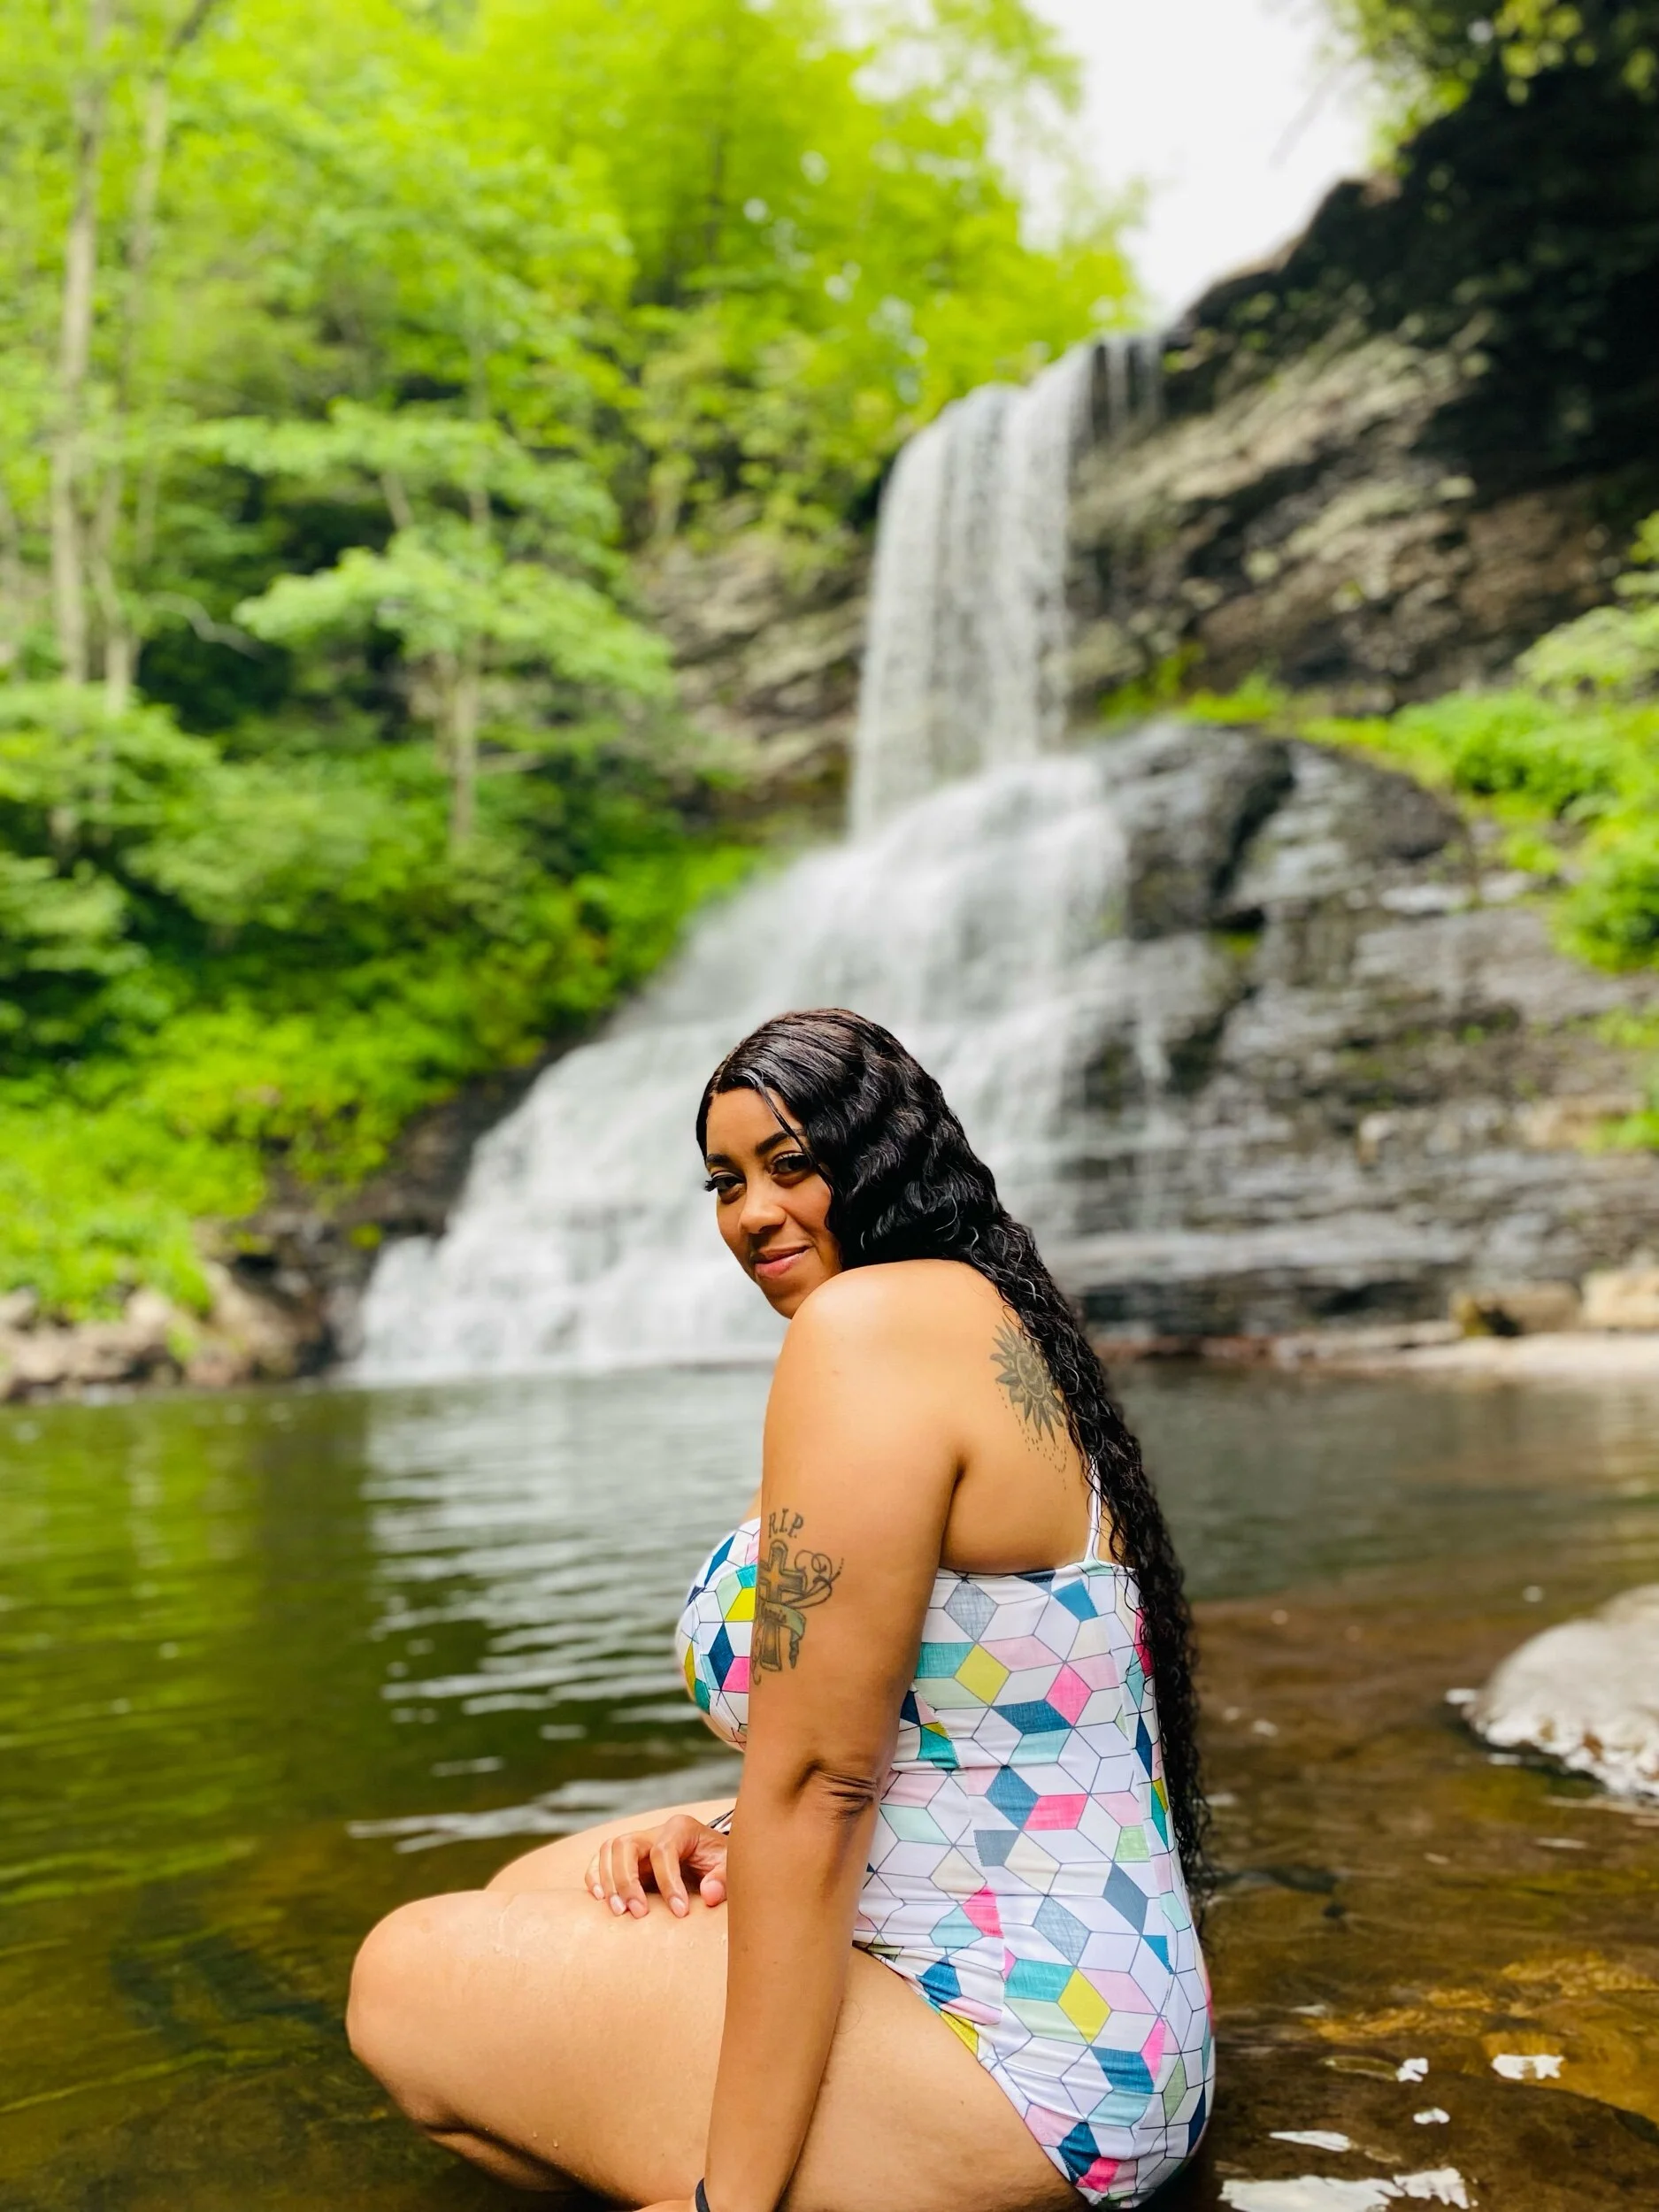
Hey y’all! I pulled out this Spoonflower Sports Lycra™️ to create not one but two of my favorites, swimwear and leggings. For the swimsuit I used the Closet Core Sophie swimsuit pattern and for the leggings I used a TNT Mccalls pattern (more deets on those here). I’m all for a matching set and I was inspired to make these two because I wanted to purchase a similar set from IVY PARK. Well them thangs sold out as quick as you can inhale. So I went to the drawing board and thought how can I achieve this look myself? And here you have…the HEXY SET!
Sophie Construction
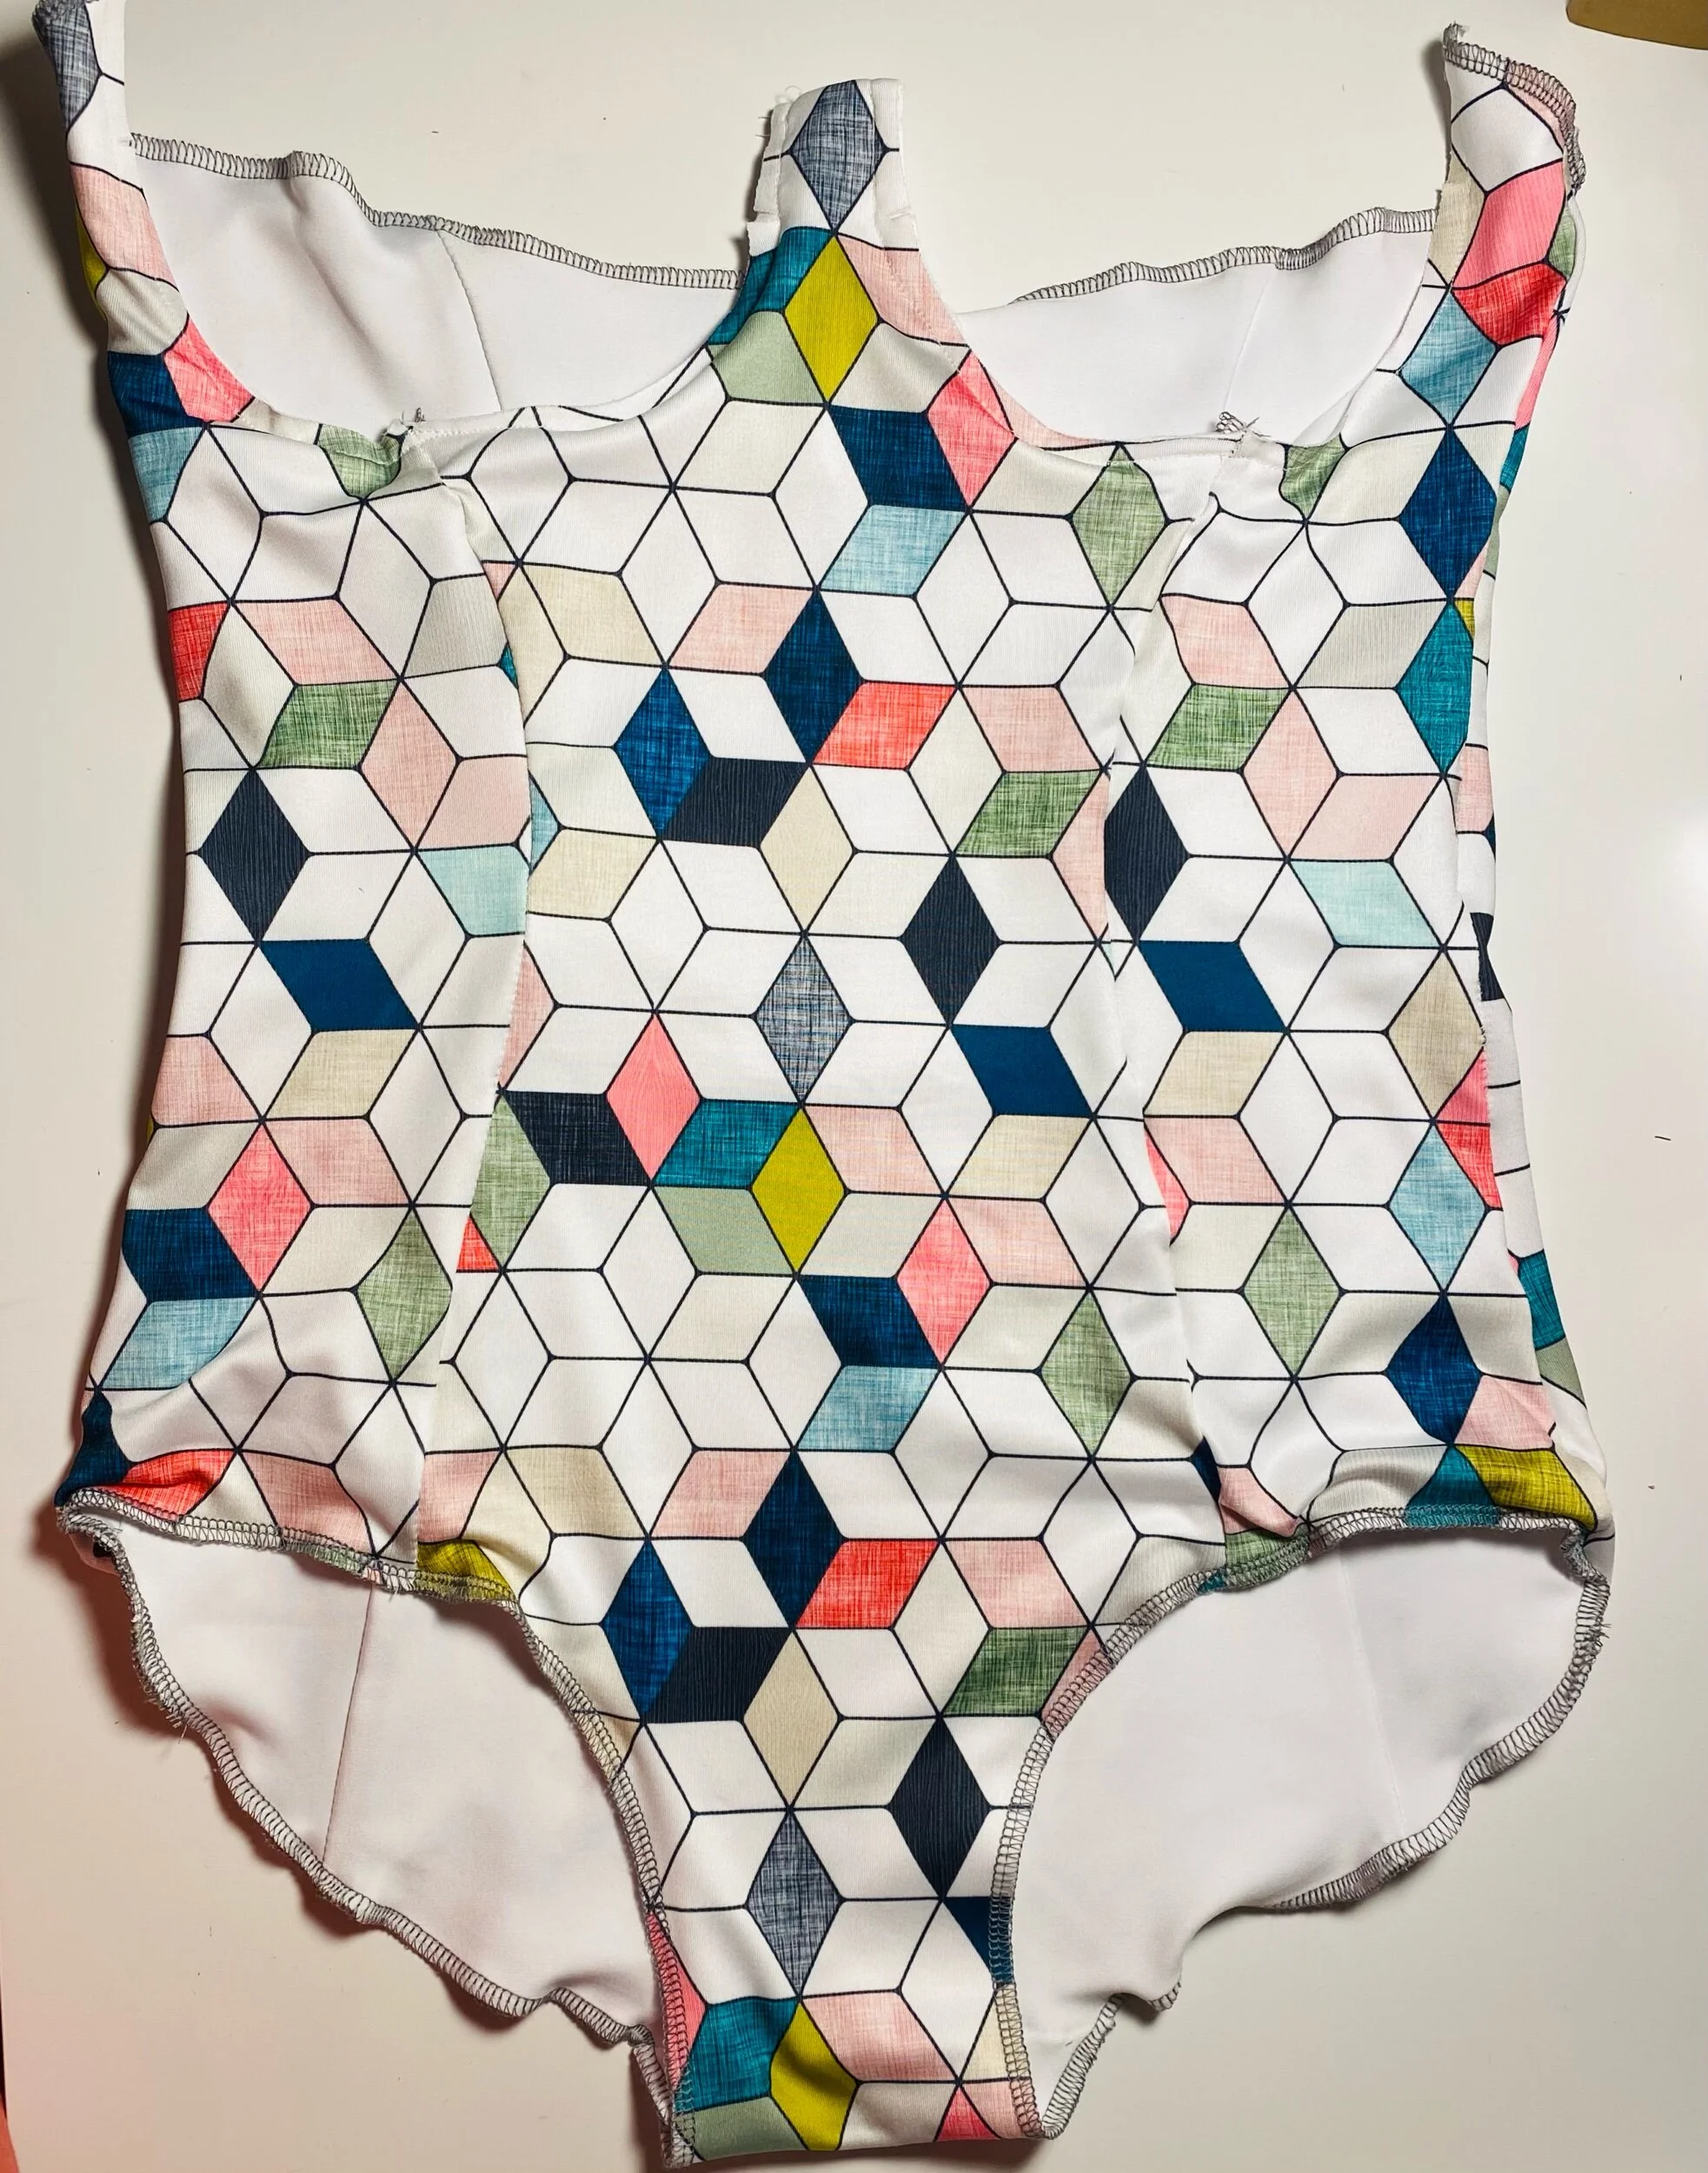
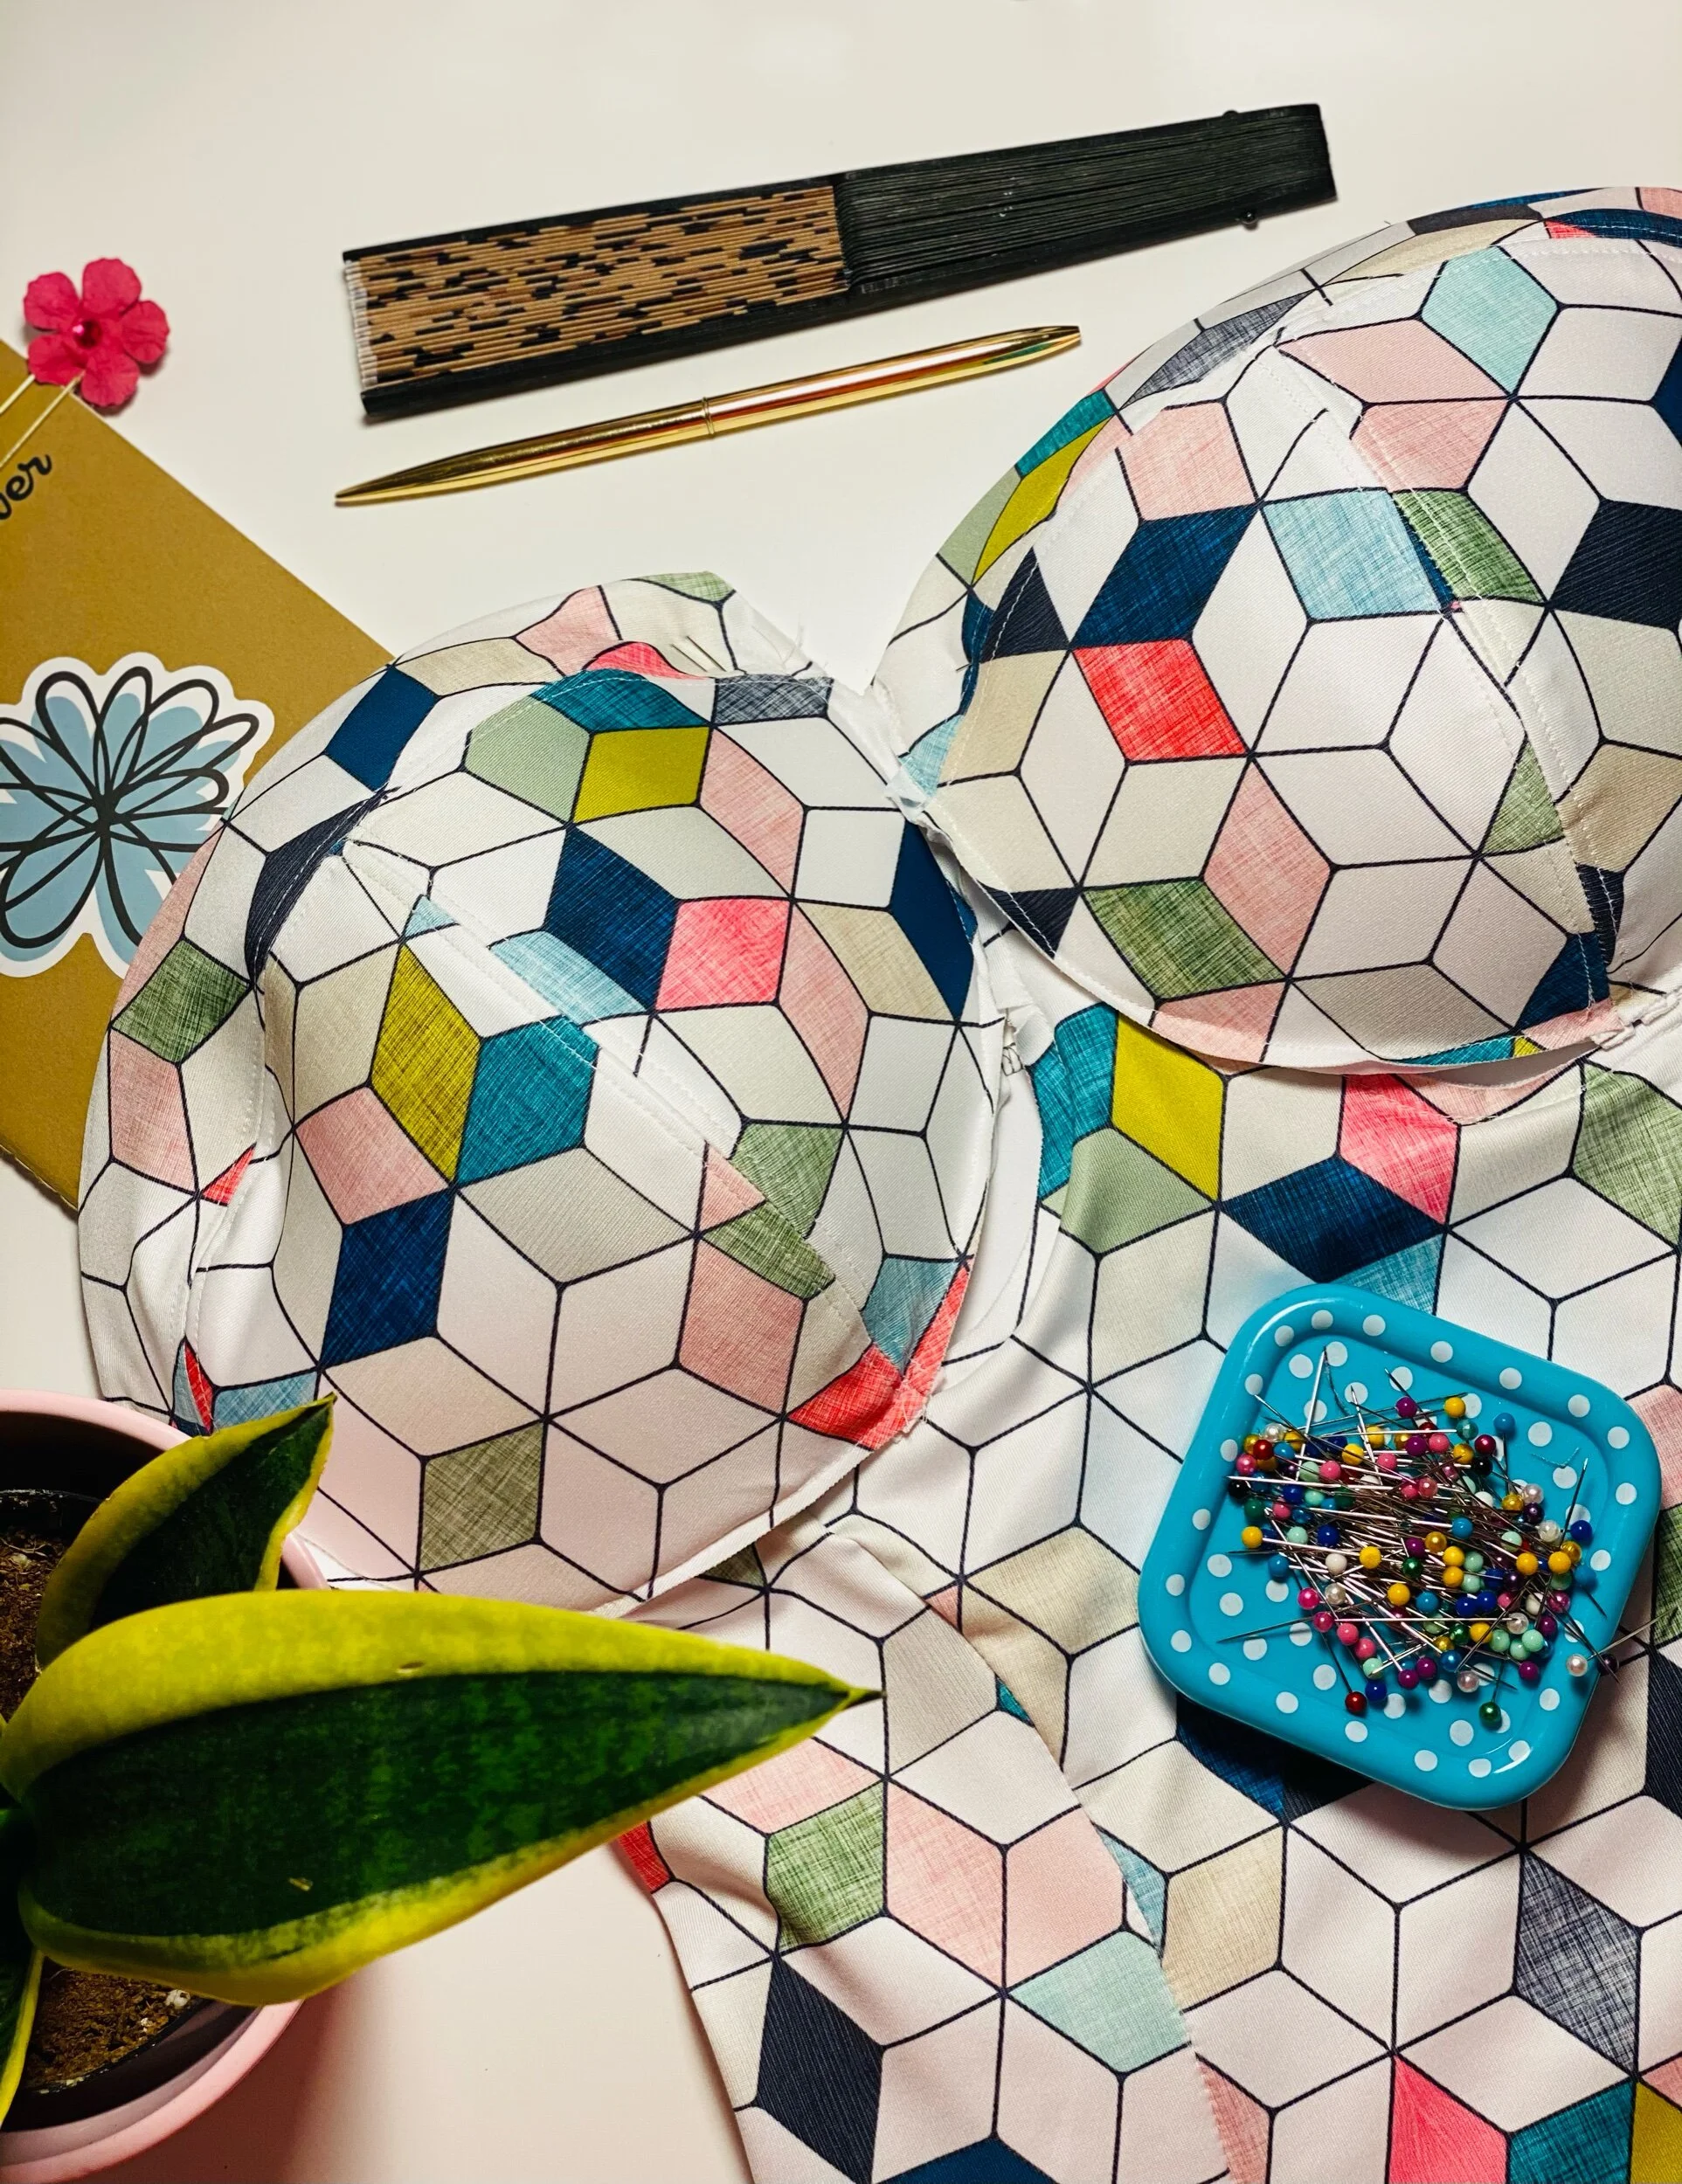
This swimsuit was also an introduction to bra making (more on that journey really soon). Obviously you would need to create bra cups for this look. For me, finding the right cup size was a challenge. I still didn’t get the perfect fit that I was trying to achieve and I even made an initial practice cup that covered about 3 inches of my girls lol, but this will not be my only Sophie swimsuit this season.
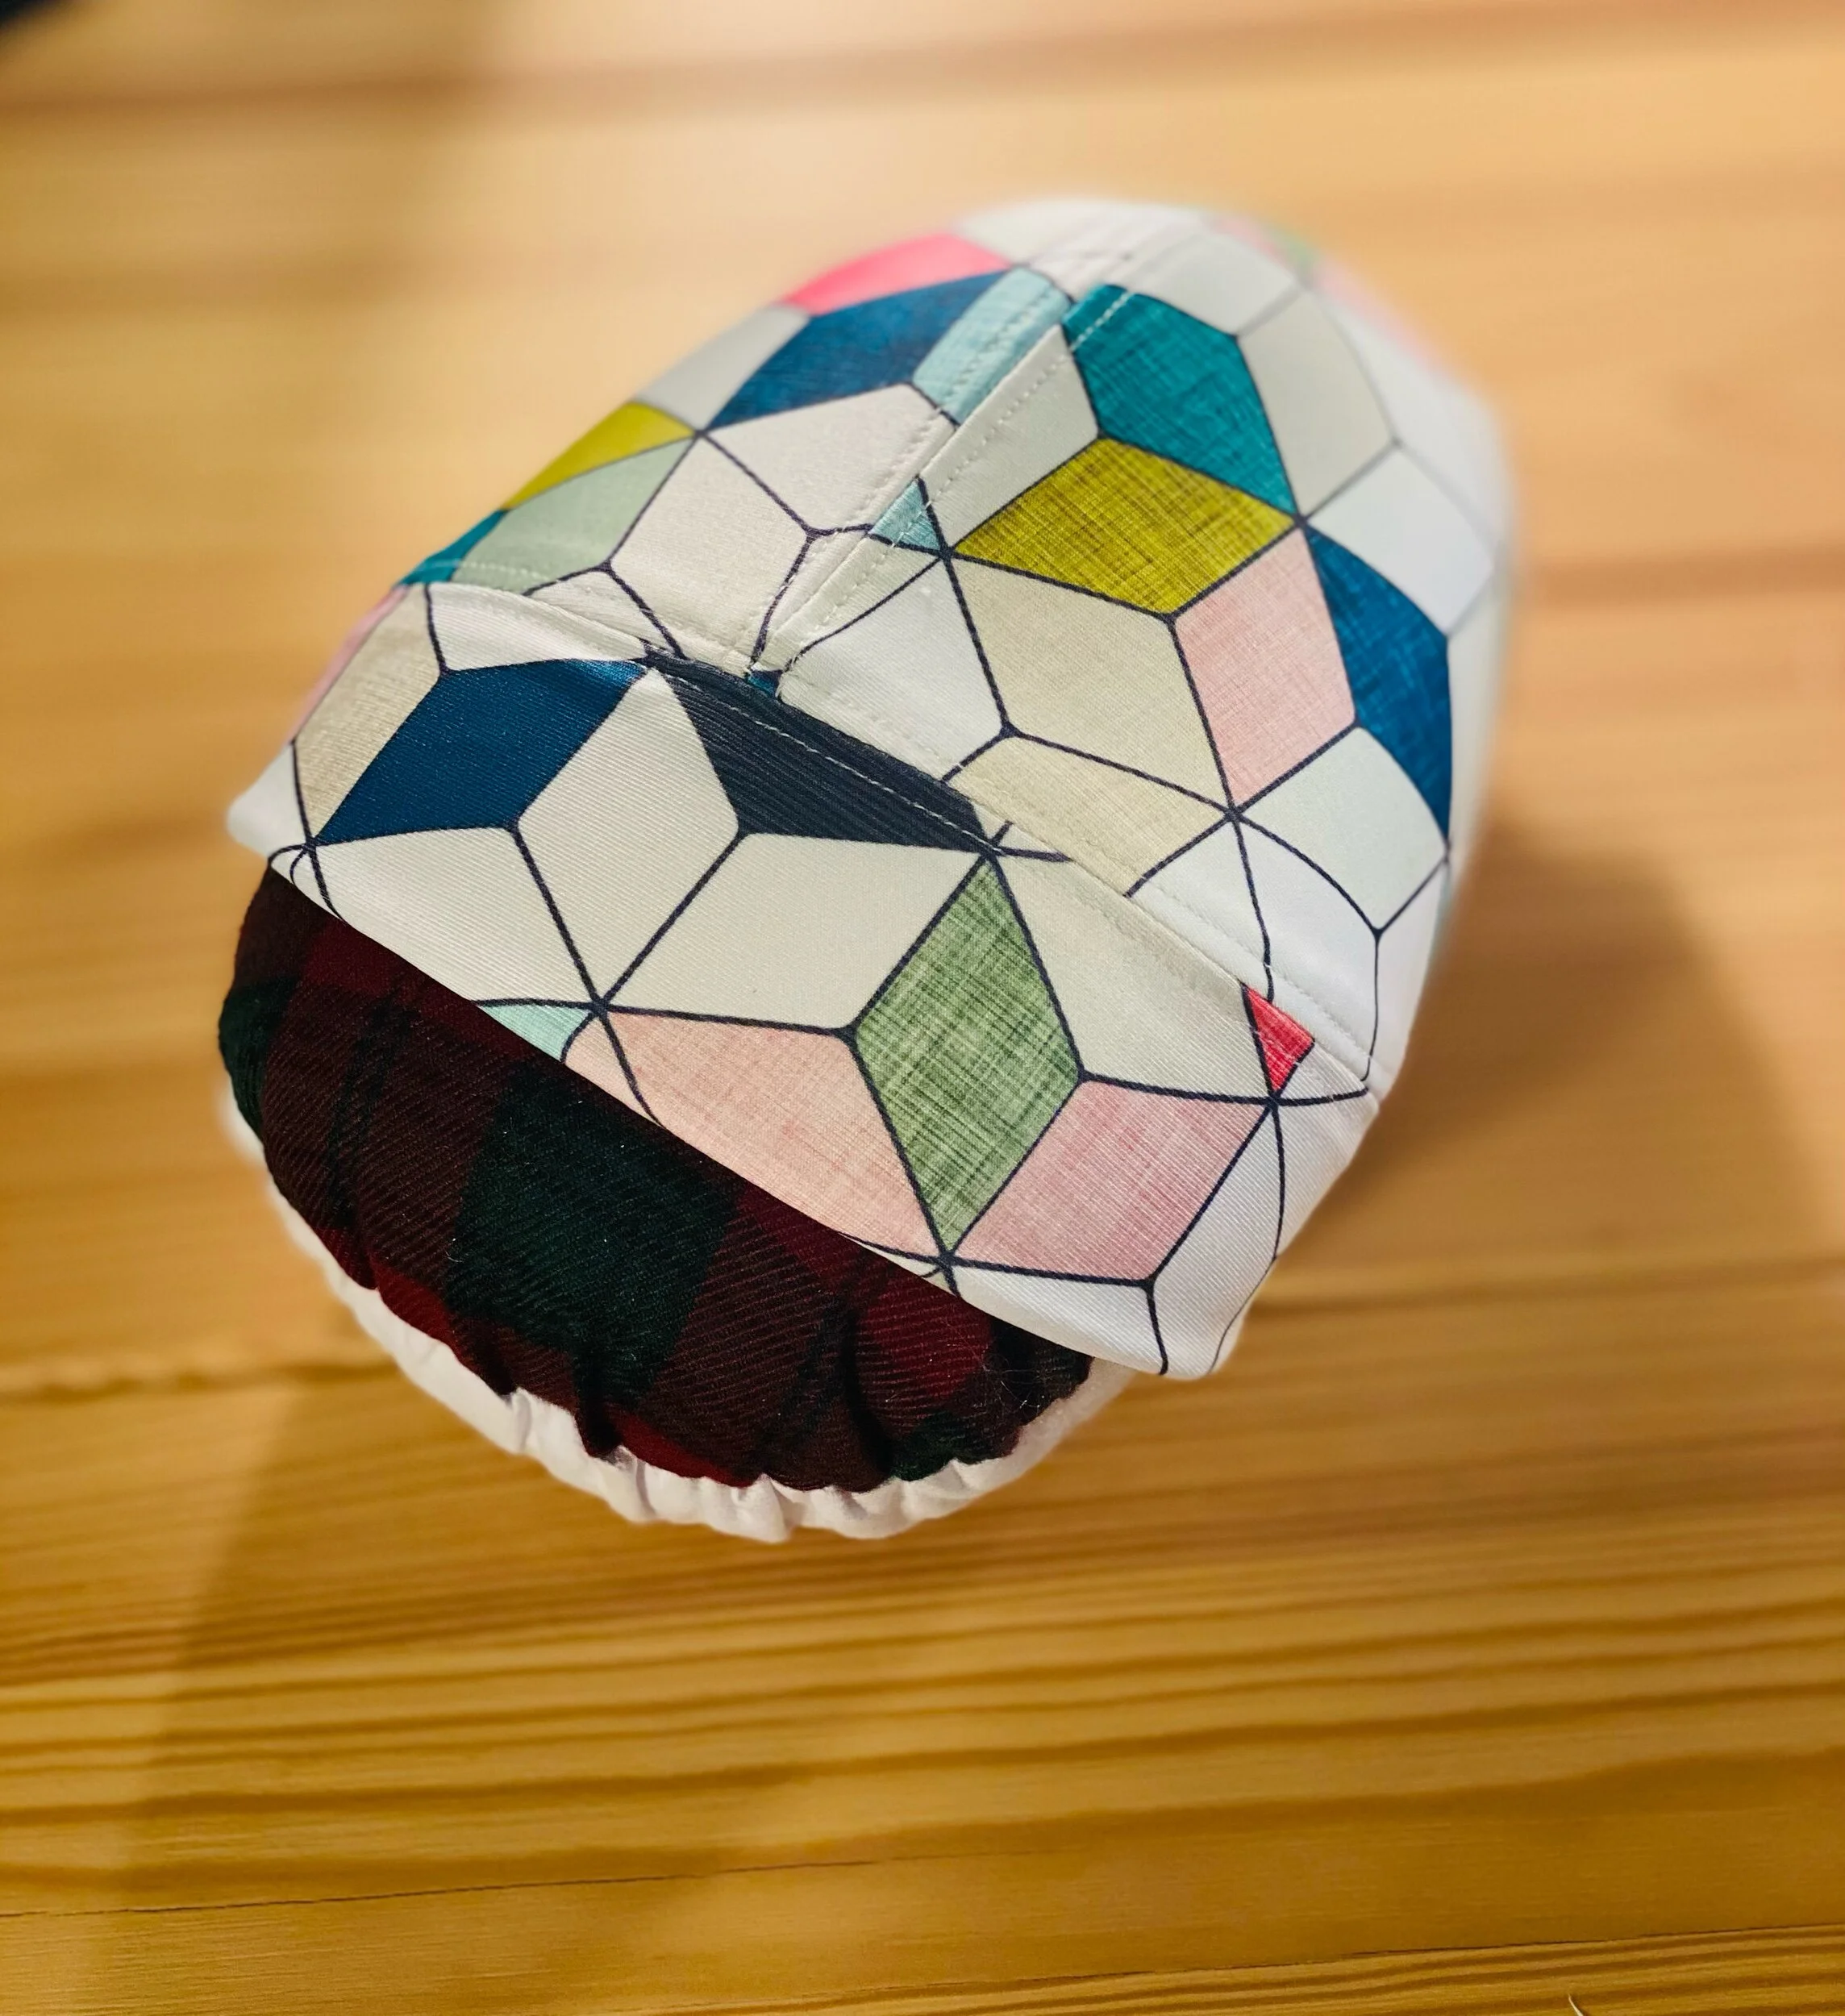
I lined the swimsuit with a white Jersey fabric a bit lighter in weight than the Sport Lycra. You can use whatever swimsuit lining you like. My preference is always whatever will hold the tummy in comfortably. You will also need something to shape the cups. I used my tailors ham but I do wish I had something more circular. Maybe next time I’ll use baby watermelons, I mean they’re about the right size lol.
Sophie and WATERFALLS
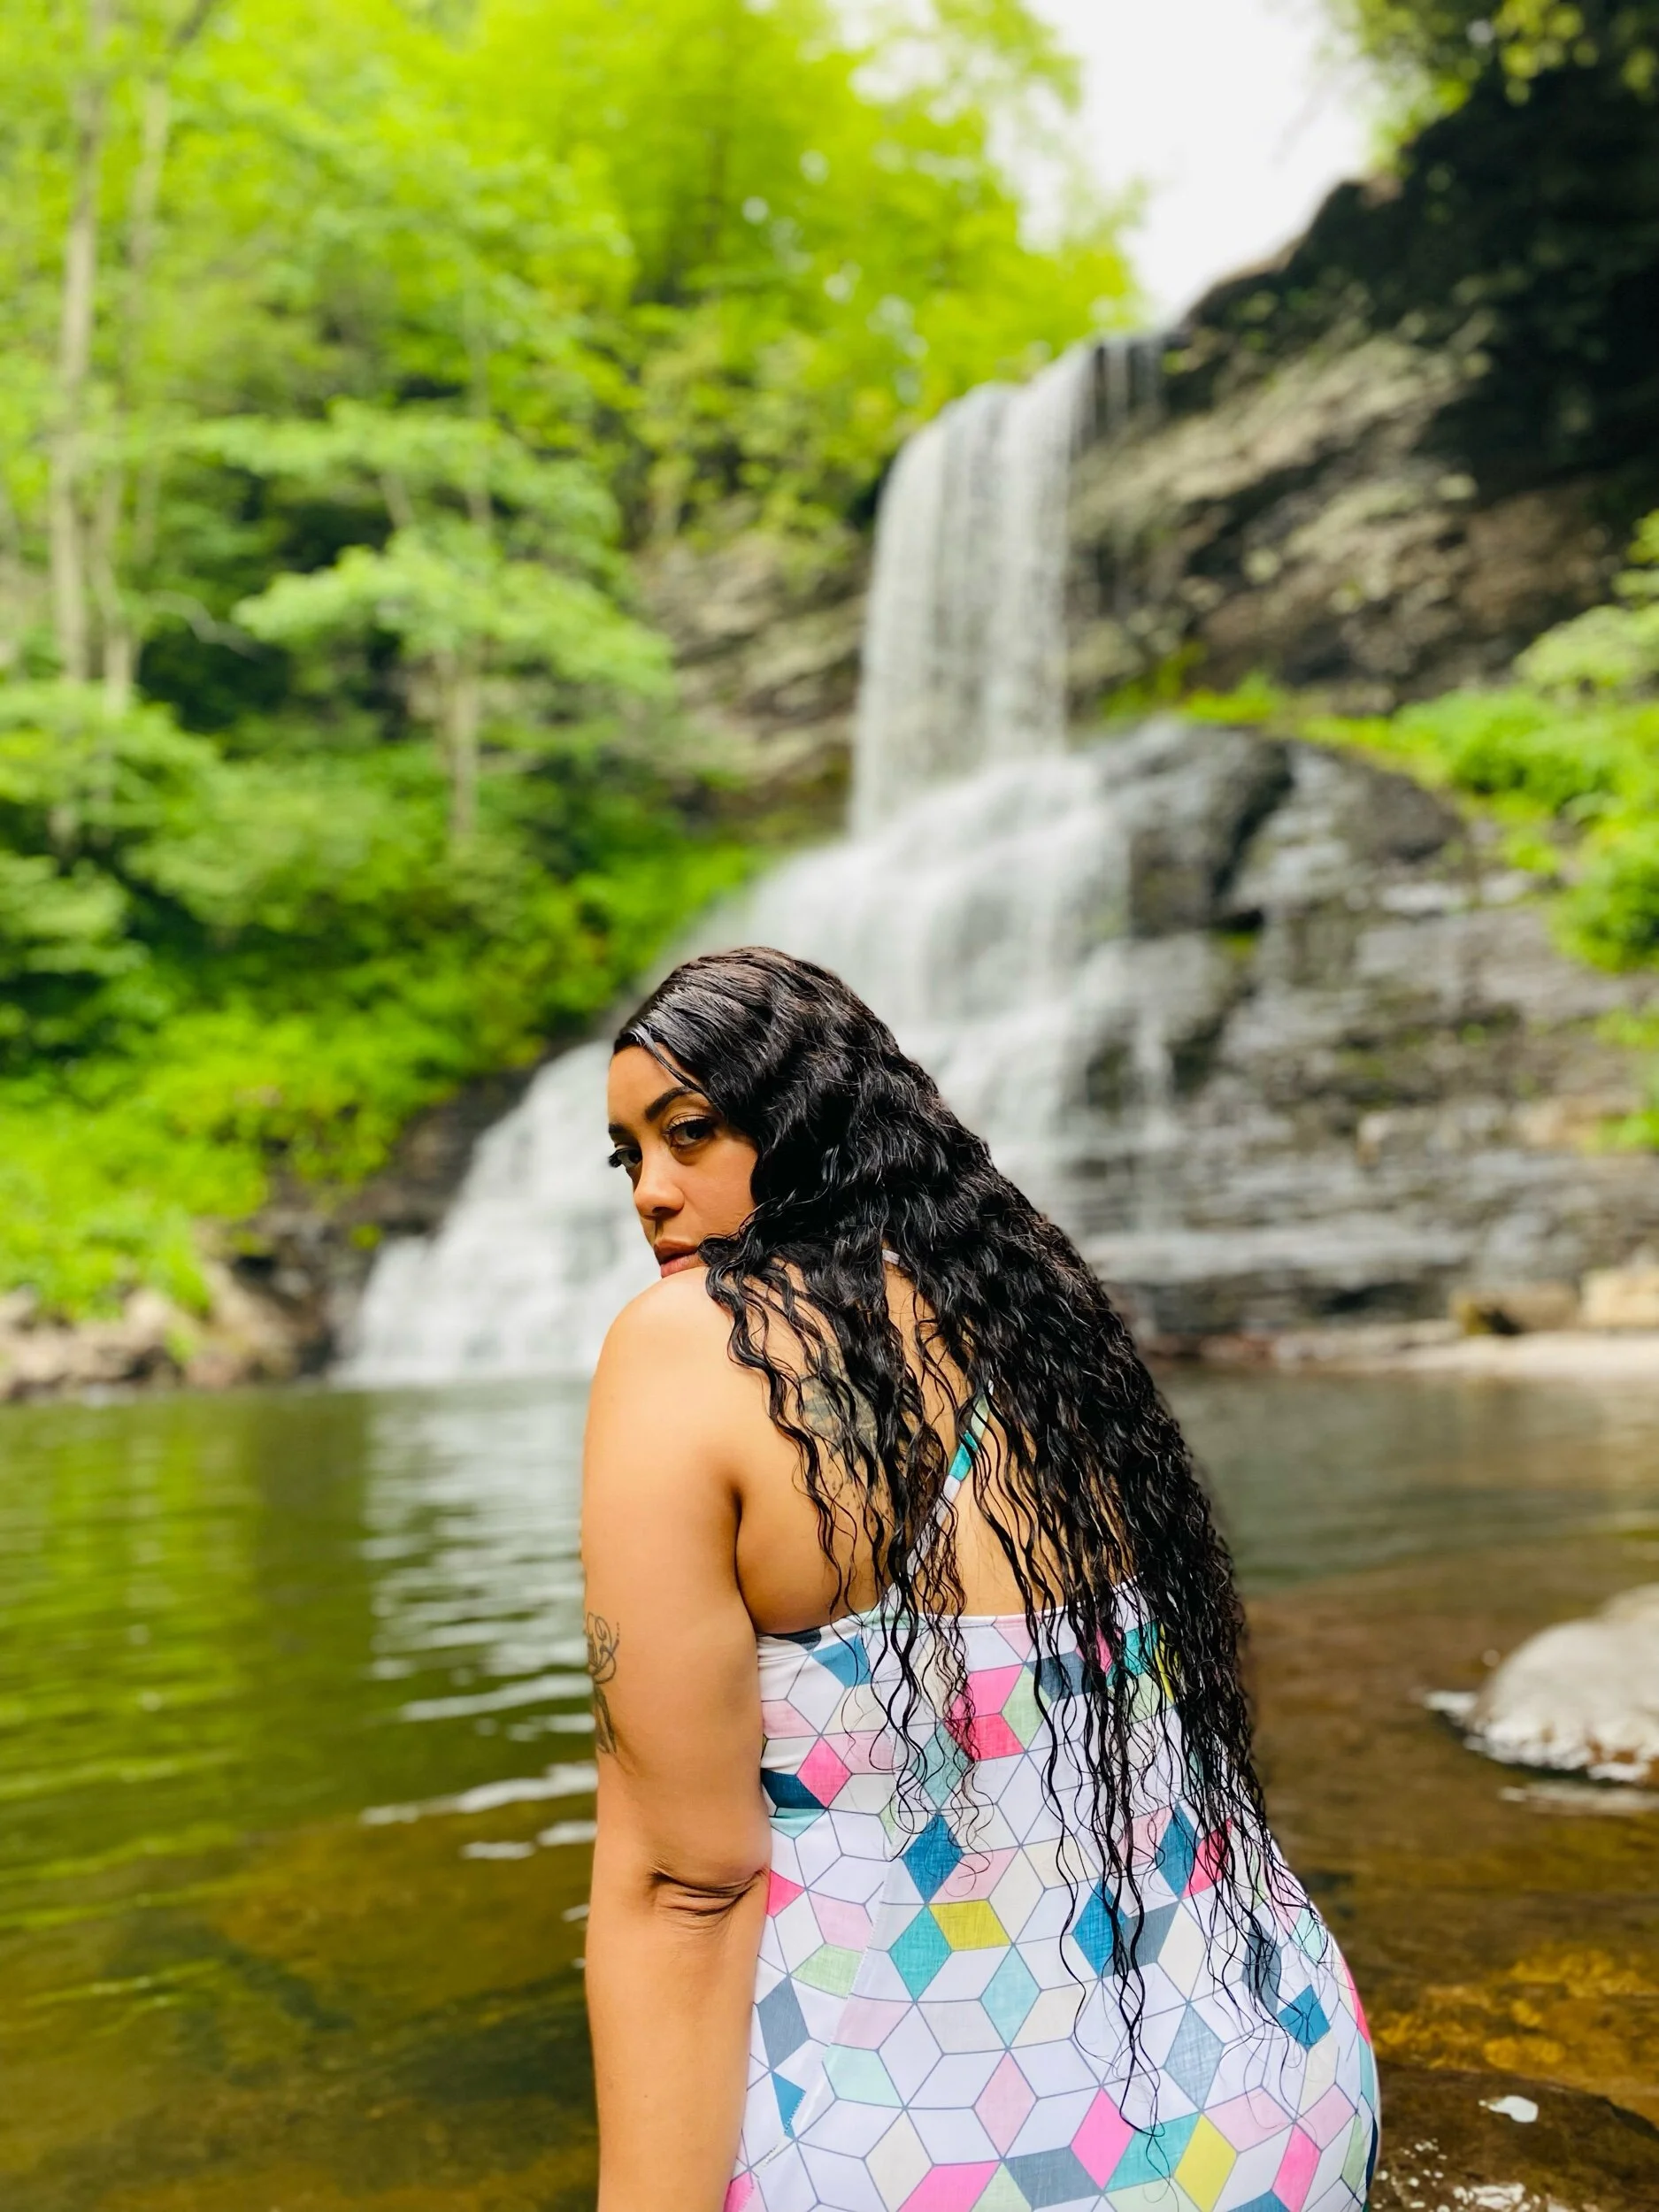
It’s summer right? Well I’ve had this swimsuit made since winter and this Sophie was literally waiting for the right time and scene to make an appearance. My 1st water outing this season was this beautiful, nature filled hike to and even more beautiful waterfall!
Overall I love this swimsuit and I will definitely make another with a few adjustments to cup size and make the legs more of a bikini cut than full coverage bum. Tell me what you think about my HEXY Set below. As always thanks for stopping by.
Peace & Blessings!
Details Honey
Here we are in the thick of Spring!
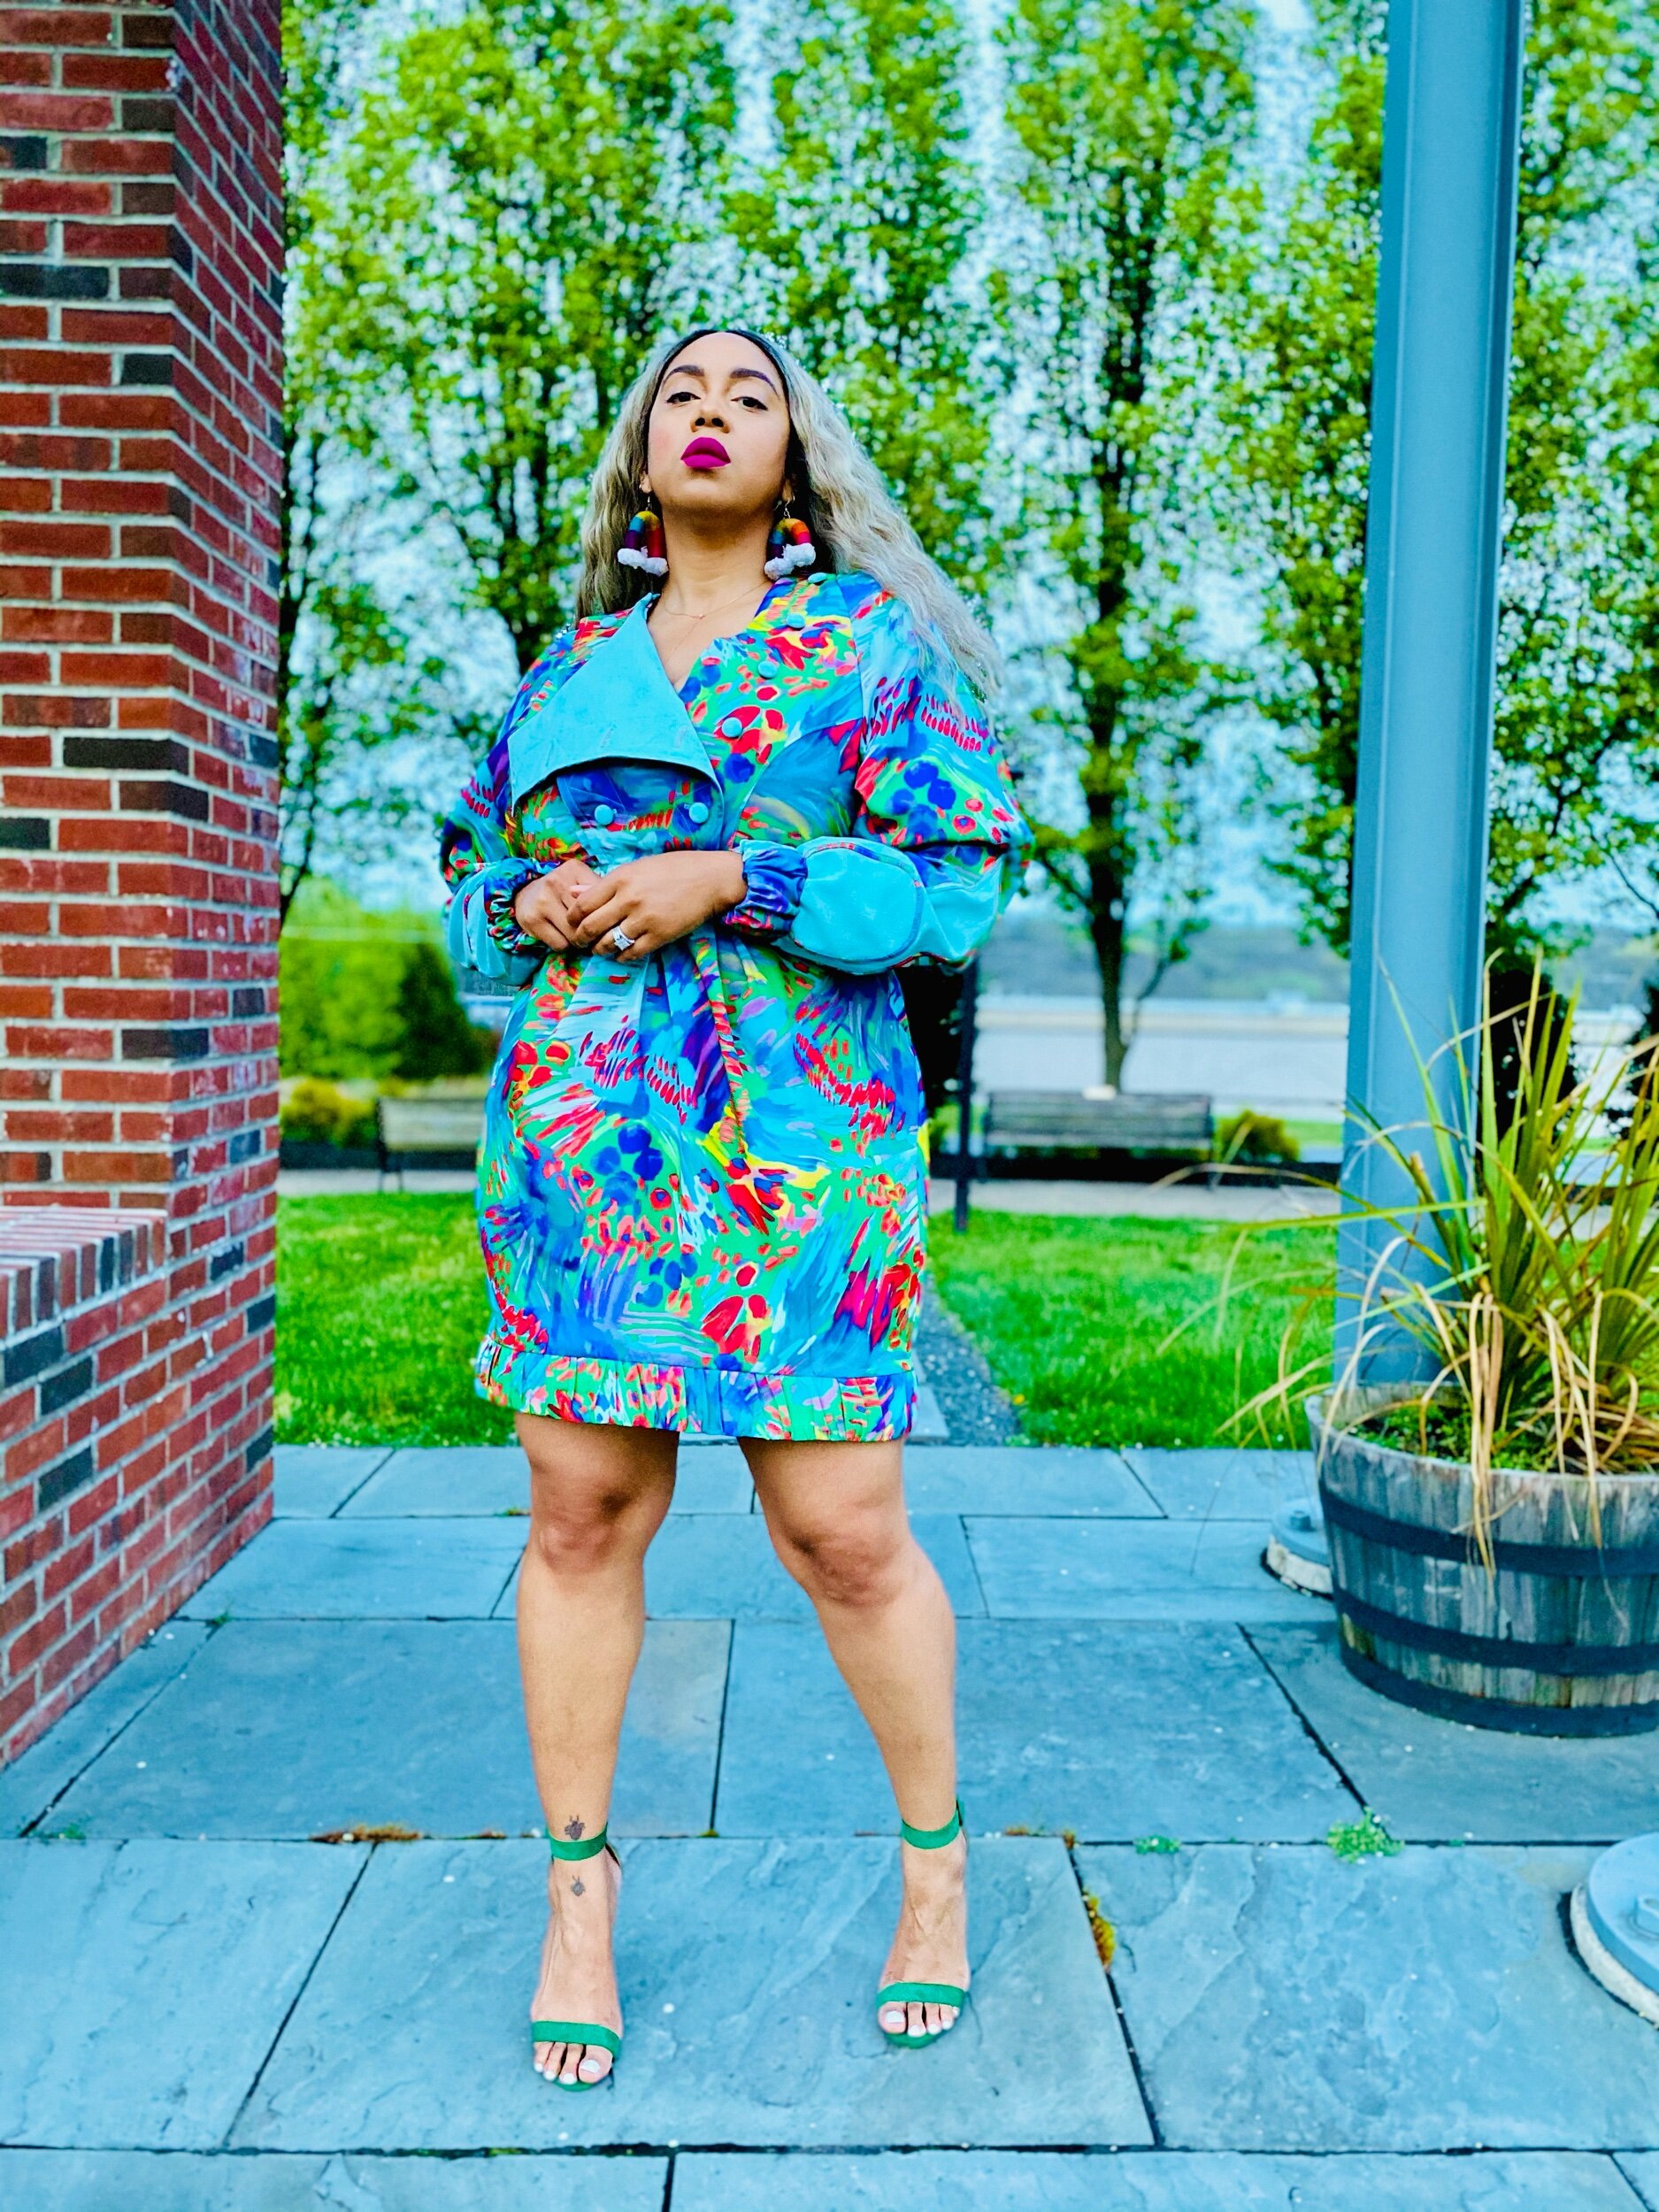
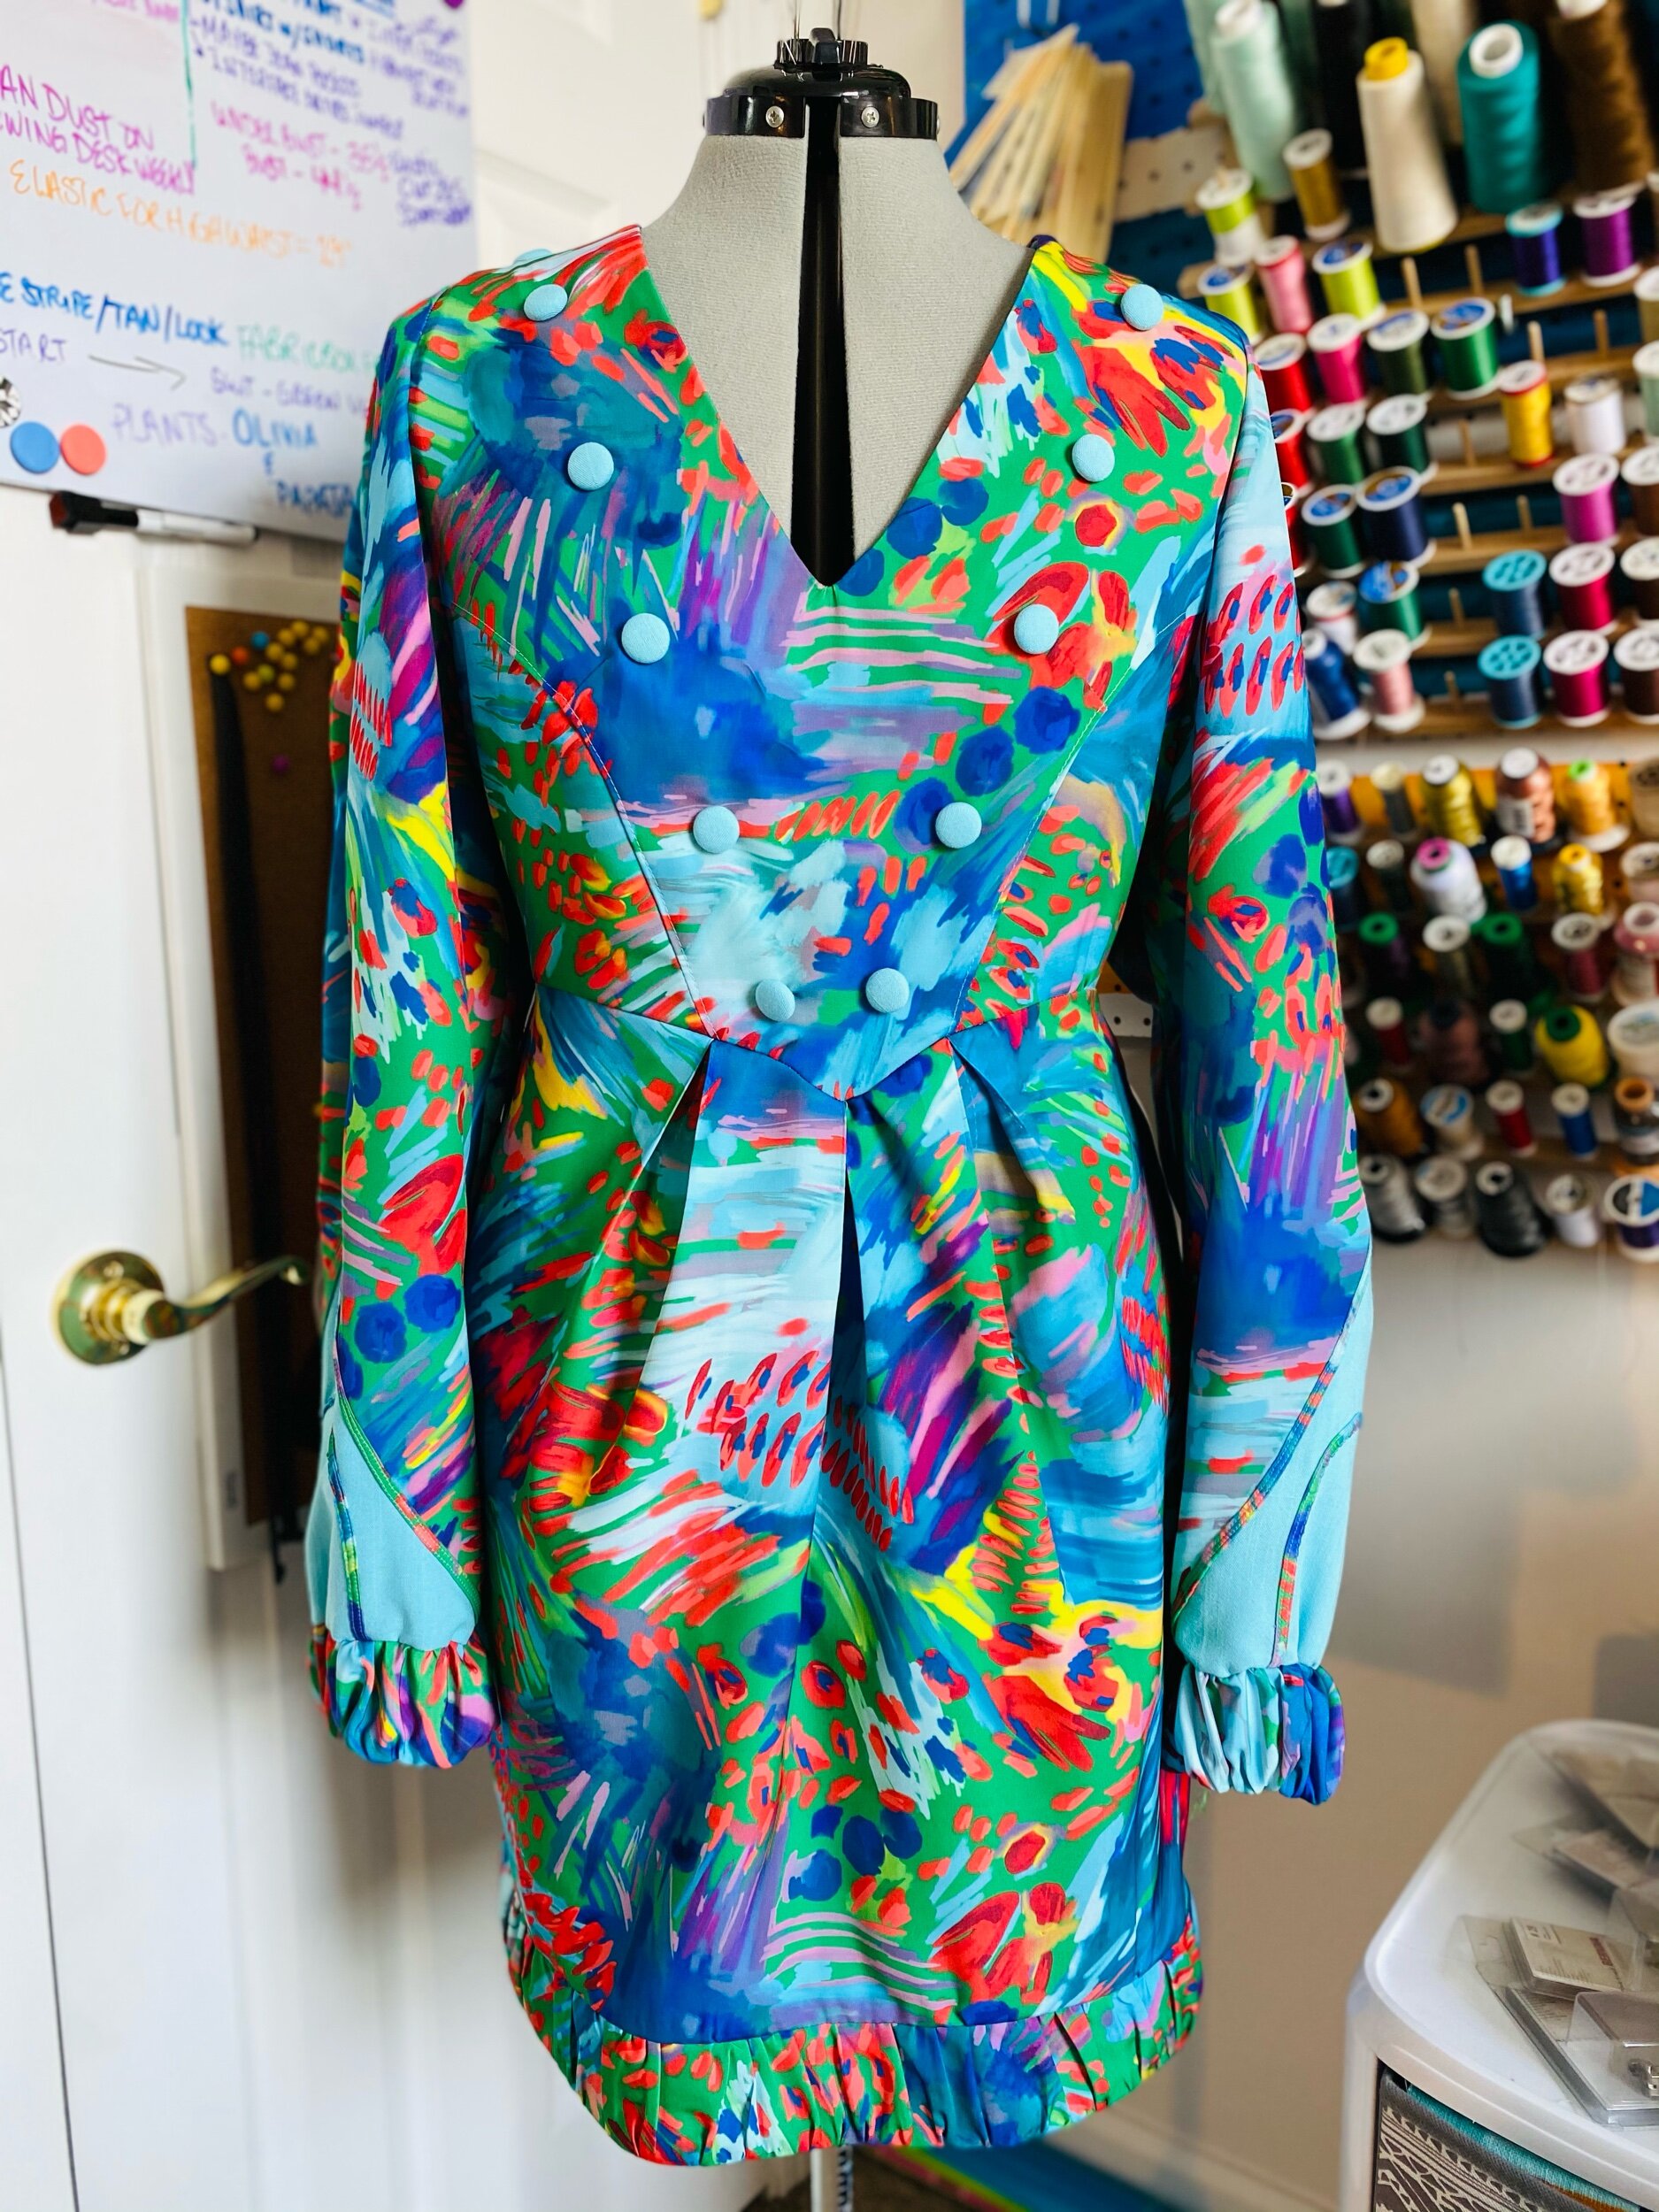
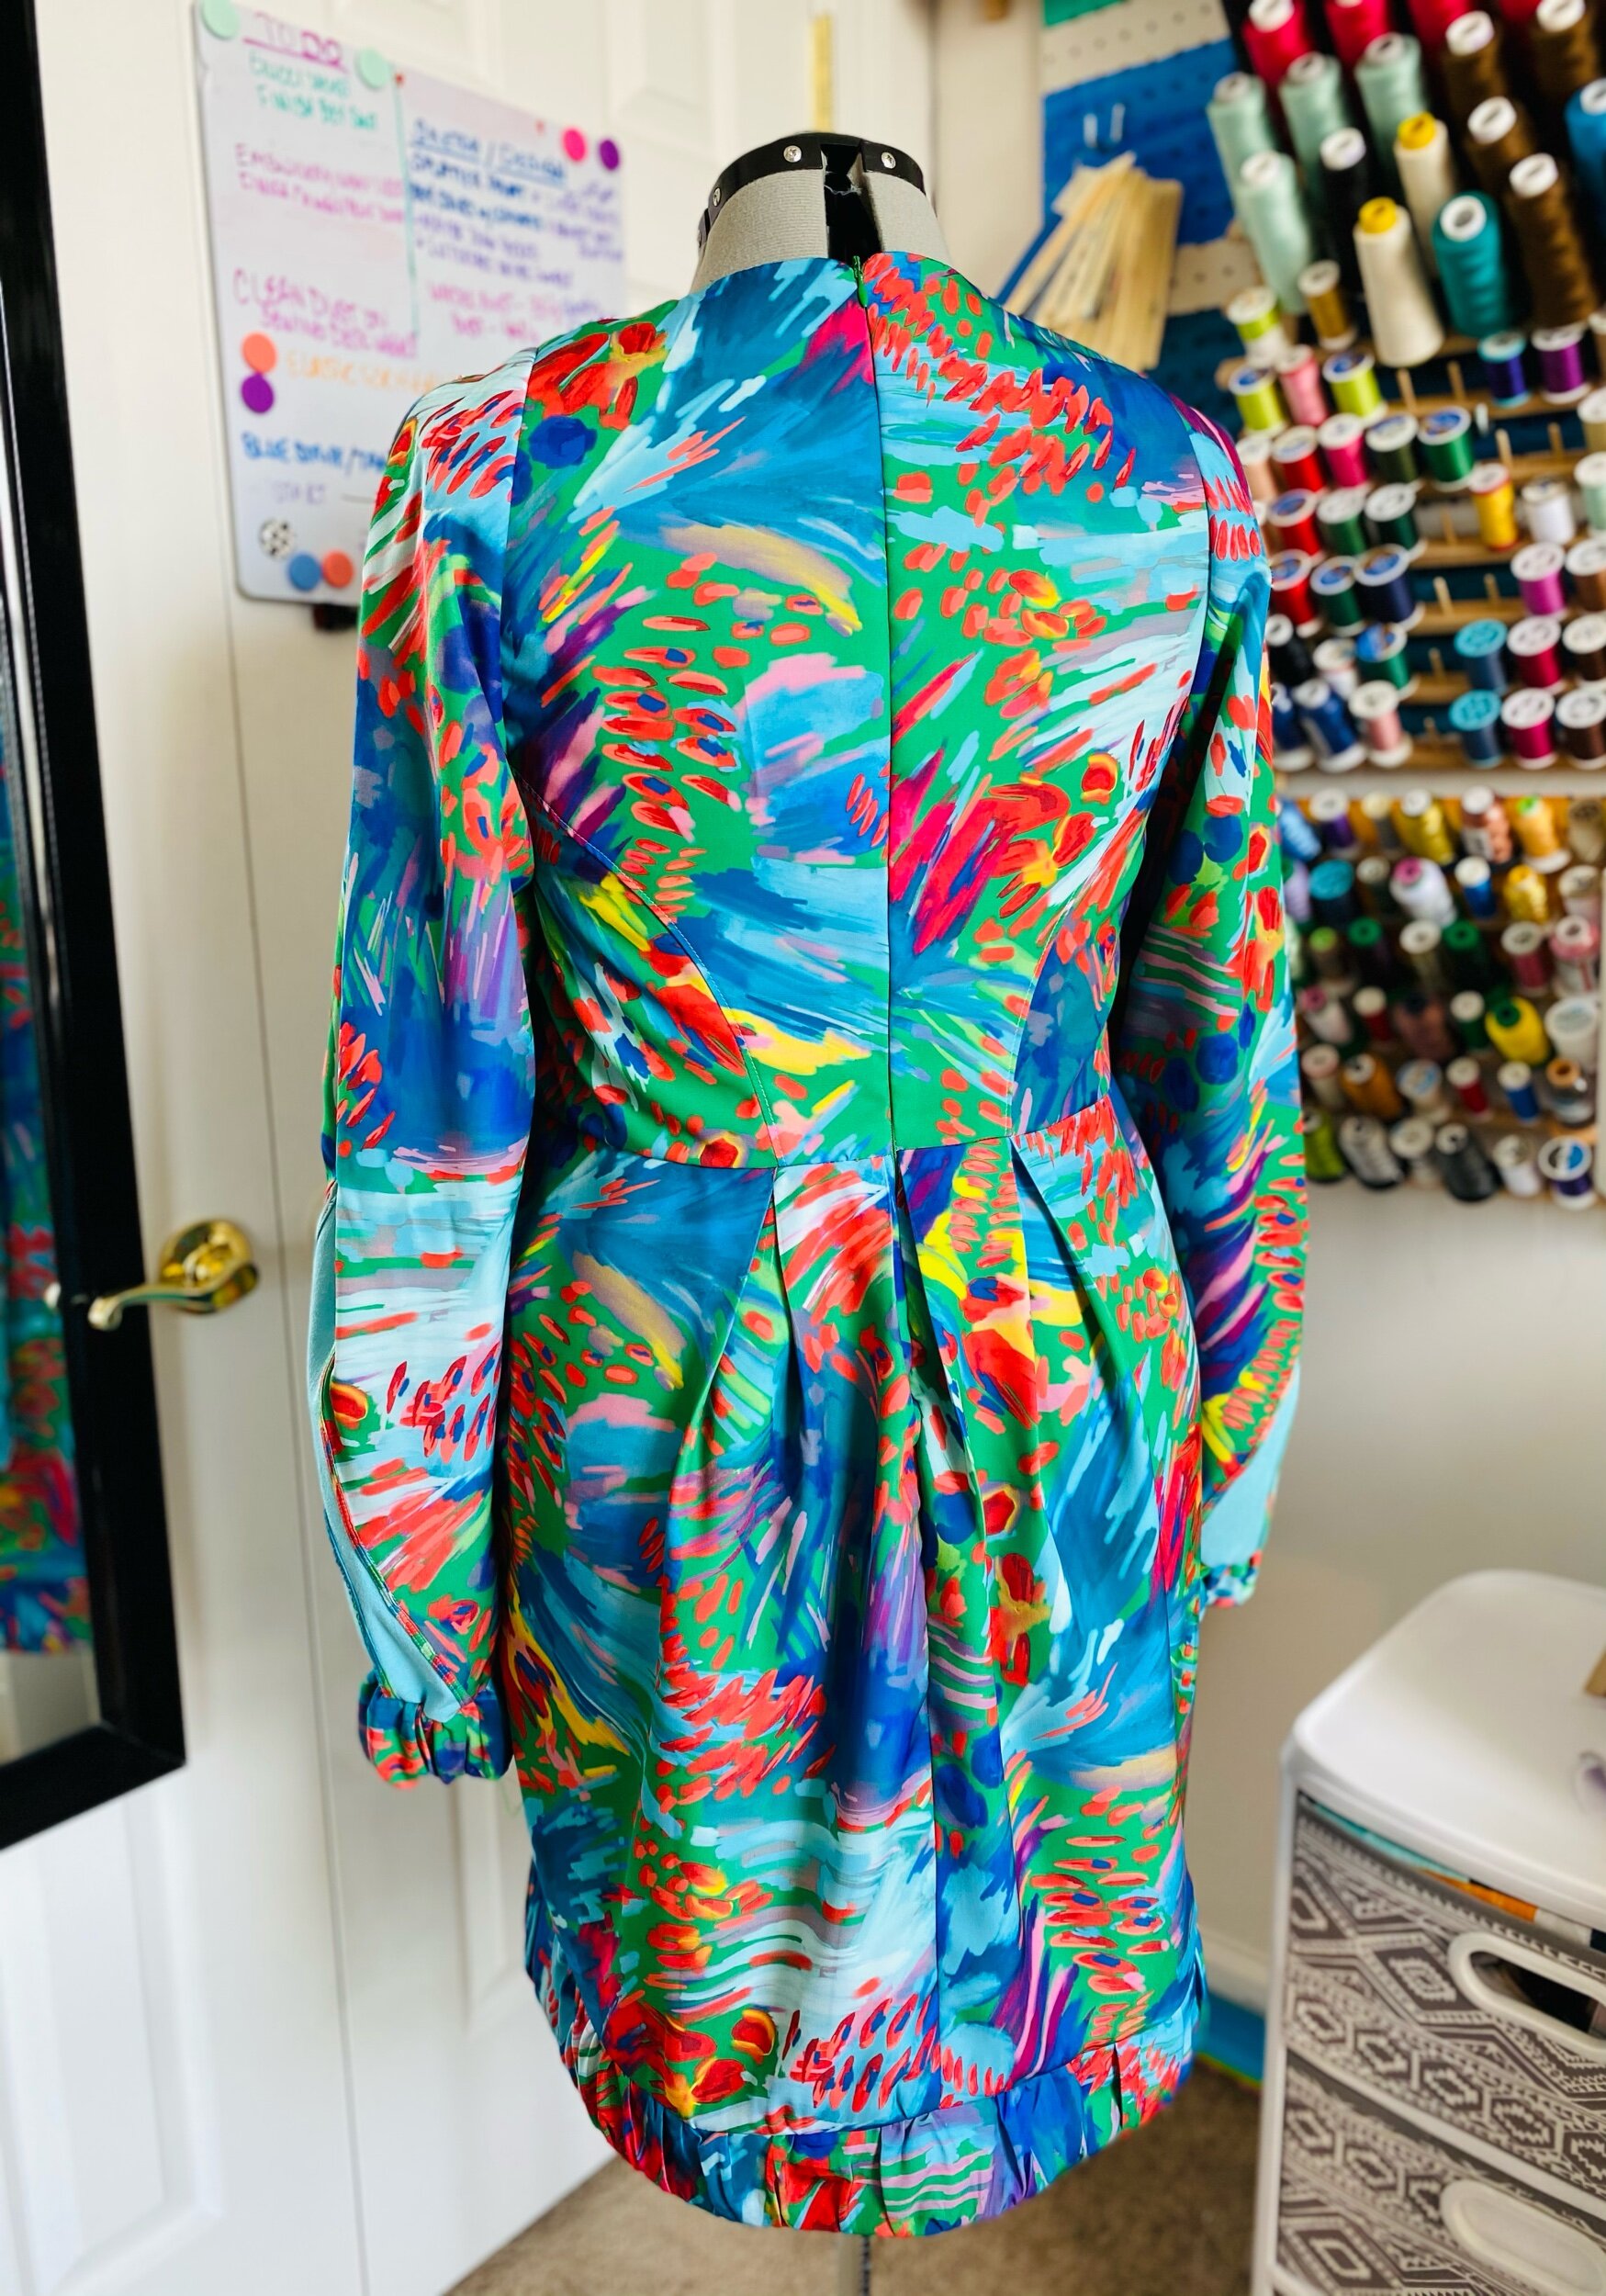
I have dreamed of the perfect fabric for this Vogue 1548 Guy Laroche pattern for quite some time. The model on the pattern is wearing this dress in white which to me was very chic but not bold enough. It was then I realized I didn’t want to use a solid this go round. Just before I became a Spoonflower Ambassador I racked up on a few prints I had my eye on. A few of those prints were obviously my sis Katie Kortman. So I had this Spoonflower Silky Faille that I never used and my machine was ready!
Designing
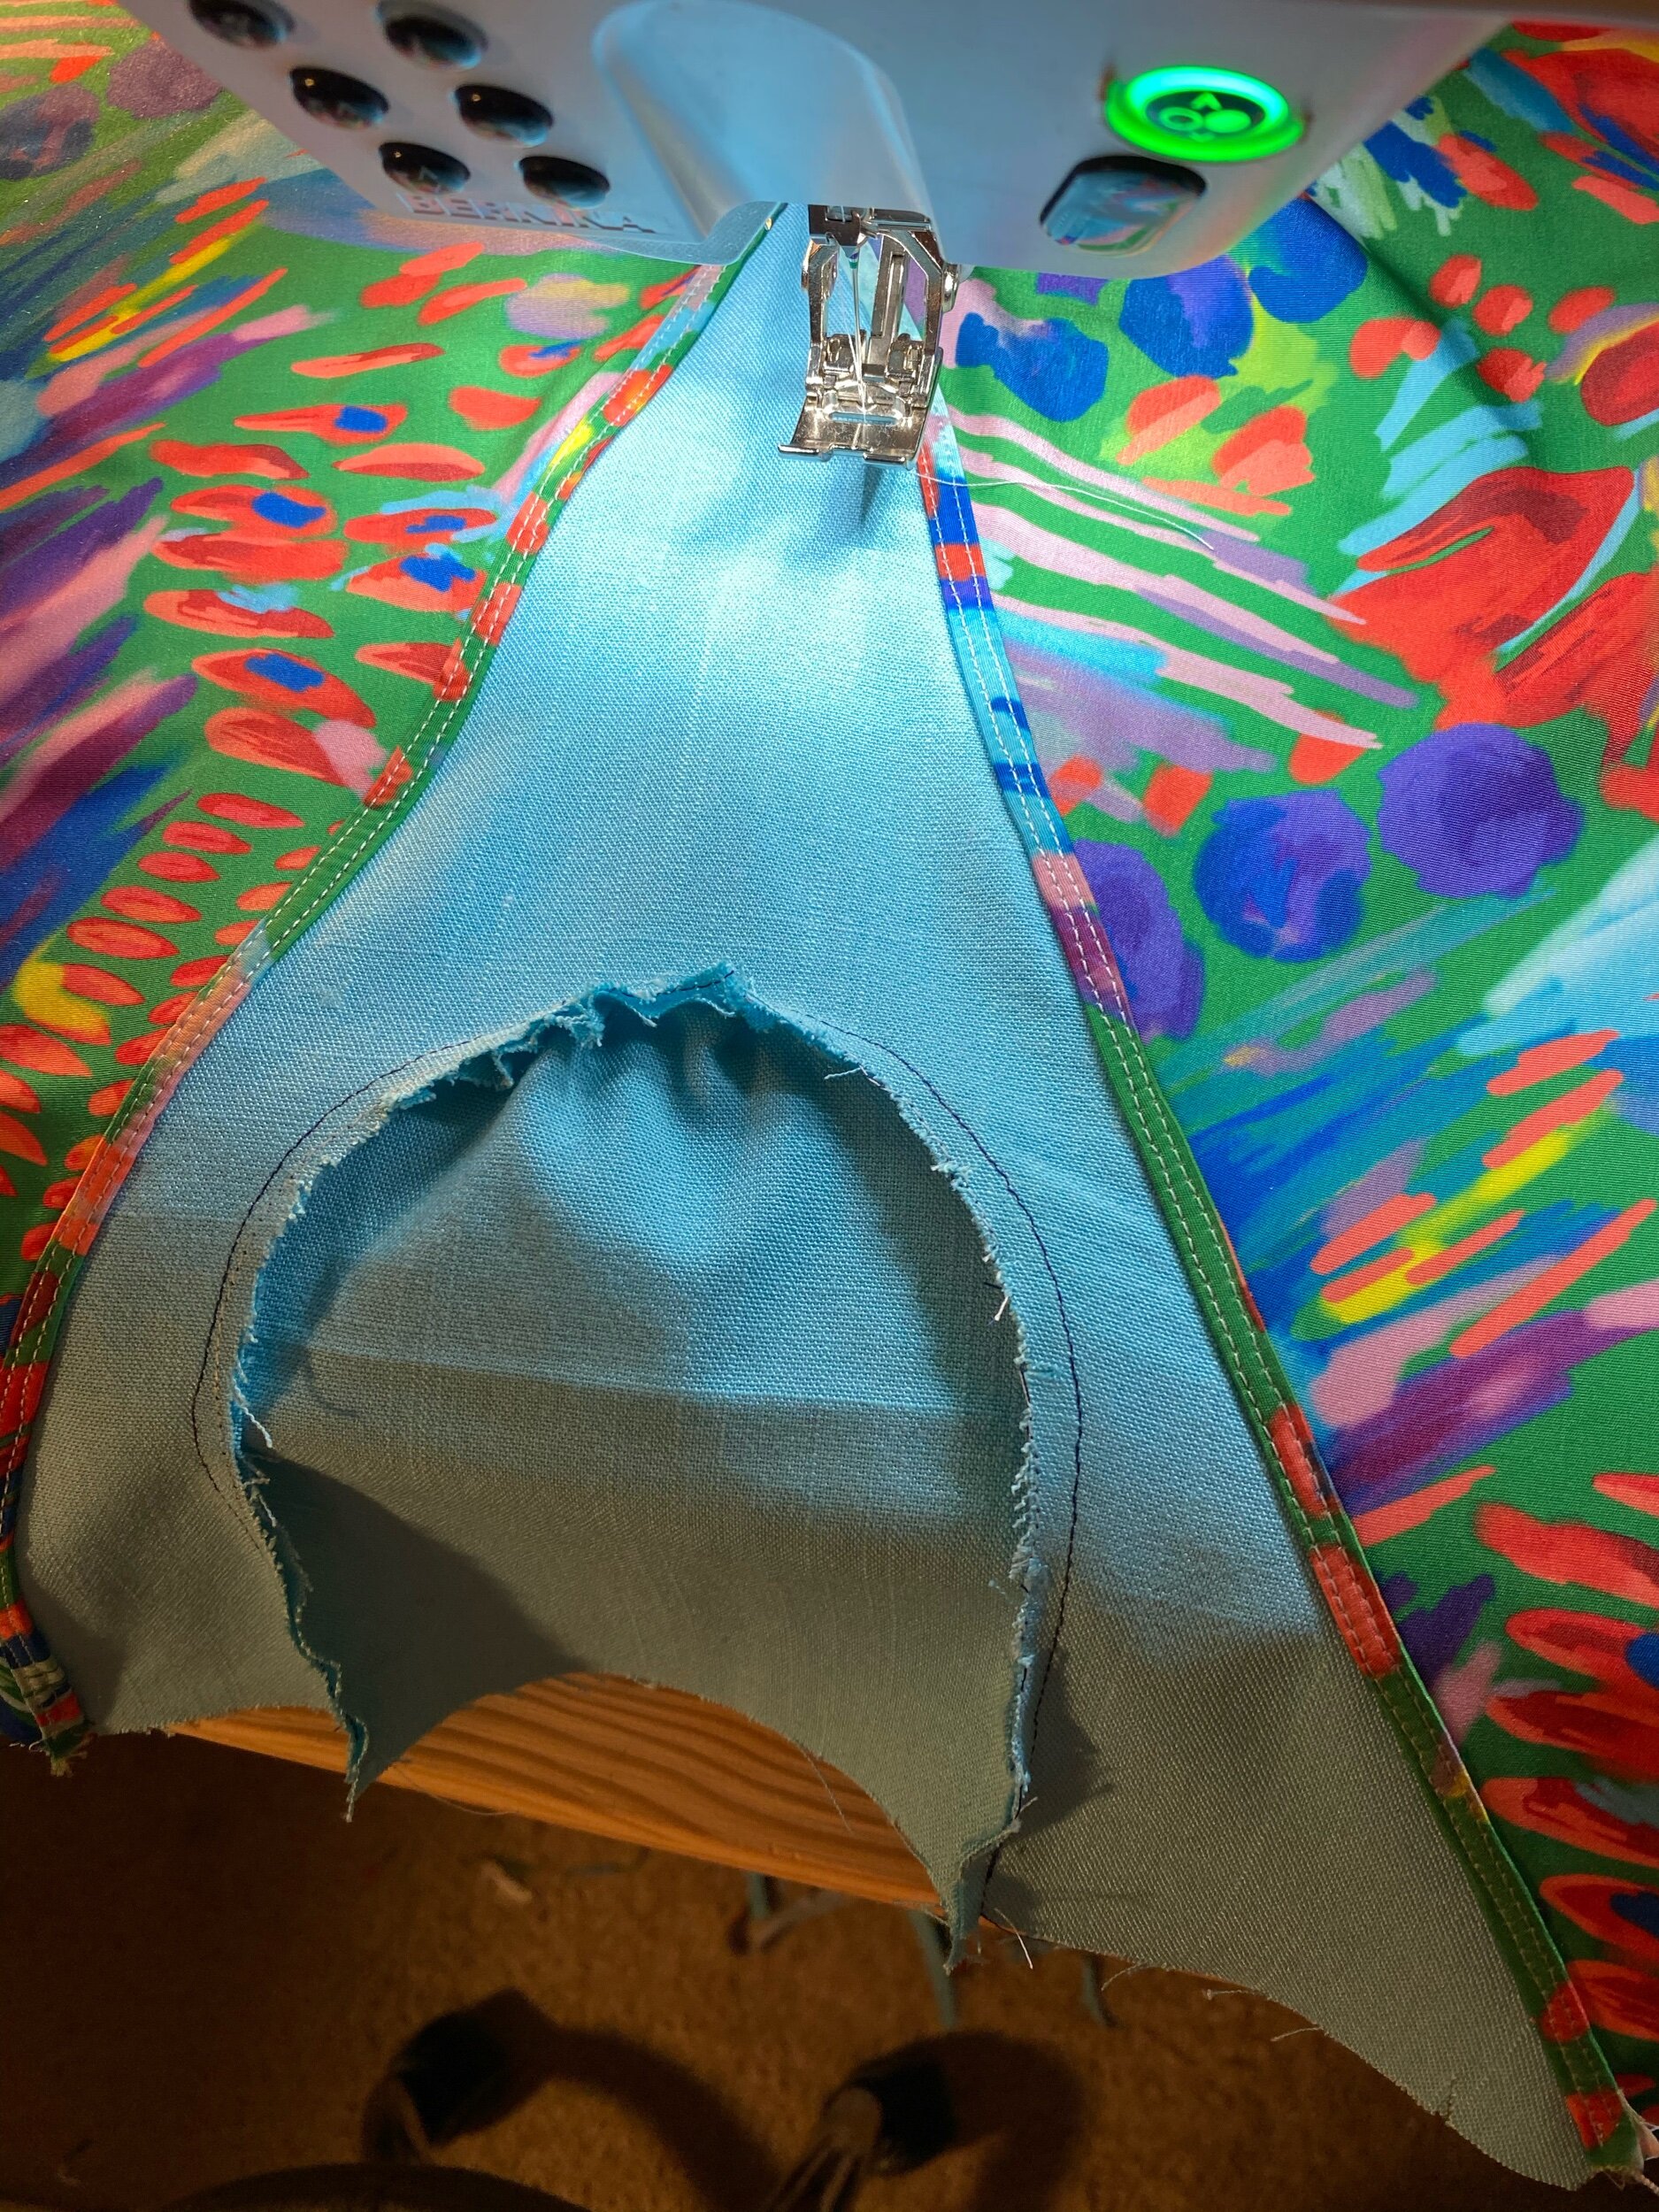
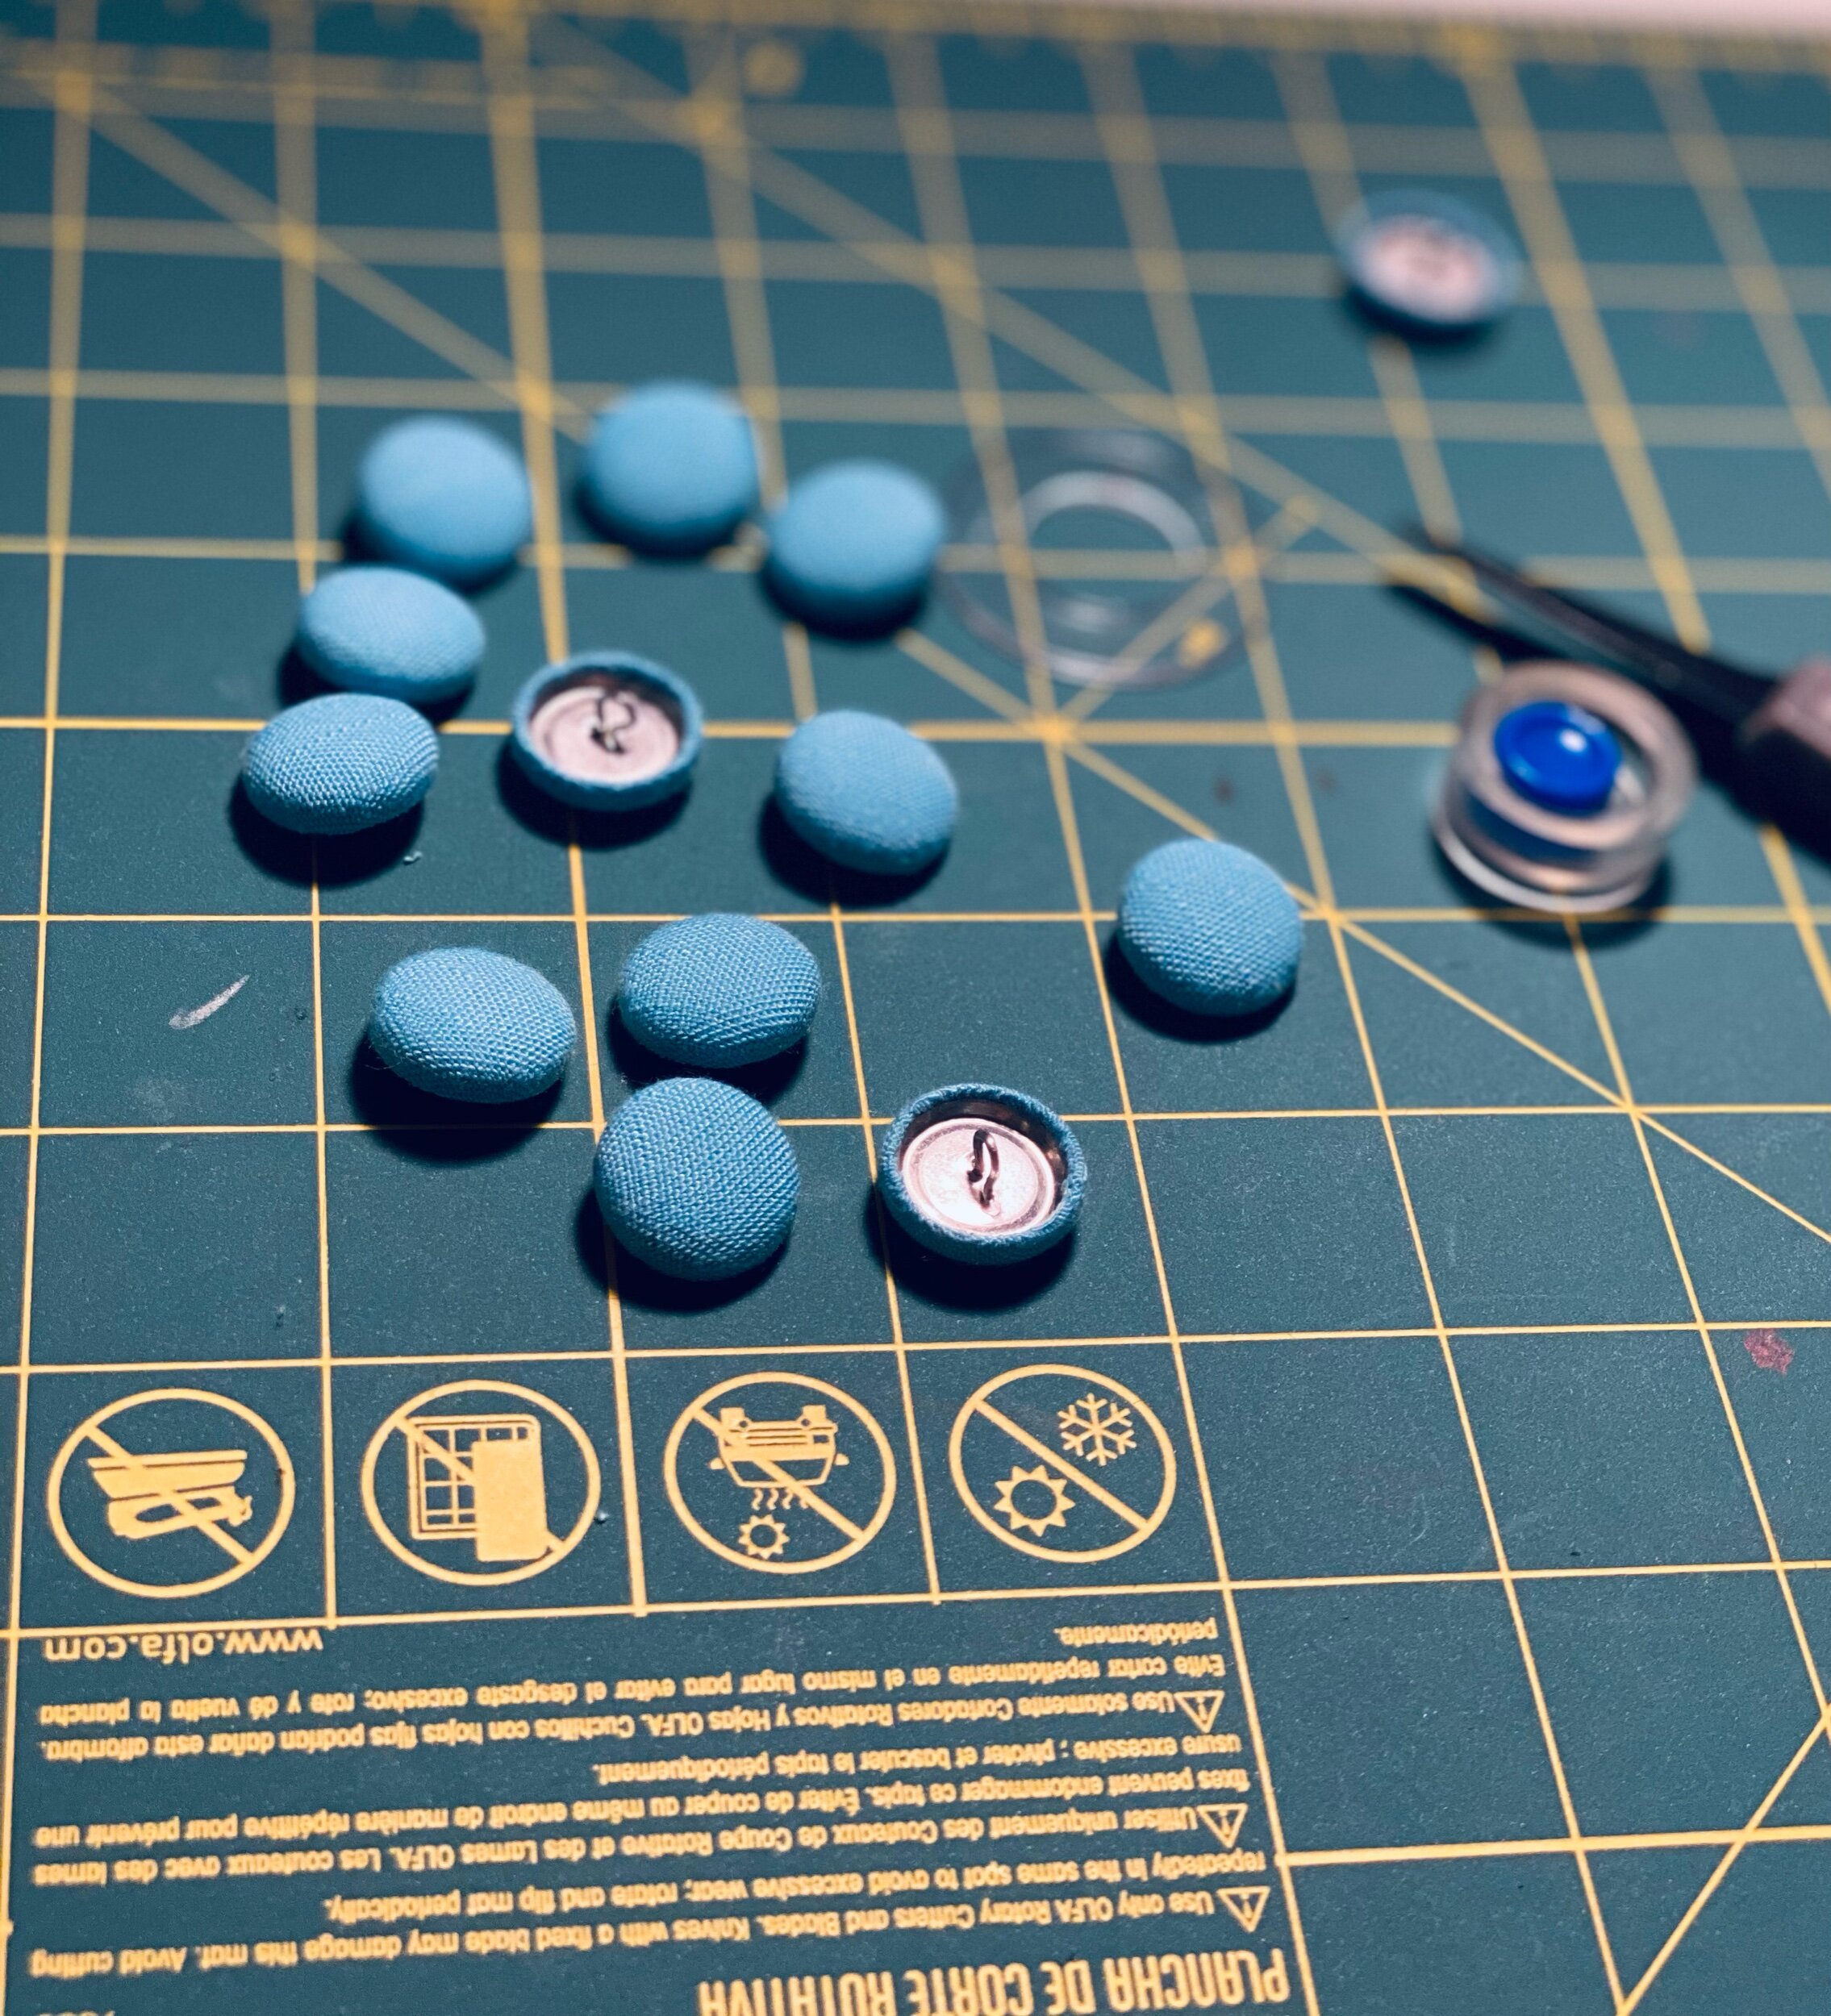
This pattern has lots of details; topstitching, making bias binding, covered buttons, pleats, invisible zipper, gathered hems, fully lined, and a good bit of hand sewing and I really wanted to highlight as much of these details as I could. If you don’t already know, I’ll usually start with a contrast. So I happened to have some sky blue linen on hand and it was perfect to contrast with this Katie Kortman print. The hard part was deciding which areas would be sky blue contrast and which wouldn’t. The binding on the sleeves were definitely an area I wanted to bring attention to so light blue on the sleeves it is. The overlay is another must for contrasting and when the dress isn’t completely buttoned up you get this peekaboo of blue and it makes me so happy. I also wanted to add the blue linen to the hem of the sleeves and the dress but I changed my mind (I wanted to use every inch of this Silky Faille).
Construction
This dress is not beginner level friendly!
The binding was one of the more tedious steps but I managed to cut down a little time with using my bias binding tool.
Tip: Be sure to always change your needles for new projects. Topstitching the binding on the sleeves are thick layers and this Spoonflower Silky Faille likes my Schmetz Chrome needle the most.
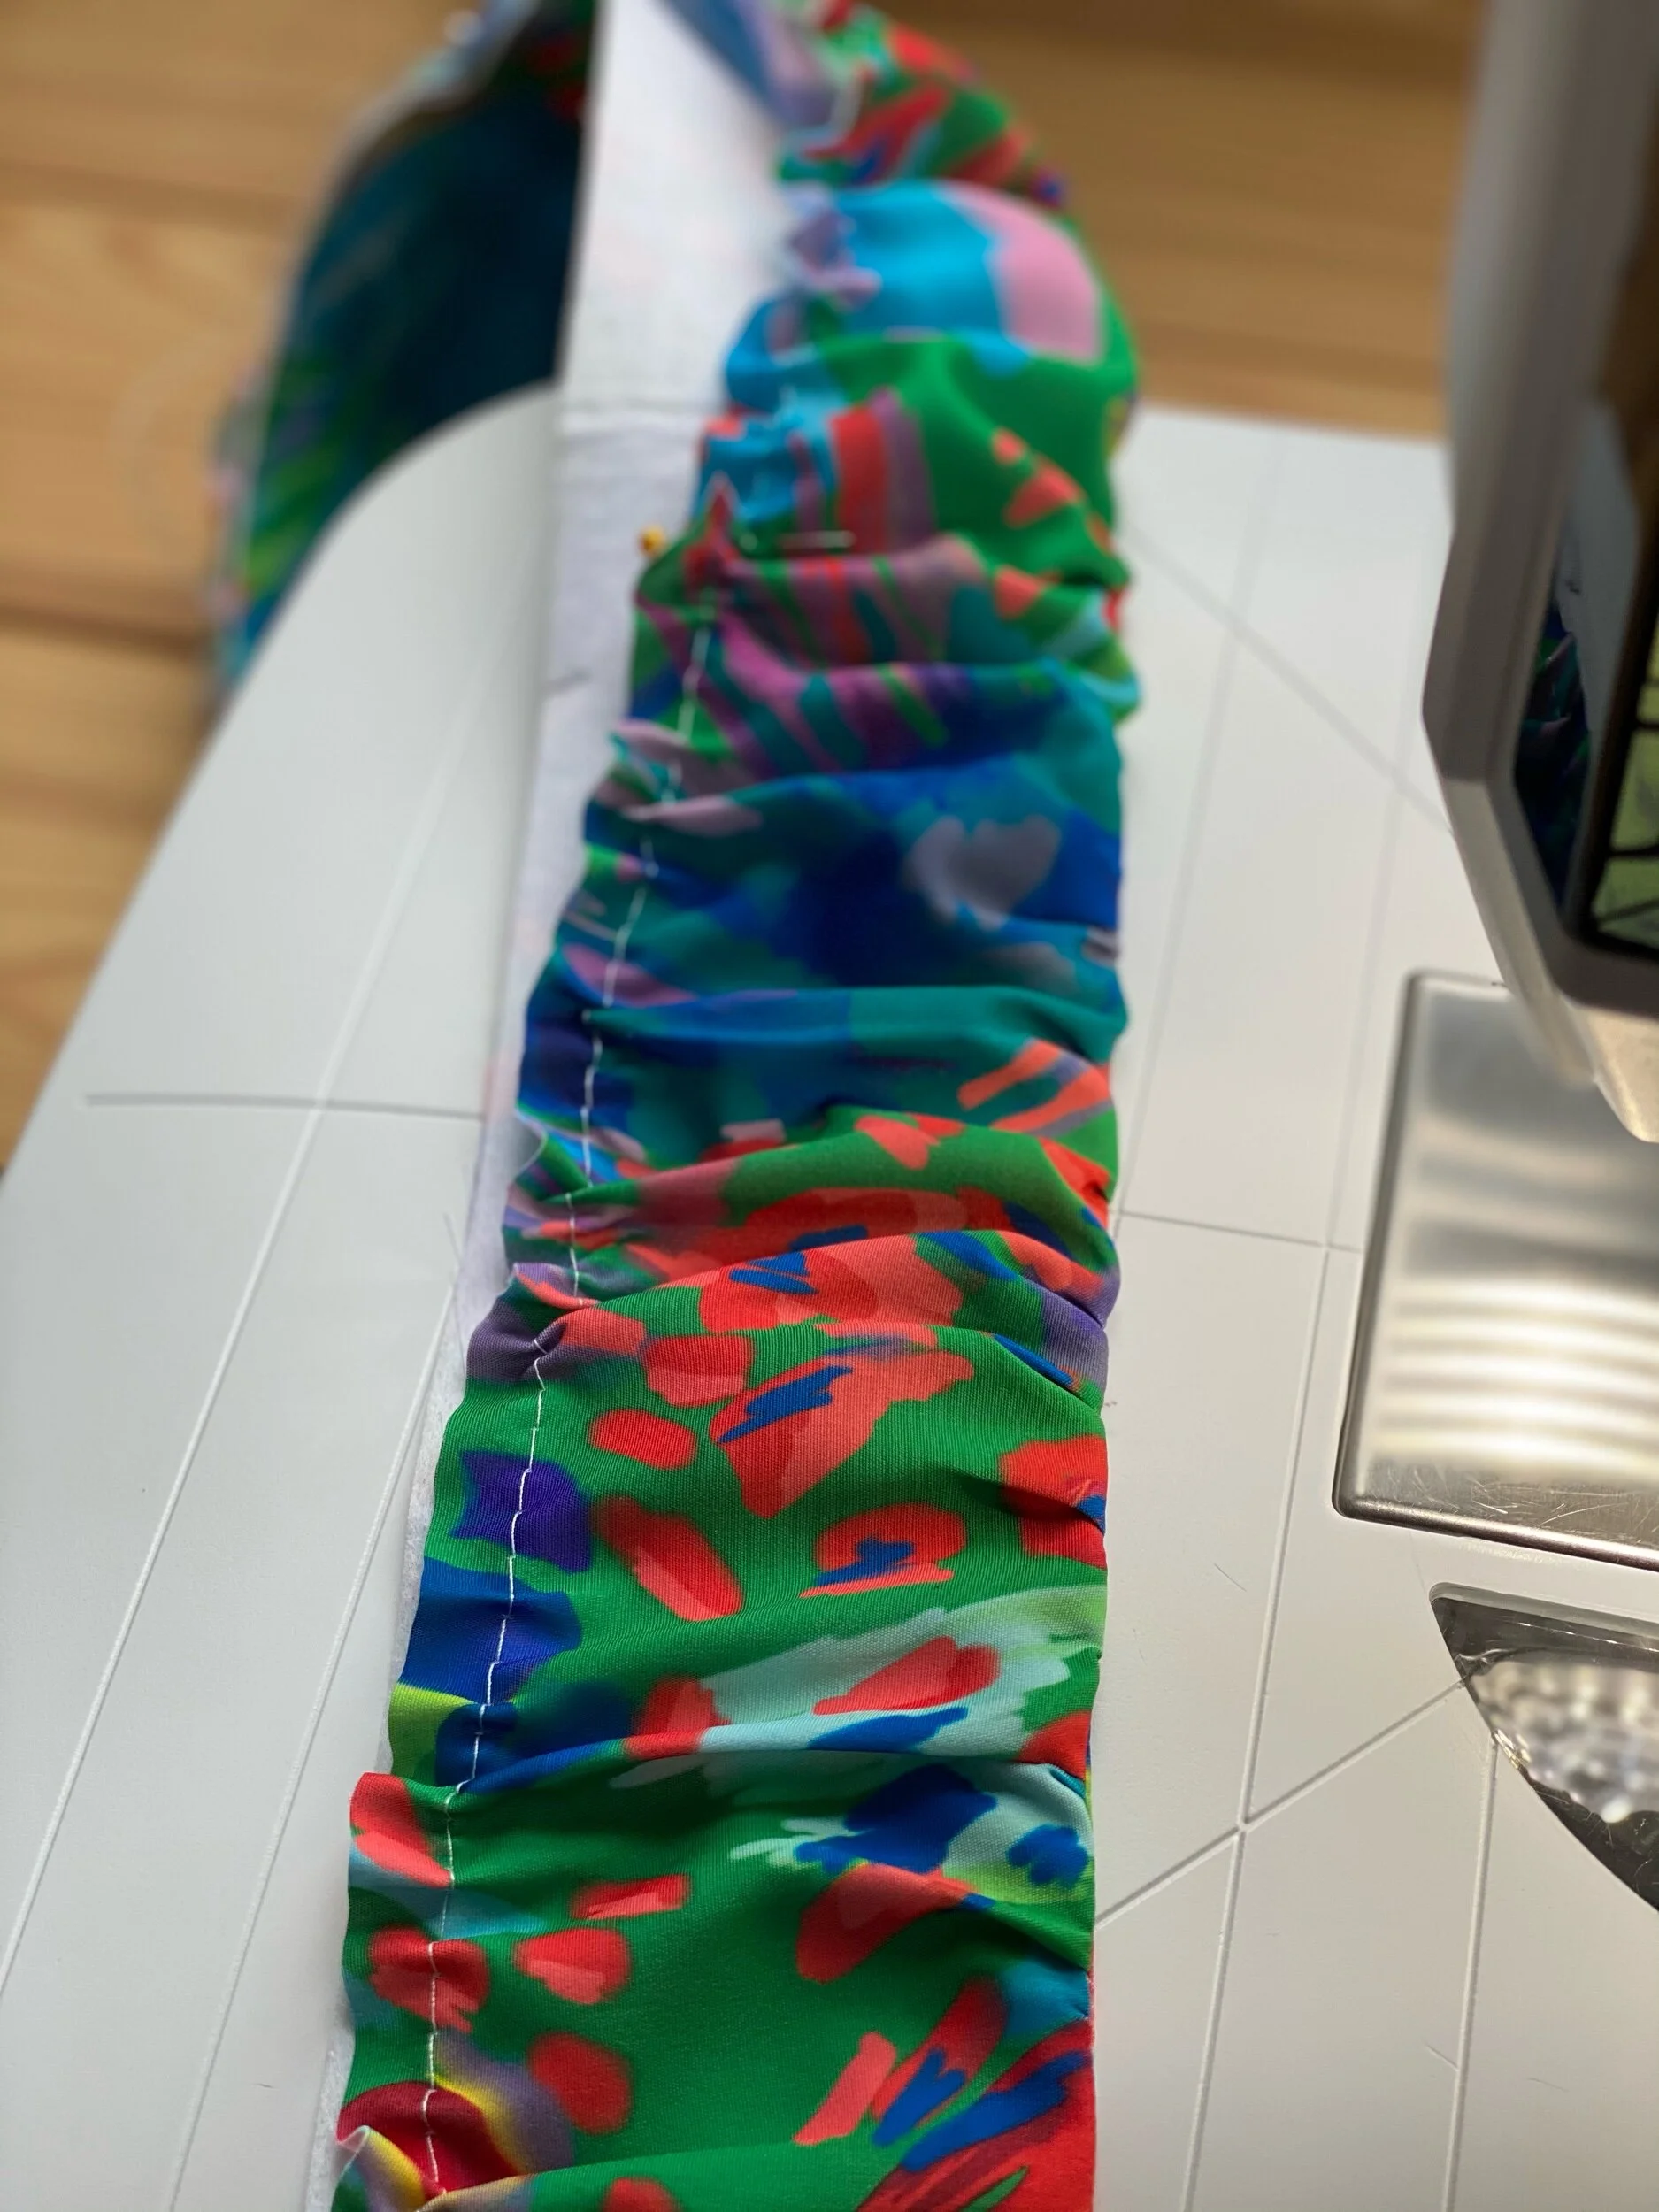
At first glance I thought that the gathered hem was achieved using elastic. Instead your gathering the outside only. I made a slight change to the sleeves and actually added elastic because the fit around the wrist was too baggy for me. This is totally by preference.
As always thanks for stopping by. I do hope you enjoyed this colorful Guy Larouche Dress.
Peace & Blessings
Lush & Wild
Lush & Wild
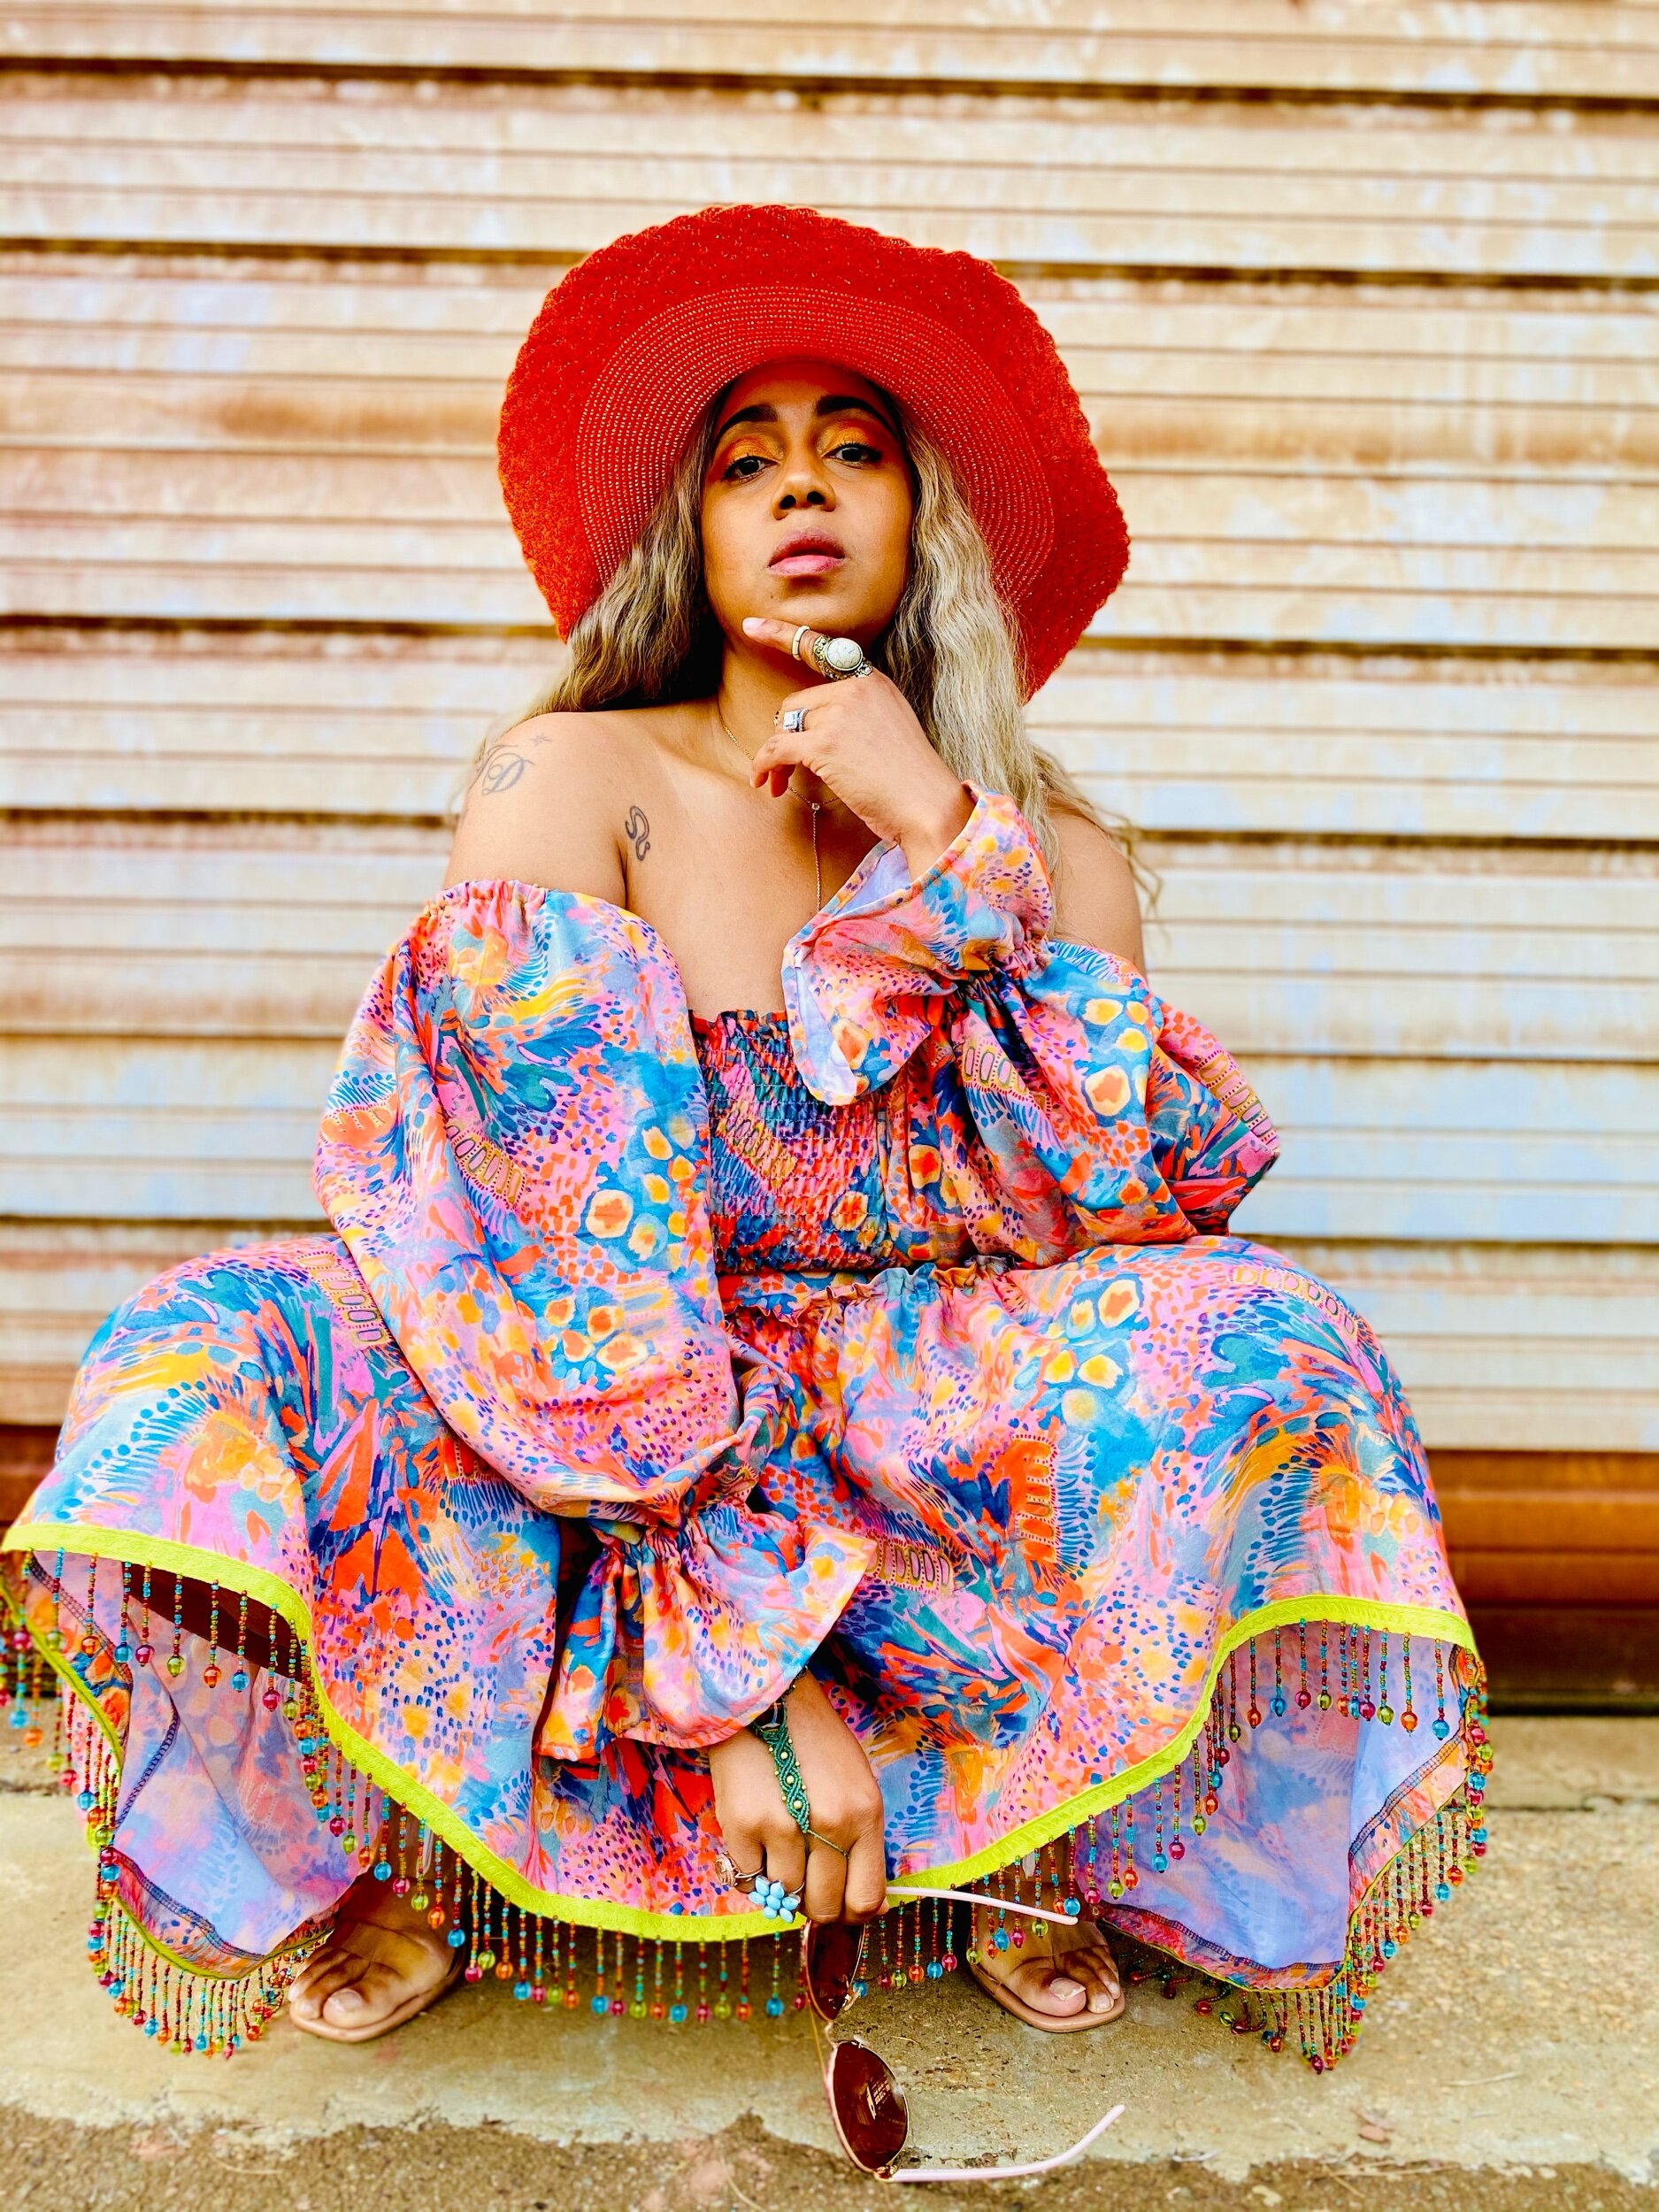
I had the pleasure of receiving Katie Kortman’s Lush & Wild double gauze fabric in this beautiful print before it was released April 19th on Fabricdotcom. Click the link here to view the entire collection. Let’s just say I absolutely love these prints
The fabric choices include double gauze, sateen, canvas, and quilting cotton. The hand on the double gauze is a nice soft drape and perfect for Spring and Summer. After sharing a sneak peak of this look on my IG, this print sold out on the 1st day lol. But don’t worry they will print more and it will be available again soon.
Shirring
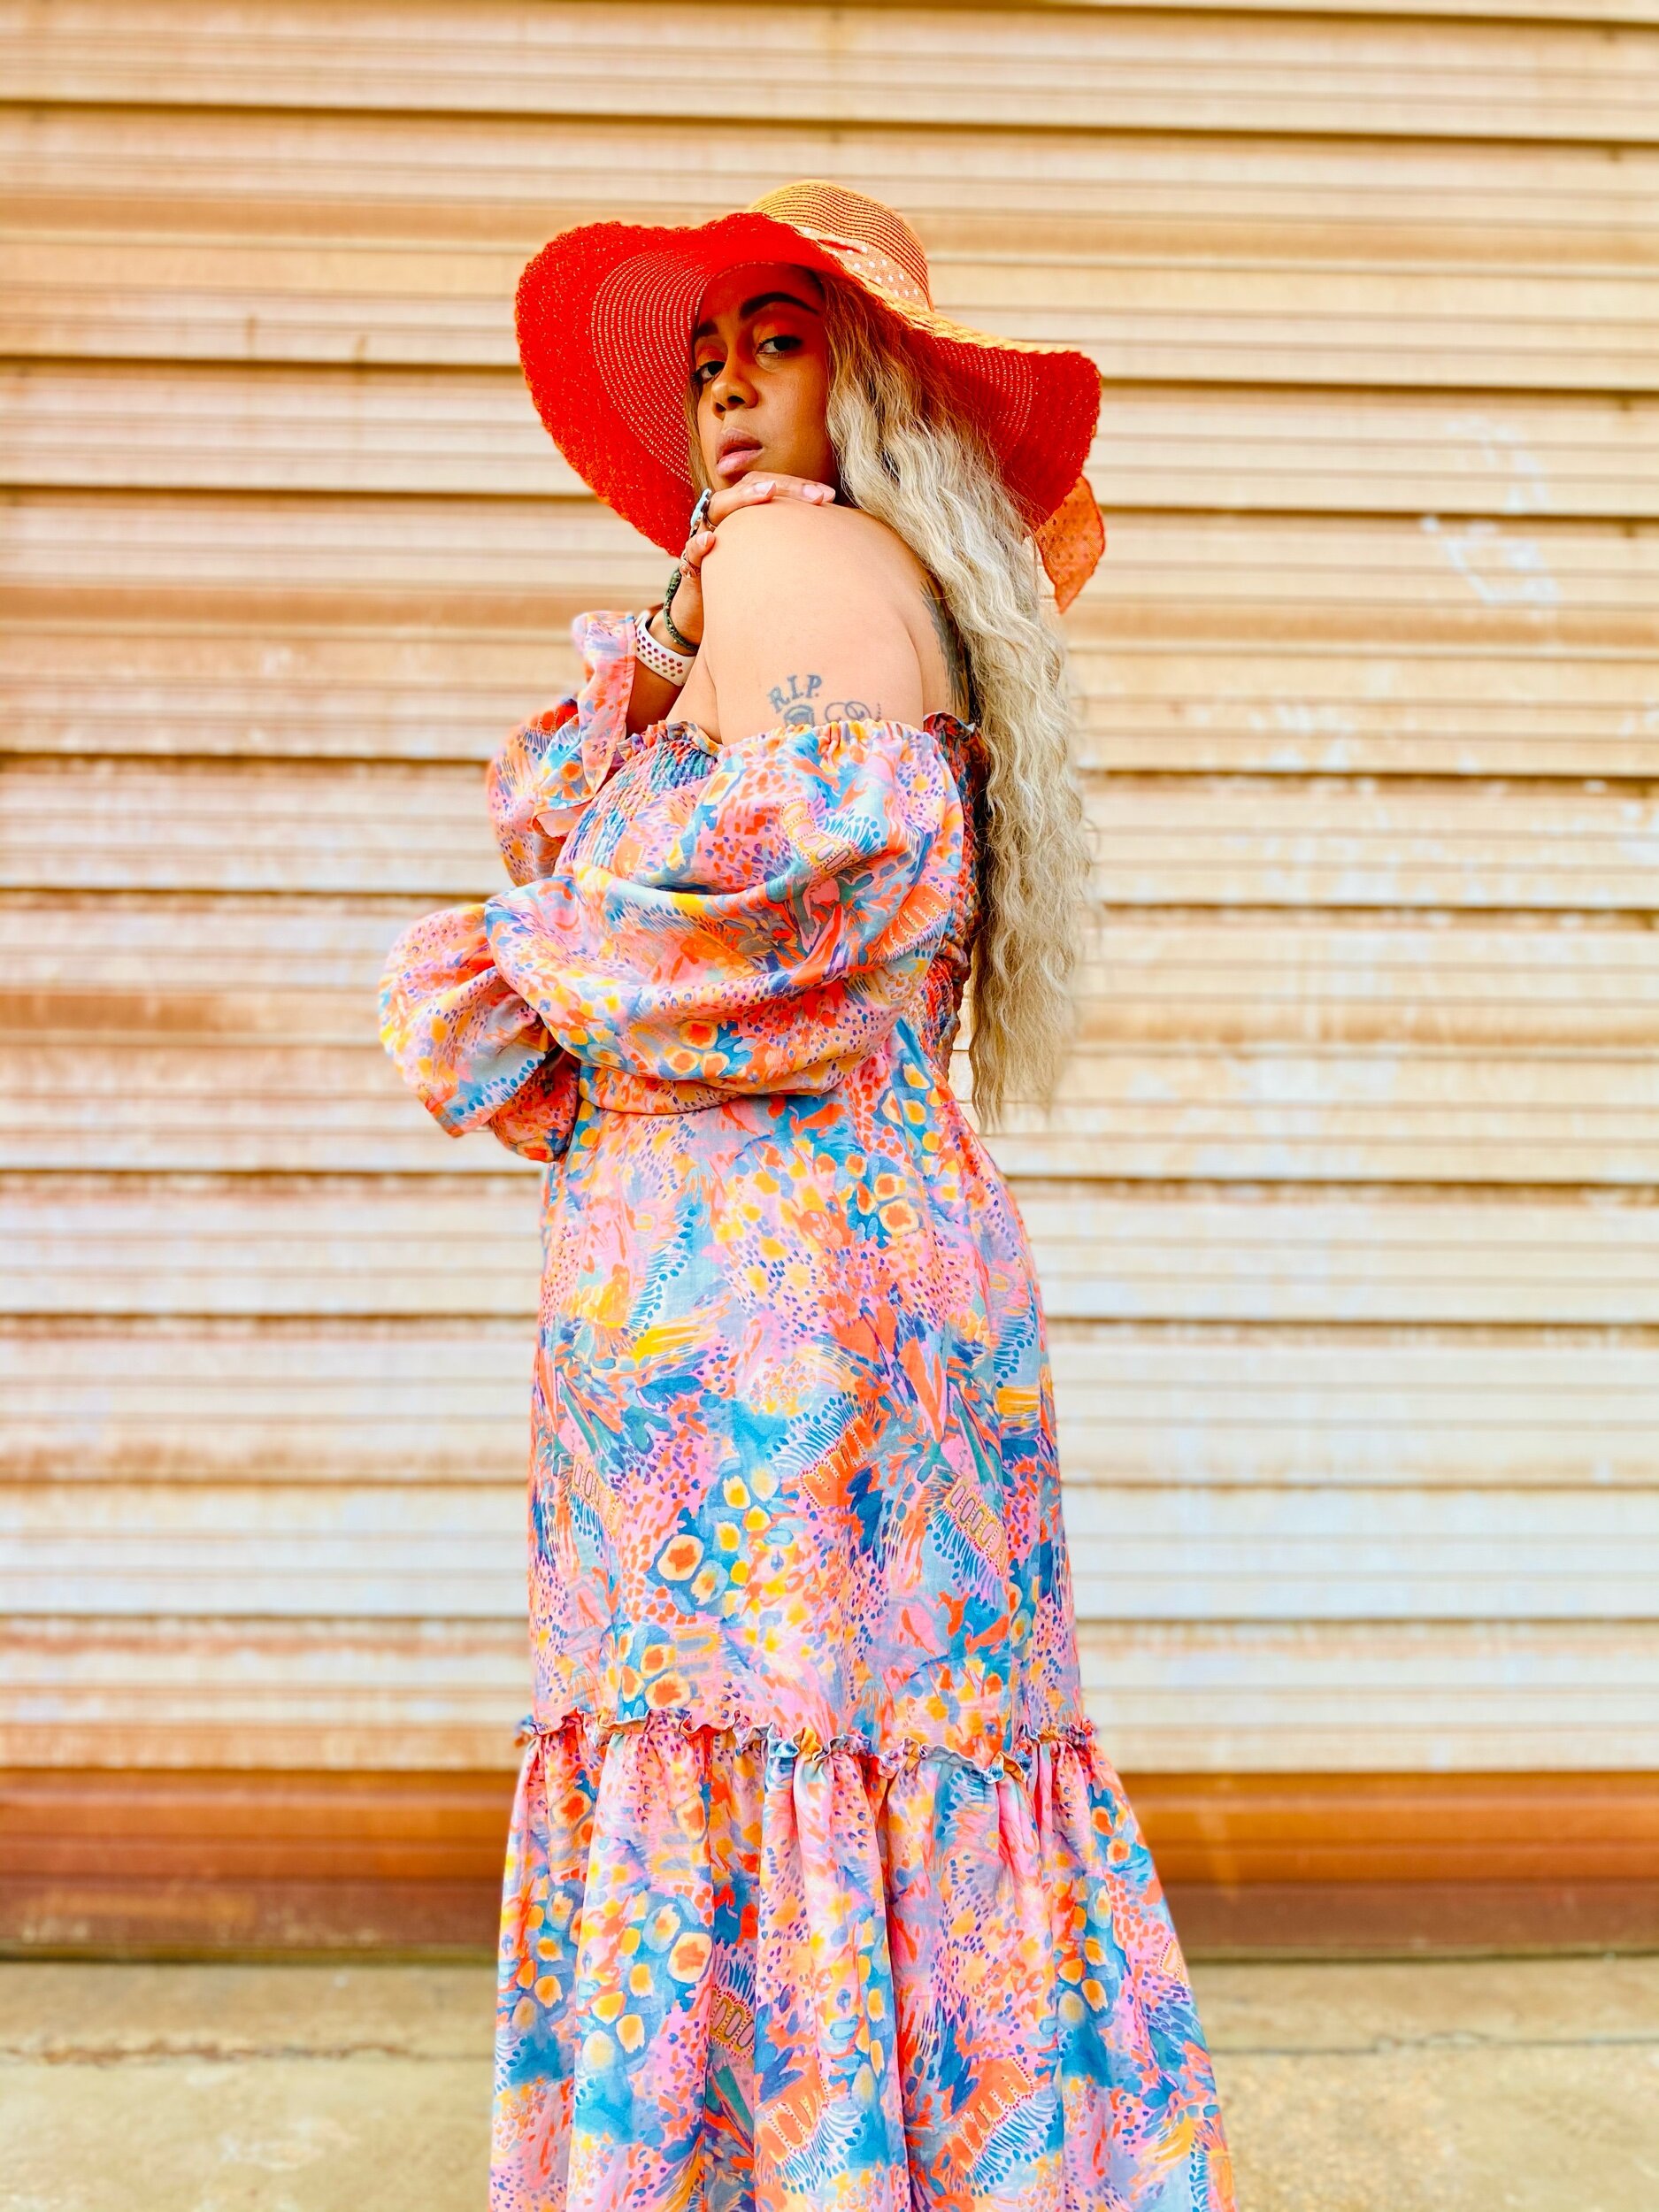
I had never tried shirring and with the 4 yards of fabric I had, I figured I could squeeze out shirring, big sleeves, and a gathered skirt. Luckily I was able to finish this dress with about 1/4 of a yard to spare.
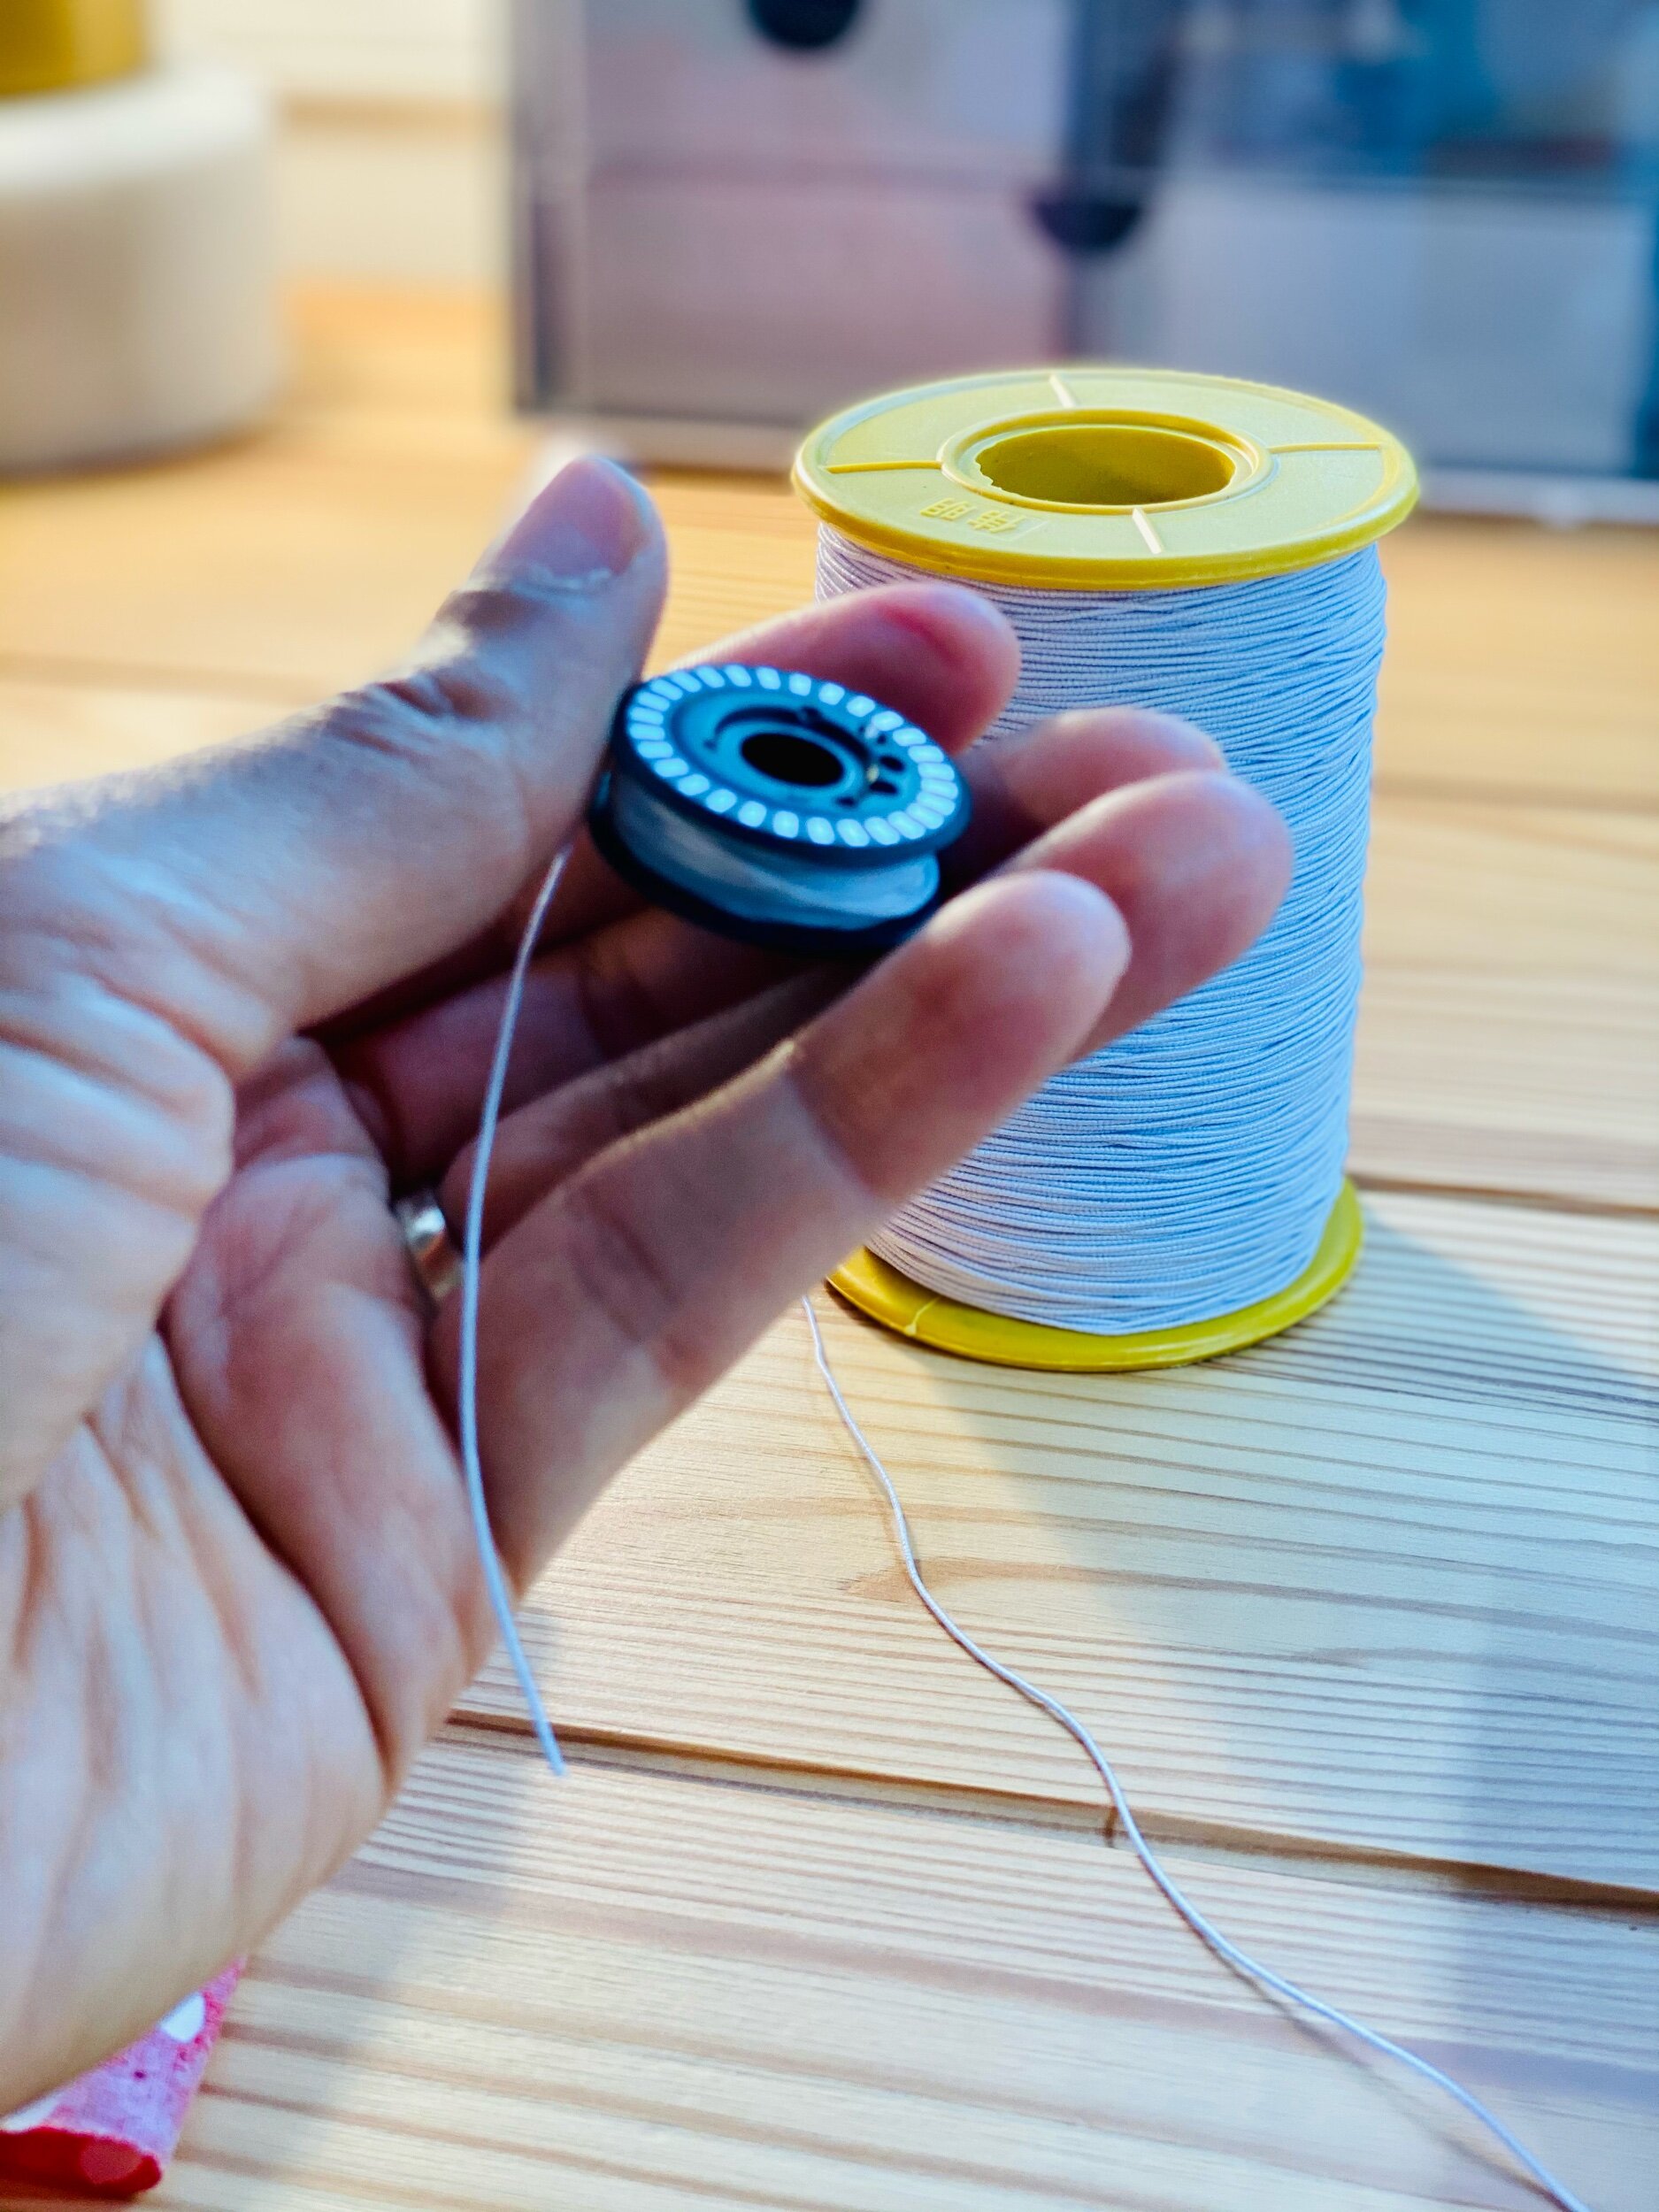
Okay, so many people told me they’re afraid of shirring. I too was skurrd lol. But I finally put my fears aside after my friend Raven assured me that it wasn’t that bad. One of the most tedious things about shirring is hand winding your bobbins. I sew on my Bernina 880 plus and the elastic thread is too thick to feed through my automatic bobbin threader. If your machine can, then by all means do you. The great thing about my 880 is that the bobbins are jumbo size so I only used about 3 and a half bobbins for my elastic thread.
Please keep in mind the amount of shirring you choose and spacing will determine how much elastic thread you will need. I will say you will about 3-5 bobbins for shirring spaced 1cm apart and on an average of 20-30 rows of shirring should be enough. You want to be sure not to wind your bobbin too loose or too tight!
For this project you will need:
Sewing machine
elastic thread (check out my Amazon shop here)
all purpose thread
Binding or bias tape (for sleeves)
Lingerie Elastic 3/8” or 5/8” (for sleeves)
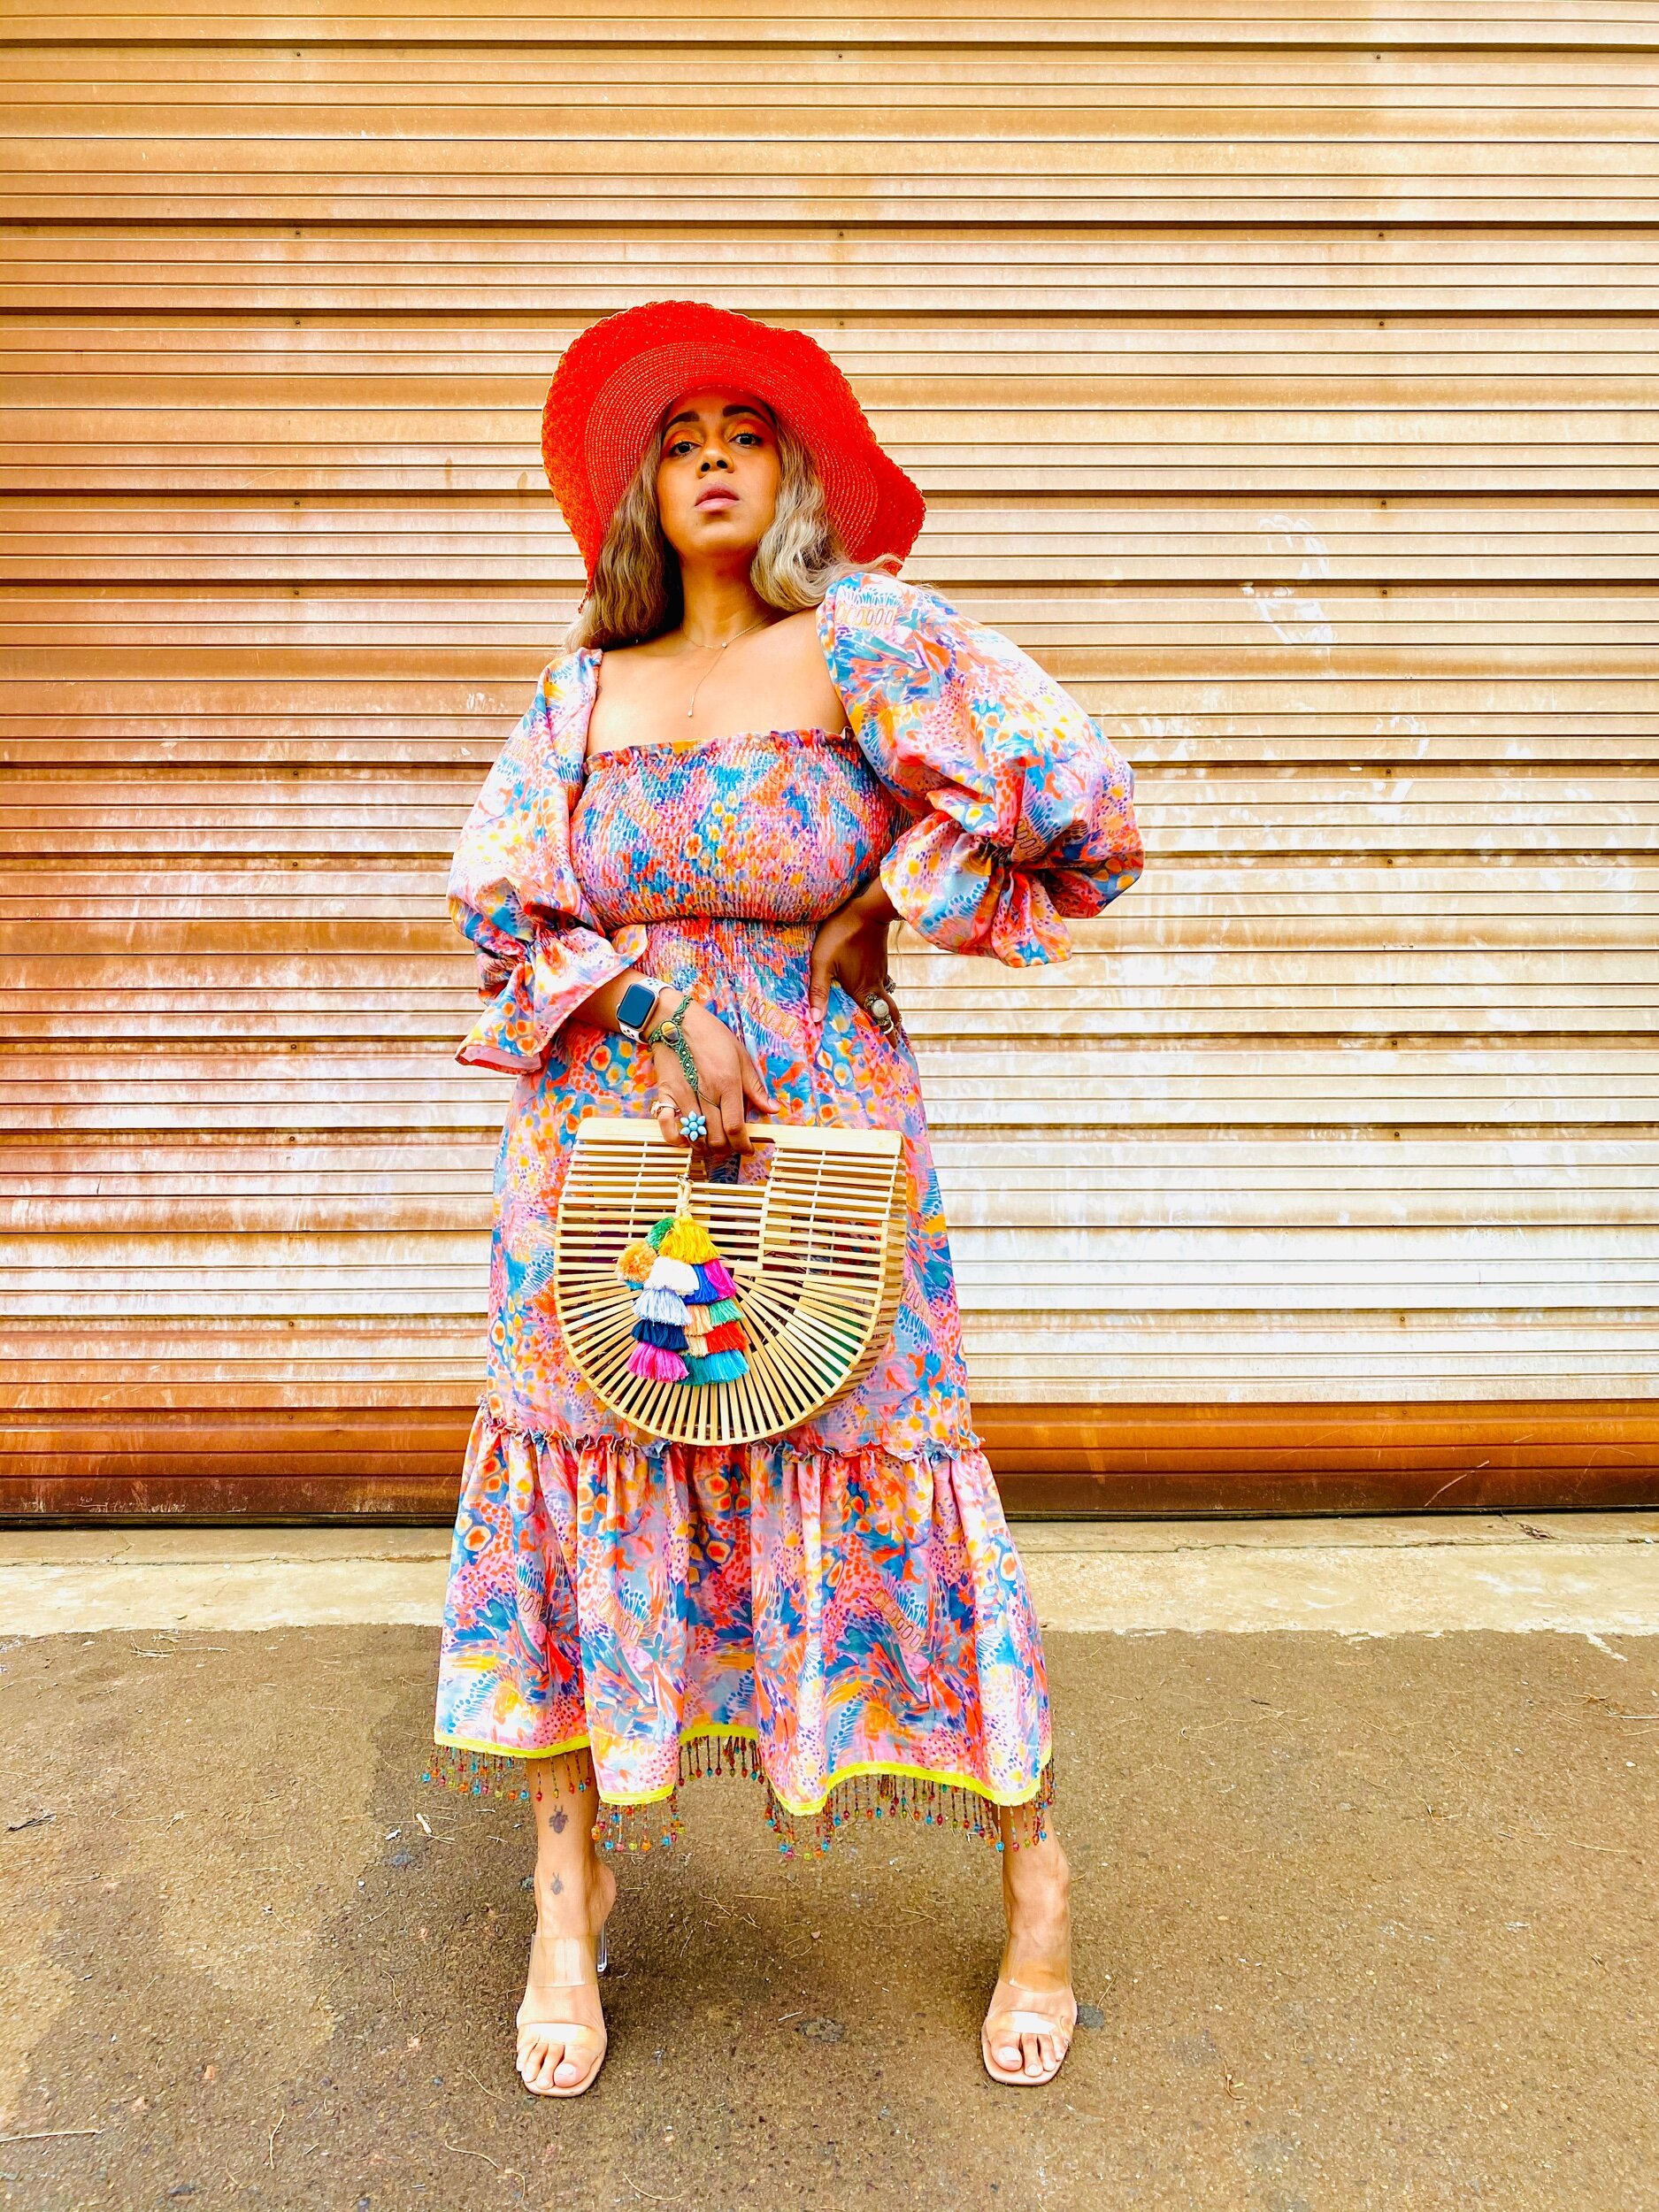
This dress is the By Hand London Shirred dress. It’s literally 4 rectangles. What you will need is your bust measurement x 1.5 and whatever length you want for your dress. For the bottom tier, multiply your dress measurement by 2 and the length about 20 inches (you can make this shorter or longer). For the sleeves cut two rectangles 24” long and 30” wide. You can find more in-depth details in the highlights of @Byhandlondon for this shirred dress.
I sewed 29 rows of shirring for my dress. My bust measurement is 42” so I needed more than the suggested 20 rows of shirring.
For the bottom tier I wanted an exposed gathered look so I did a rolled hem on the top and gathered by using my Bernina Ruffler foot.
I wanted a little razzle dazzle so I added this beaded trim I had on hand to the bottom hem of the dress.
I do hope you enjoyed this look and that you go check out the new Lush & Wild Collection by Katie Kortman! Thanks for stopping by and as always
Peace & Blessings!
Purple Rain-Bow
Welcoming Spring
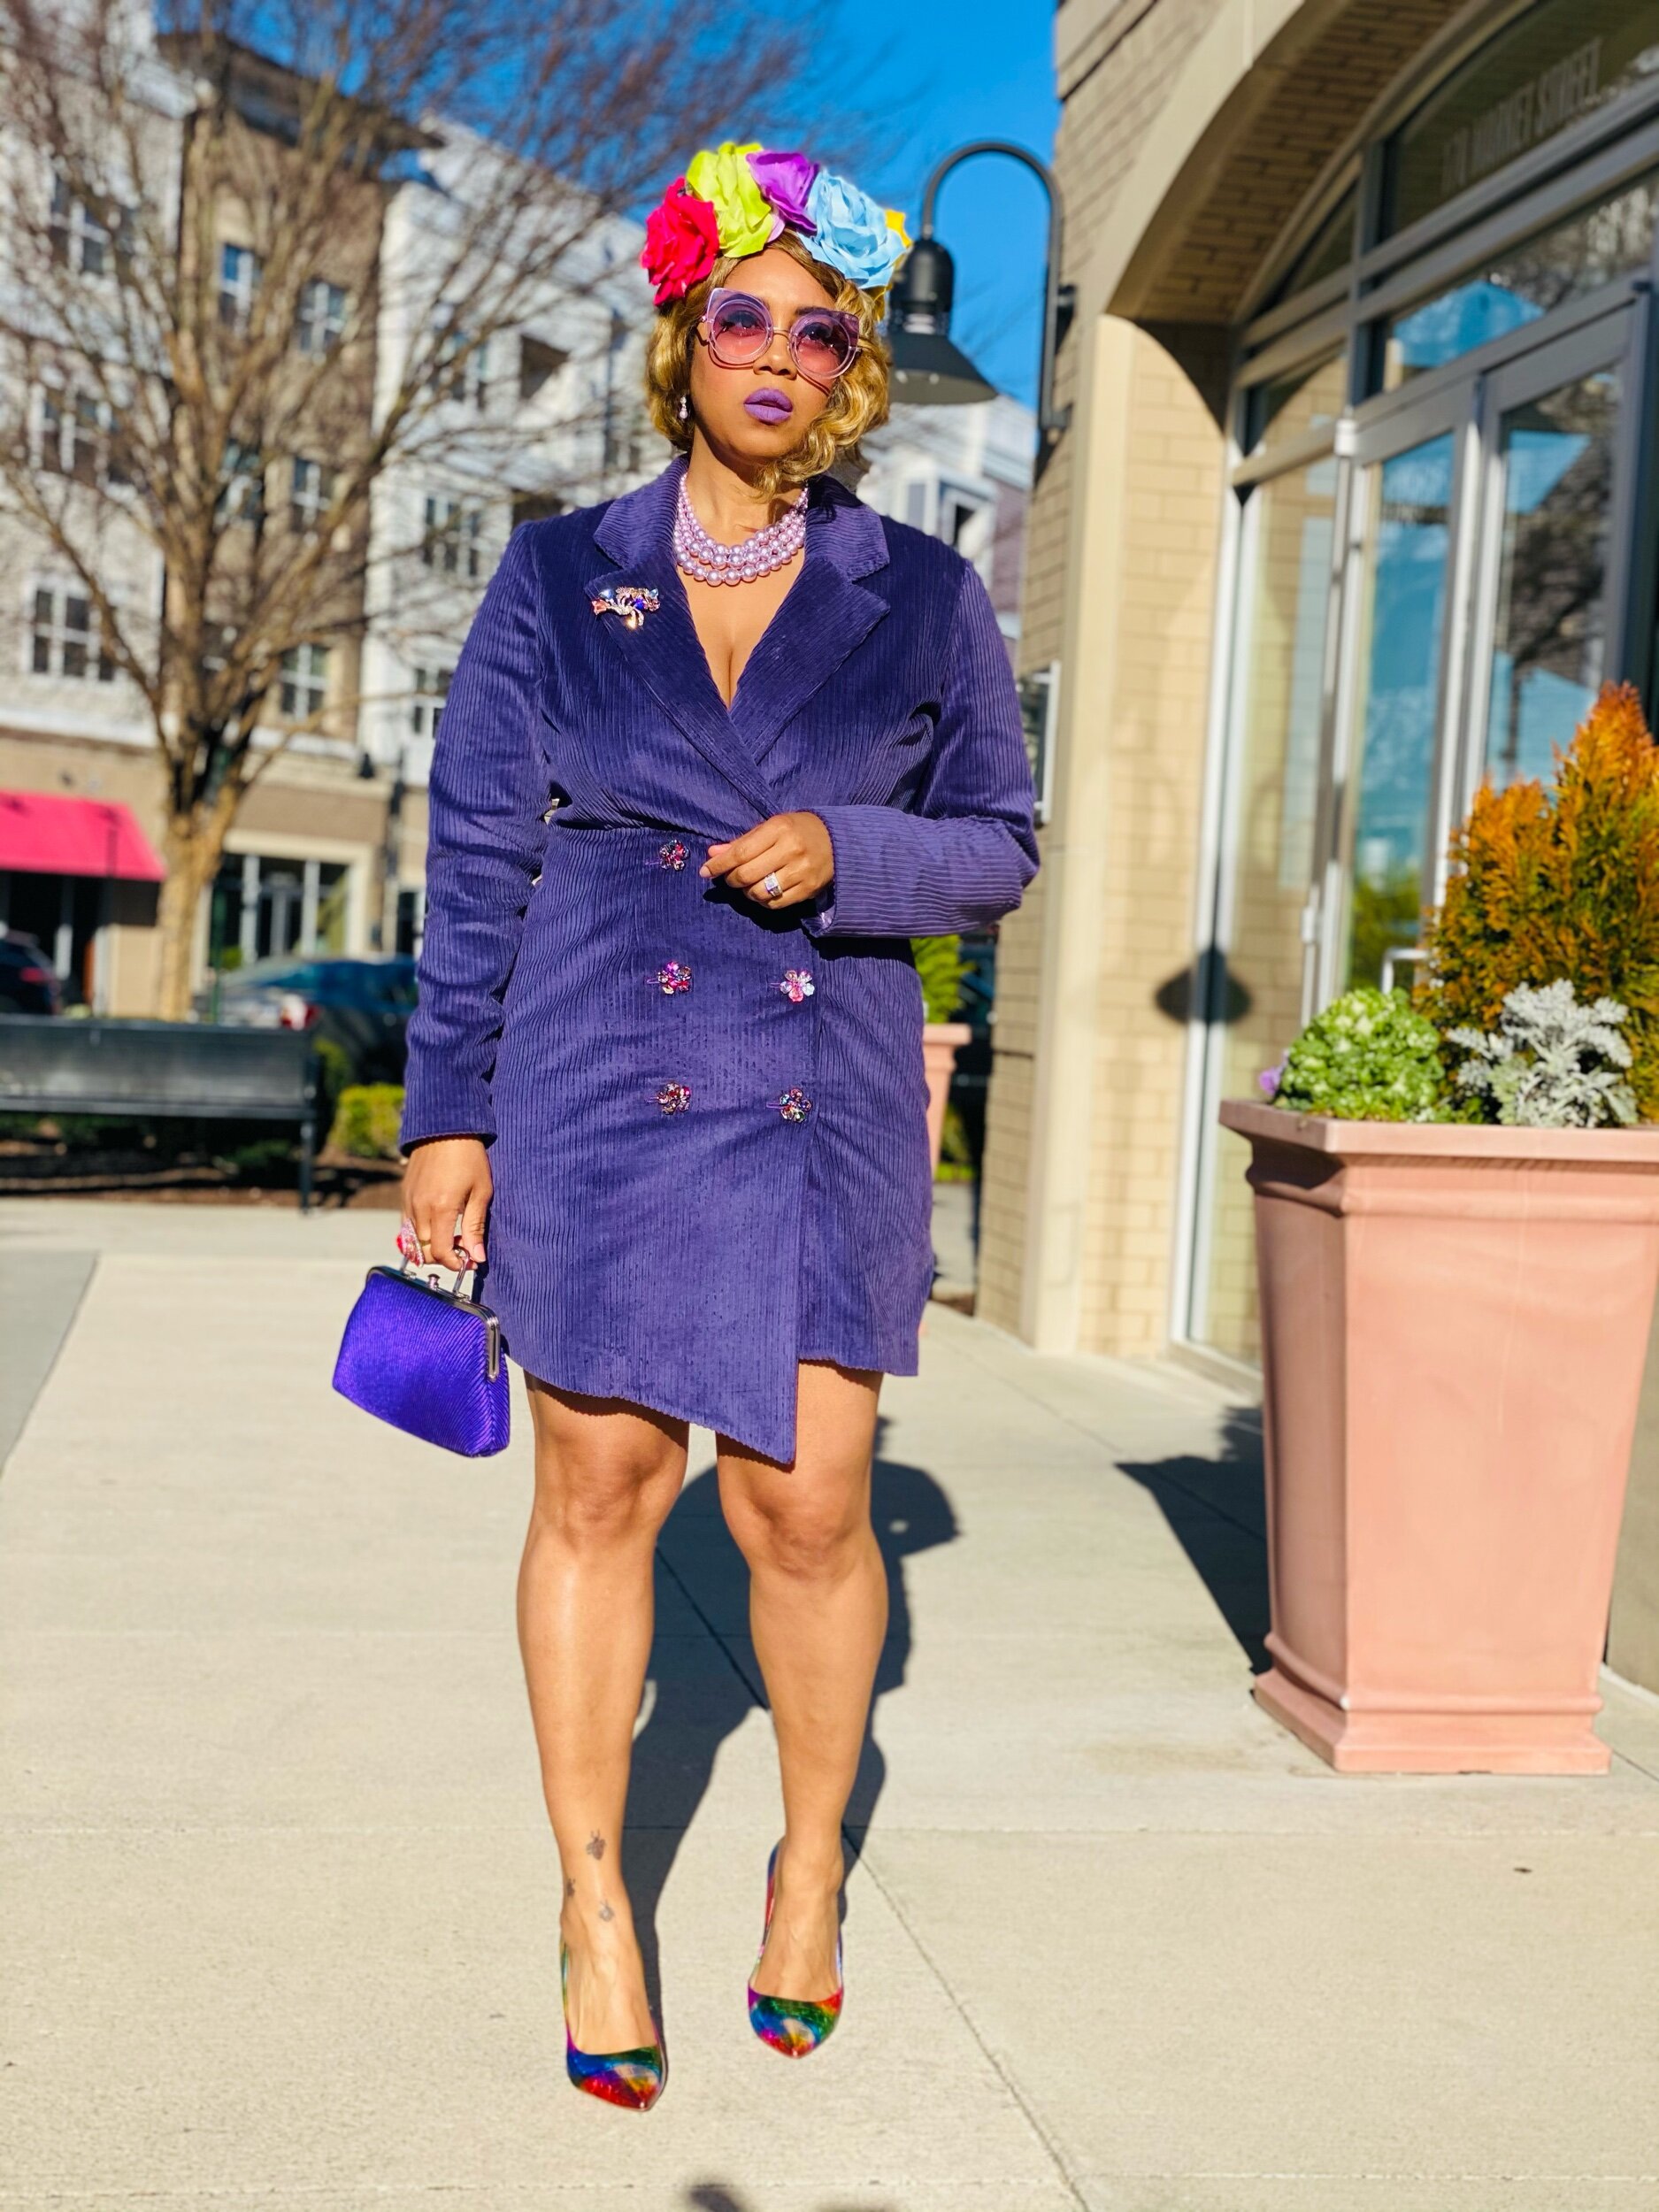
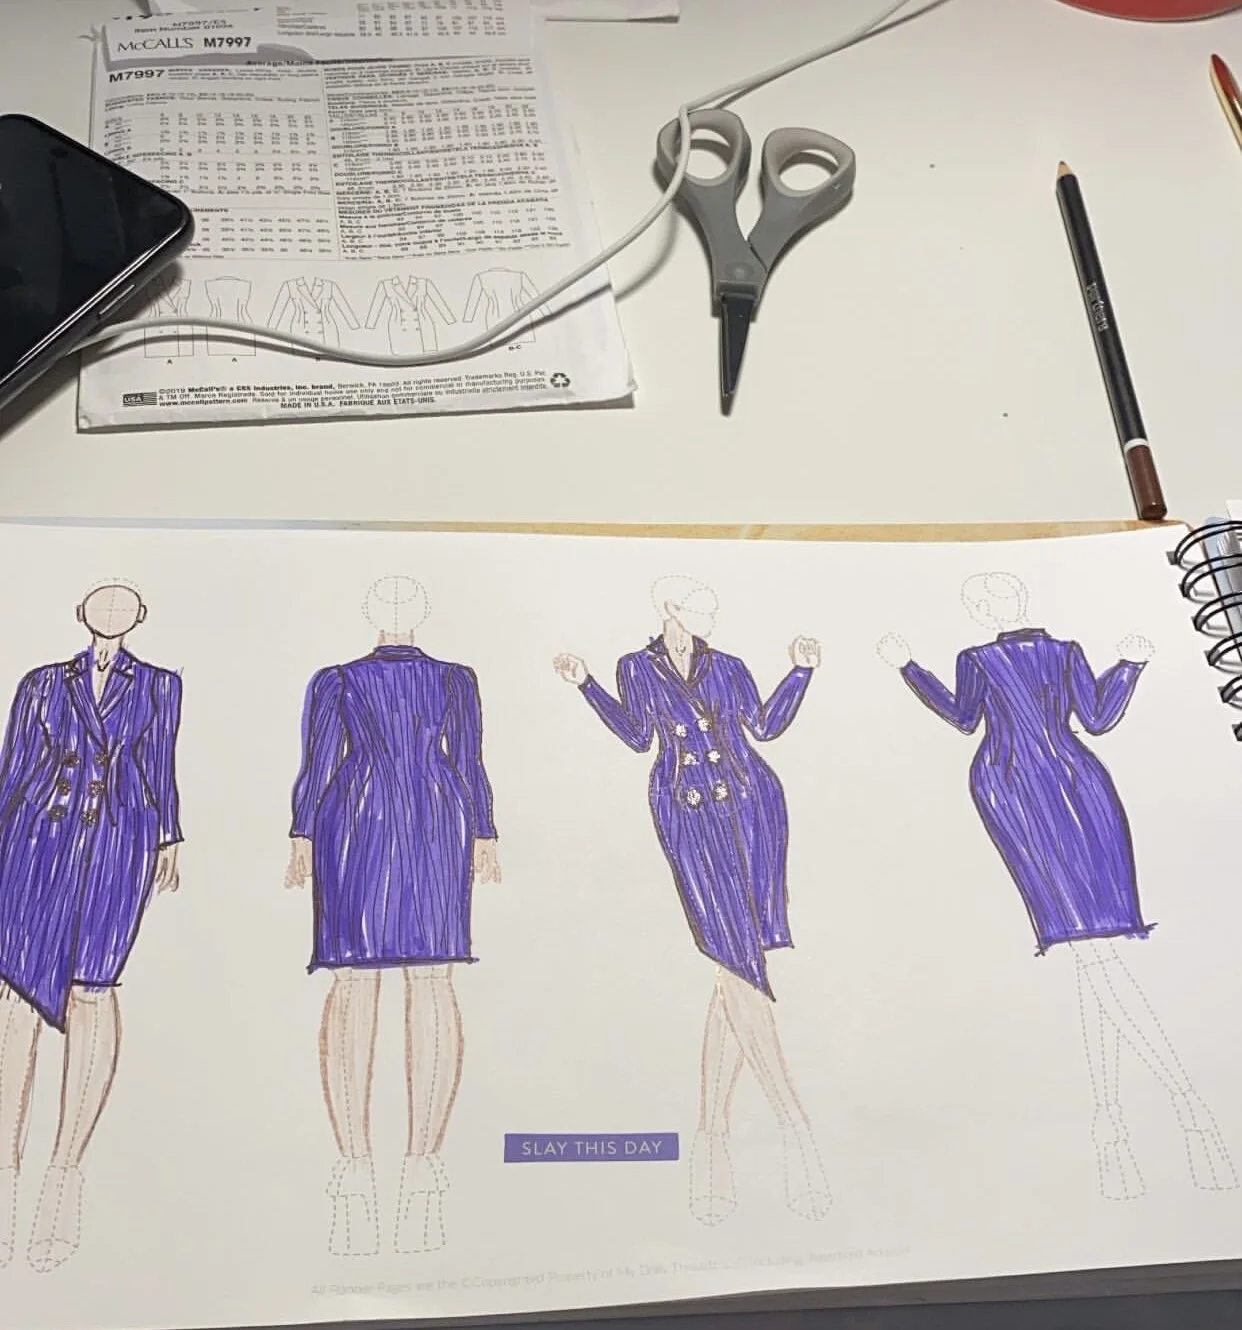
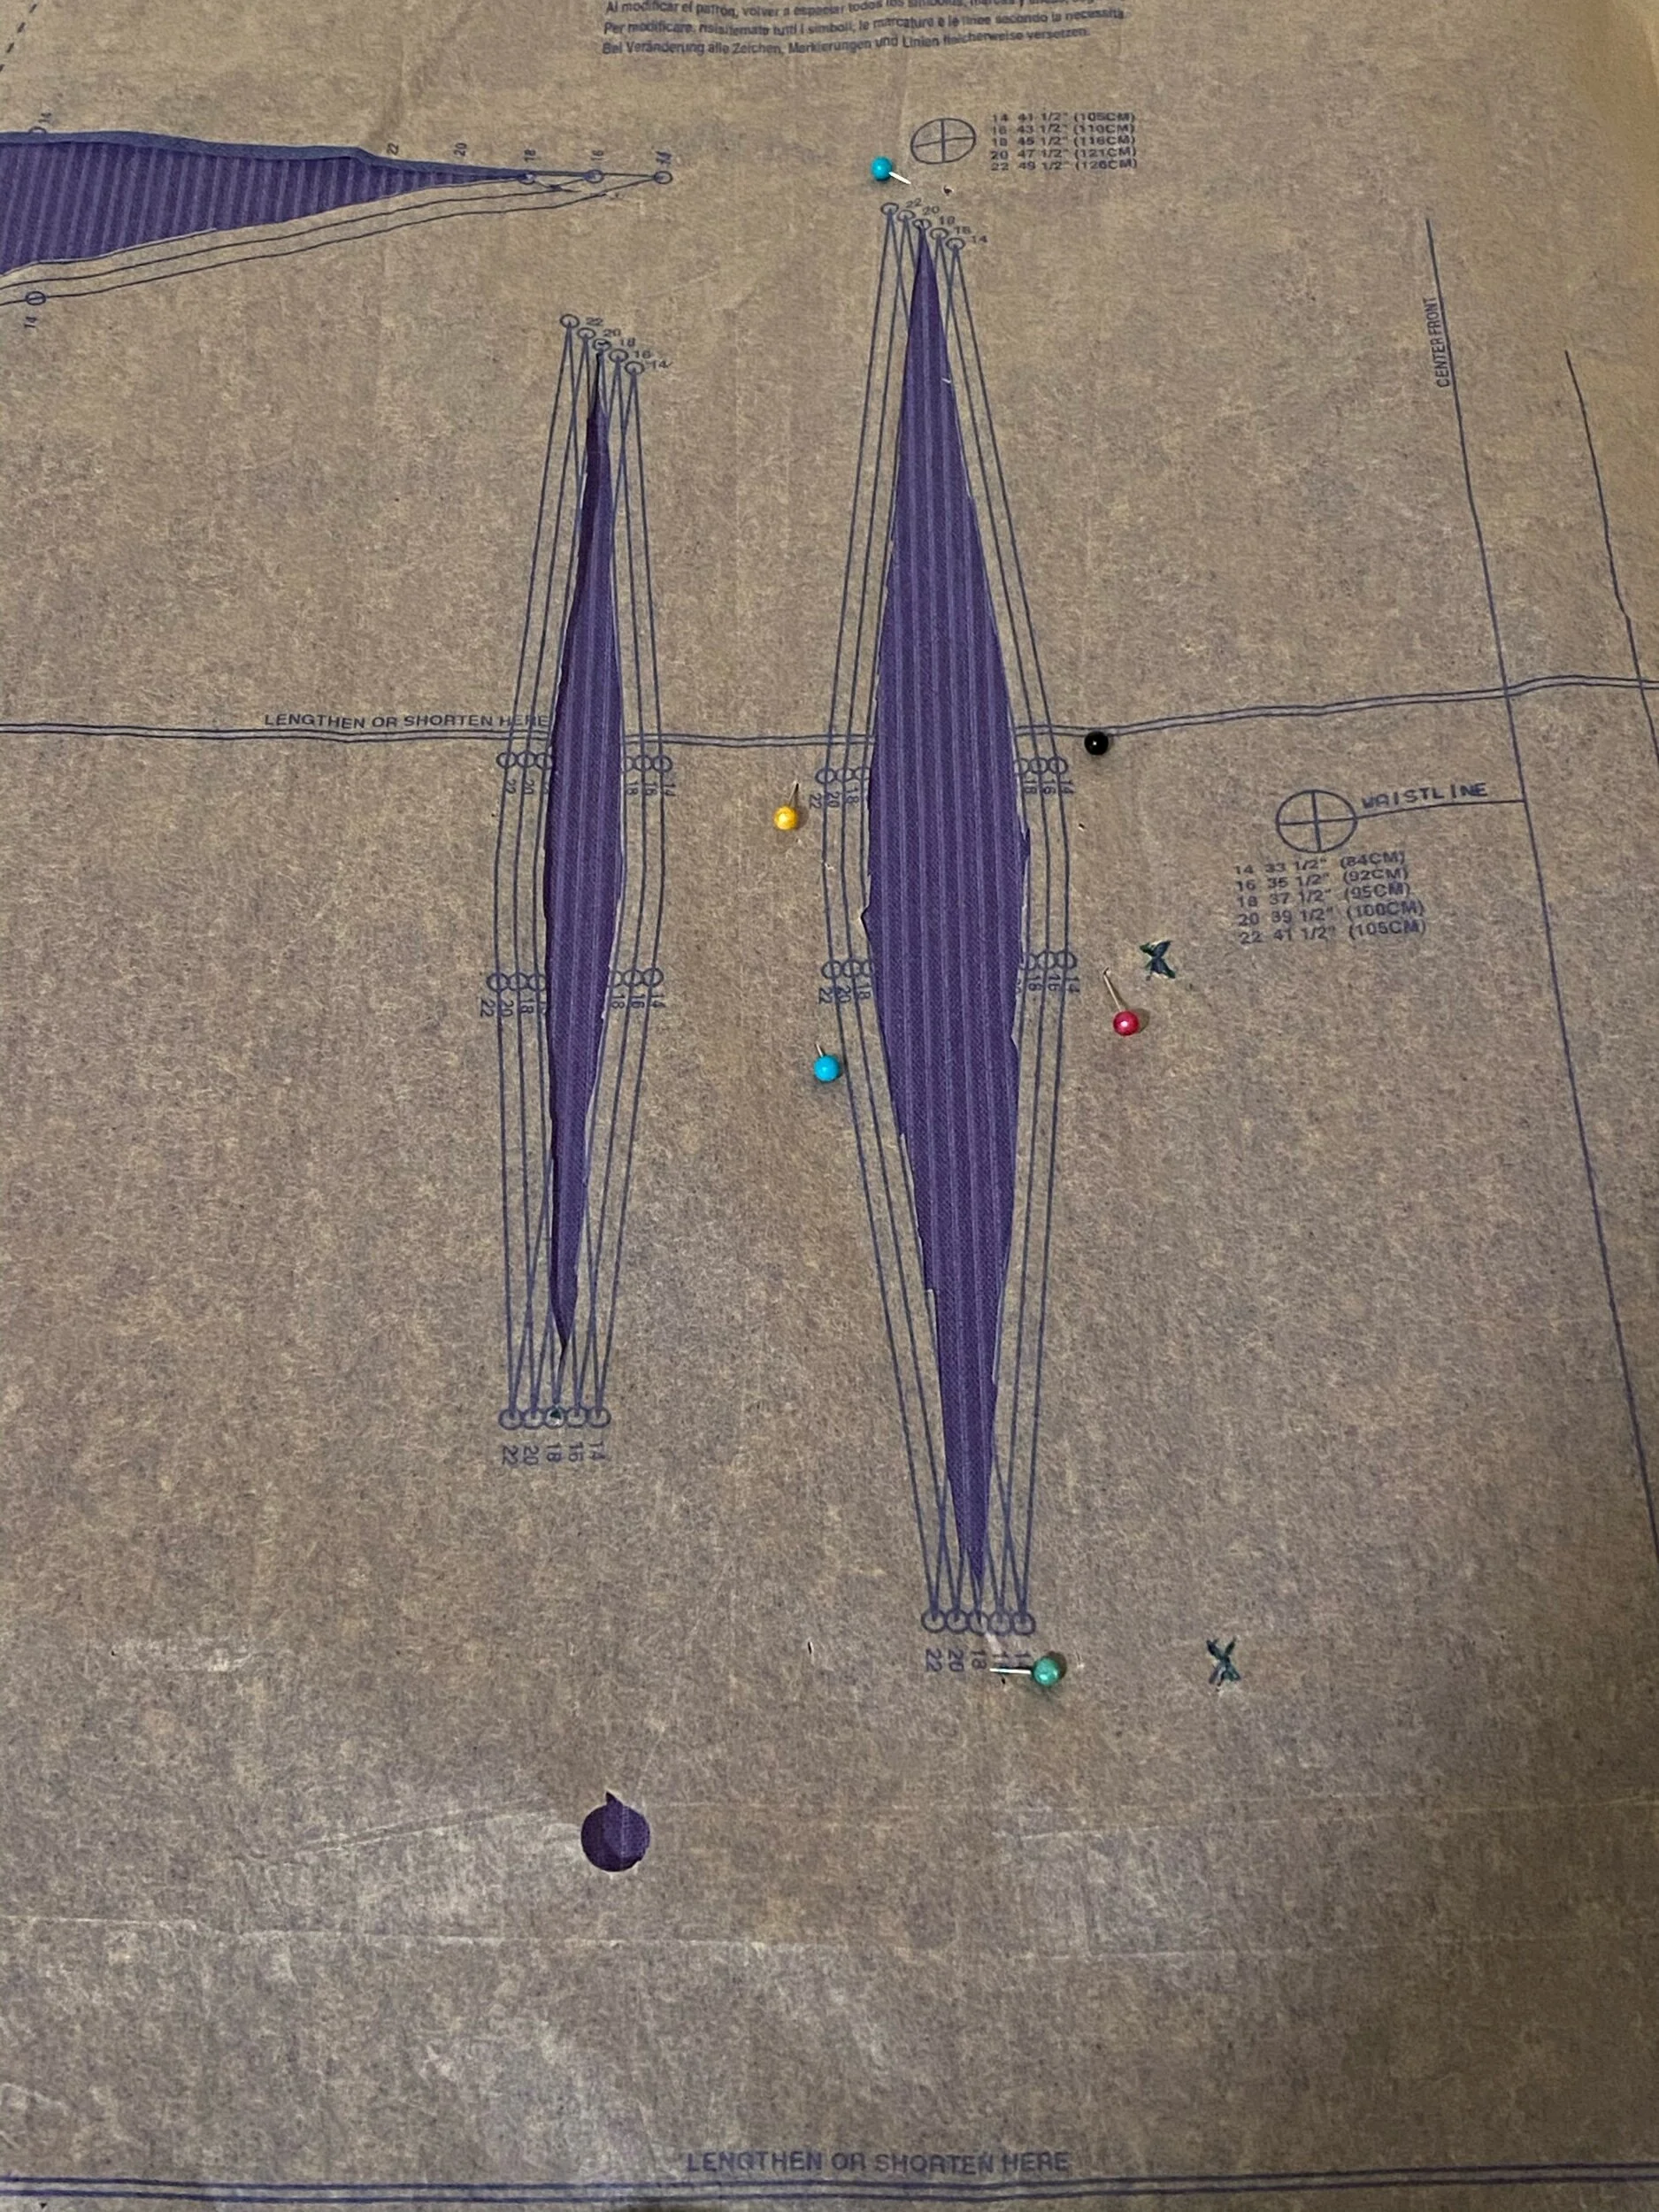
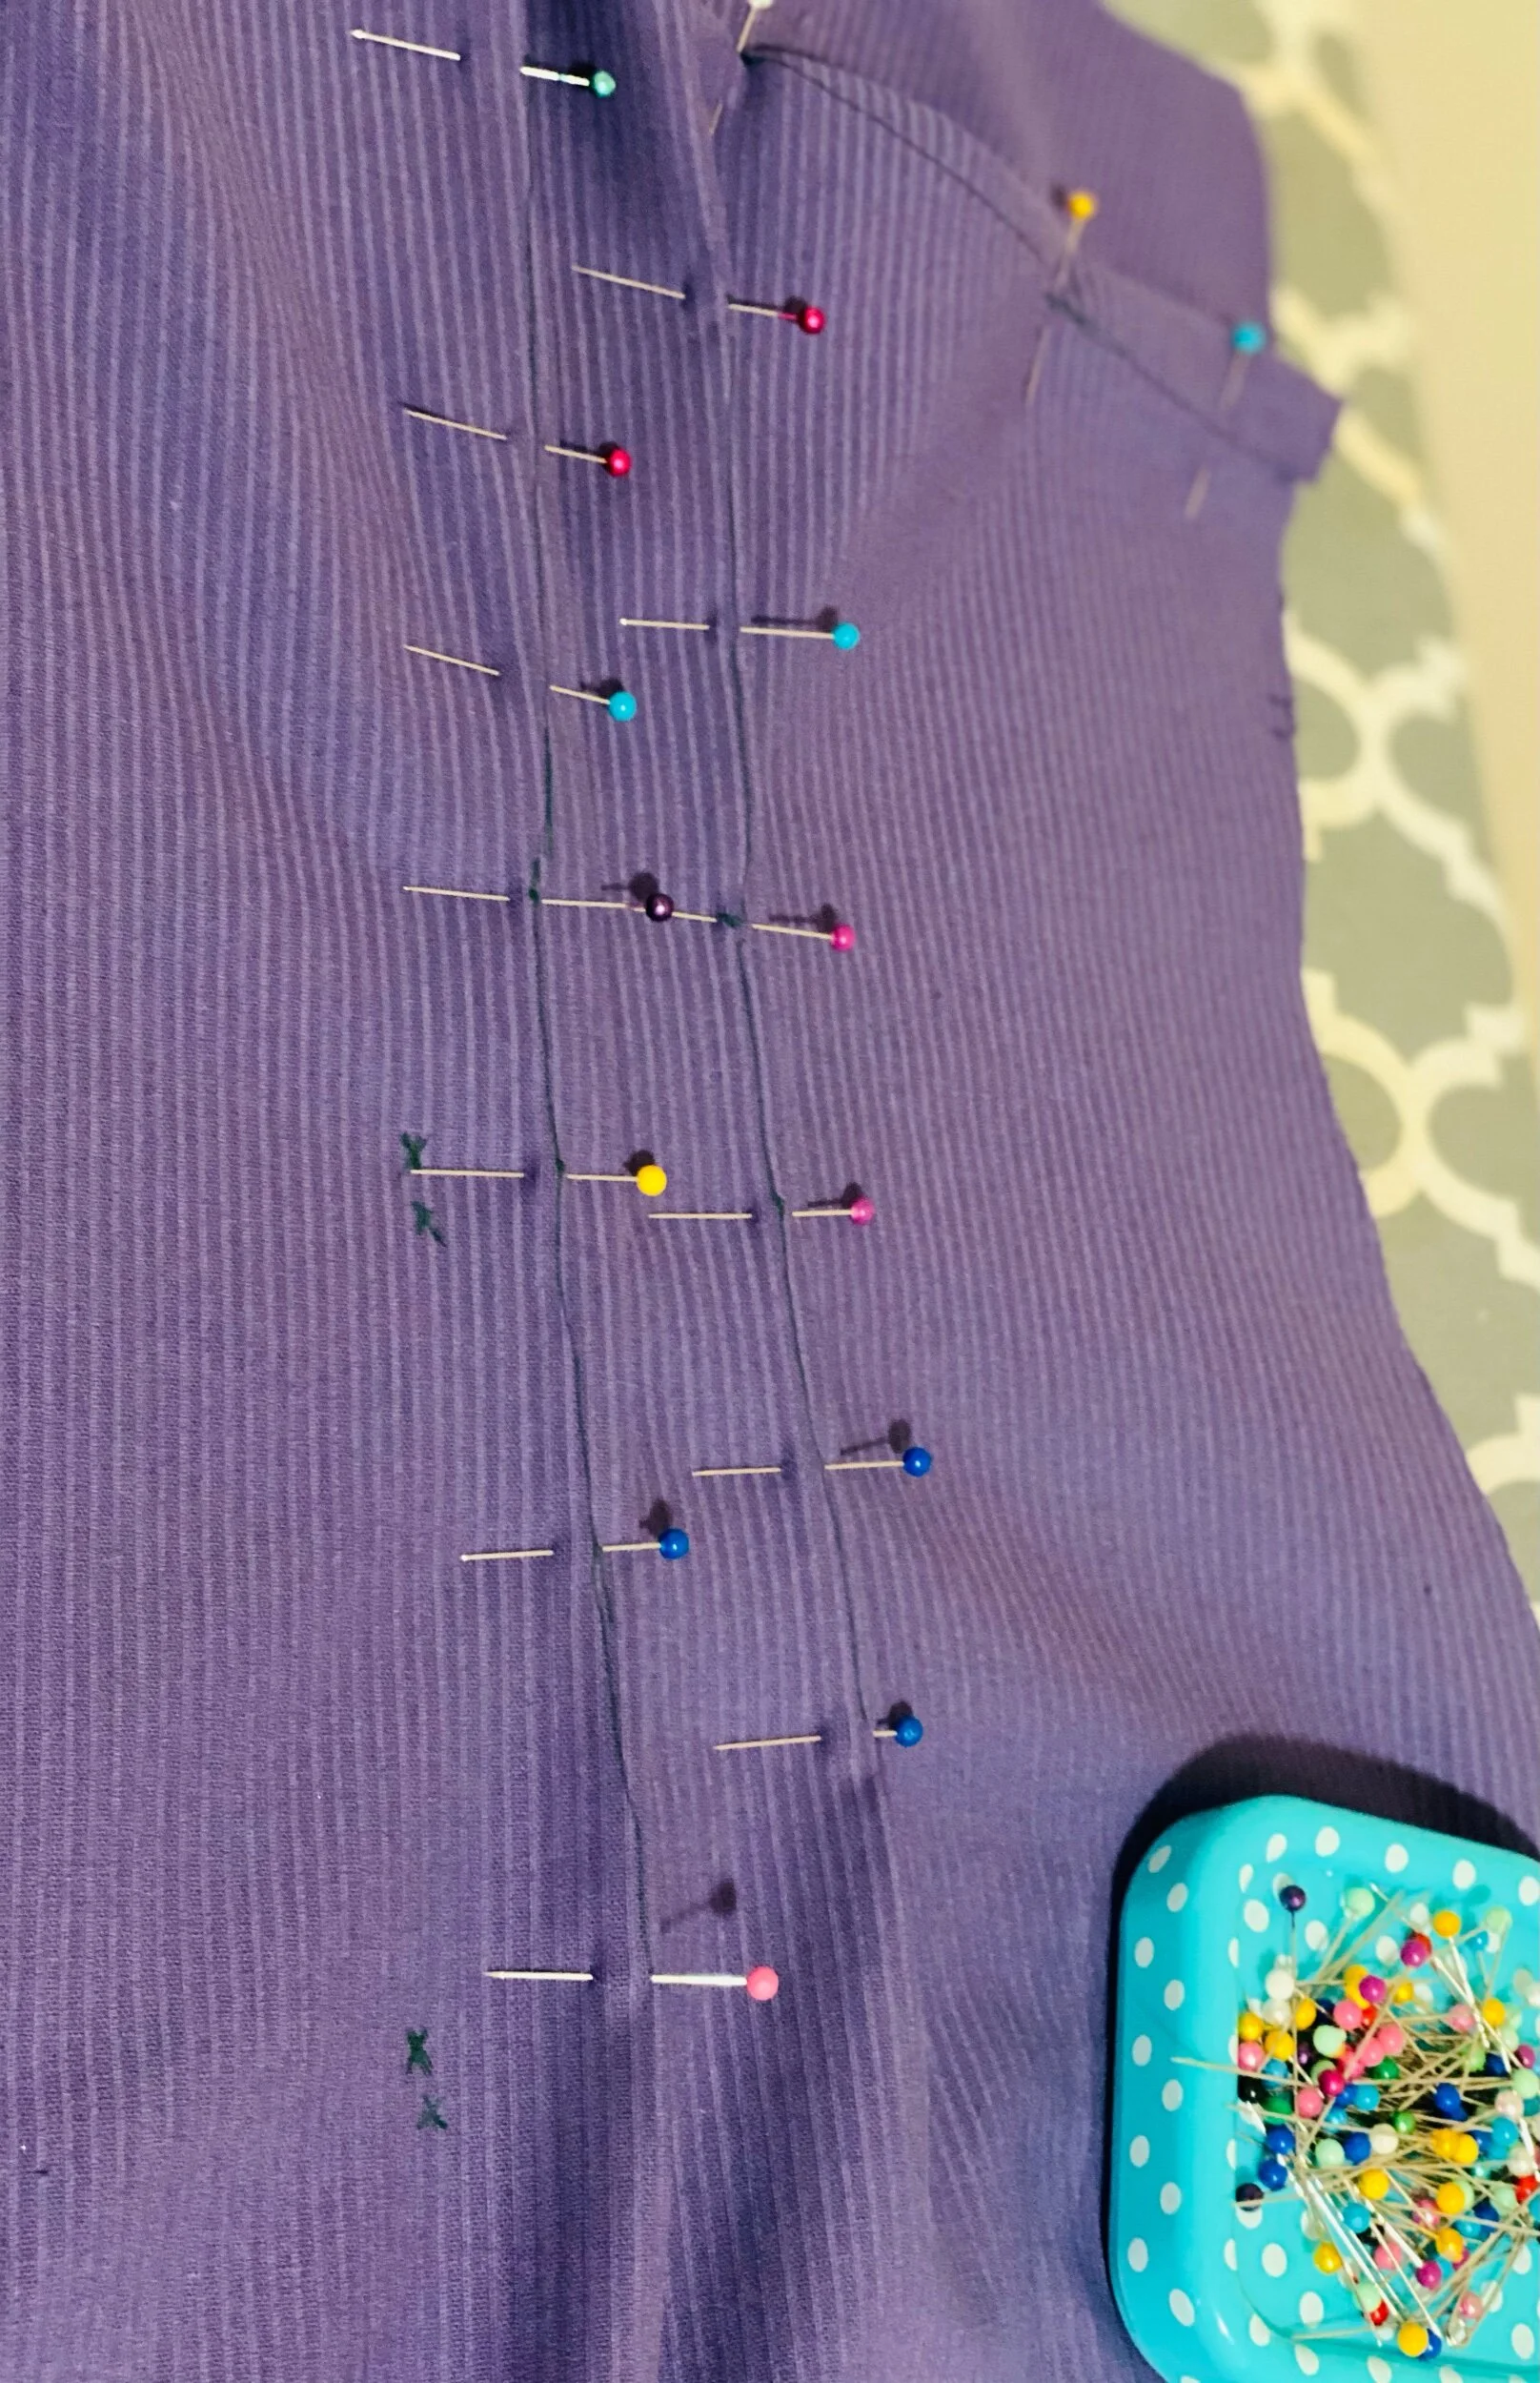
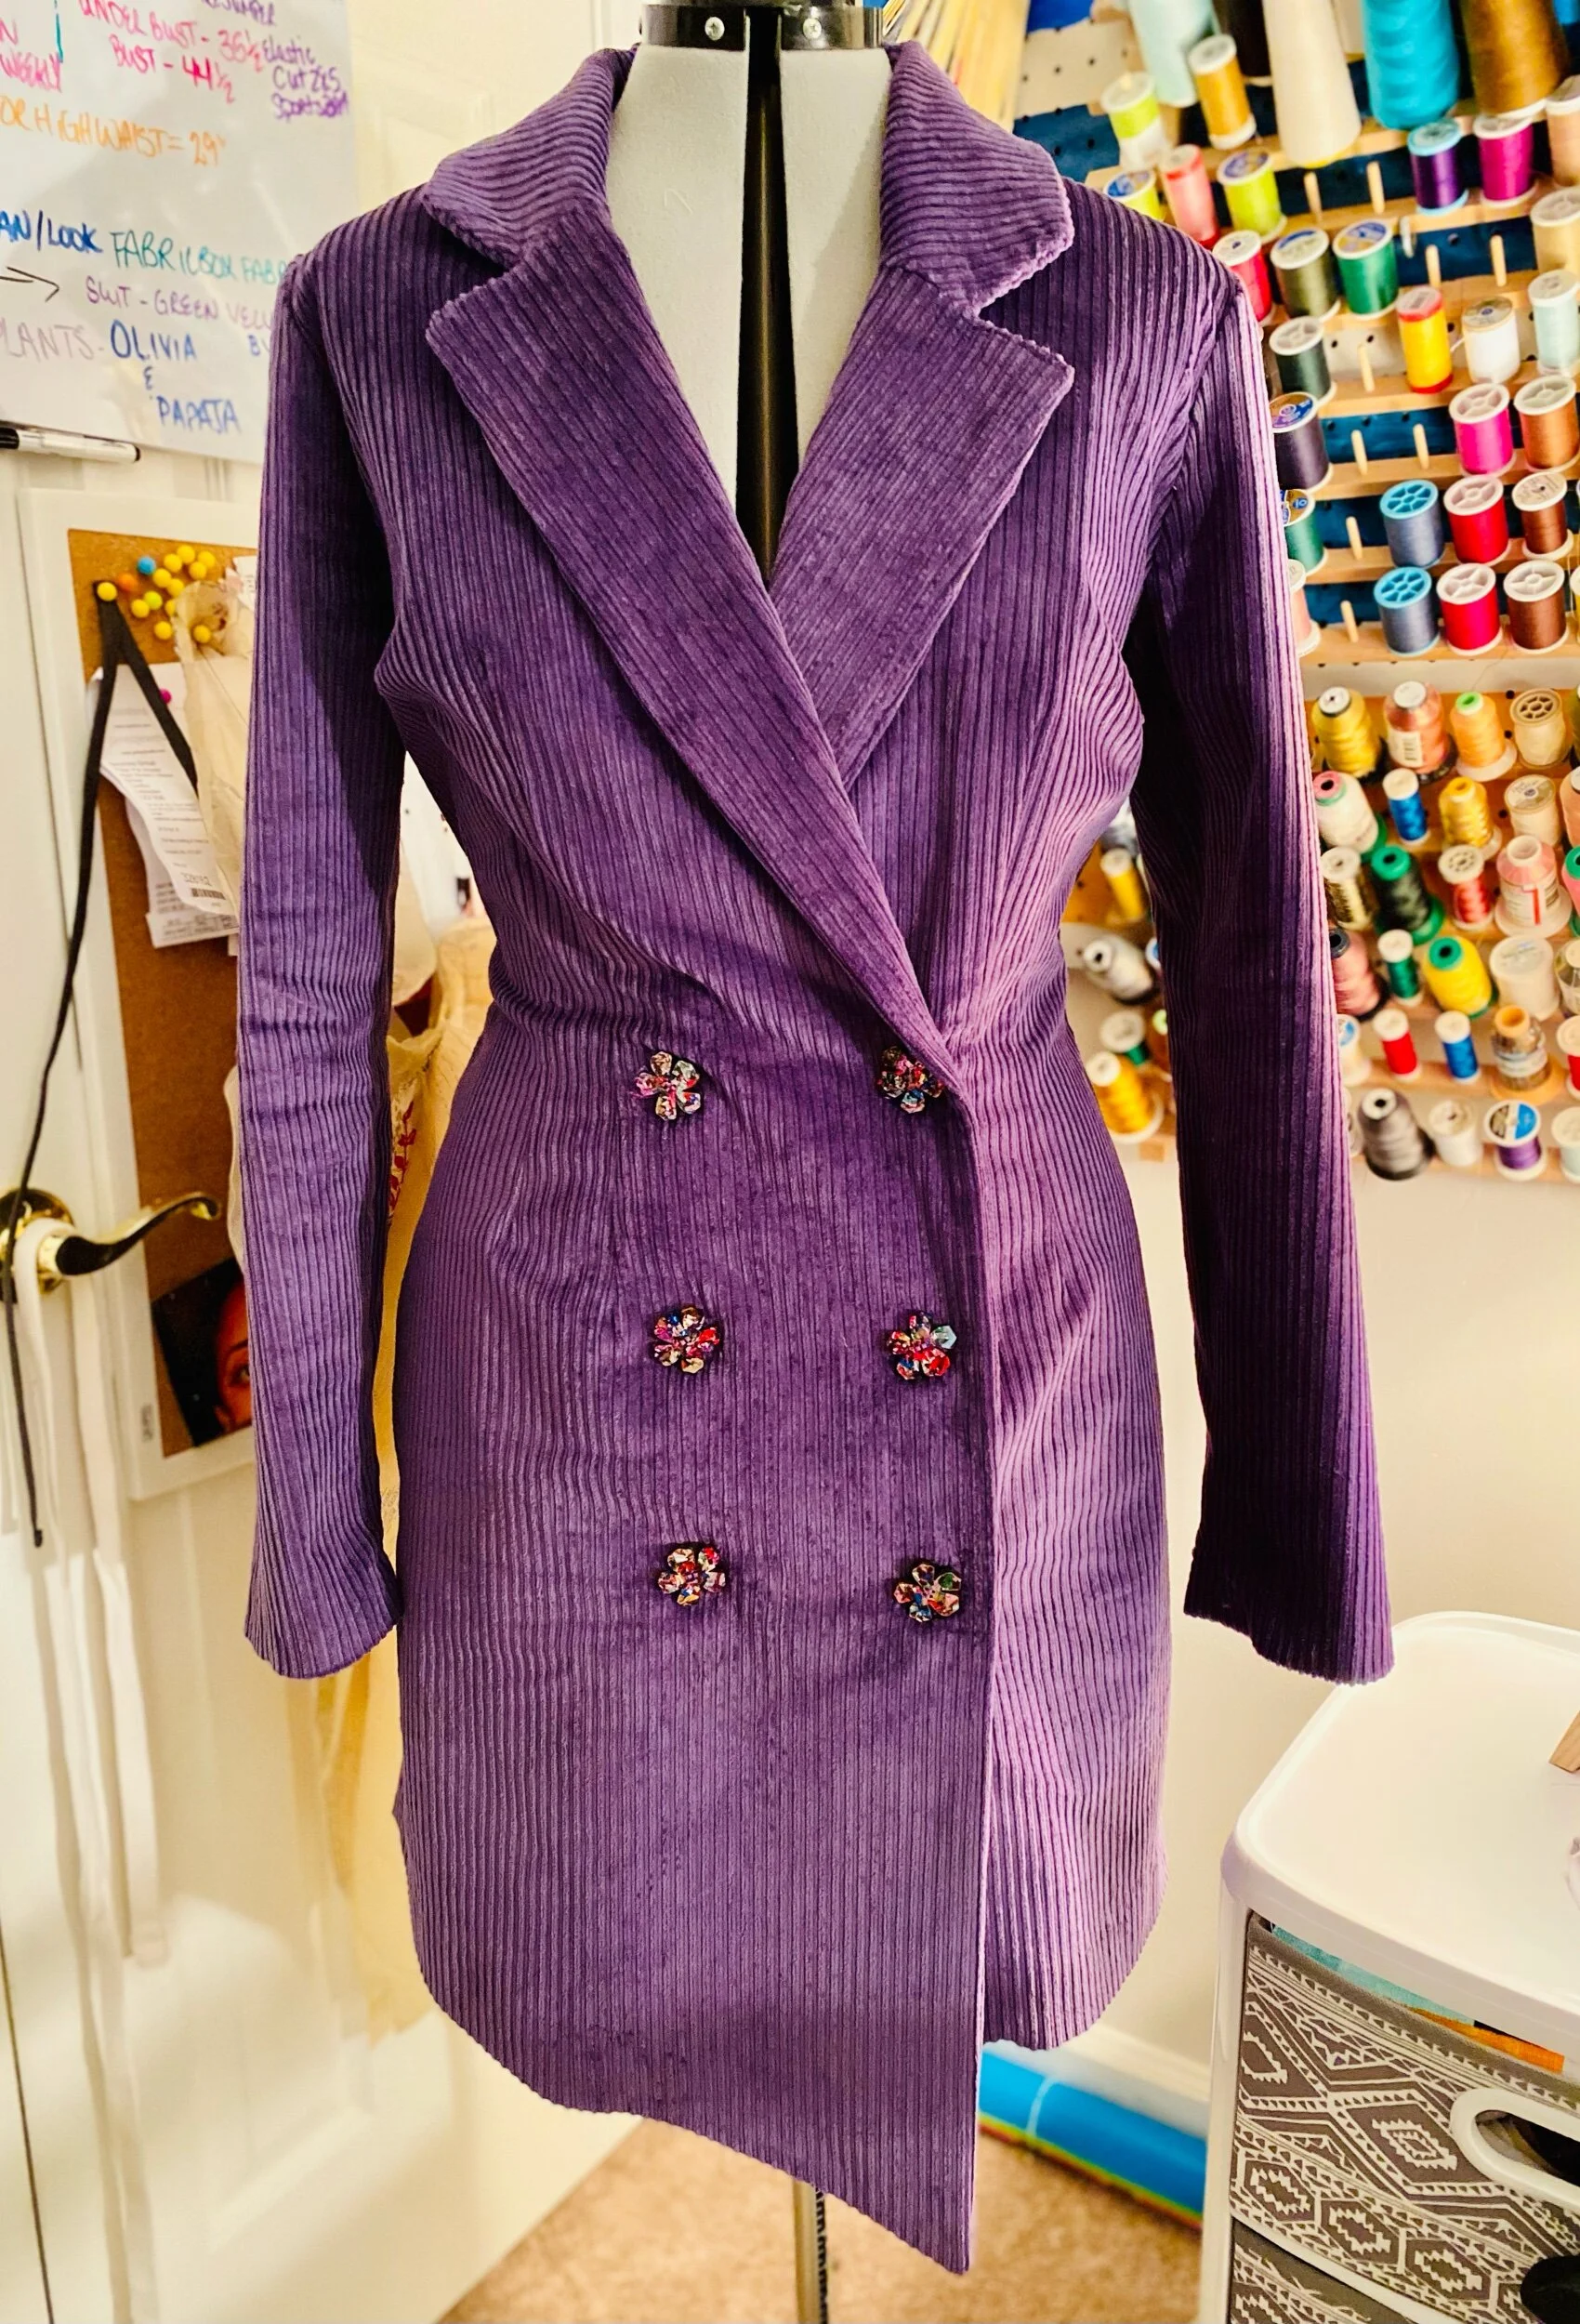
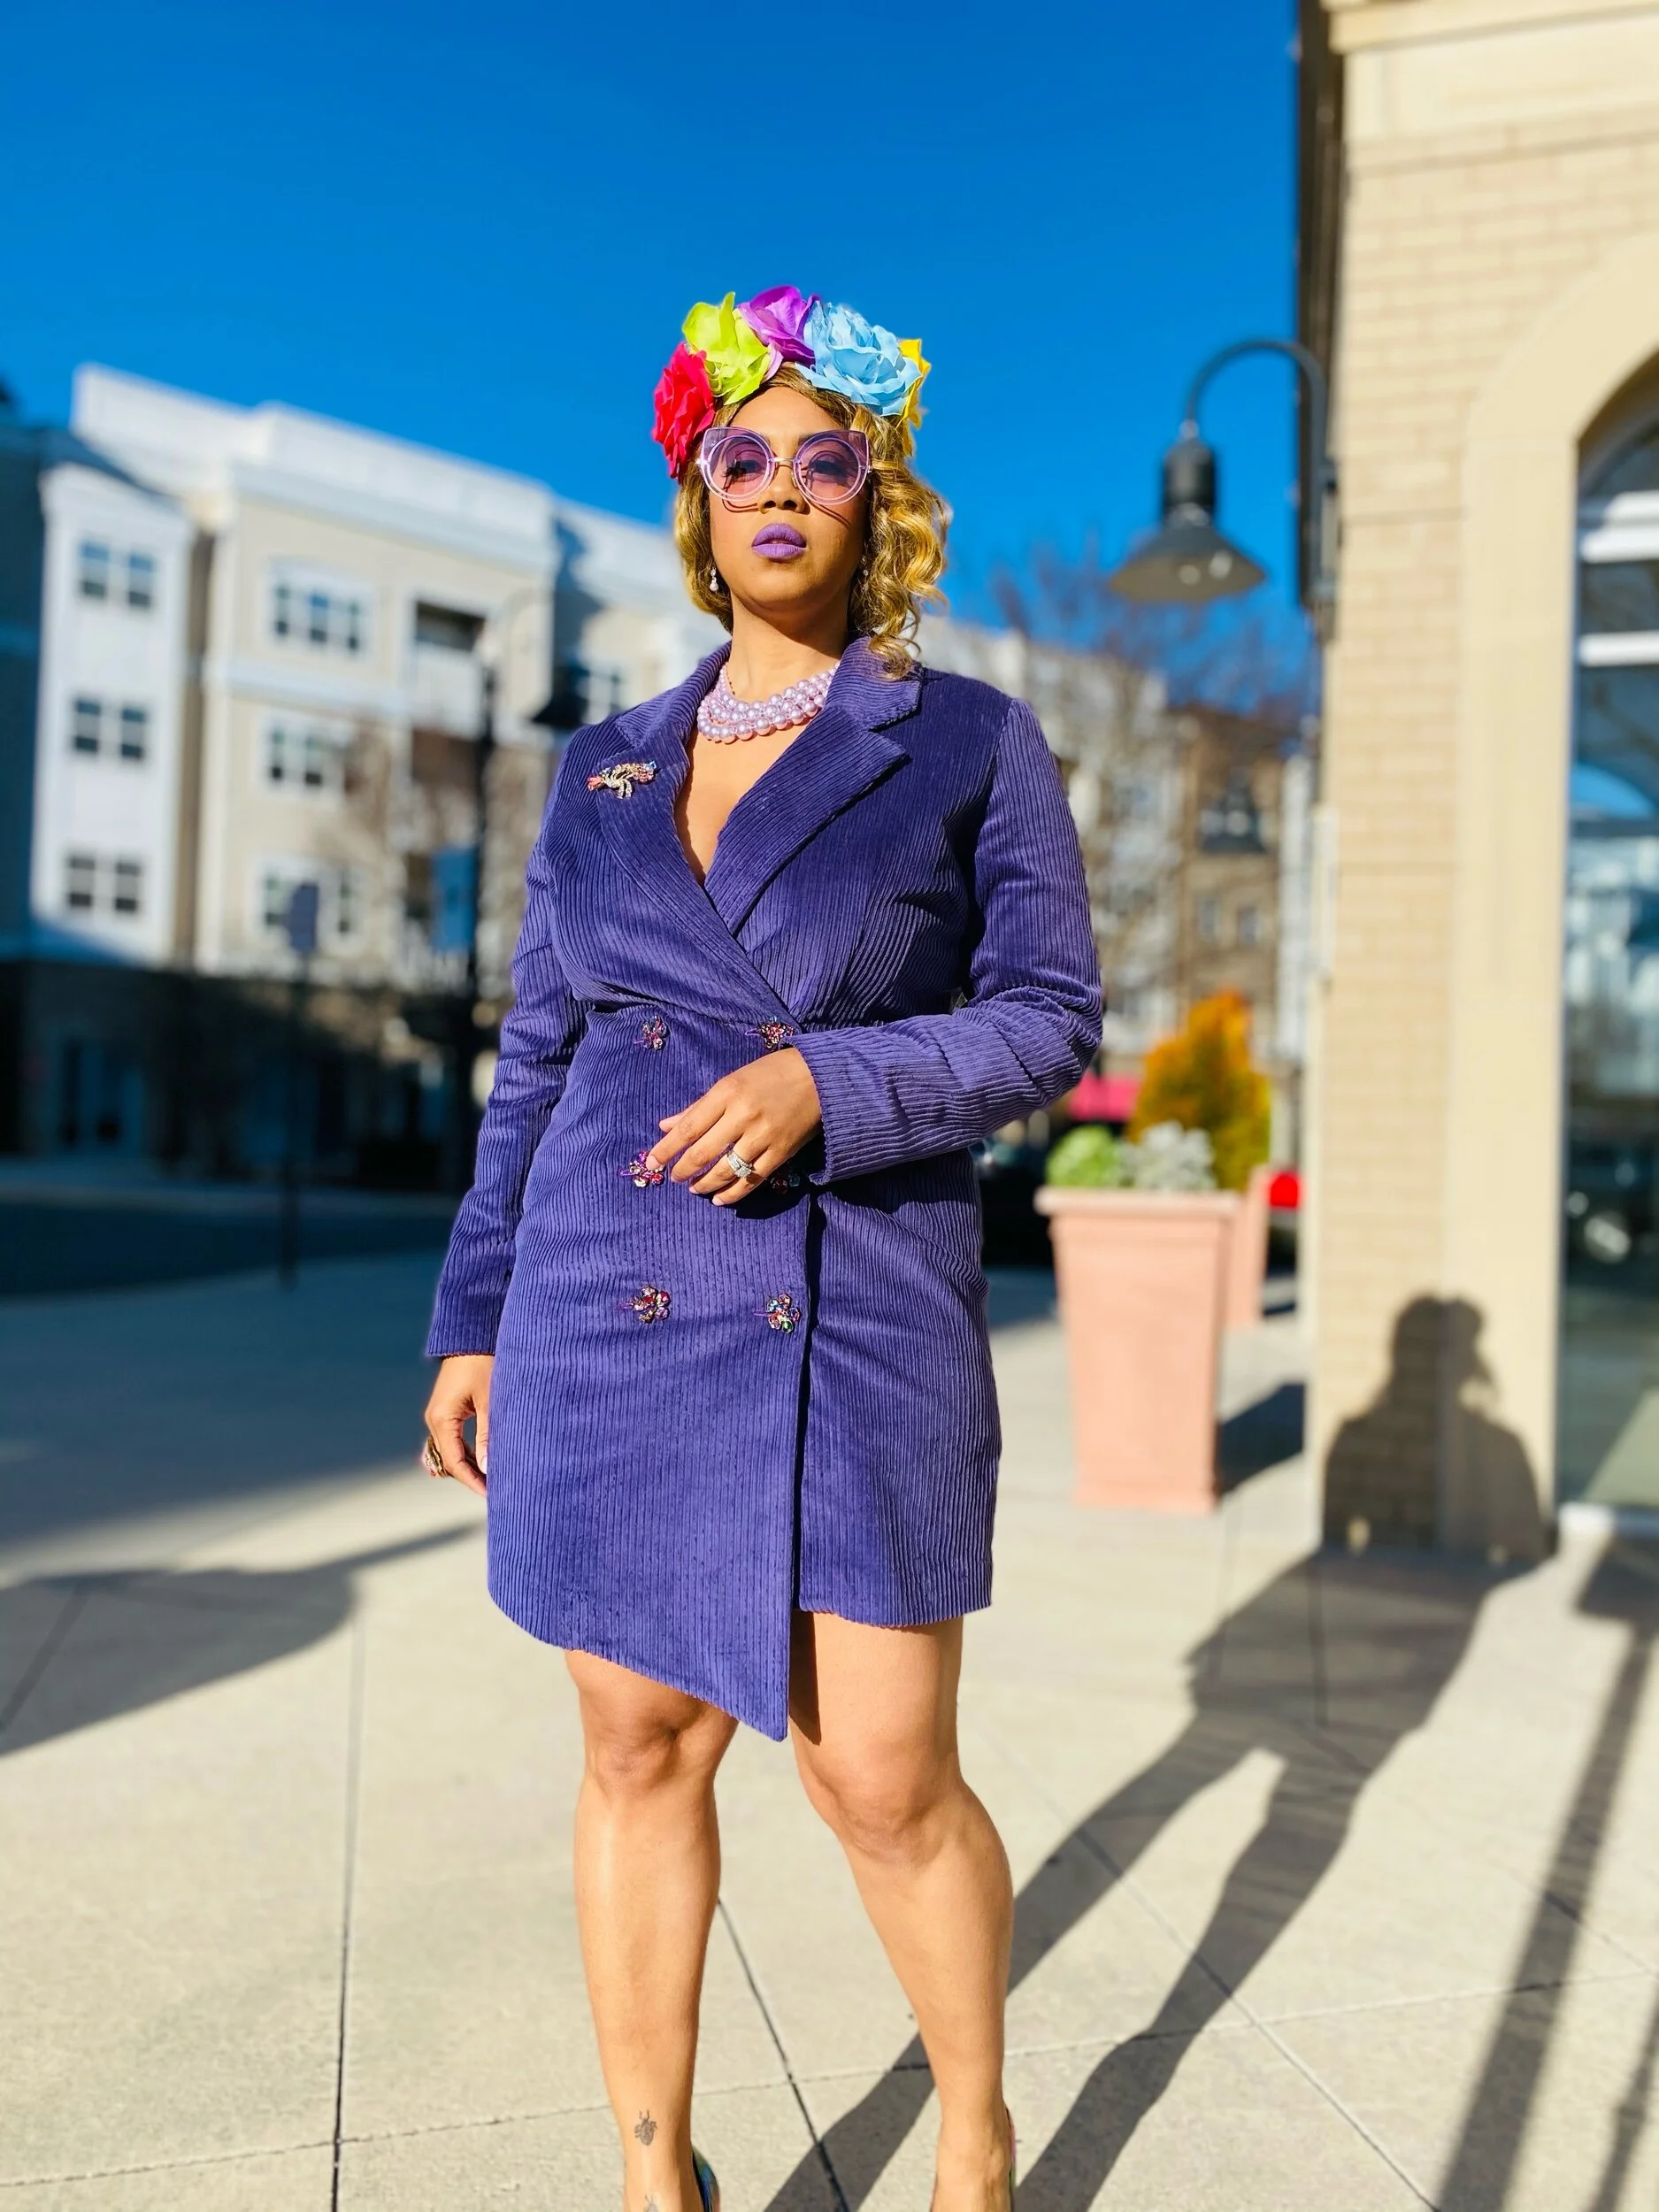
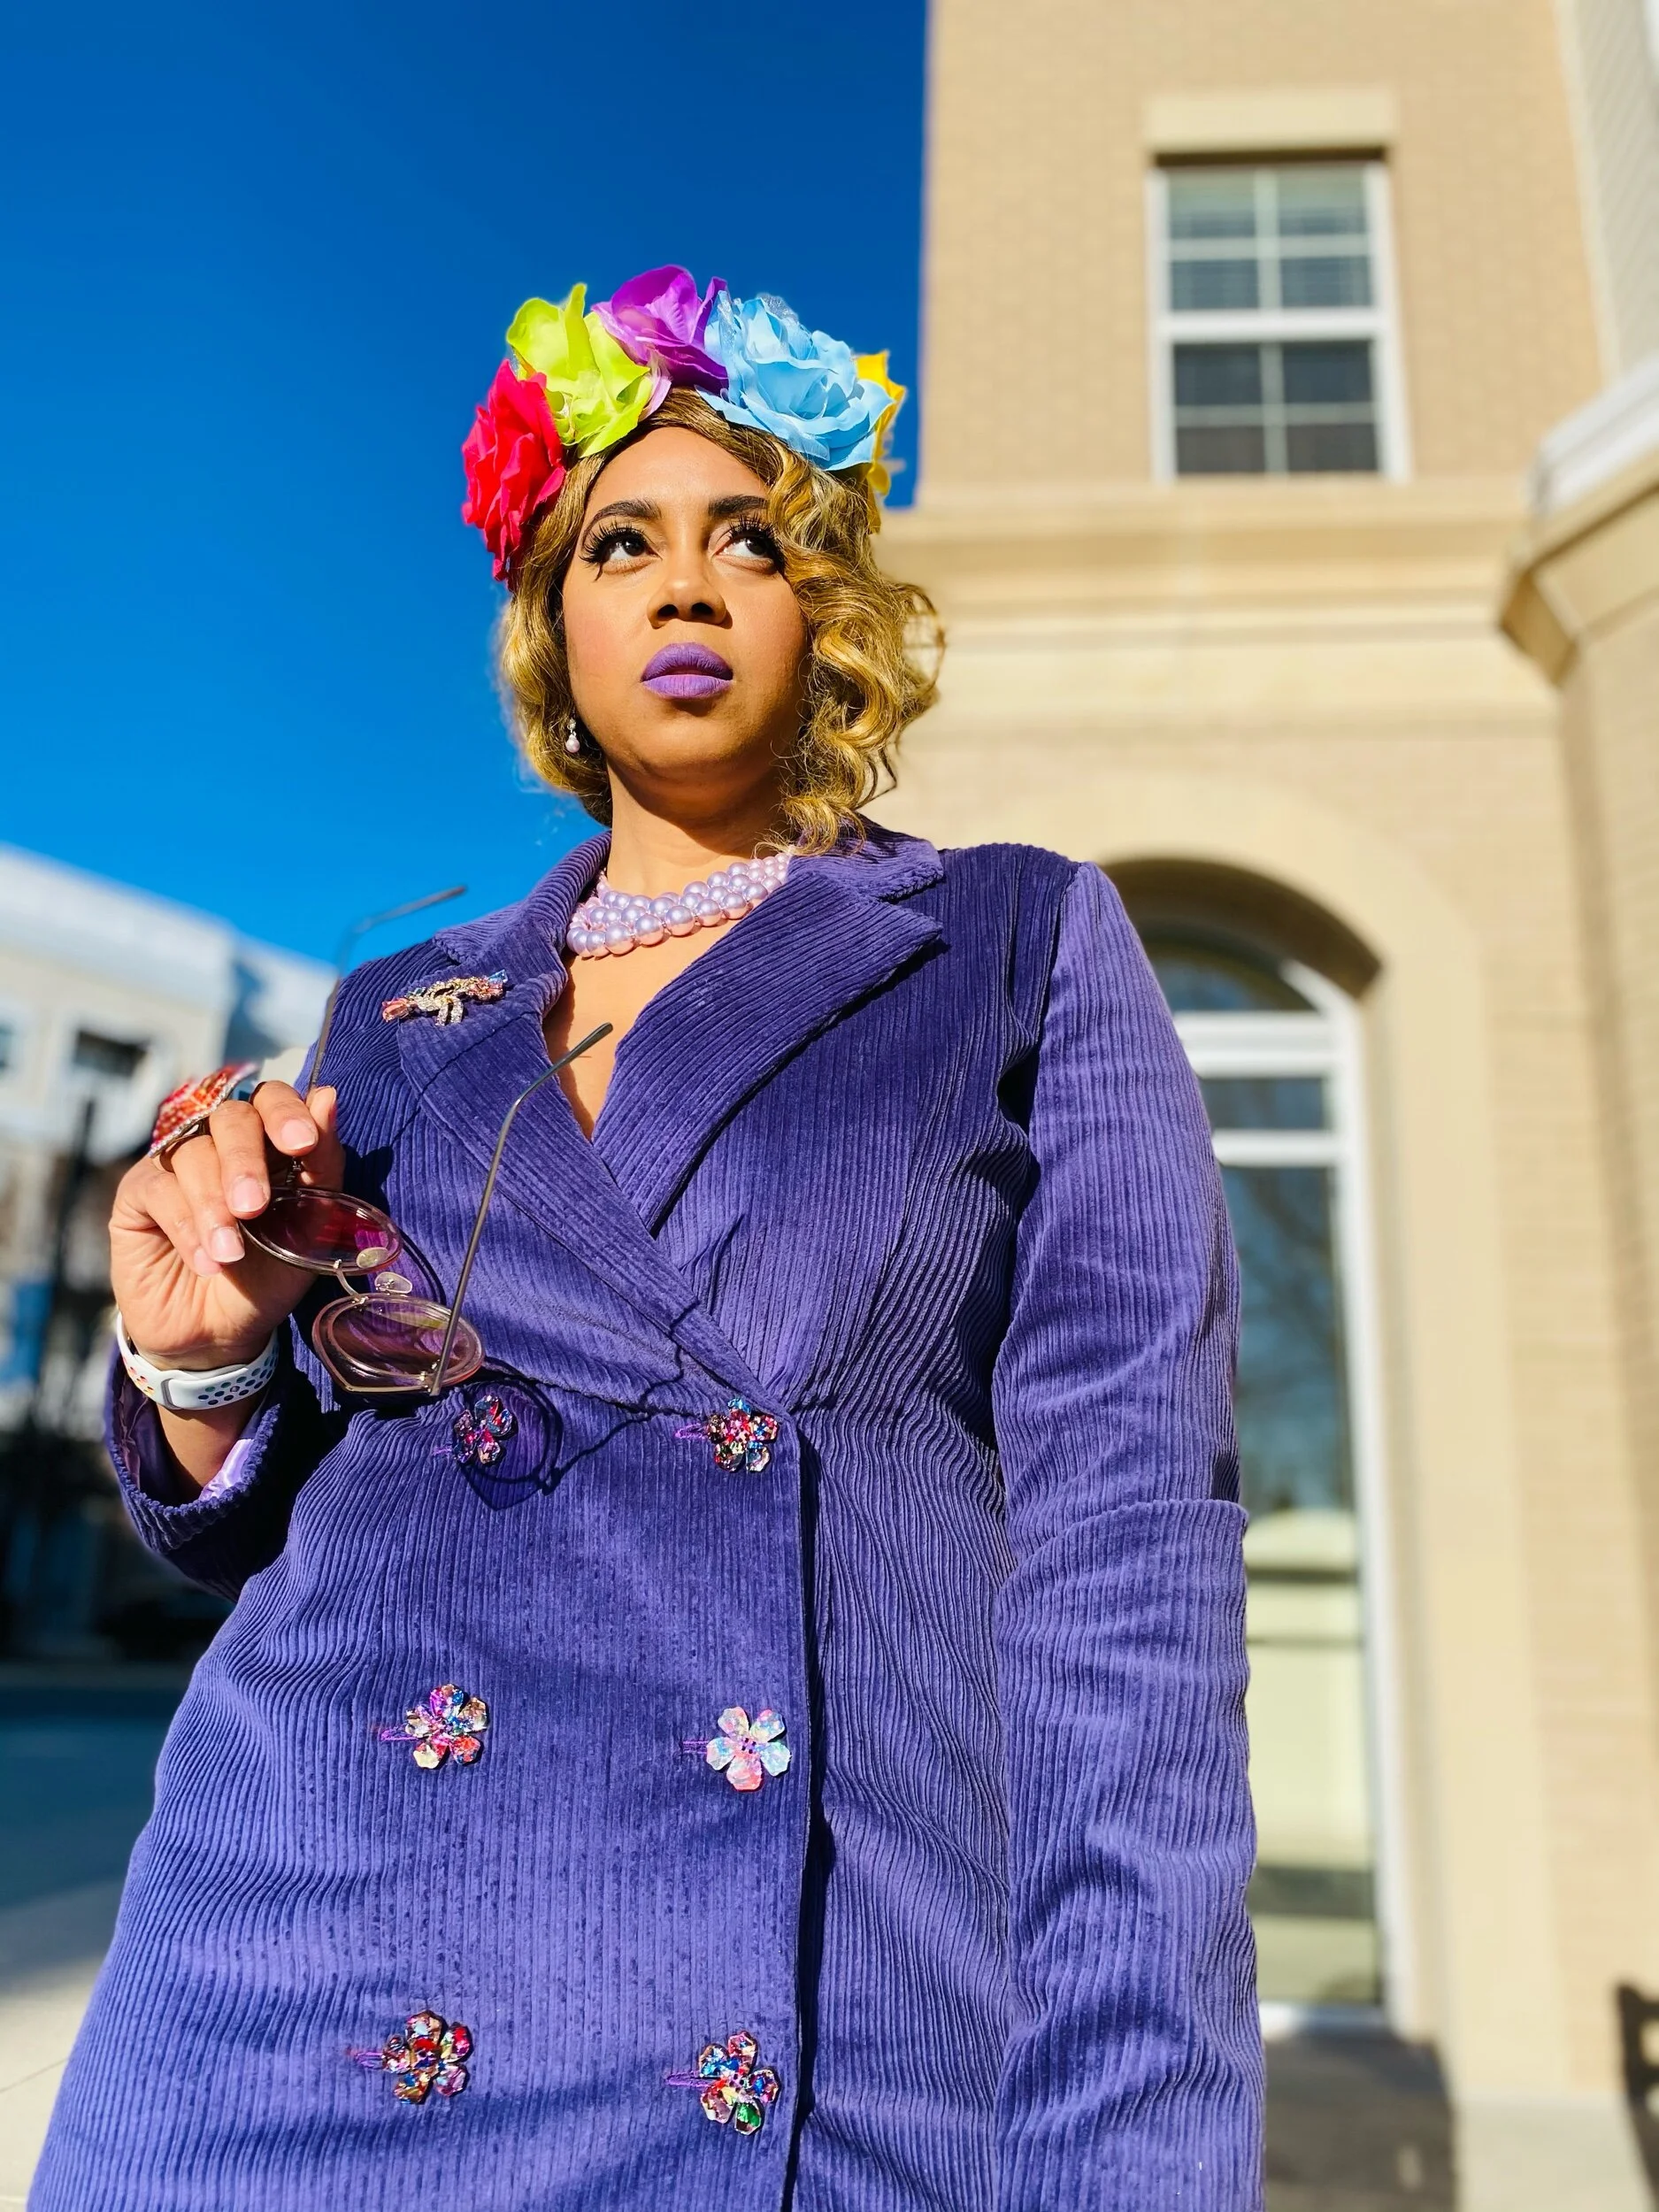
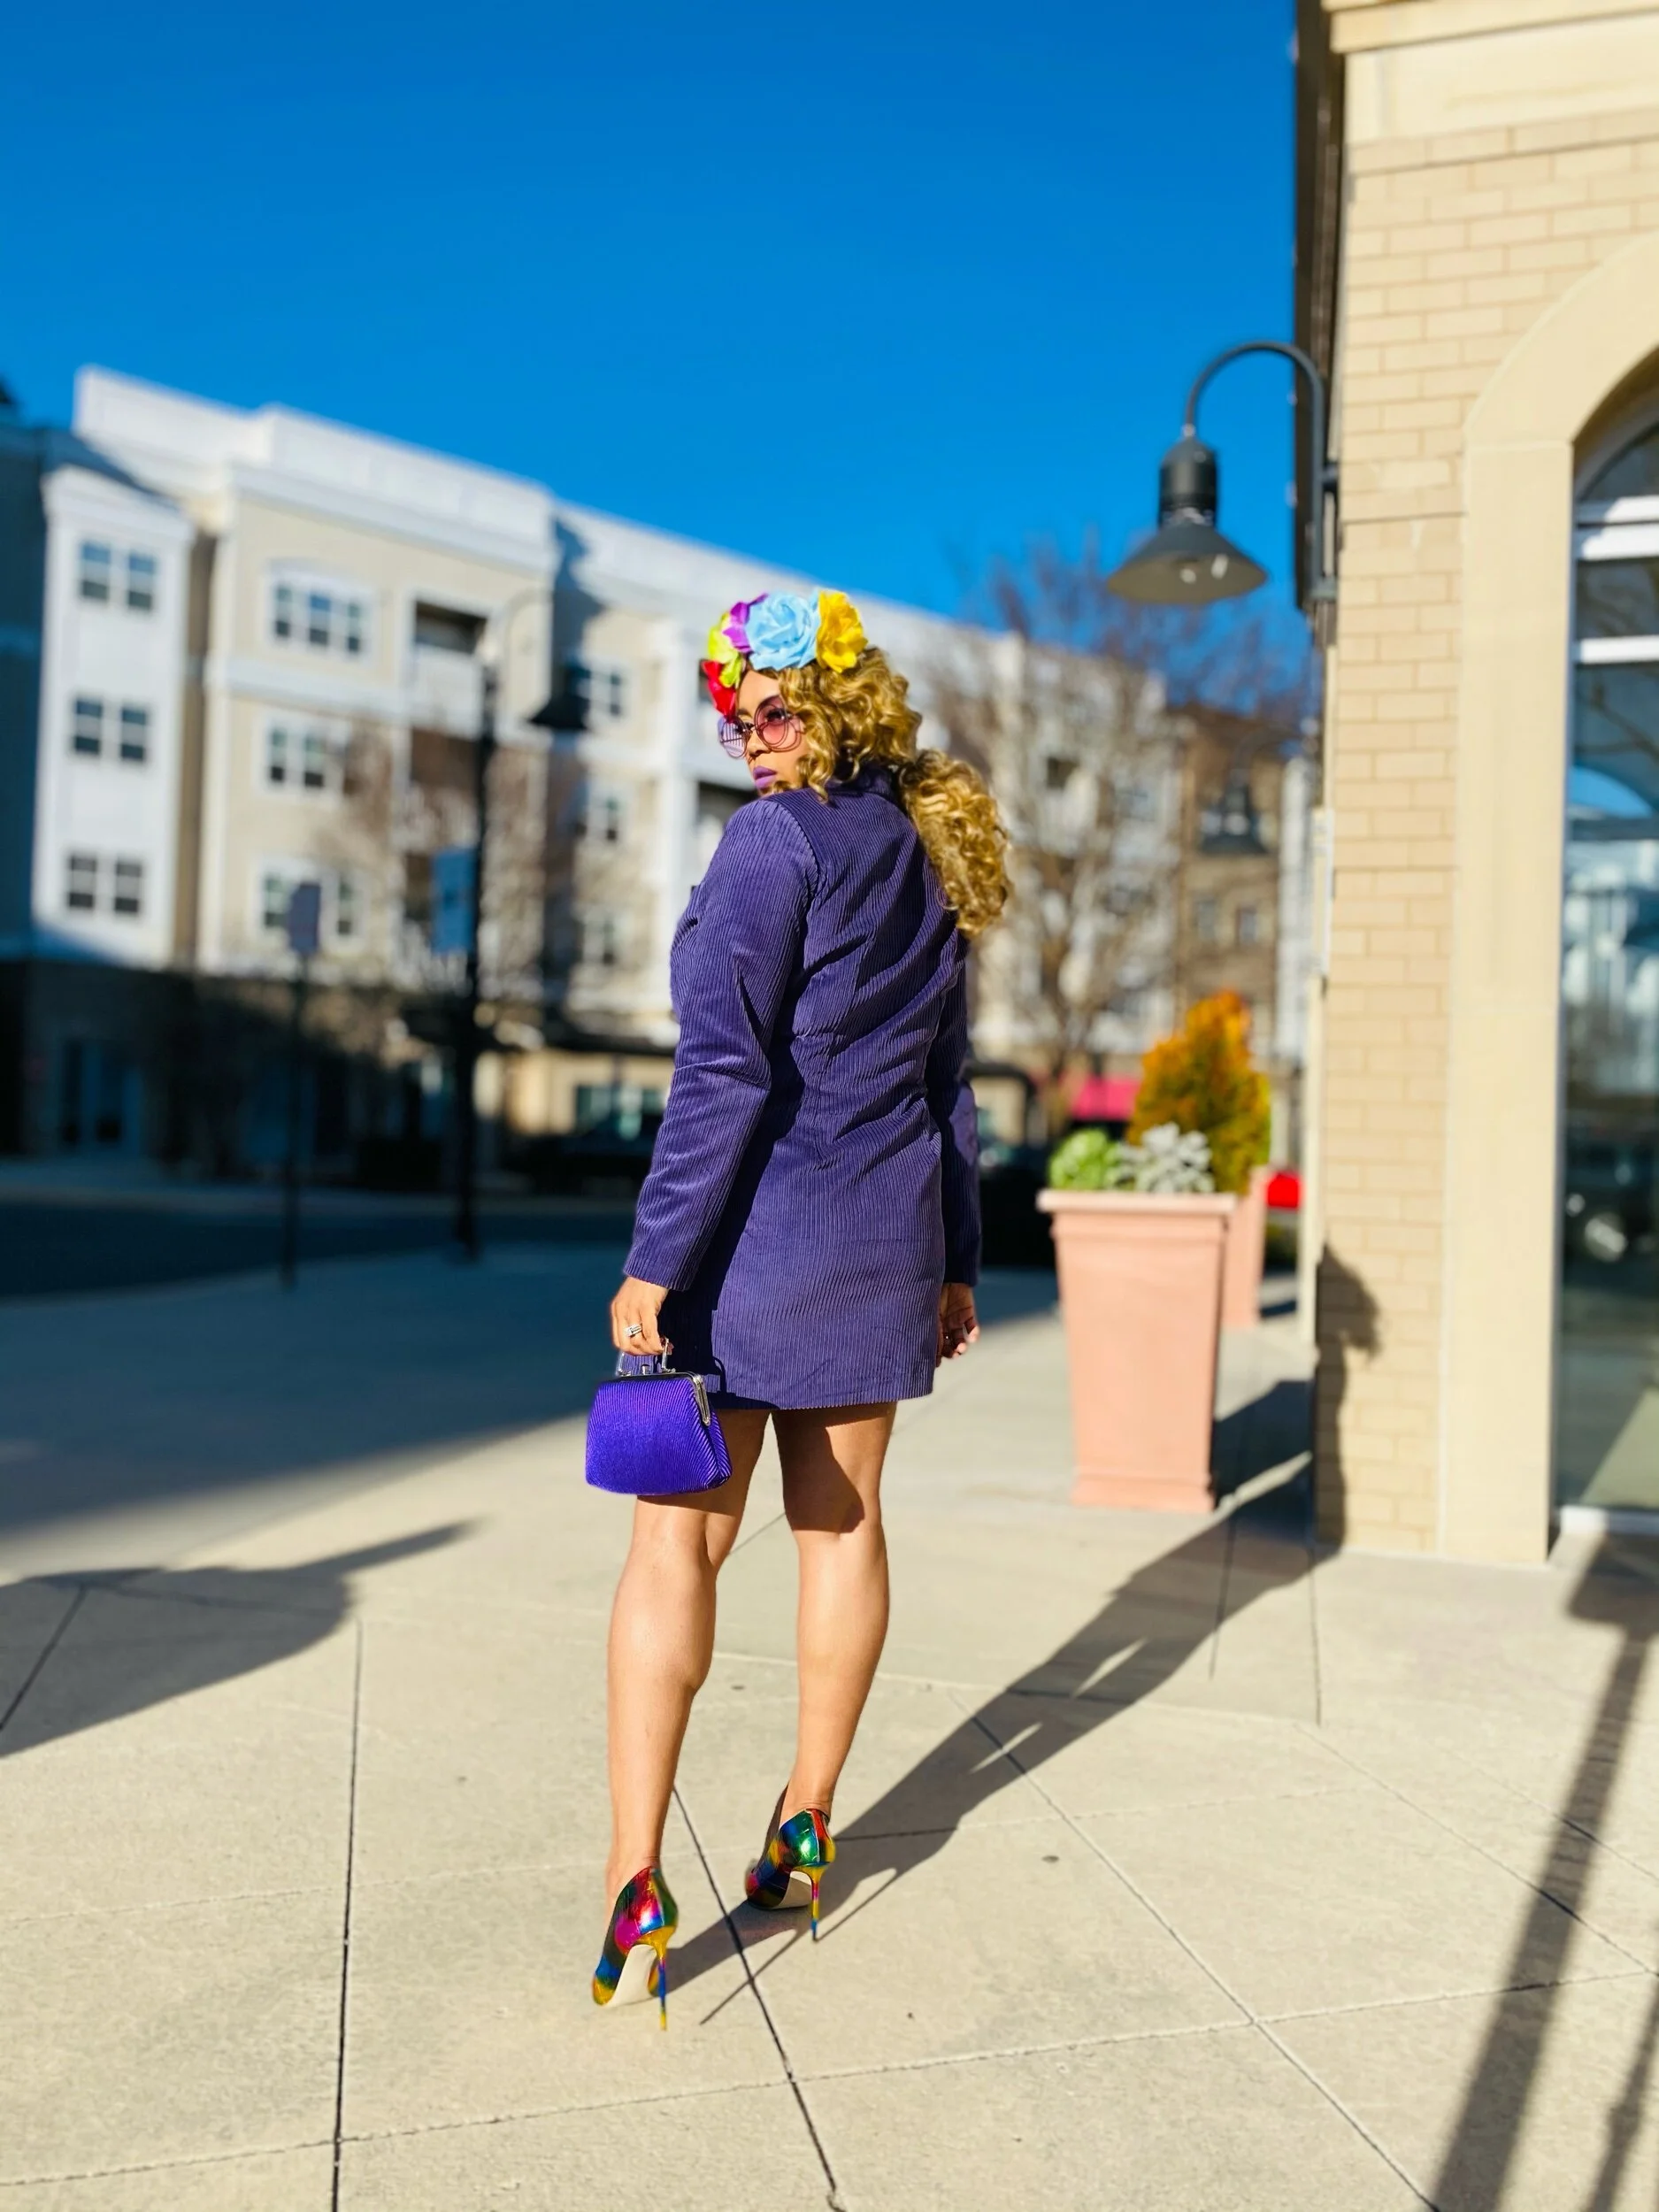
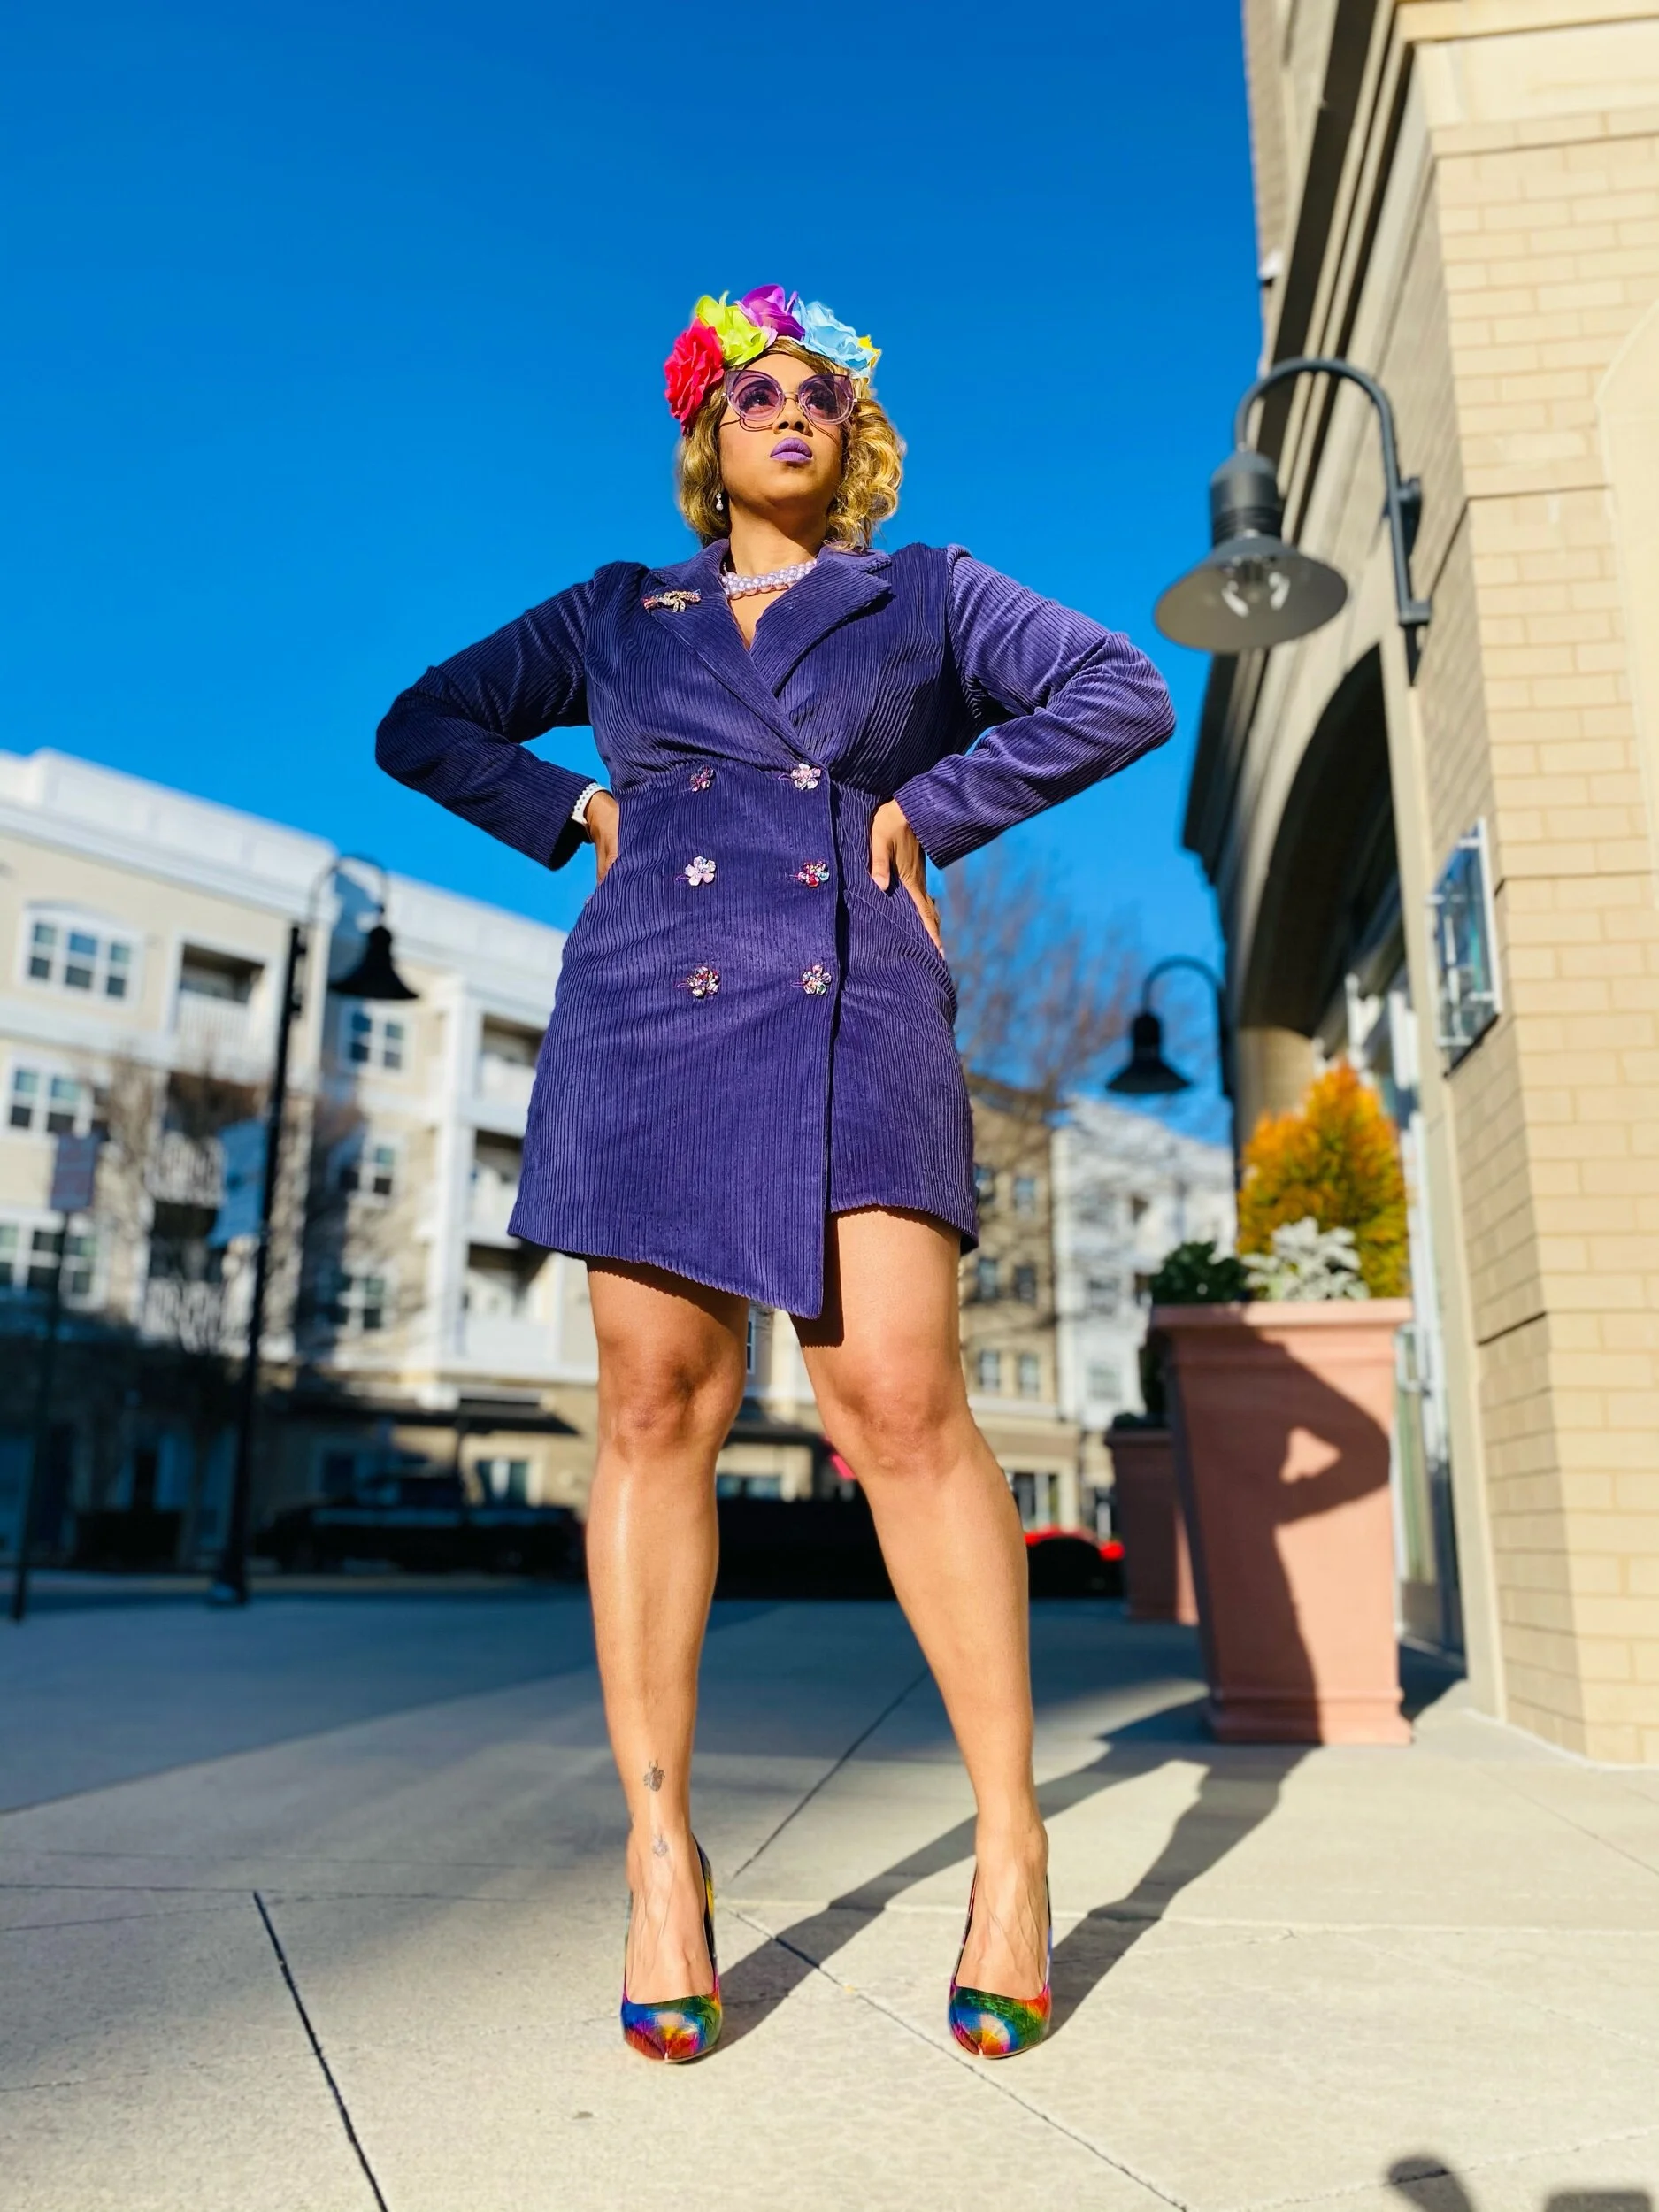
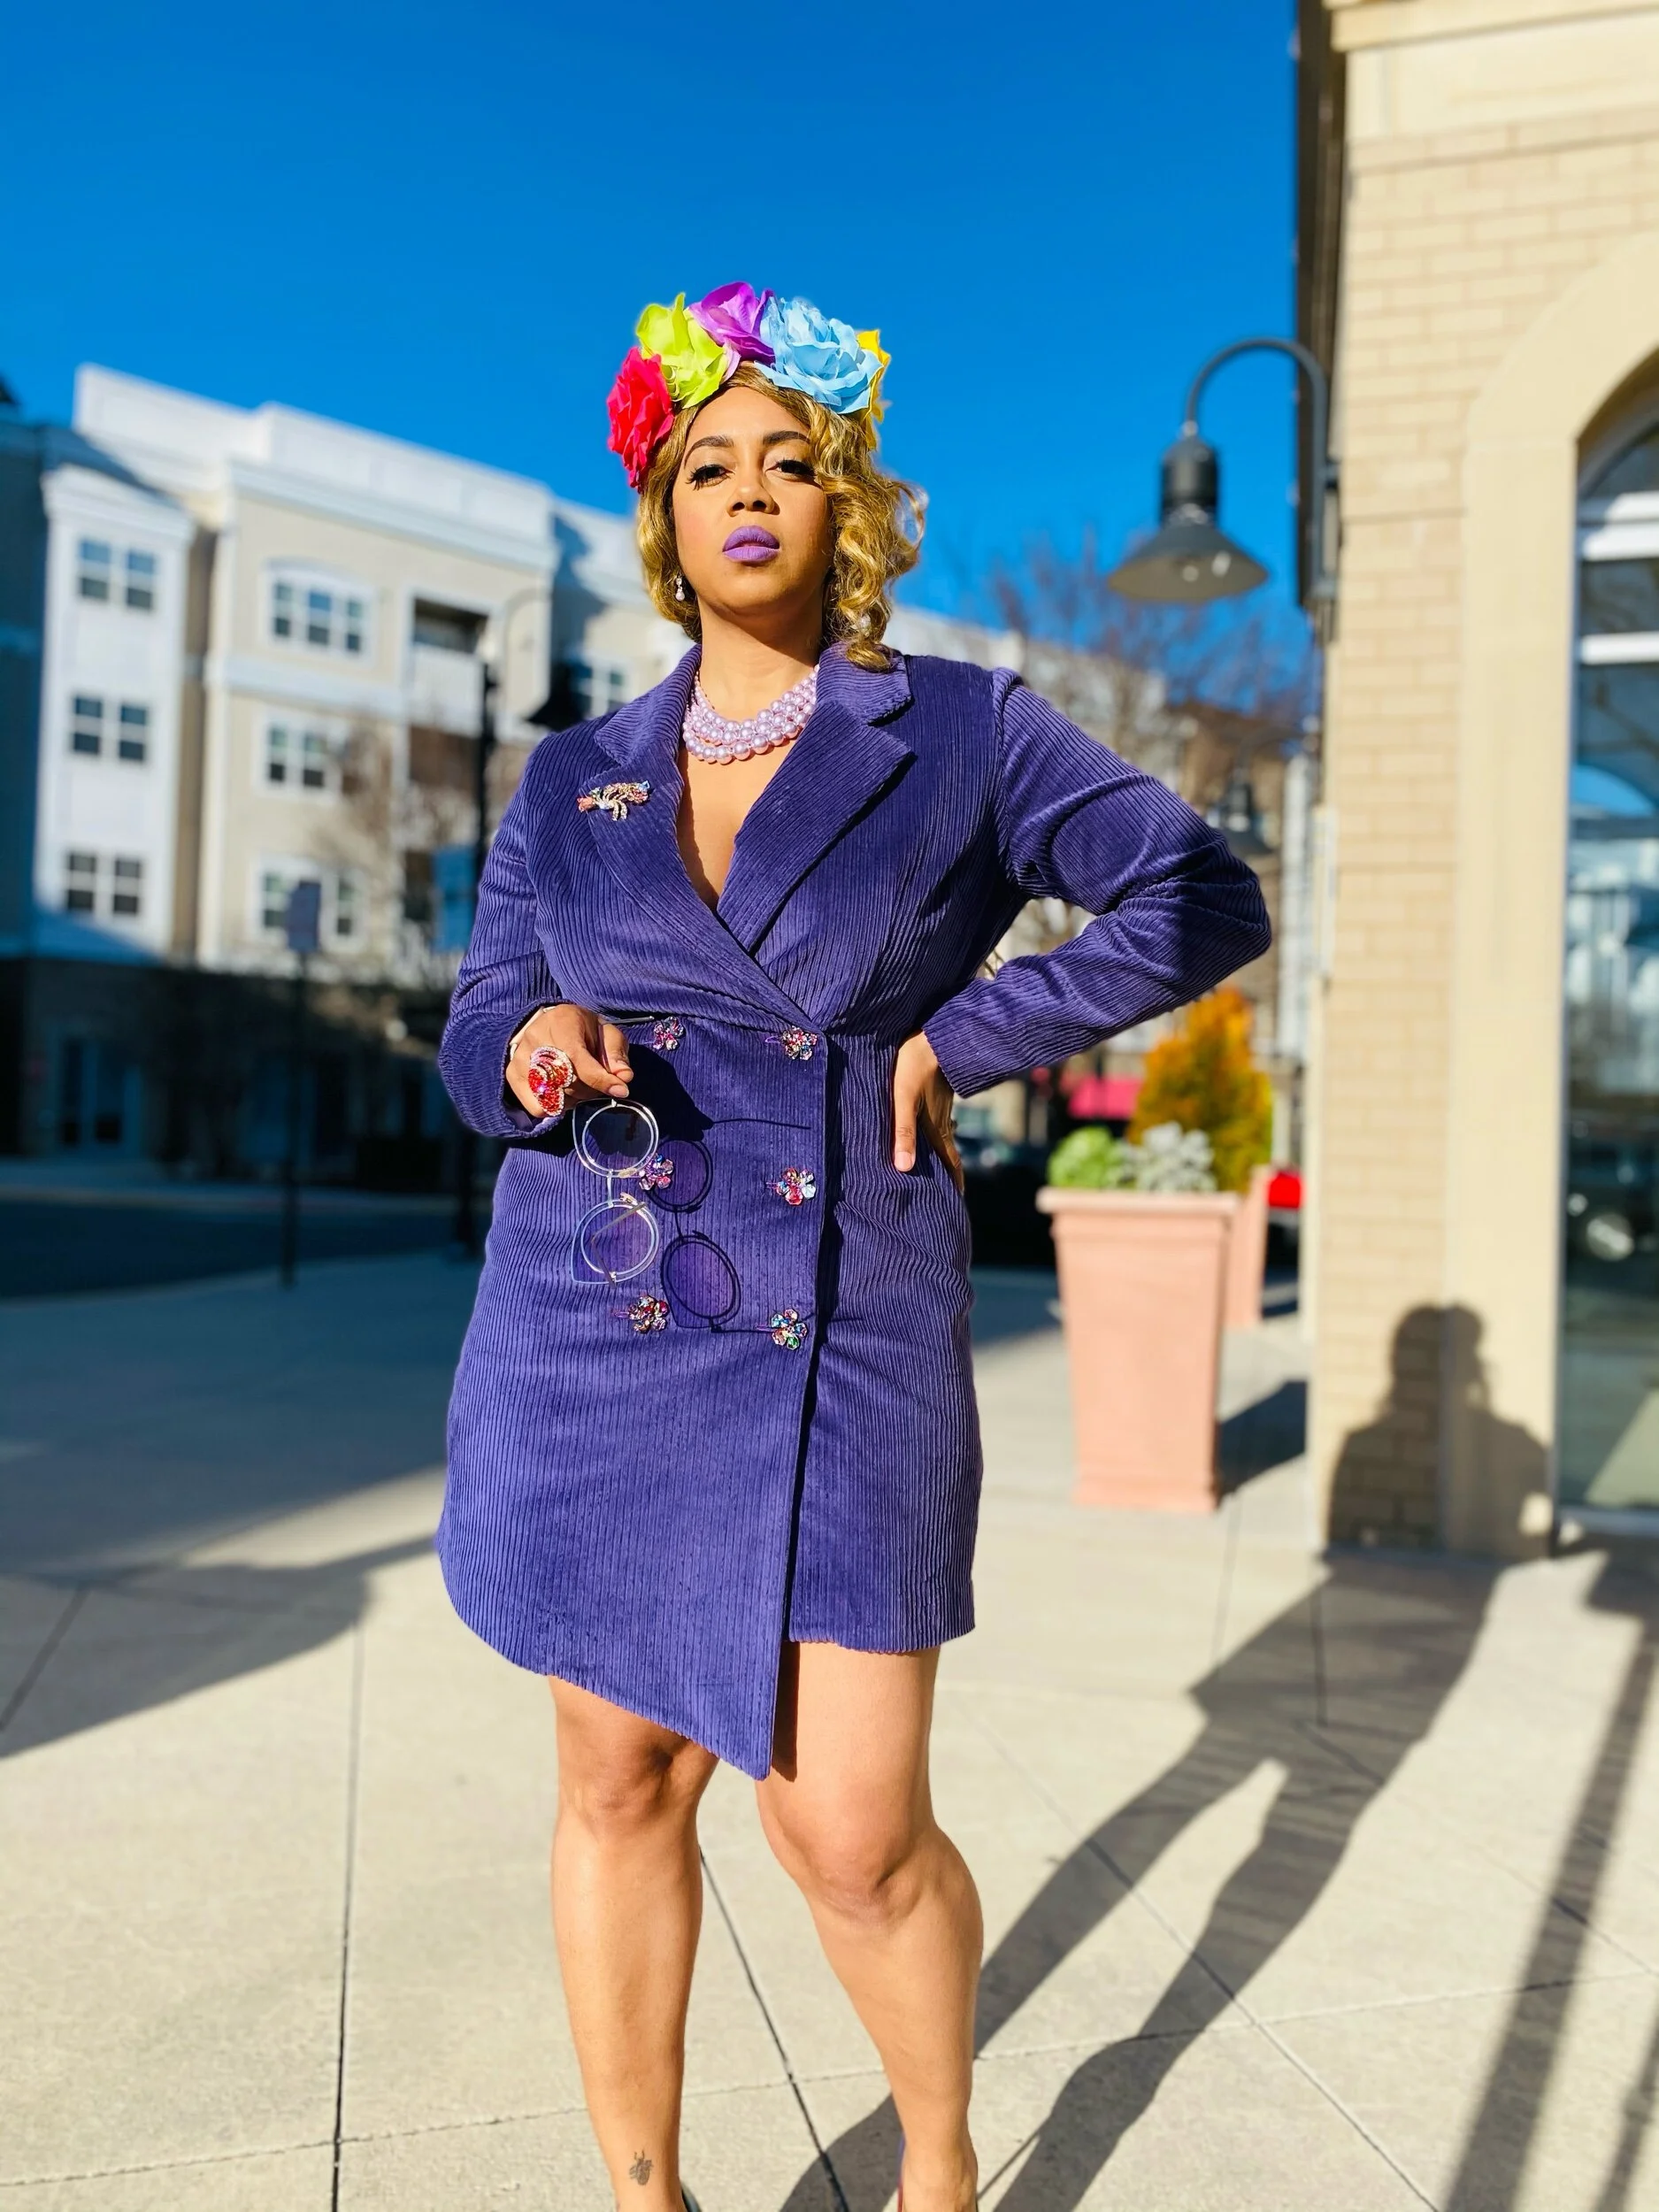
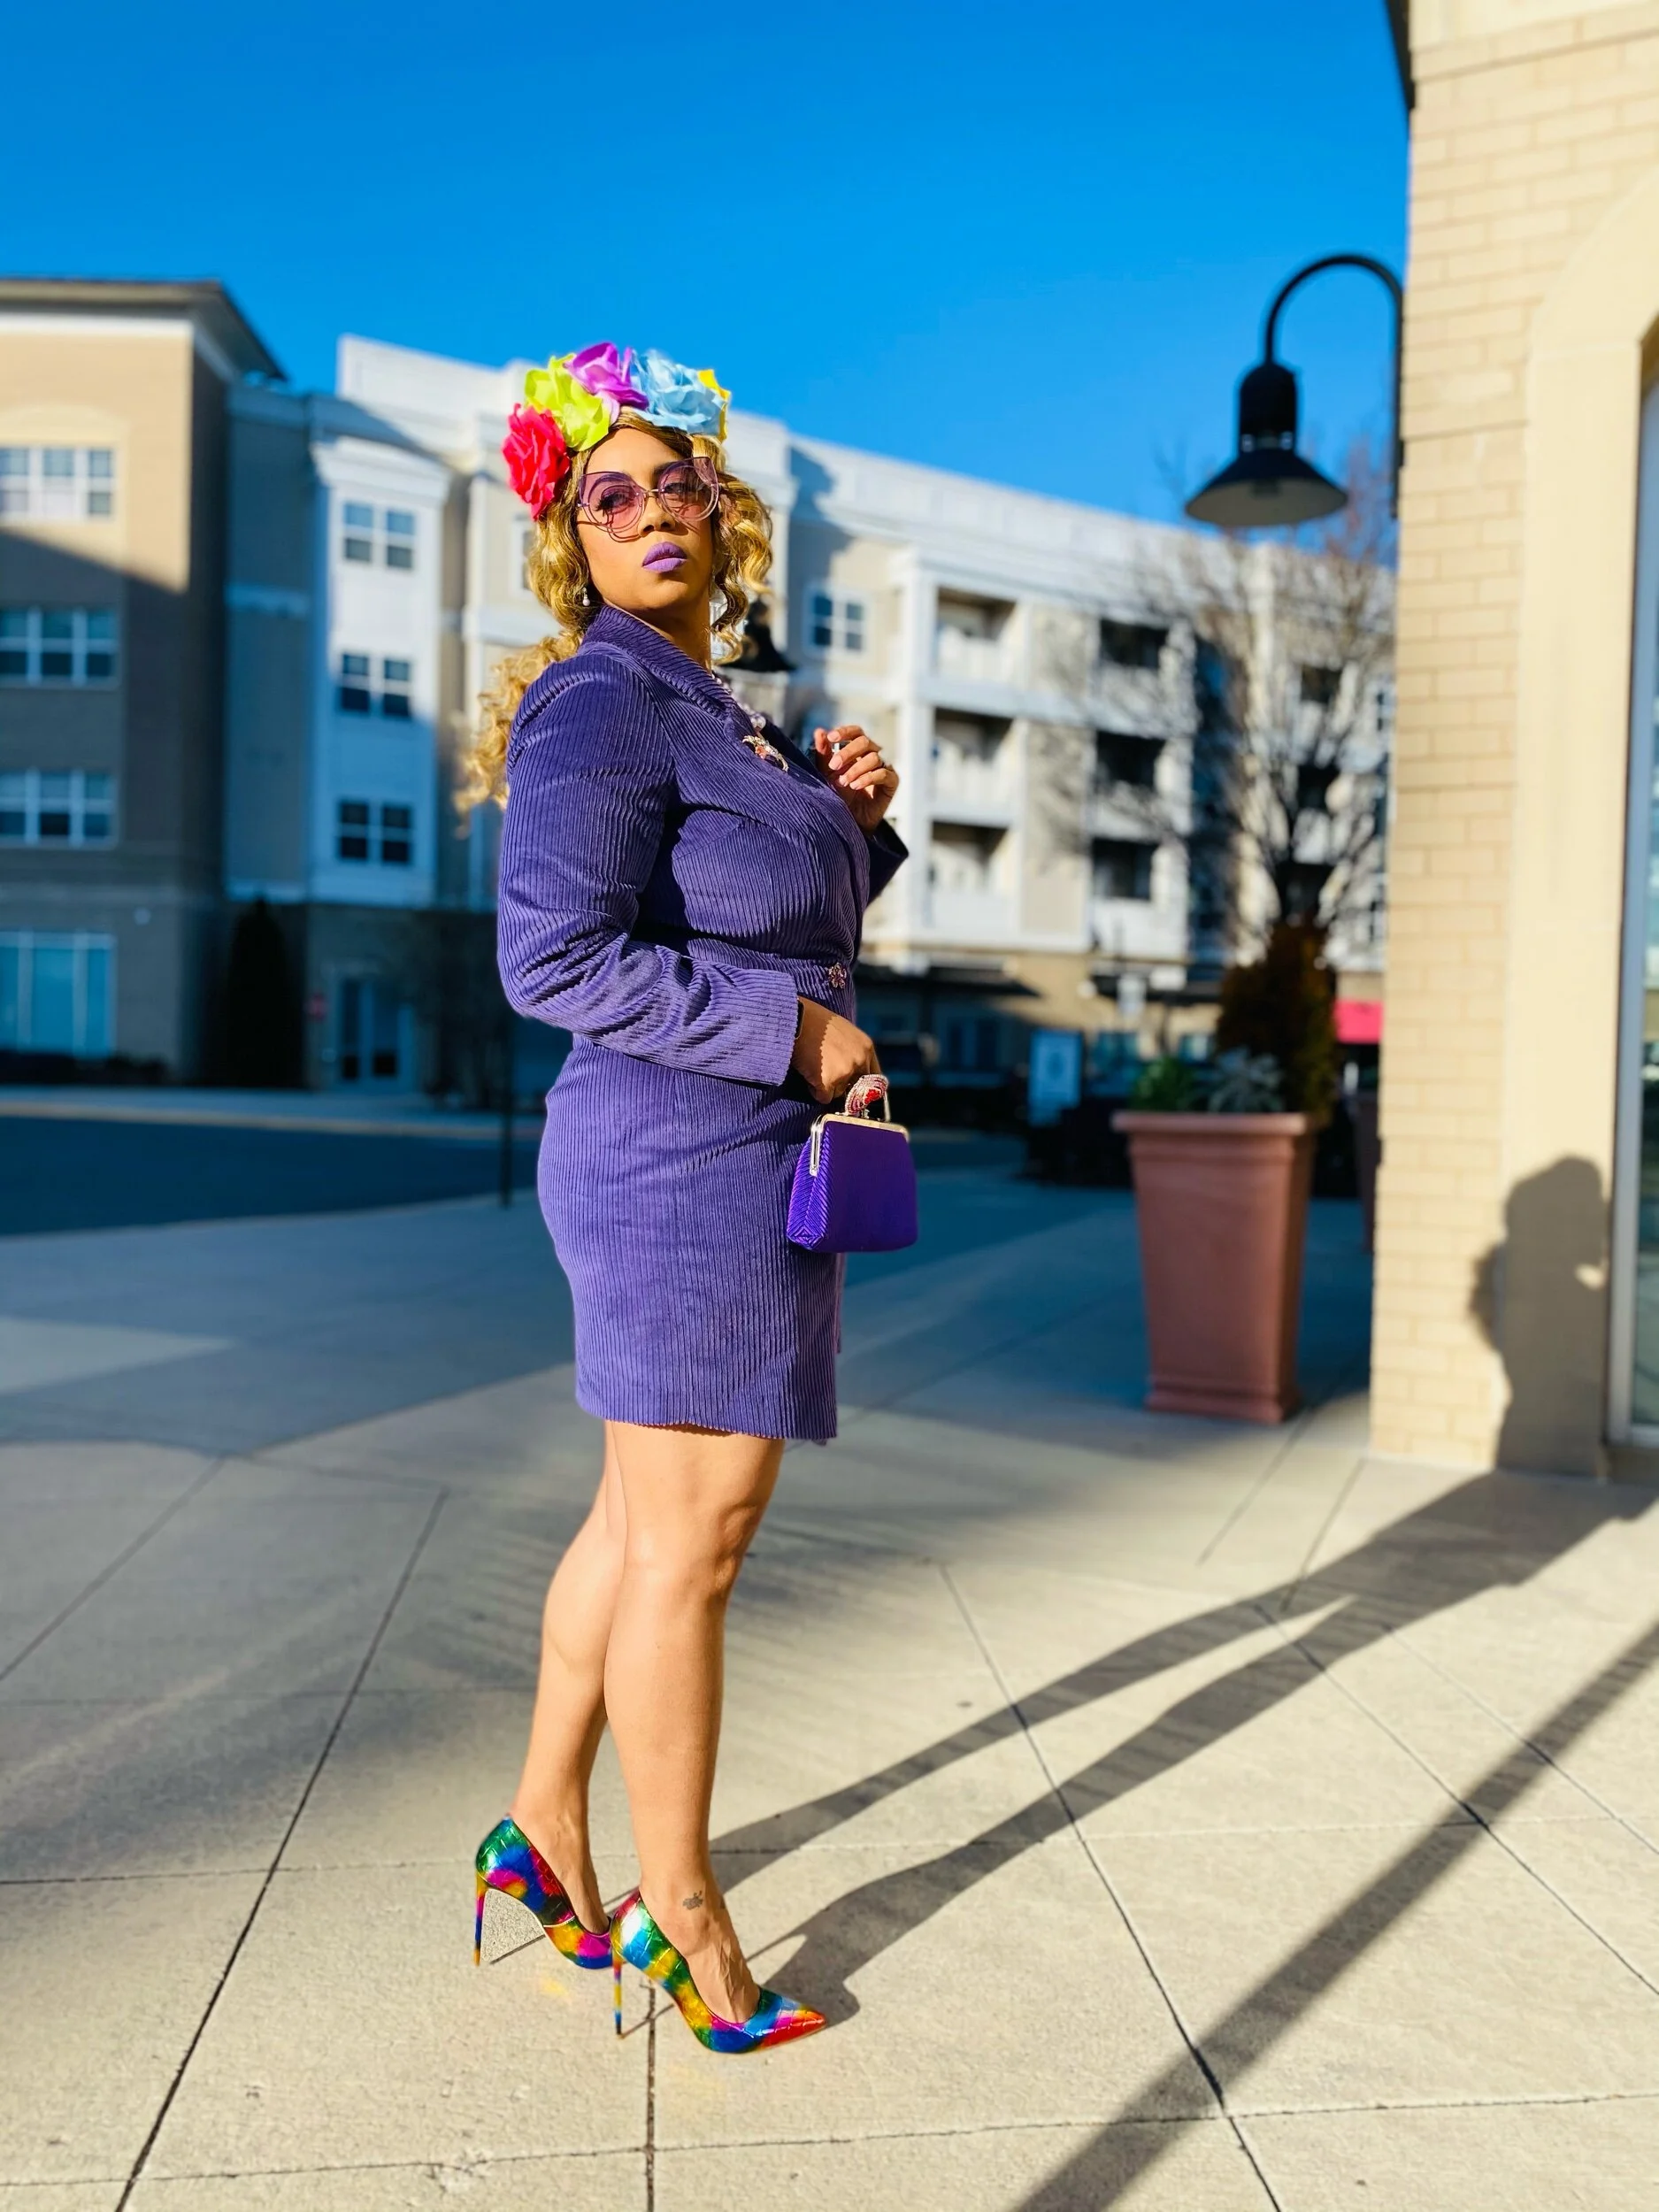
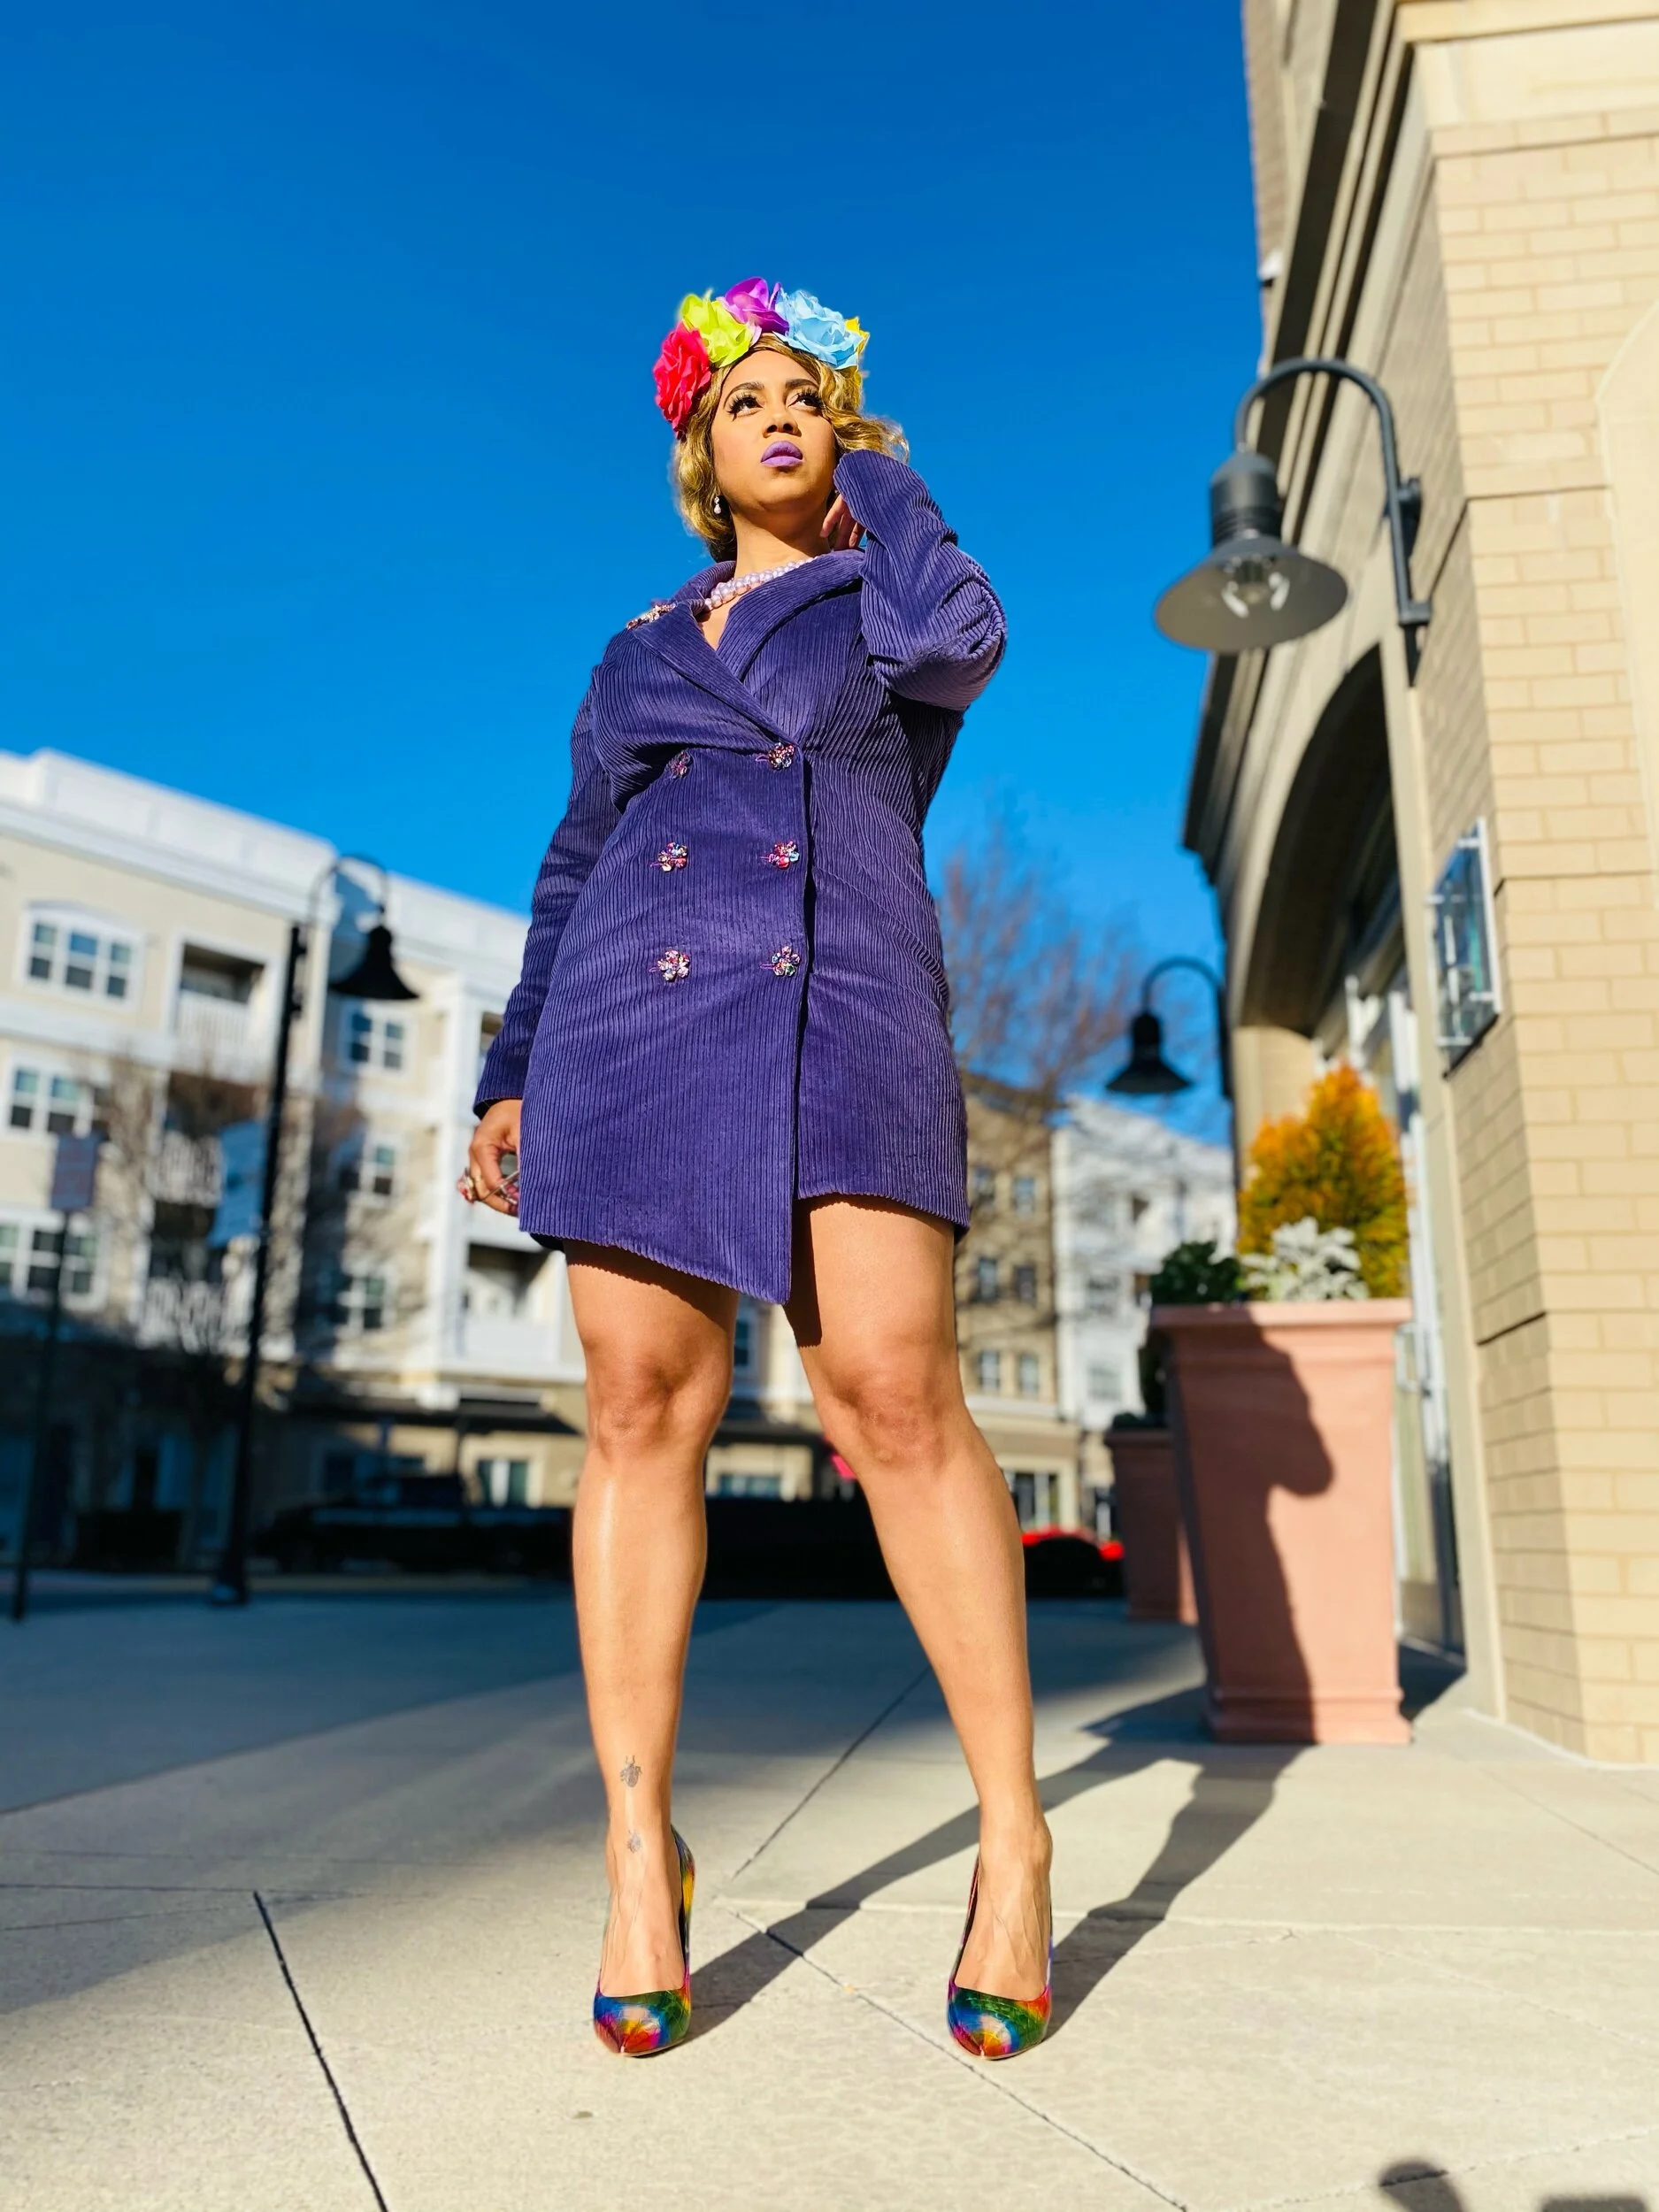
This Spring I’m all about the many shades of purple! I’ve been sleeping on this purple stretch corduroy from Melanated Fabrics all winter and finally decided on the perfect match. Sorry they’re all out of this purple but there are a few other colors to choose from. I used McCalls 7997 to create this look and the darts on this one help to give the dress a little more shape for those curves. If darts aren’t your strong points, check out this method I use to cut the dart portions out of the pattern pieces for easy markings.
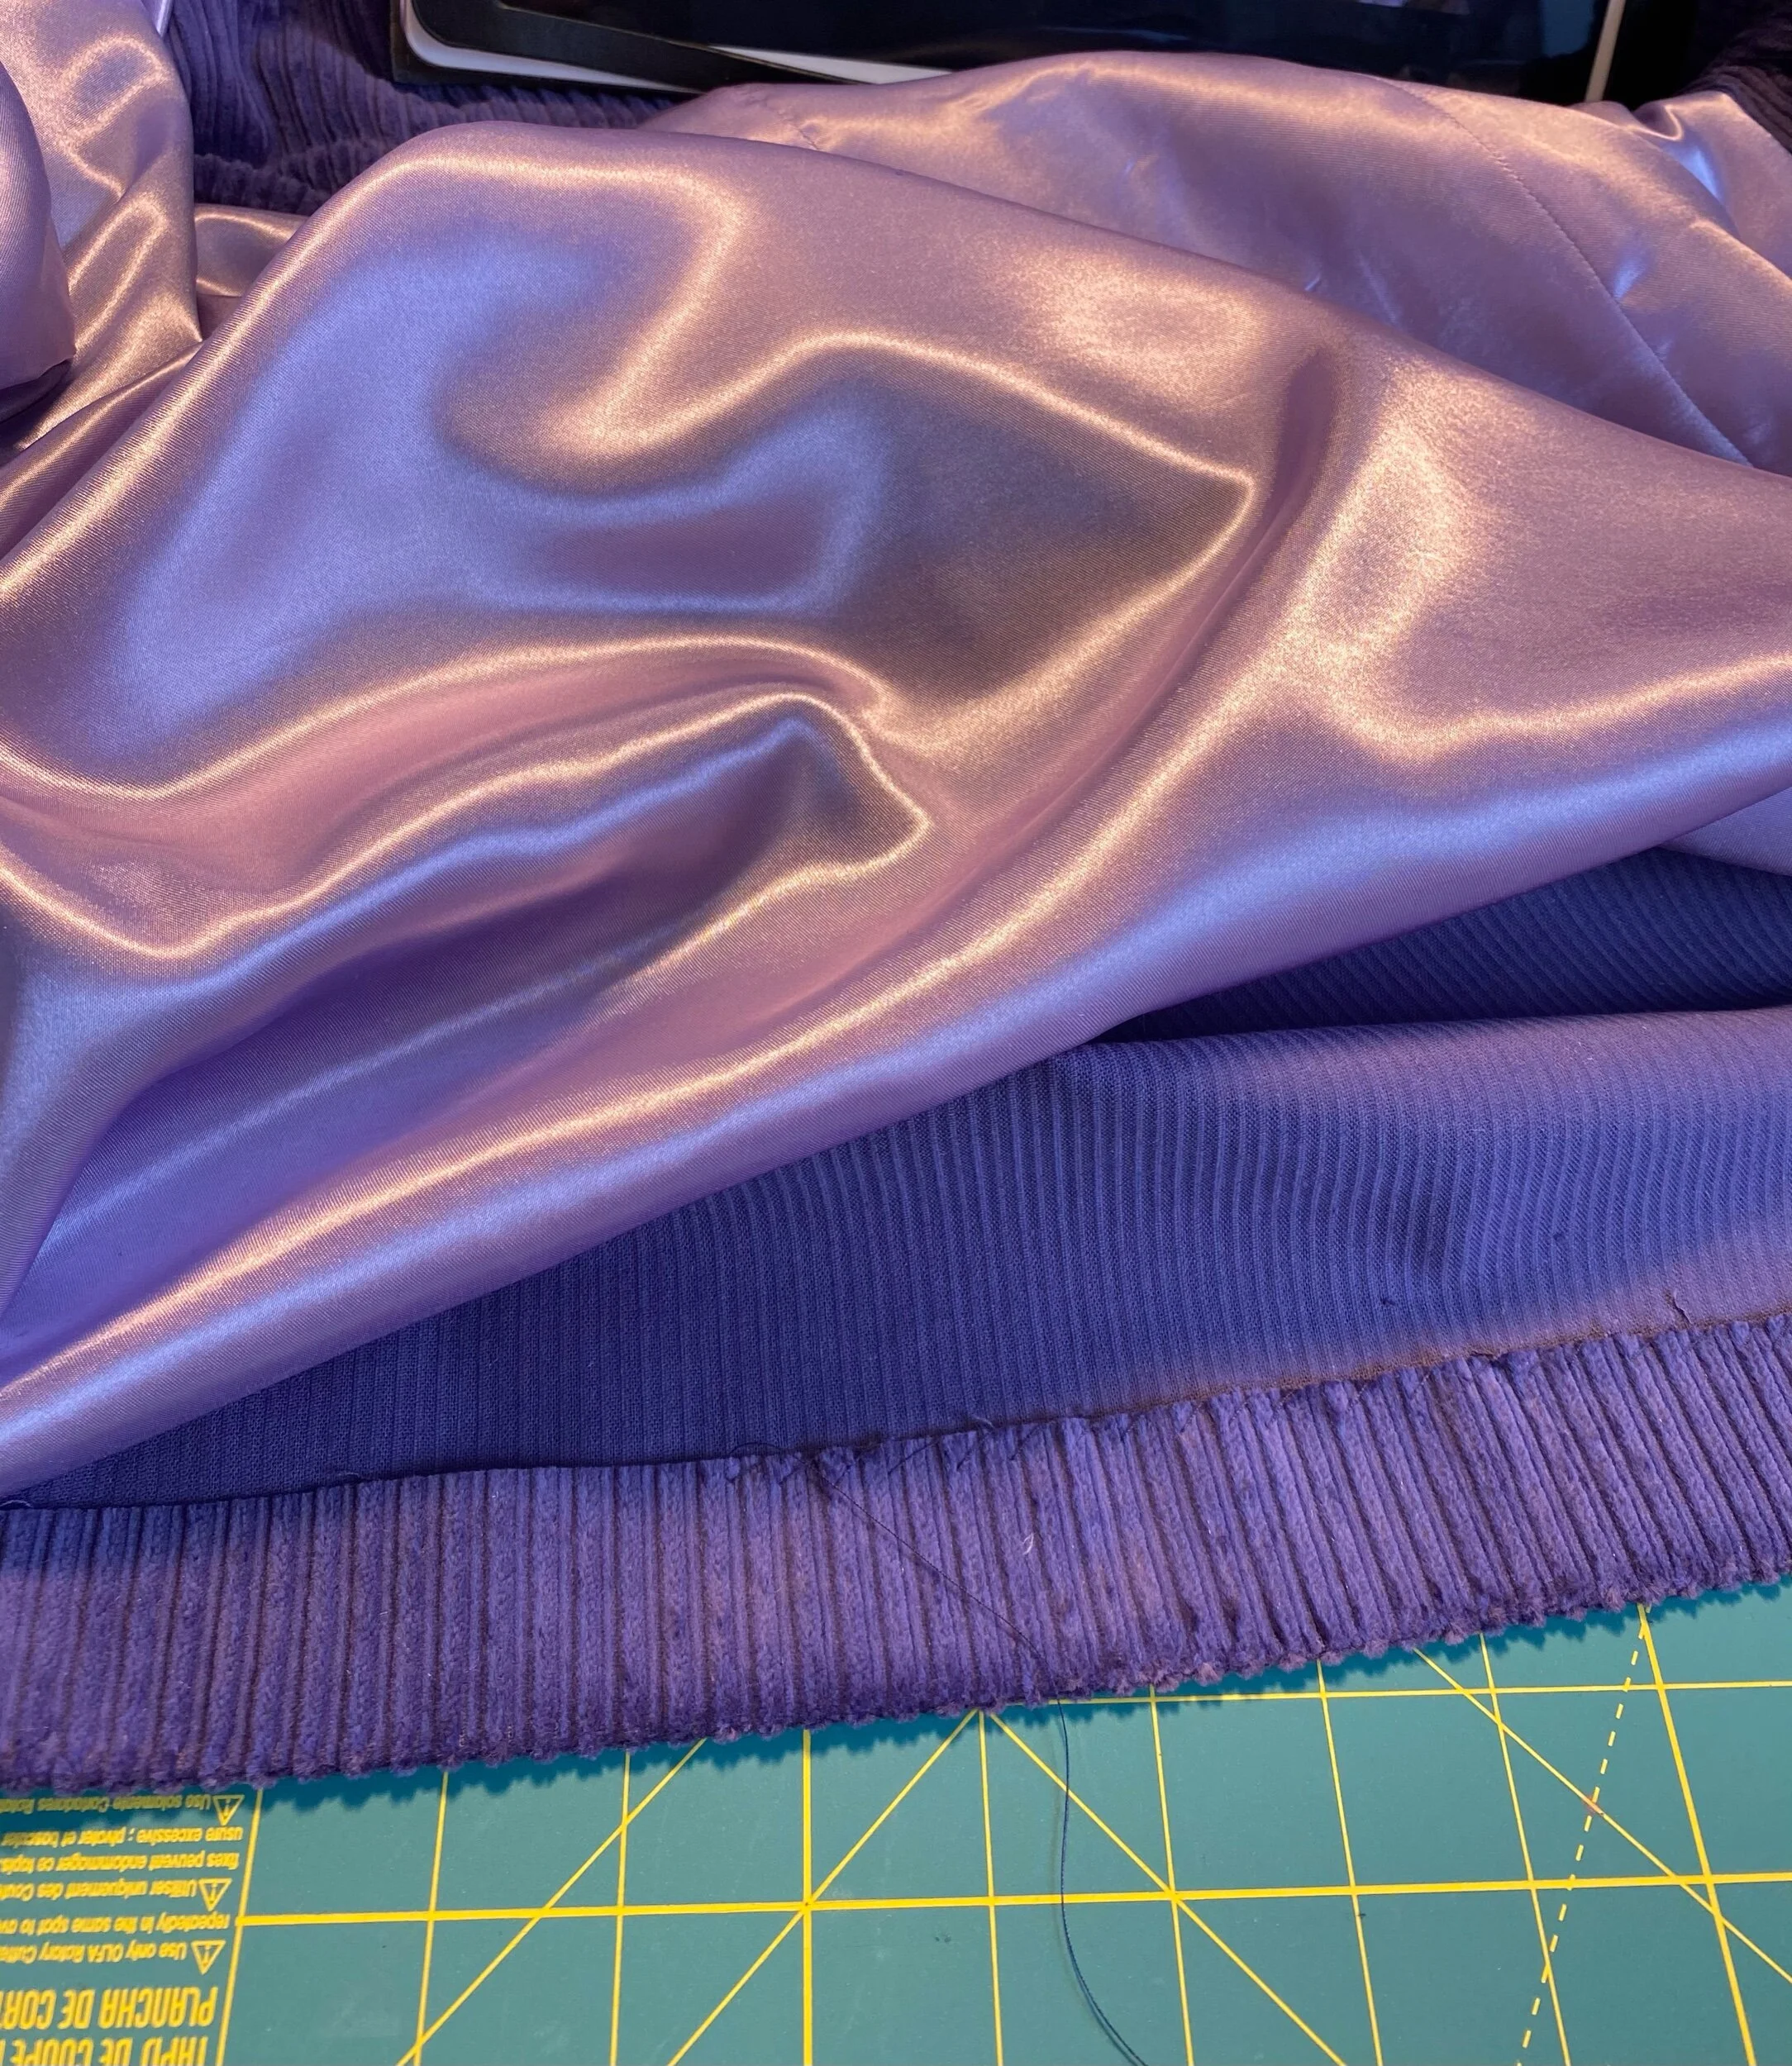
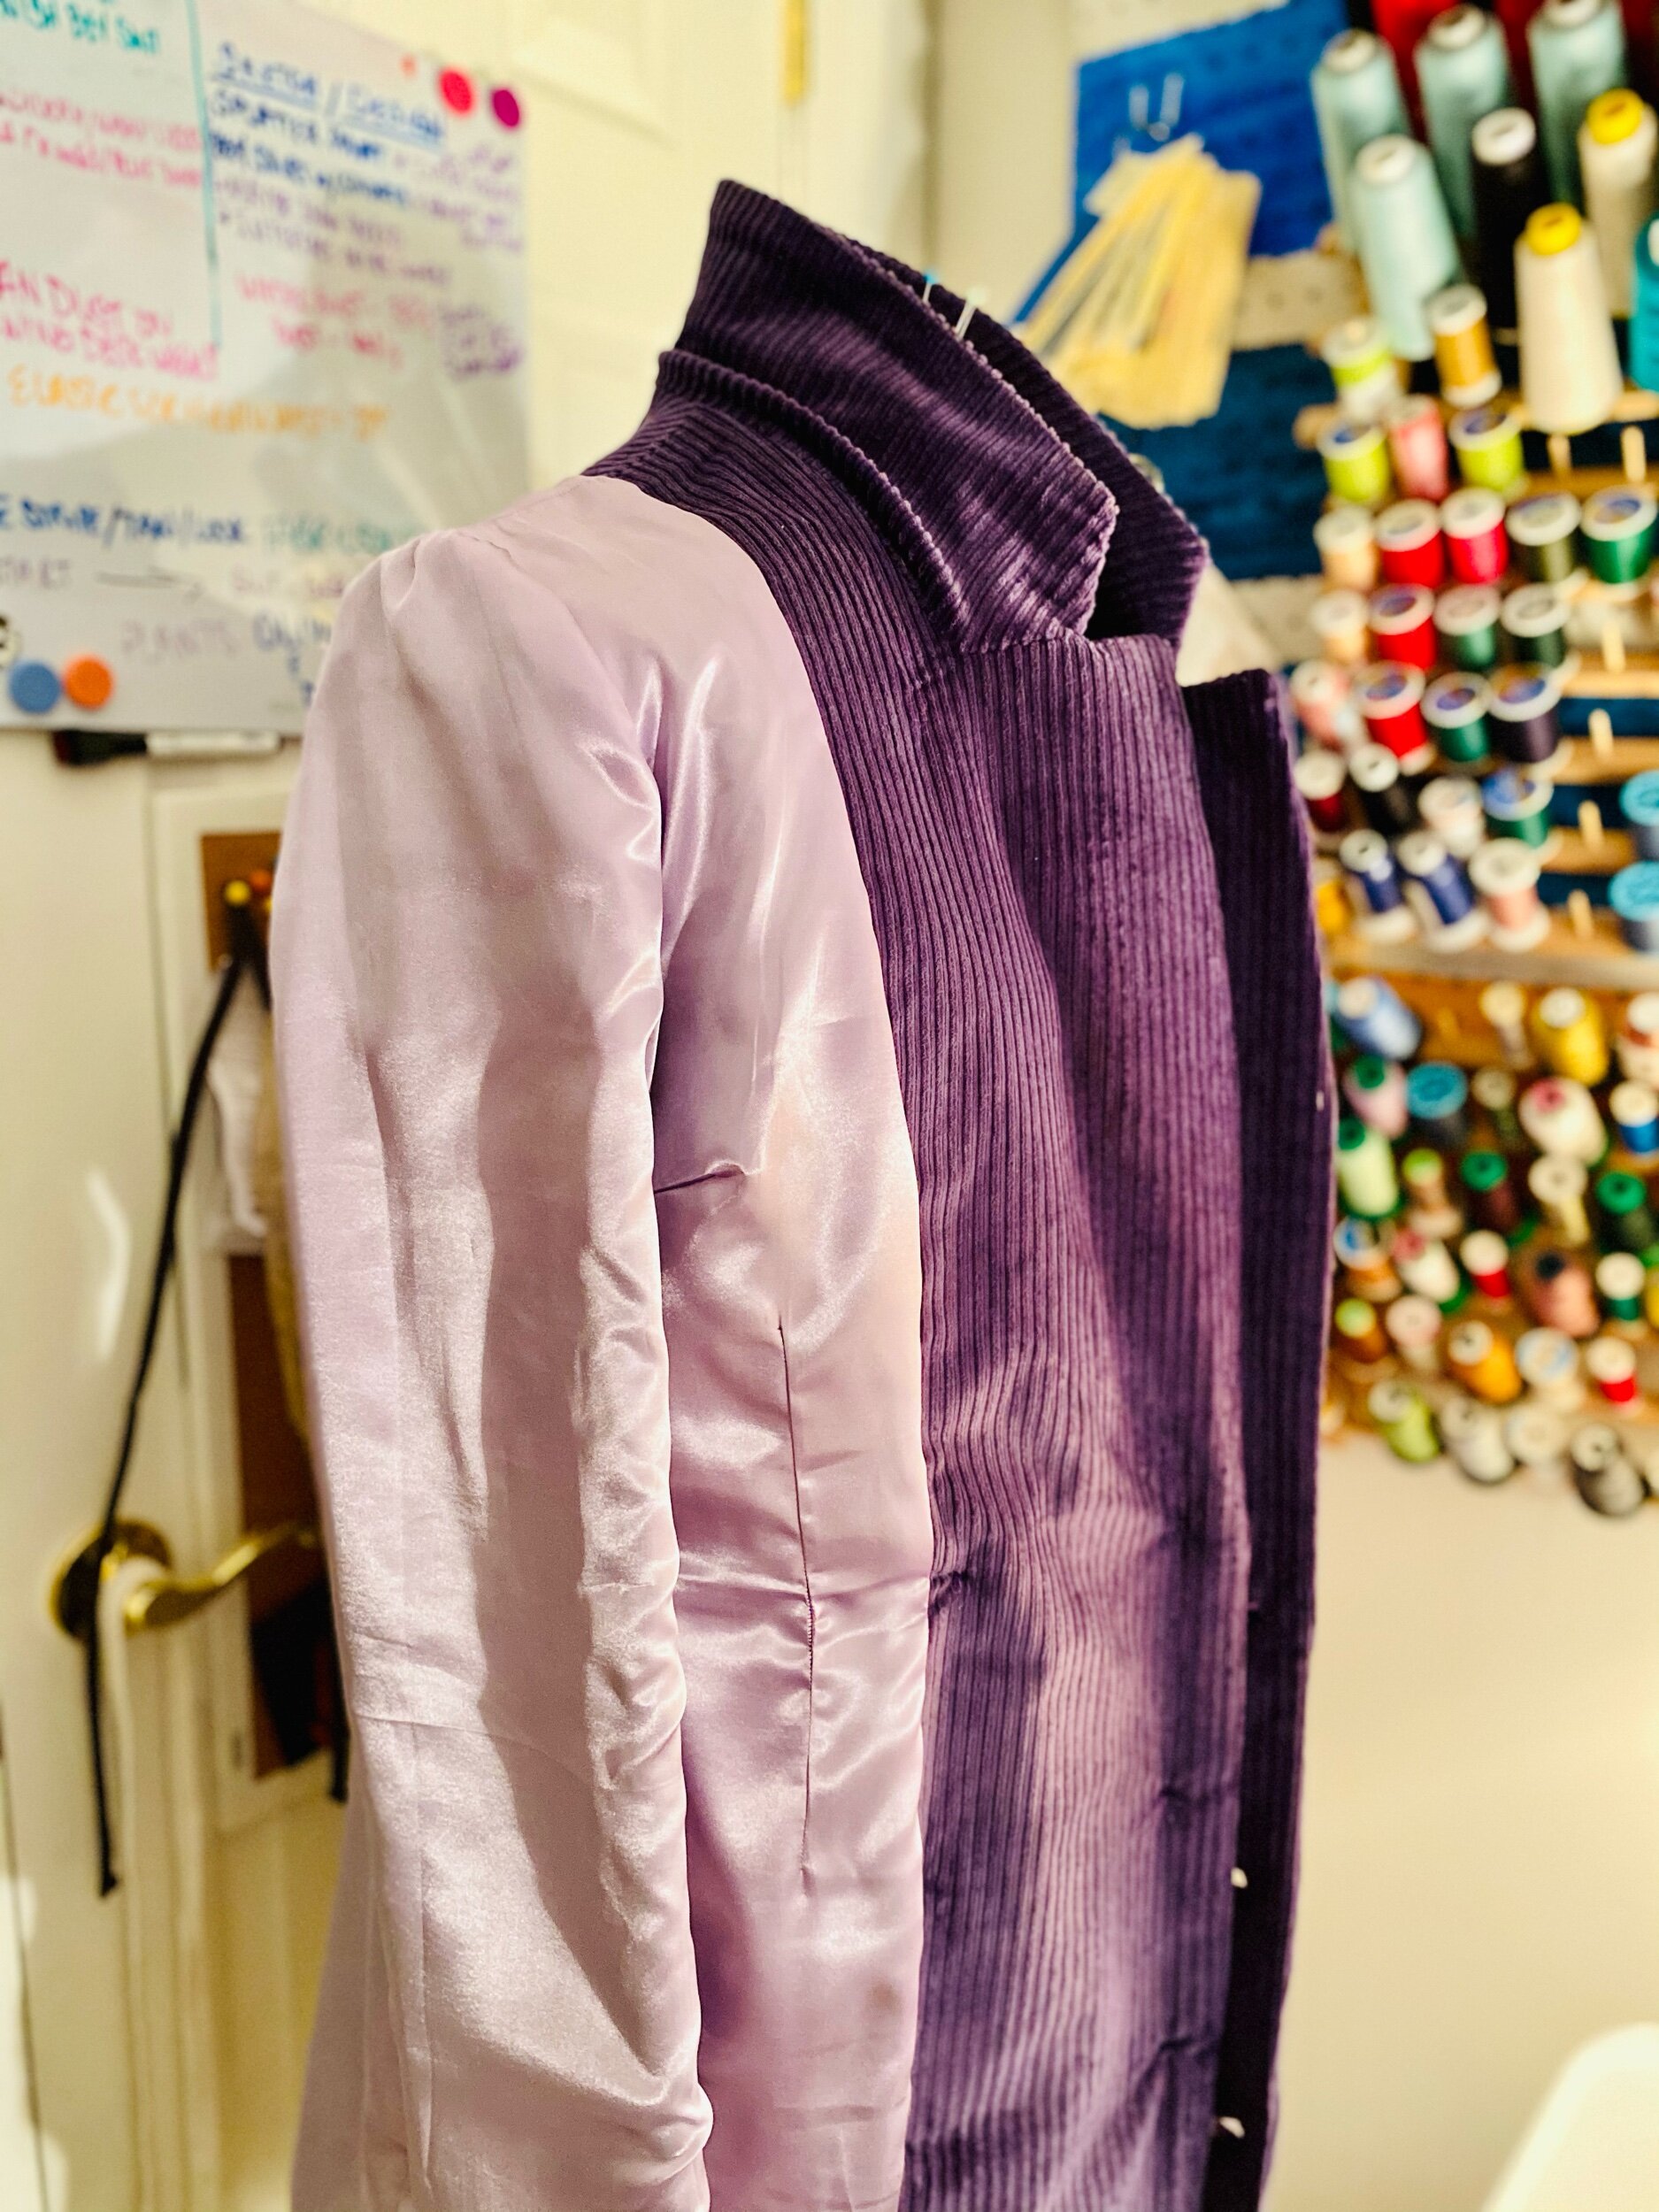
There’s quite a bit of handsewing for the hem, sleeves, and lining. So if handsewing isn’t your jam, I’d get ready for it with this pattern. I managed to sit and handsewing the entire dress while watching a movie. The buttonholes were also fun (not). Corduroy can be tricky and with this being a stretch corduroy, the fabric wasn’t as firm as I would like for a buttonhole. You can strengthen your buttonholes by adding cording or a stronger interfacing on your front facing.
Overall, this was an average sewing project. There aren’t welt pockets but if you want to get jazzy you could definitely add them.
Tip: I cut out the front facing pattern piece with angle incorrectly. I was definitely not paying close attention. So you want to be sure if you’re sewing this version, to cut the slanted facing piece correctly. The same goes for your lining. Luckily I had enough corduroy to cut out one more facing on the correct side.
I hope you enjoyed my Purple Rain-bow lewk! Until next time,
Peace & Blessings!
5 Ways to Style a Slip Dress
The Sicily
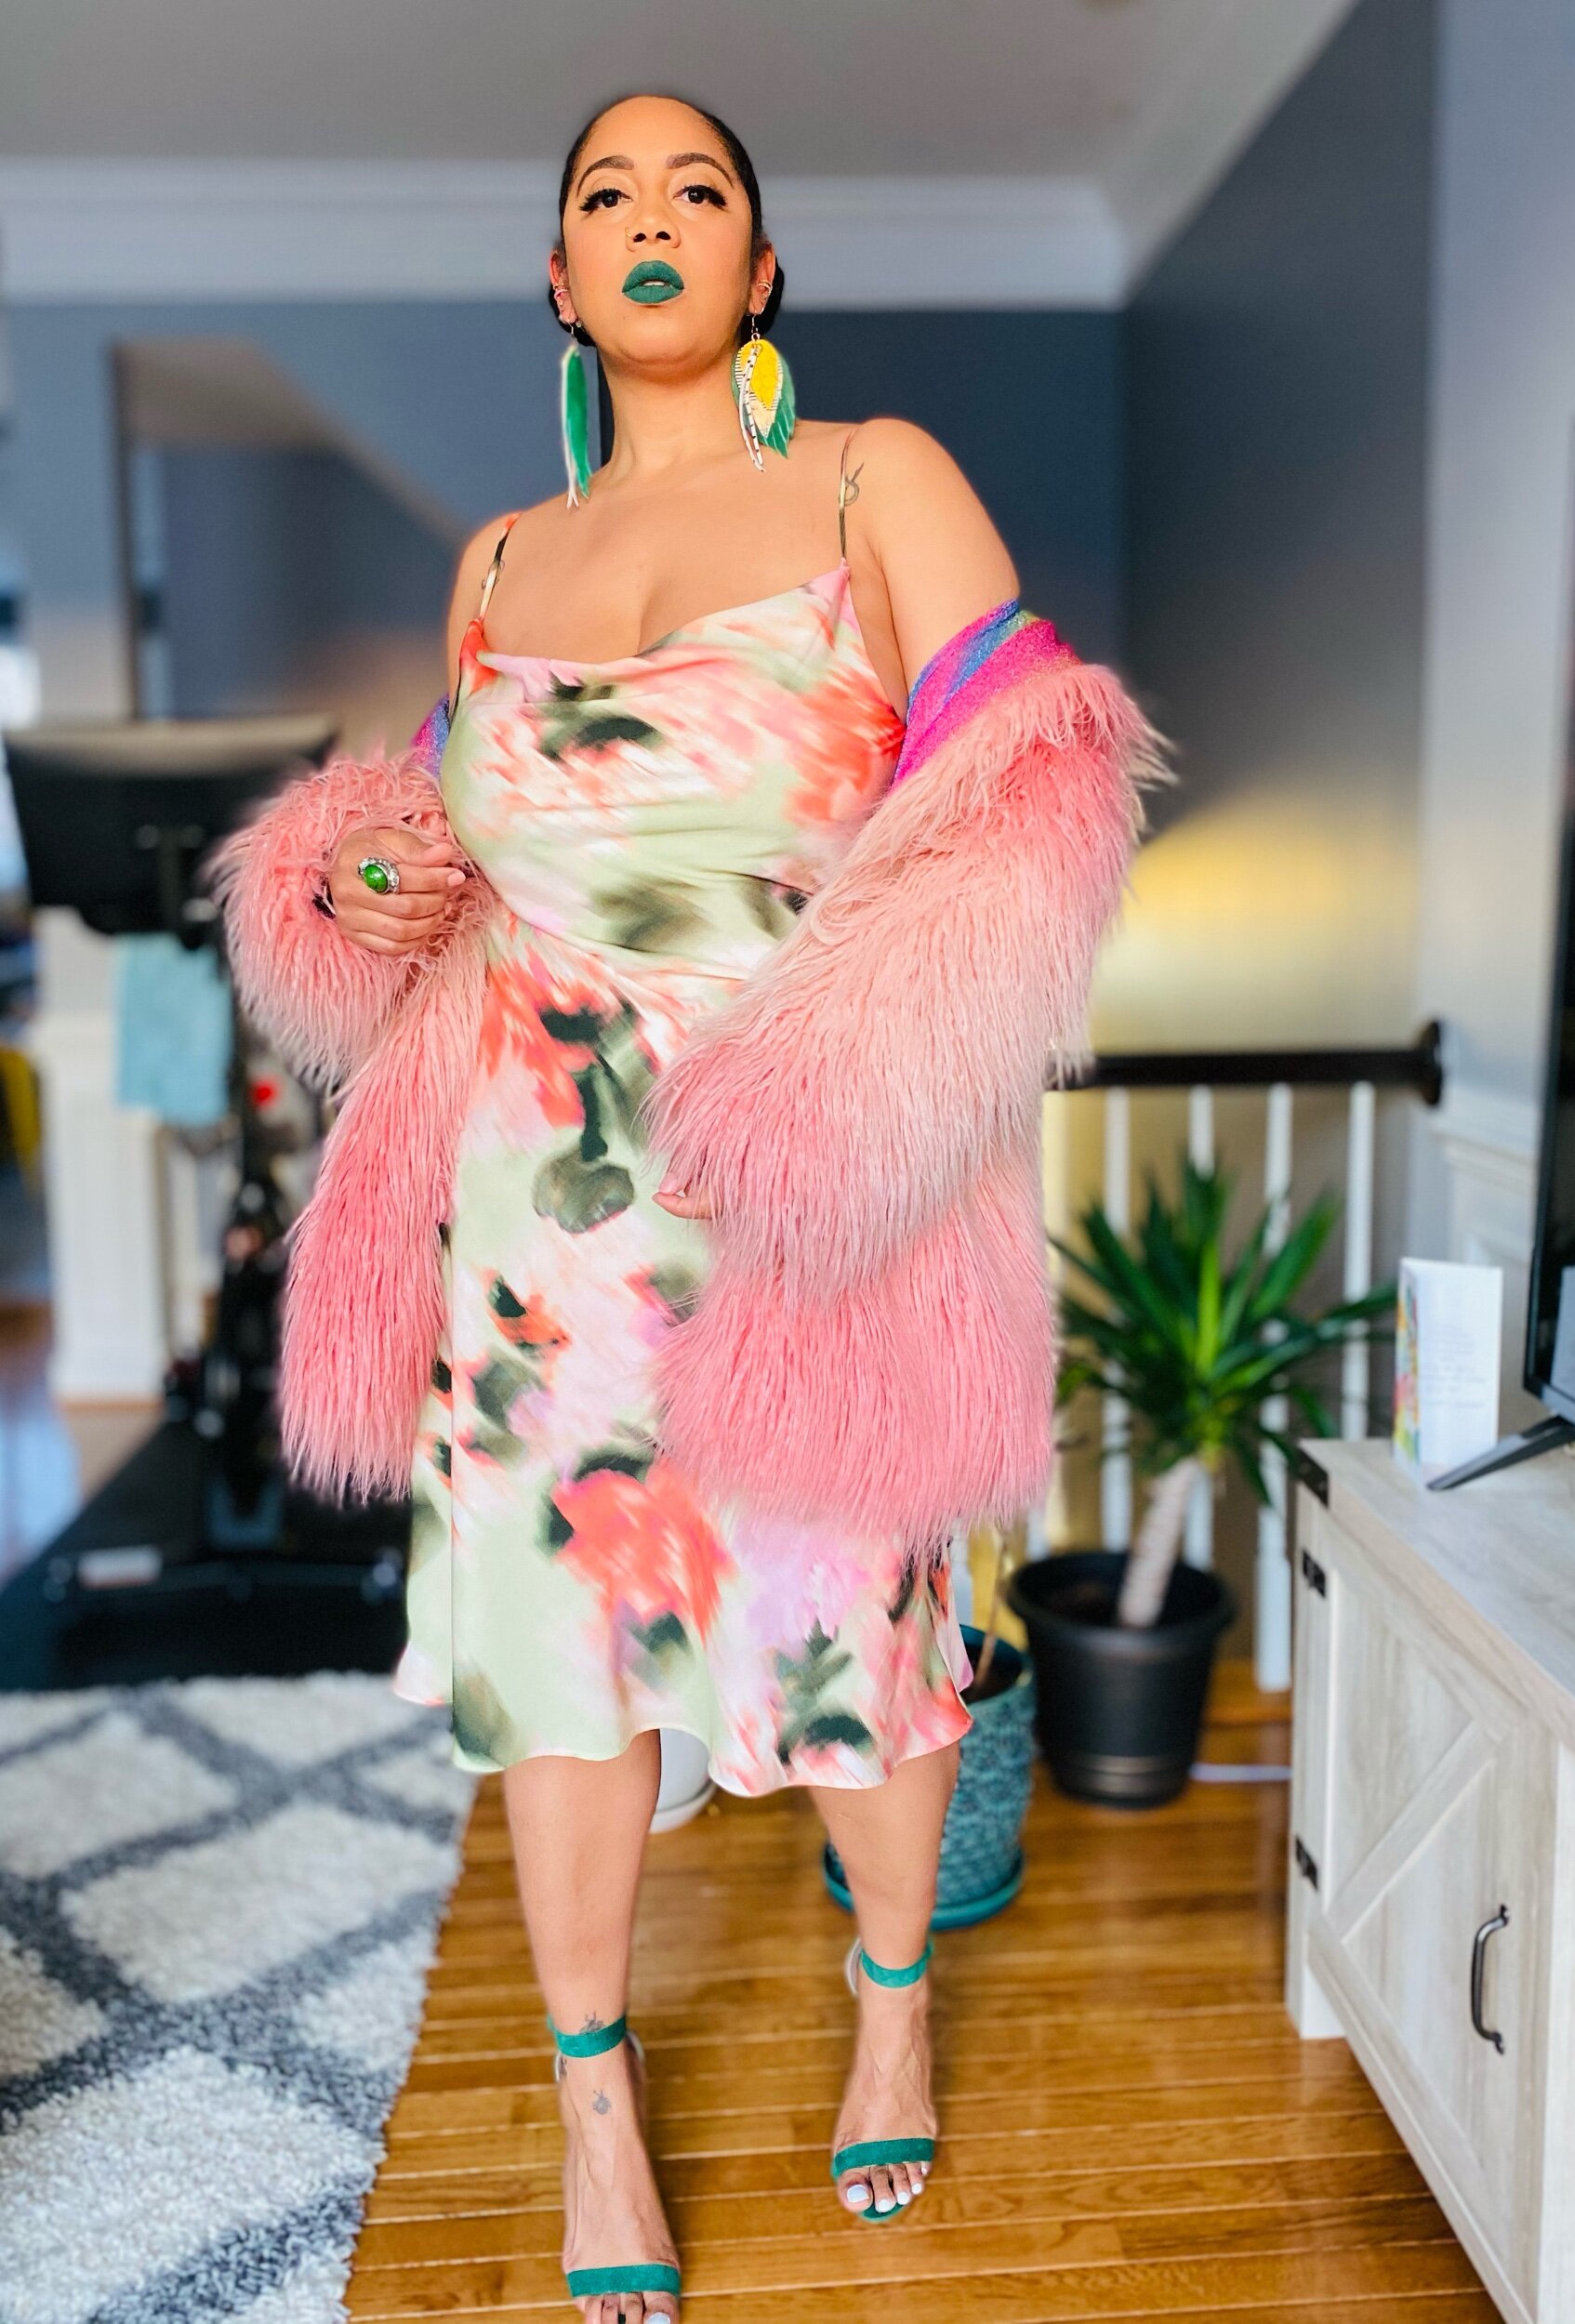
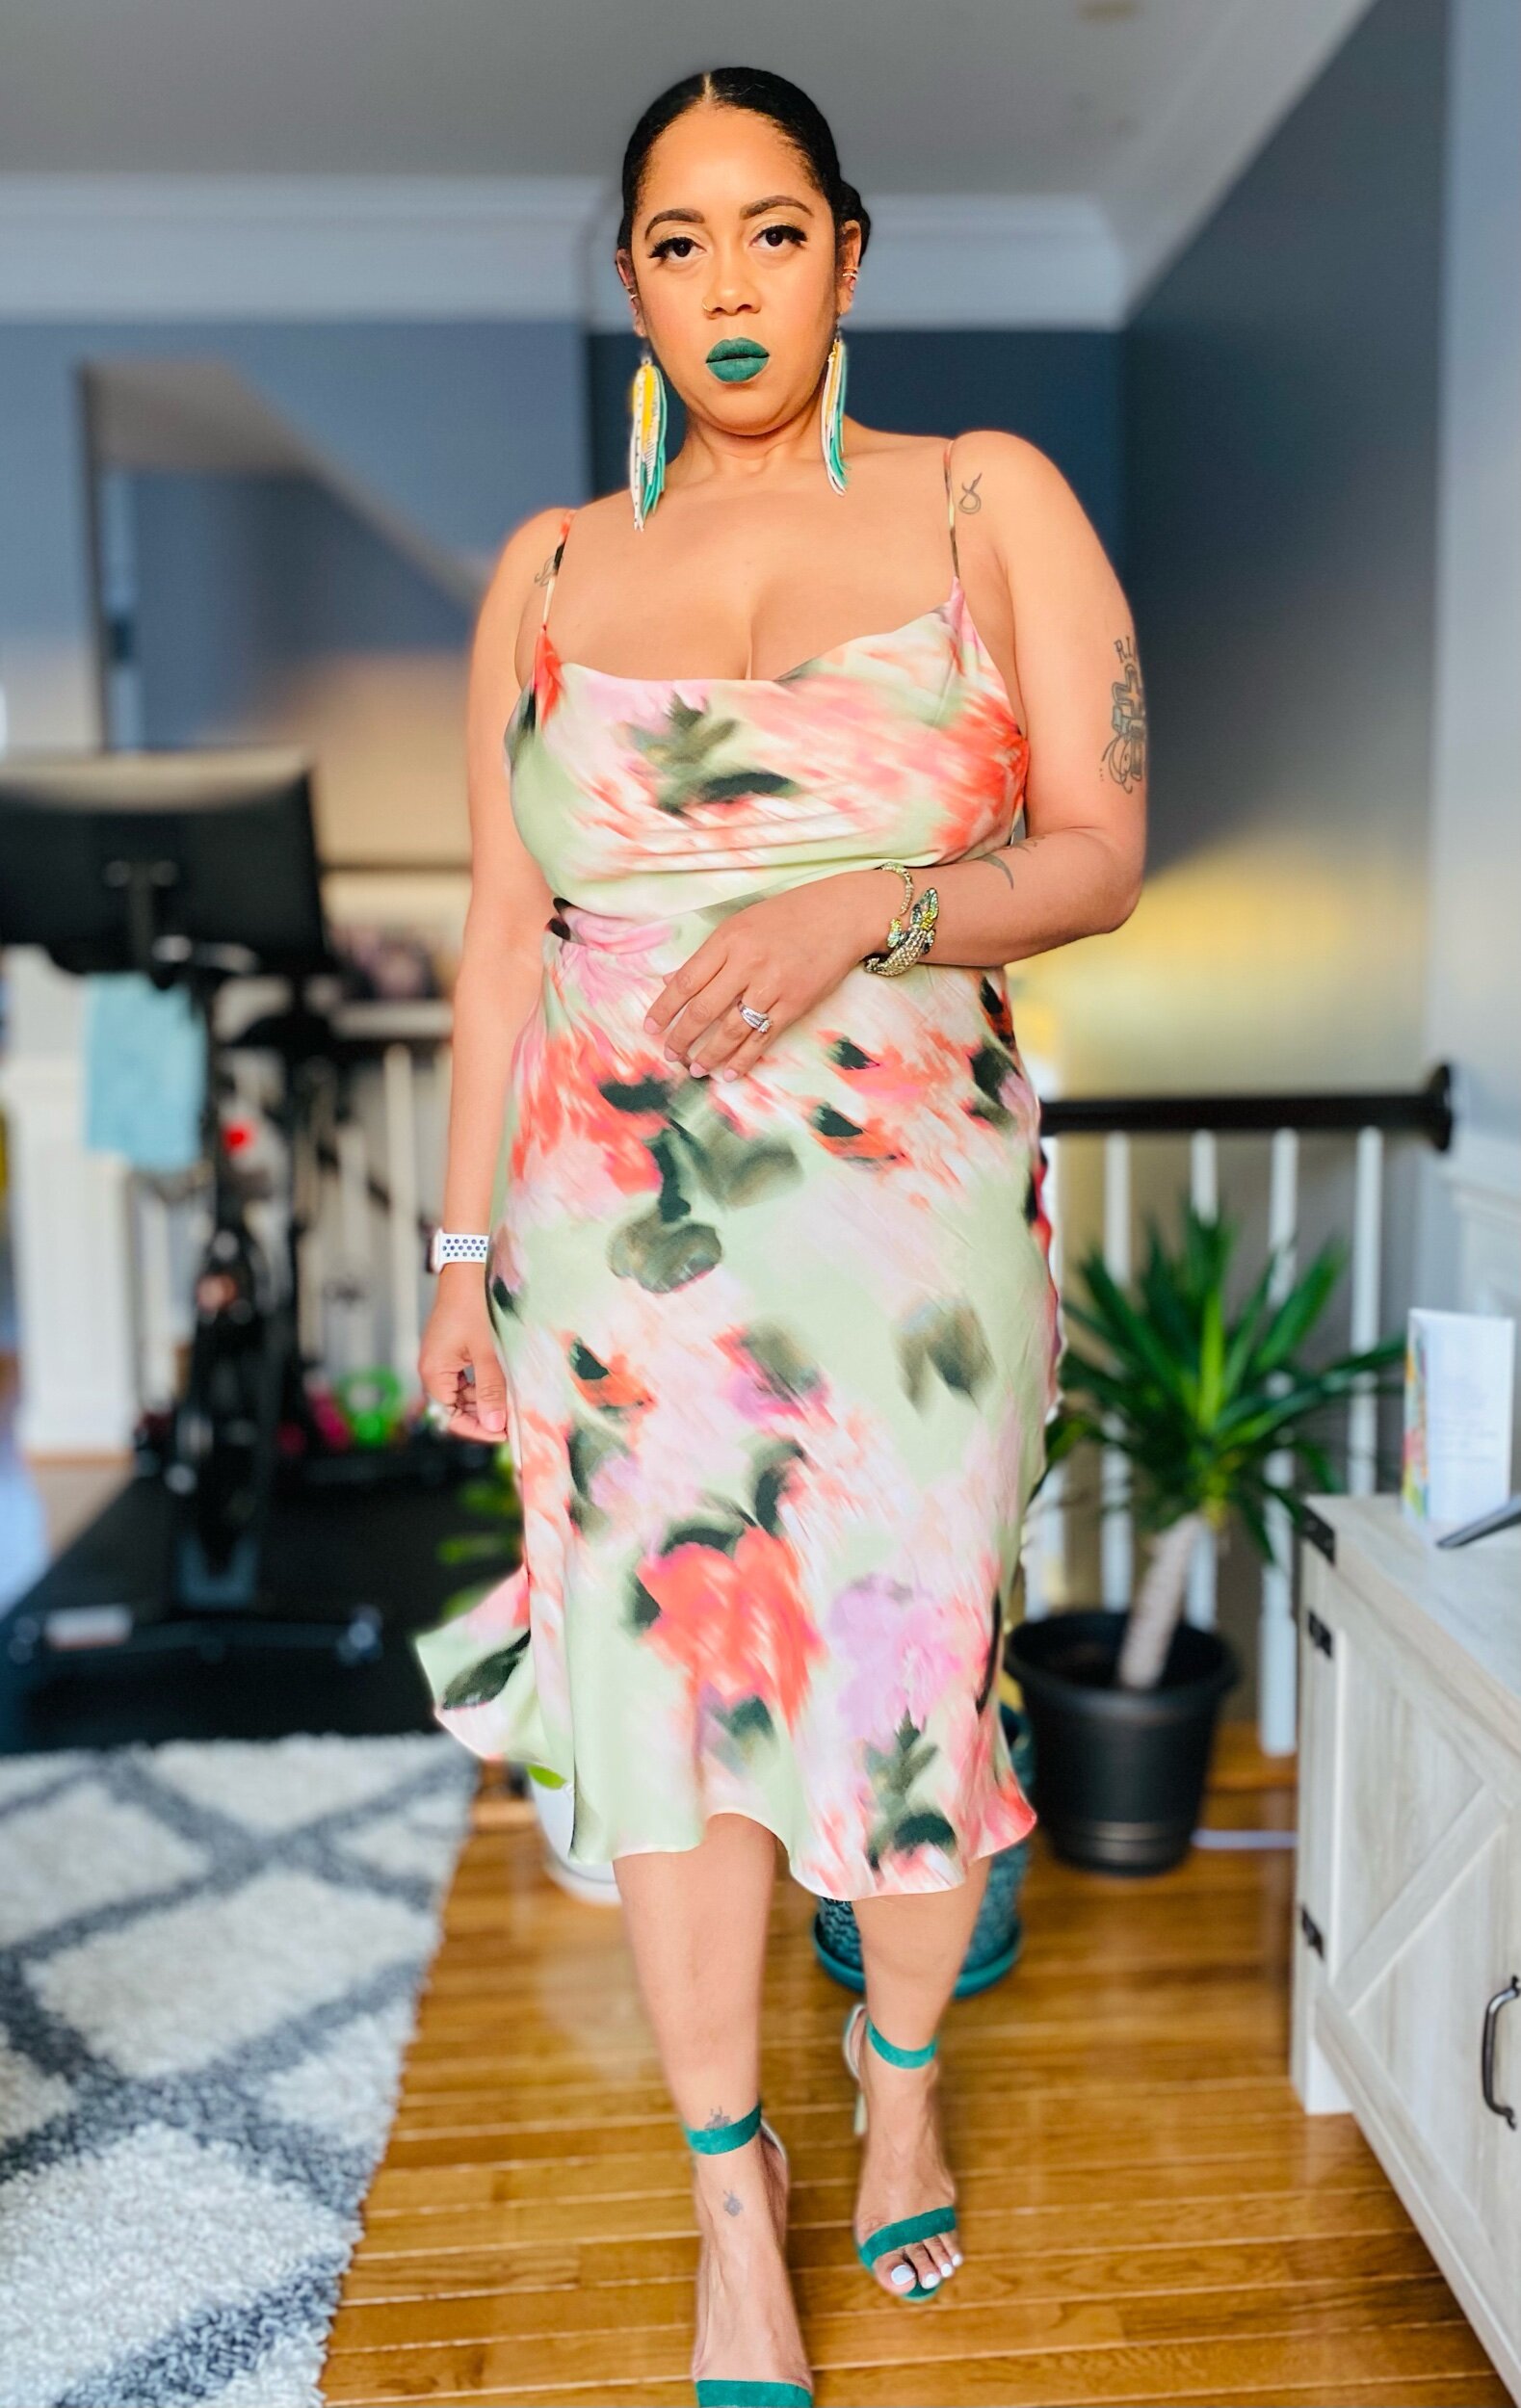
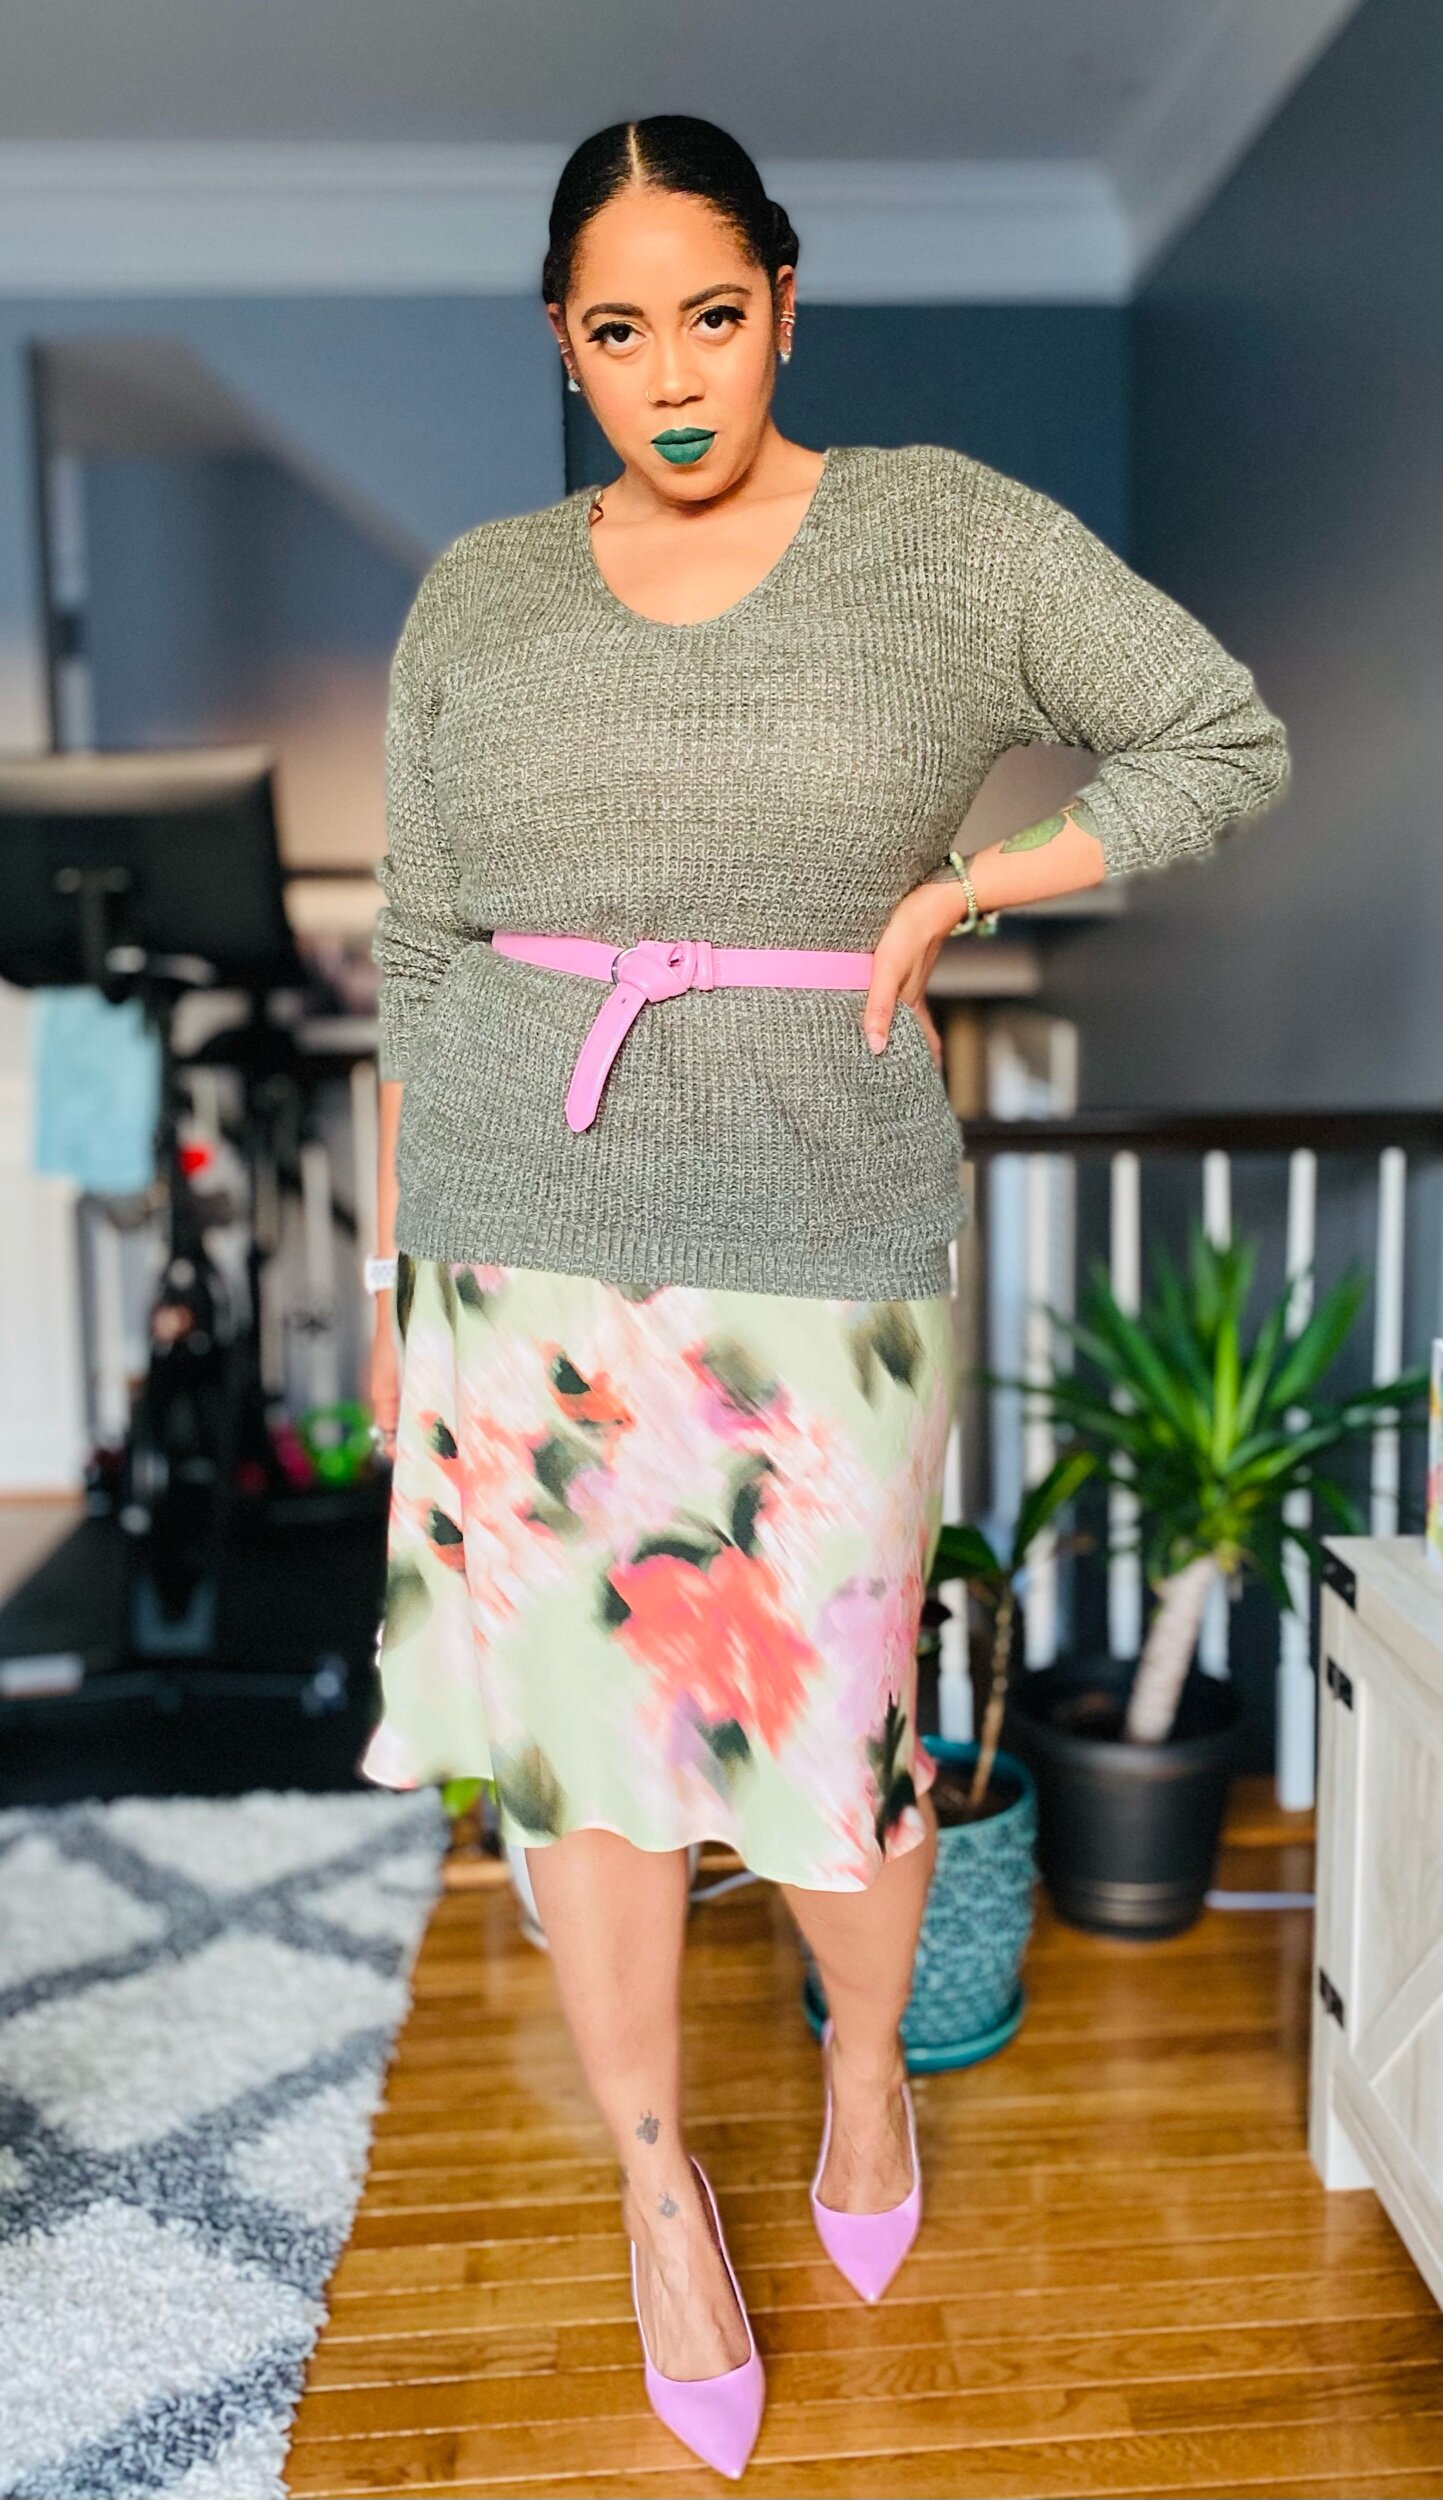
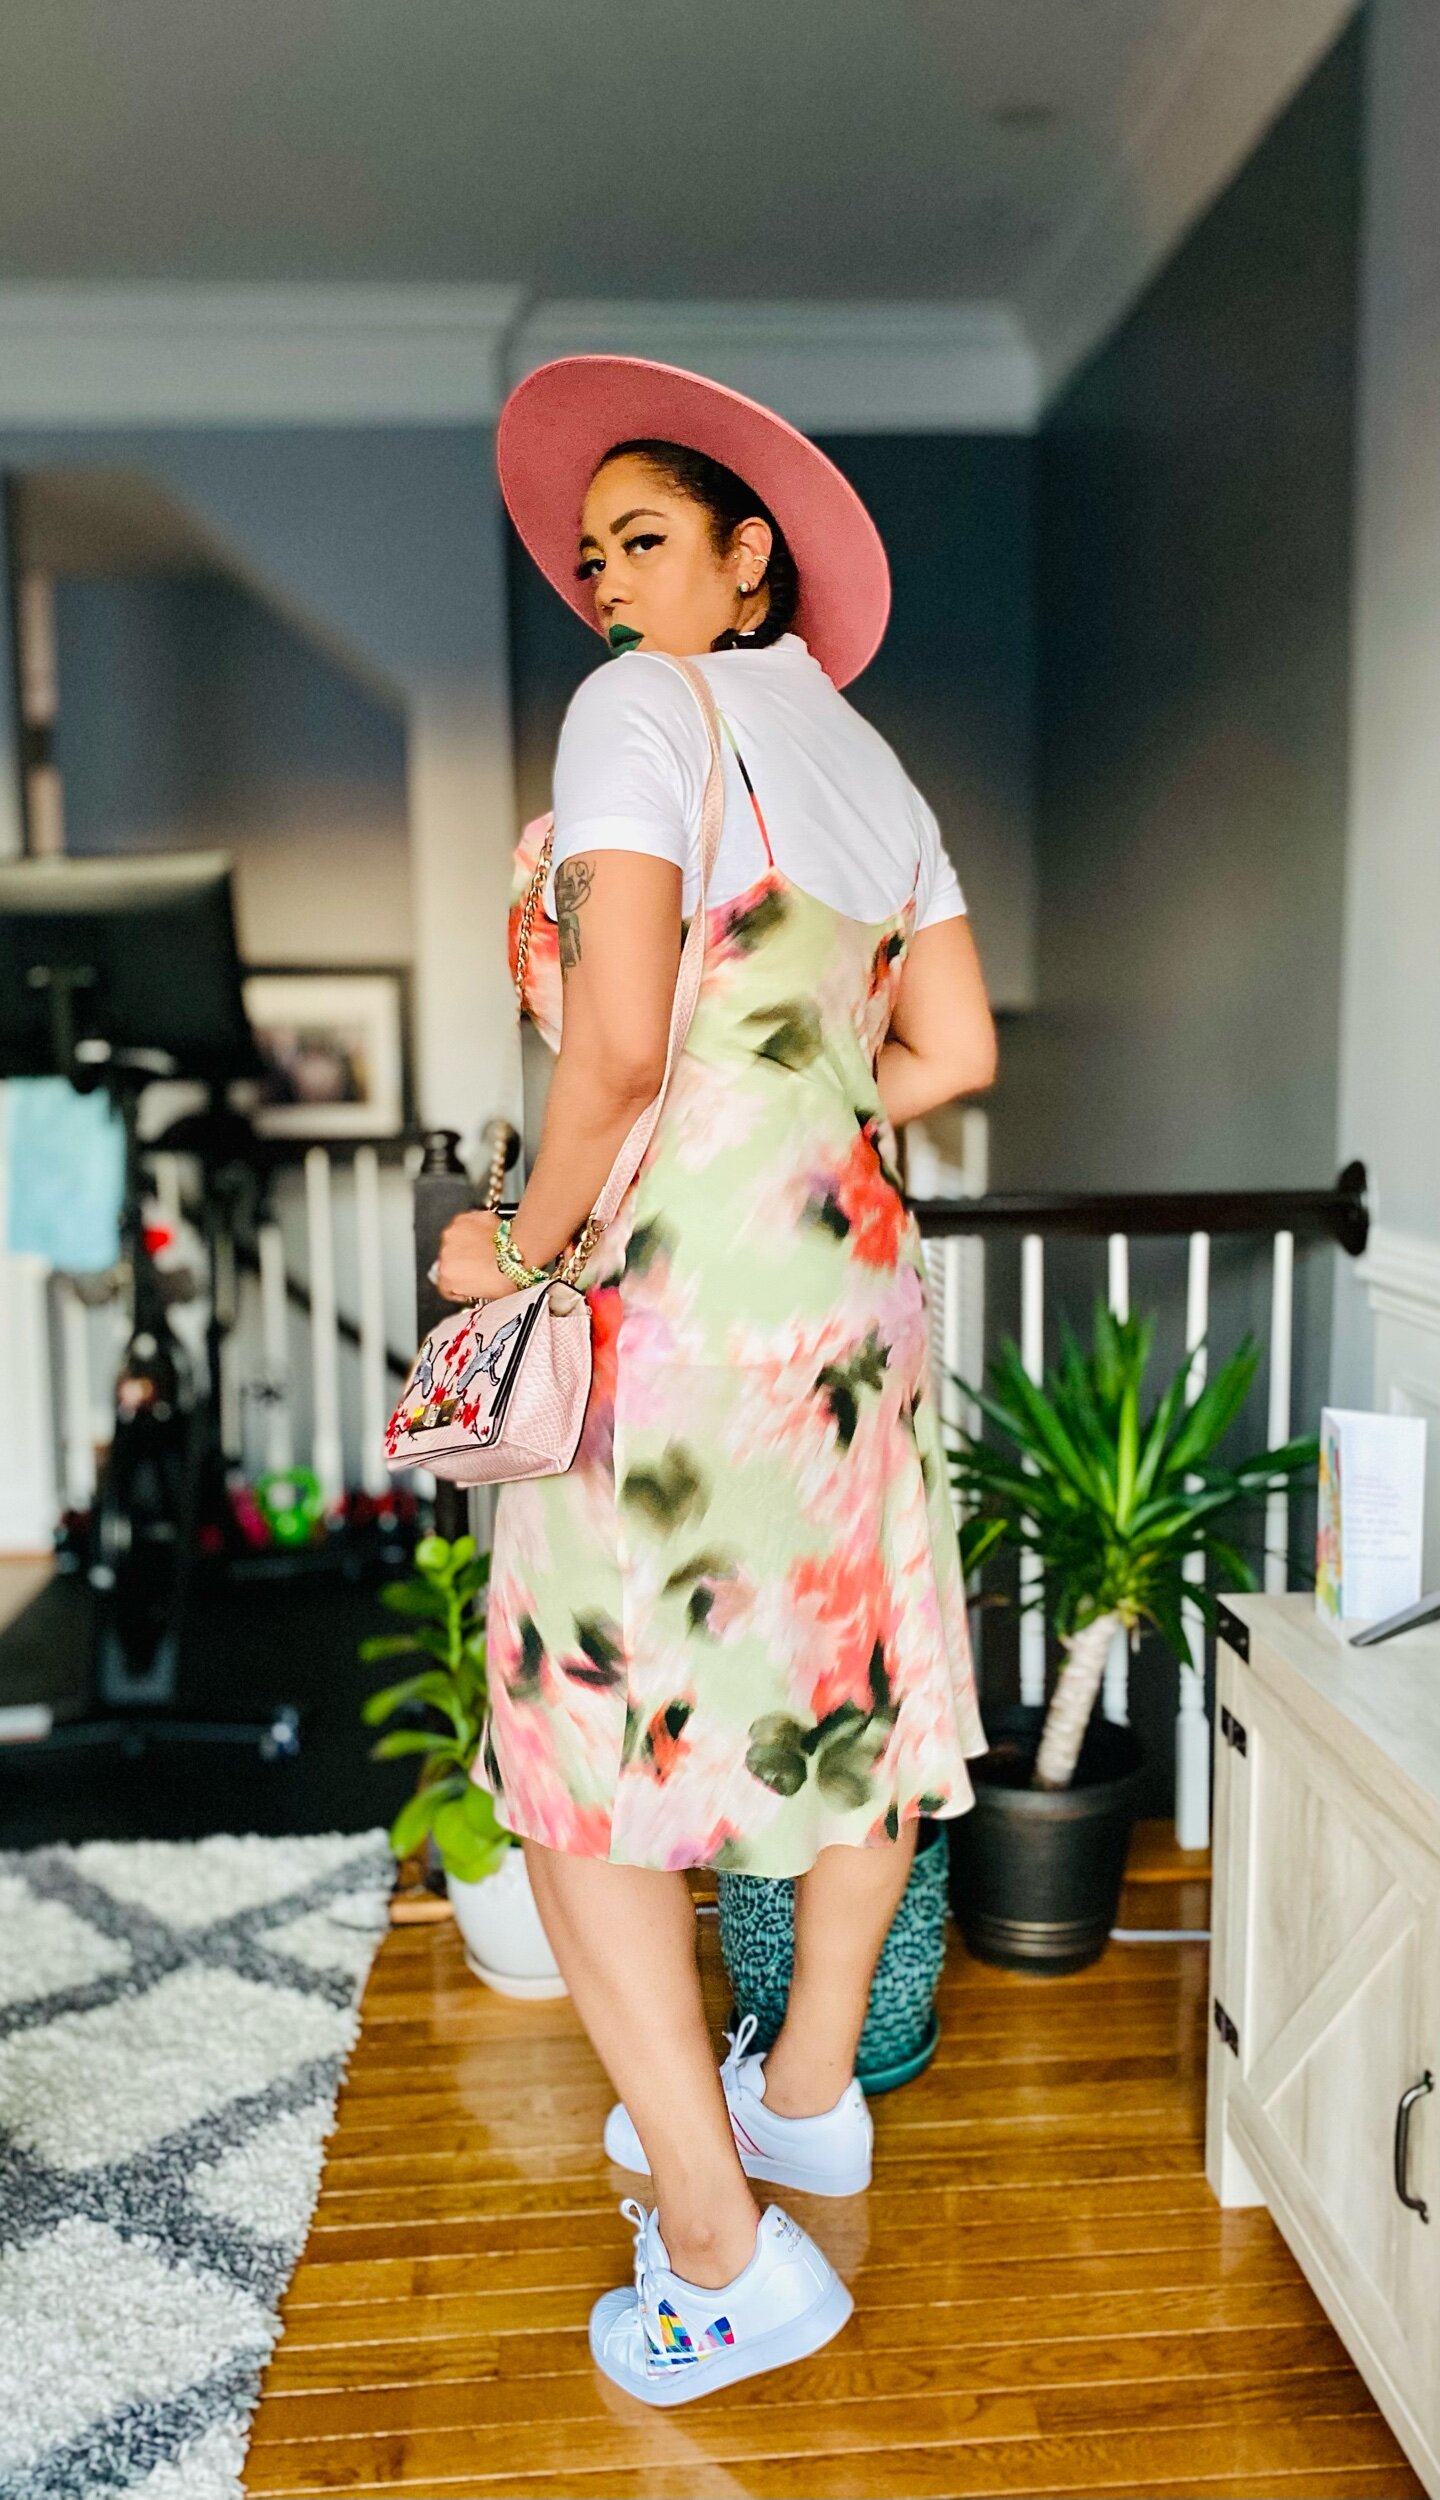
I finally made my first…well second slip dress and I love it! So I jumped on the Masin Sicily Slip dress pattern bandwagon. I must add that I taped together view B by mistake and decided to use this view as practice. I initially wanted to make the spaghetti strap version view A. View B did not work well with my breast but I still wear it. View A however, did not disappoint okurrrrrrr. My fabric for view A came from Fabric Godmother based in the UK. When I saw this fabric I knew immediately I wanted to use it for my Sicily (sorry I think it’s sold out). The fabric has muted green apple and pink tones and it’s the florals for me y’all! If you’re following me on Instagram then you know this year I am assisting my boo Katie Kortman in her annual Wear Happy Color challenge for the month of March. Week 1 is Red & Pink week and I think this slip dress checks off as complementary with Pink & Green!
Styling
This dress is so versatile you can literally throw it on and dress it up for date night, throw a sweater over it and add a belt for that business meeting look, a jean jacket for a more casual look, or put on a tee shirt and kicks. My favorite look is the bougie auntie look with my flamingo fur. It was also a must to pull my hair back. This dress makes me feel so beautiful every time I put it on.
Look 1
Look 2
Look 3
Look 4
Look 5
I hope you enjoyed these lewks! Comment below and tell me which is you fave and what you think about the Sicily Slip Dress. Until next time,
Peace & Blessings!
Drippin’ Rainbows
A LATE BUT COLORFUL START TO THE NEW YEAR
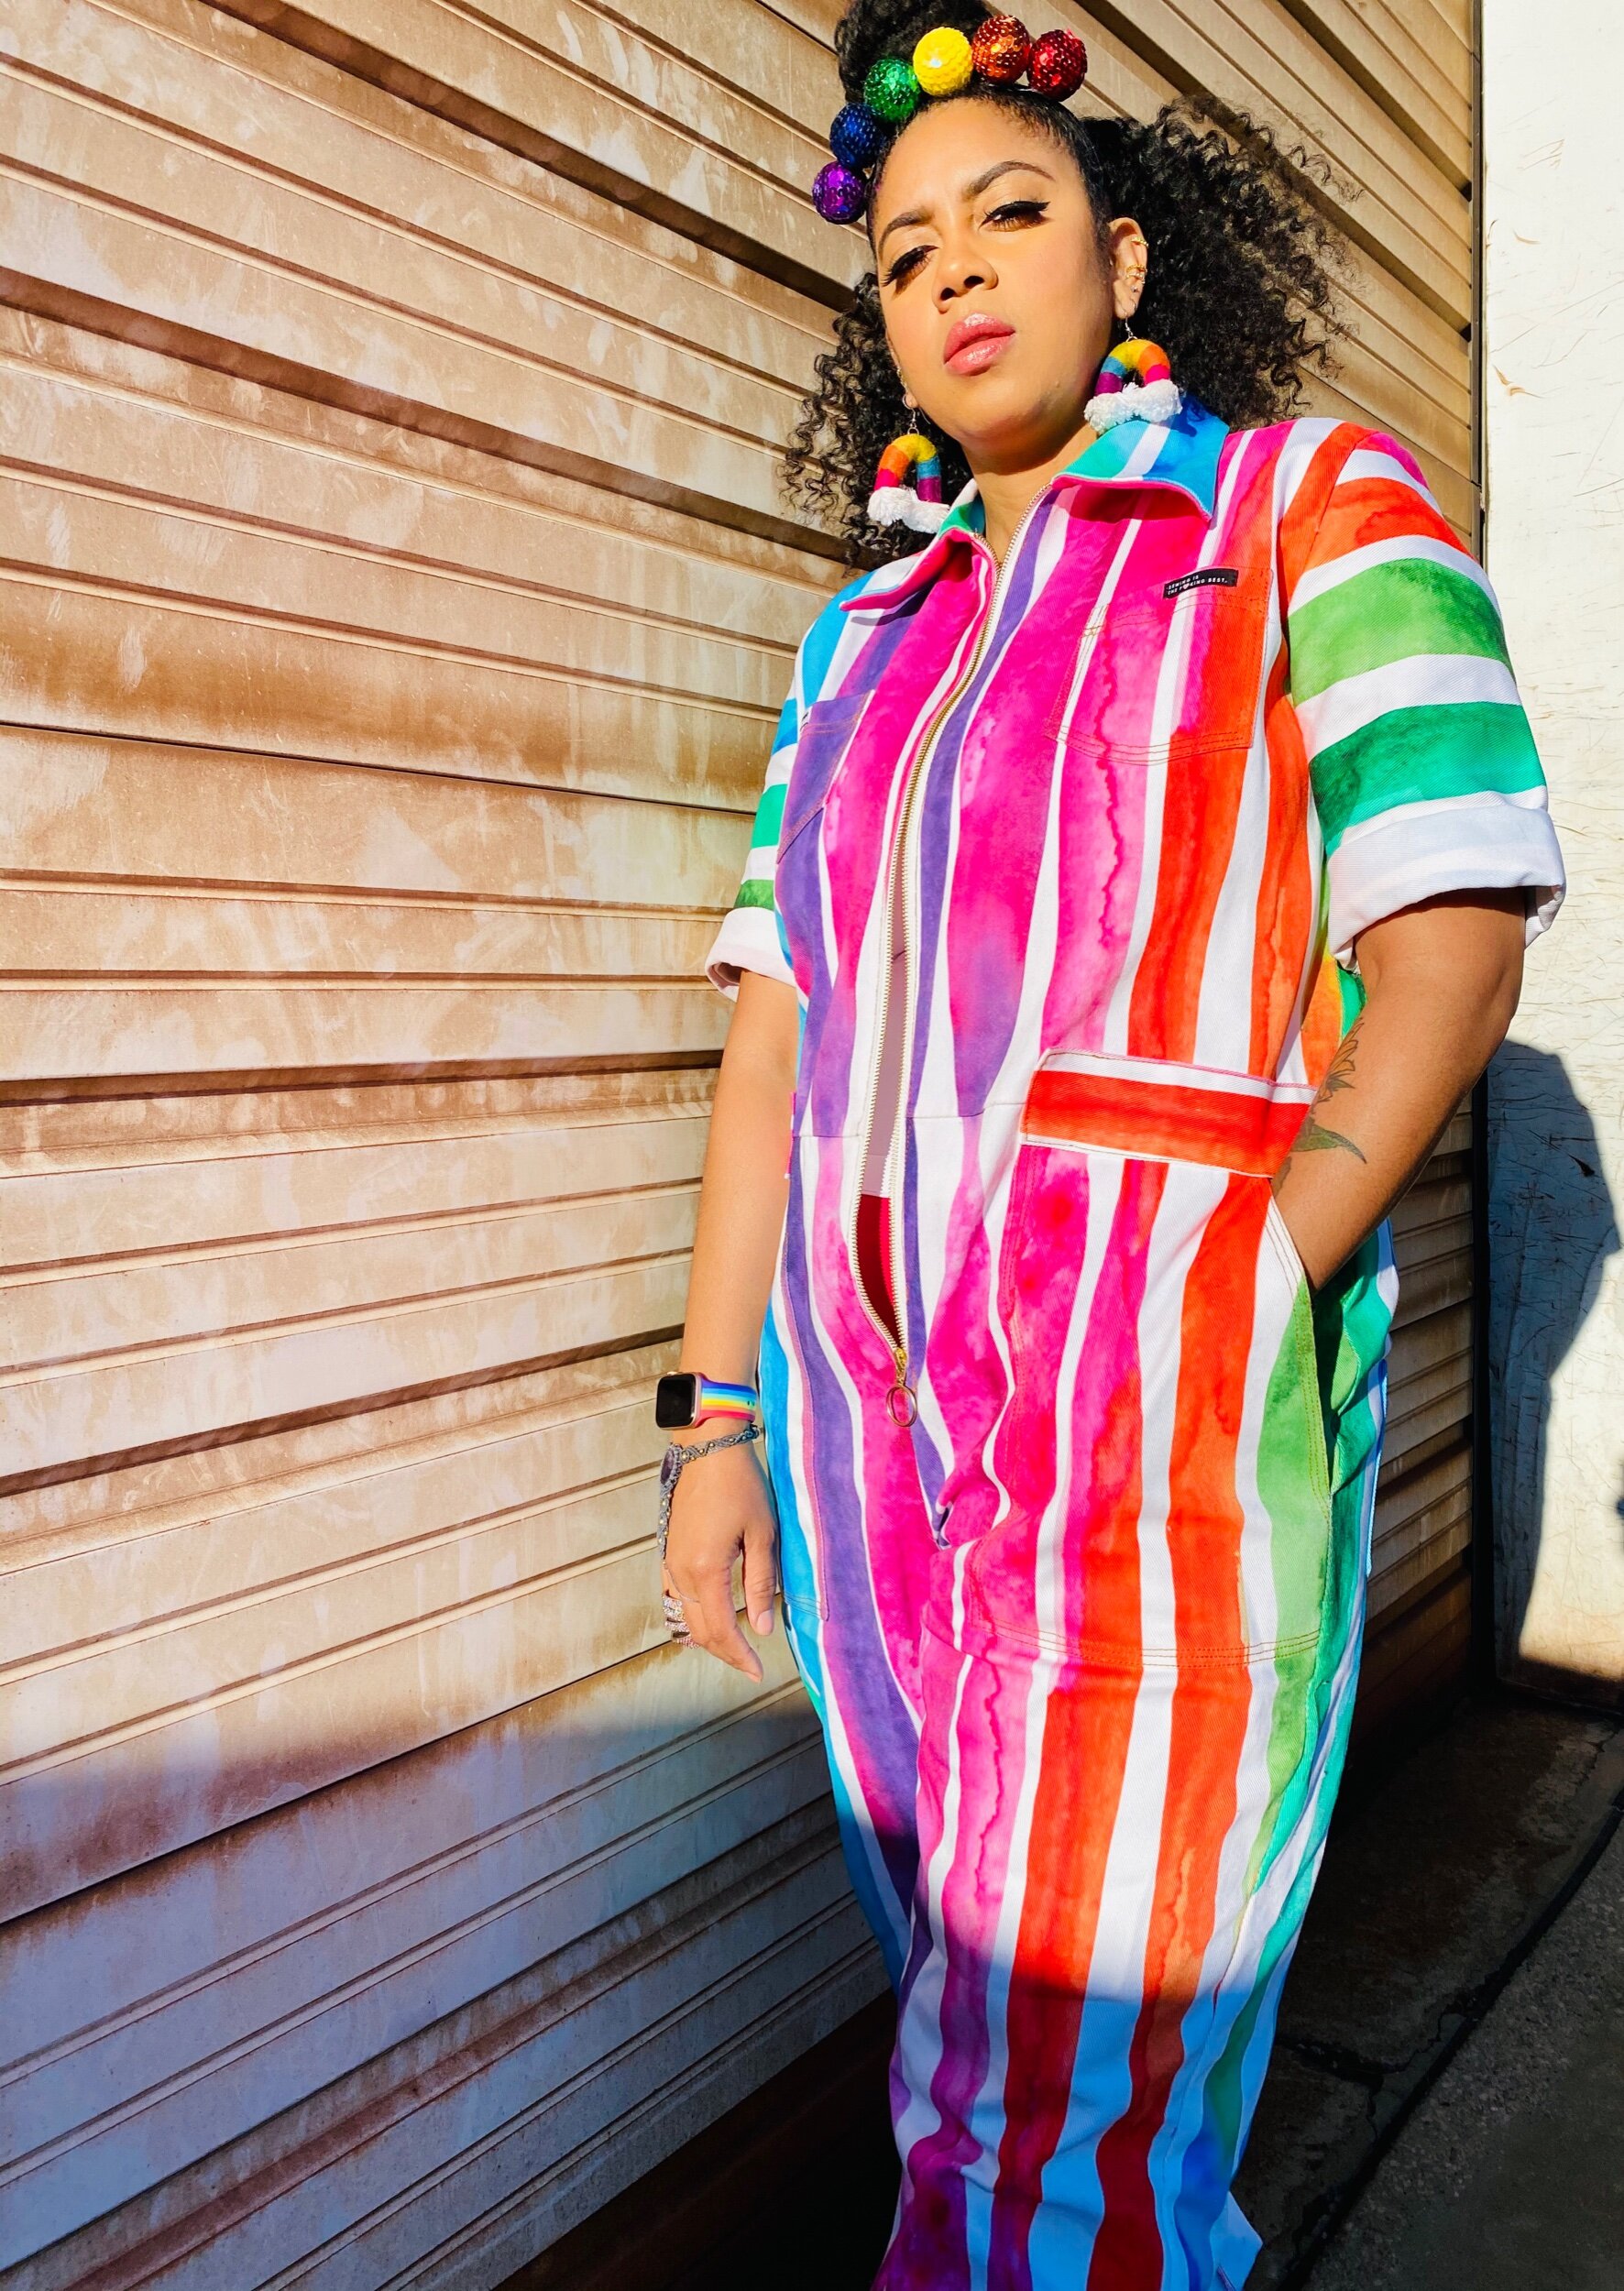
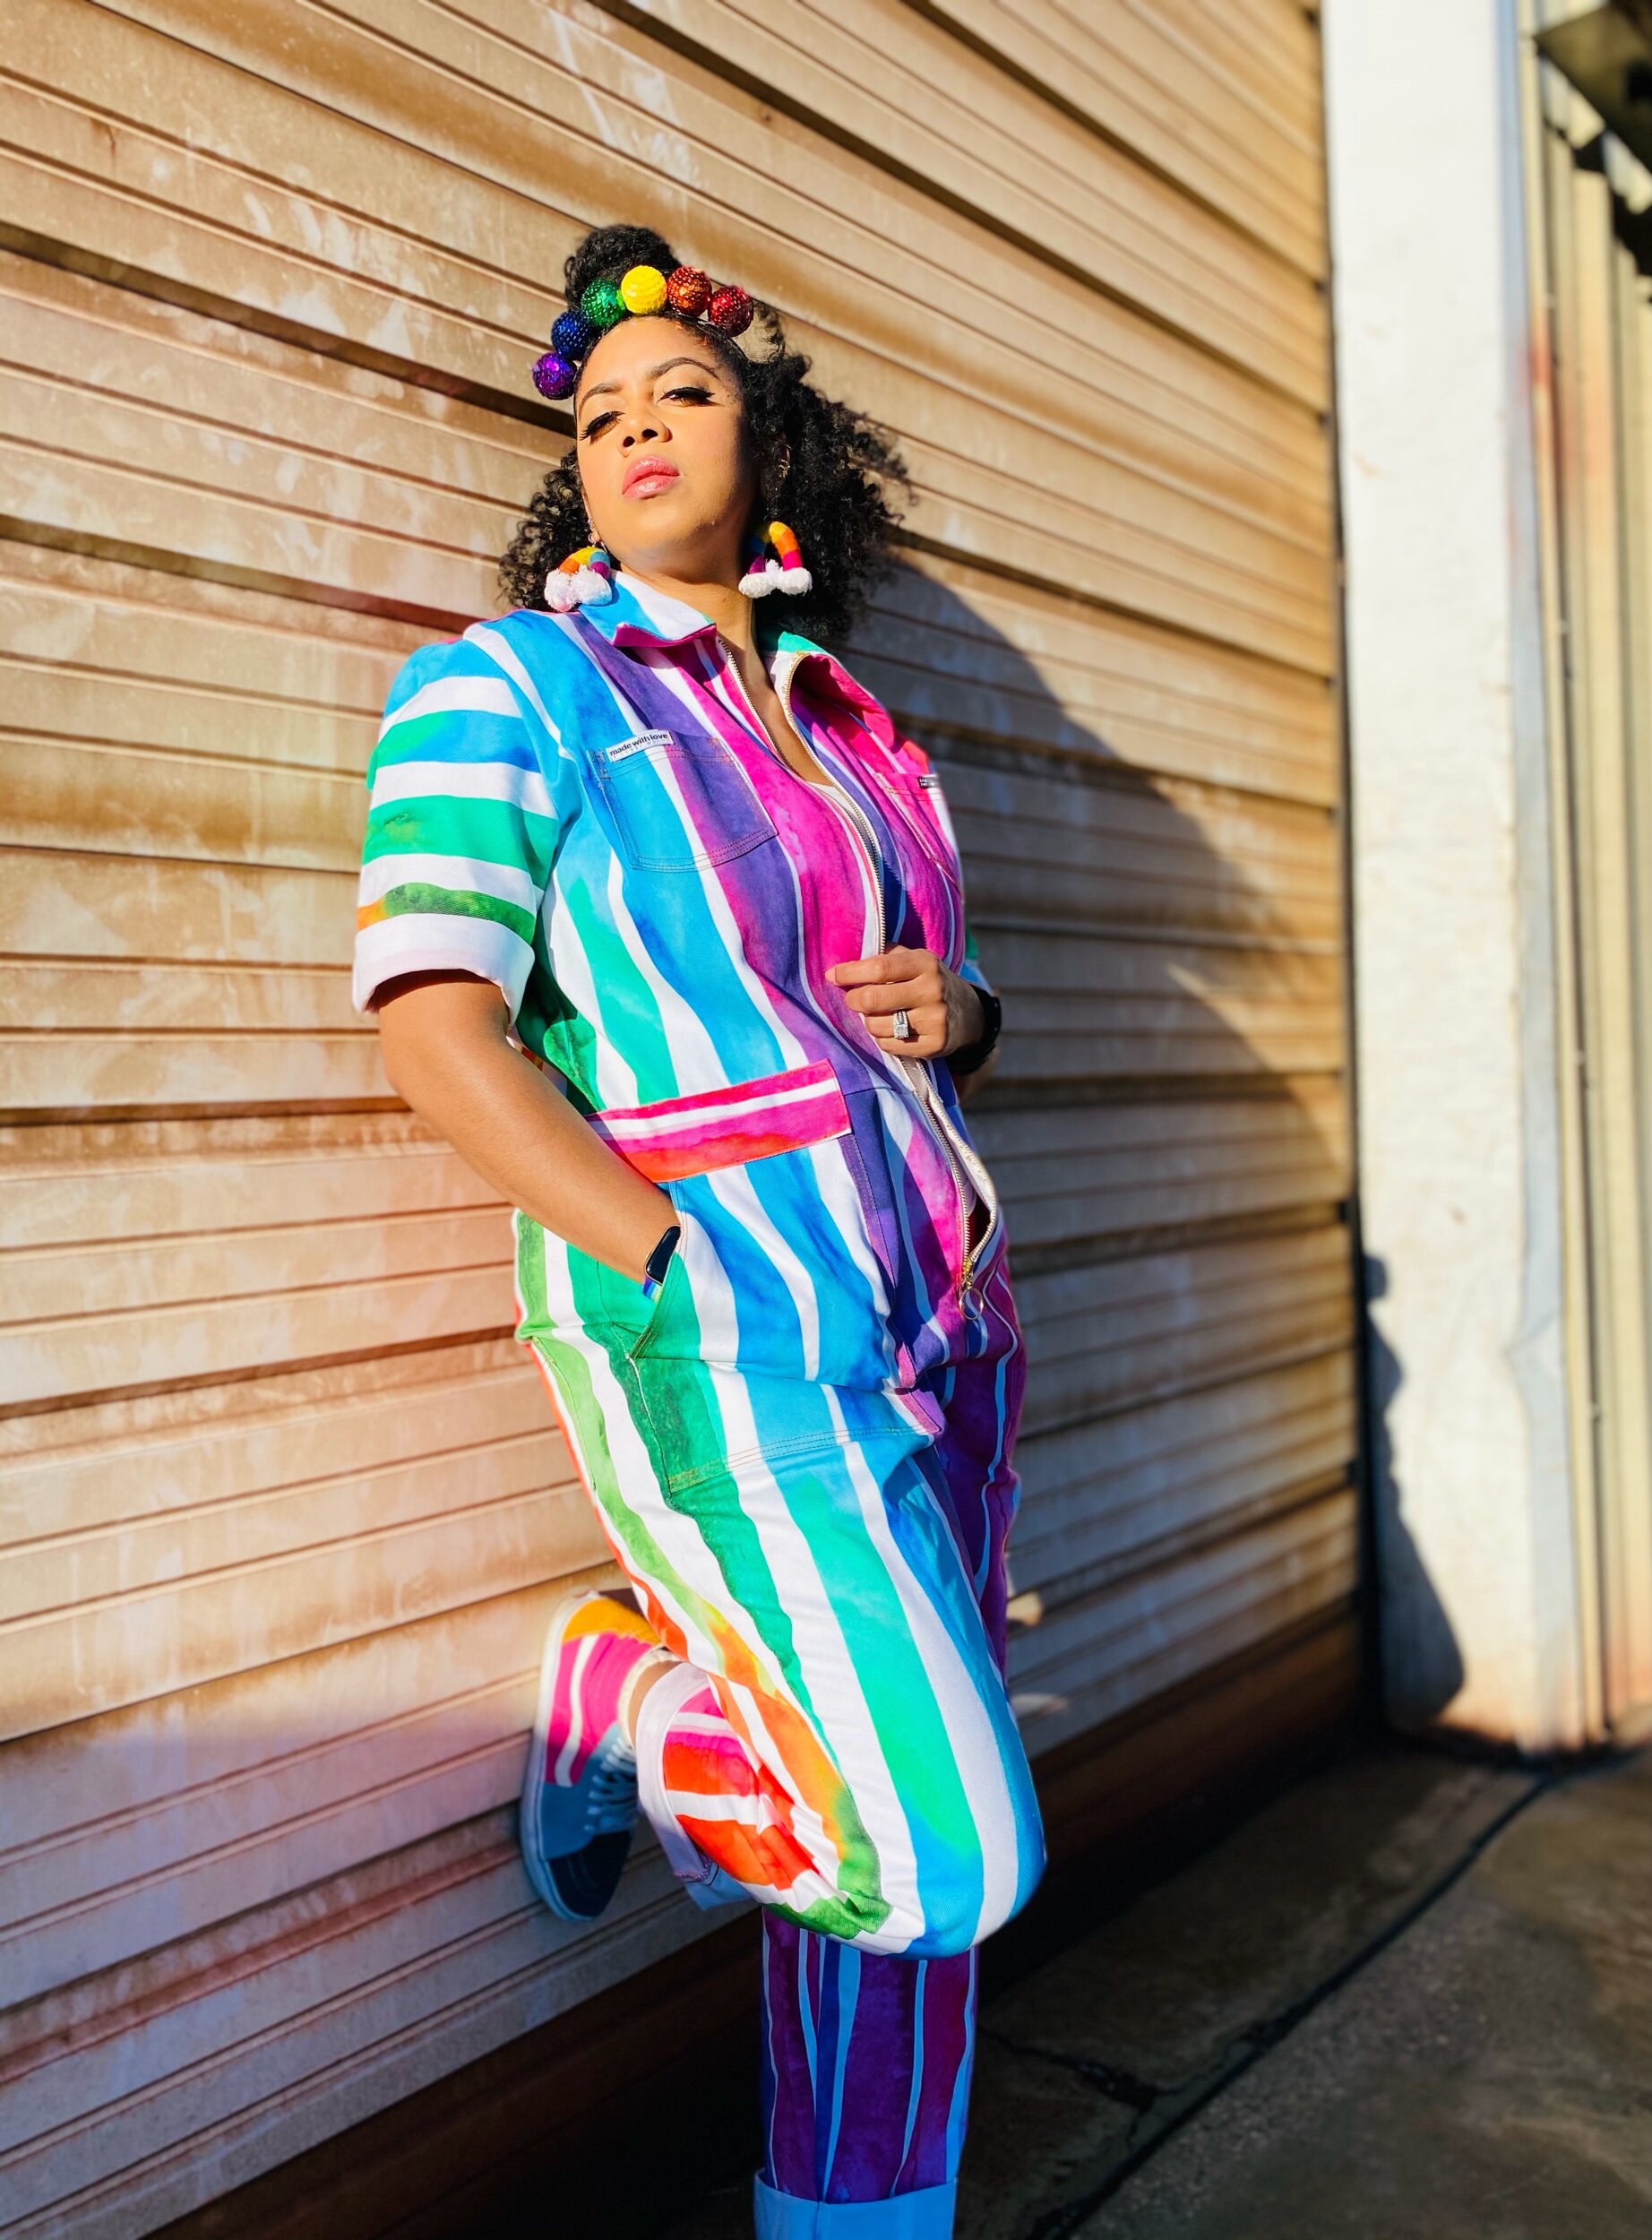
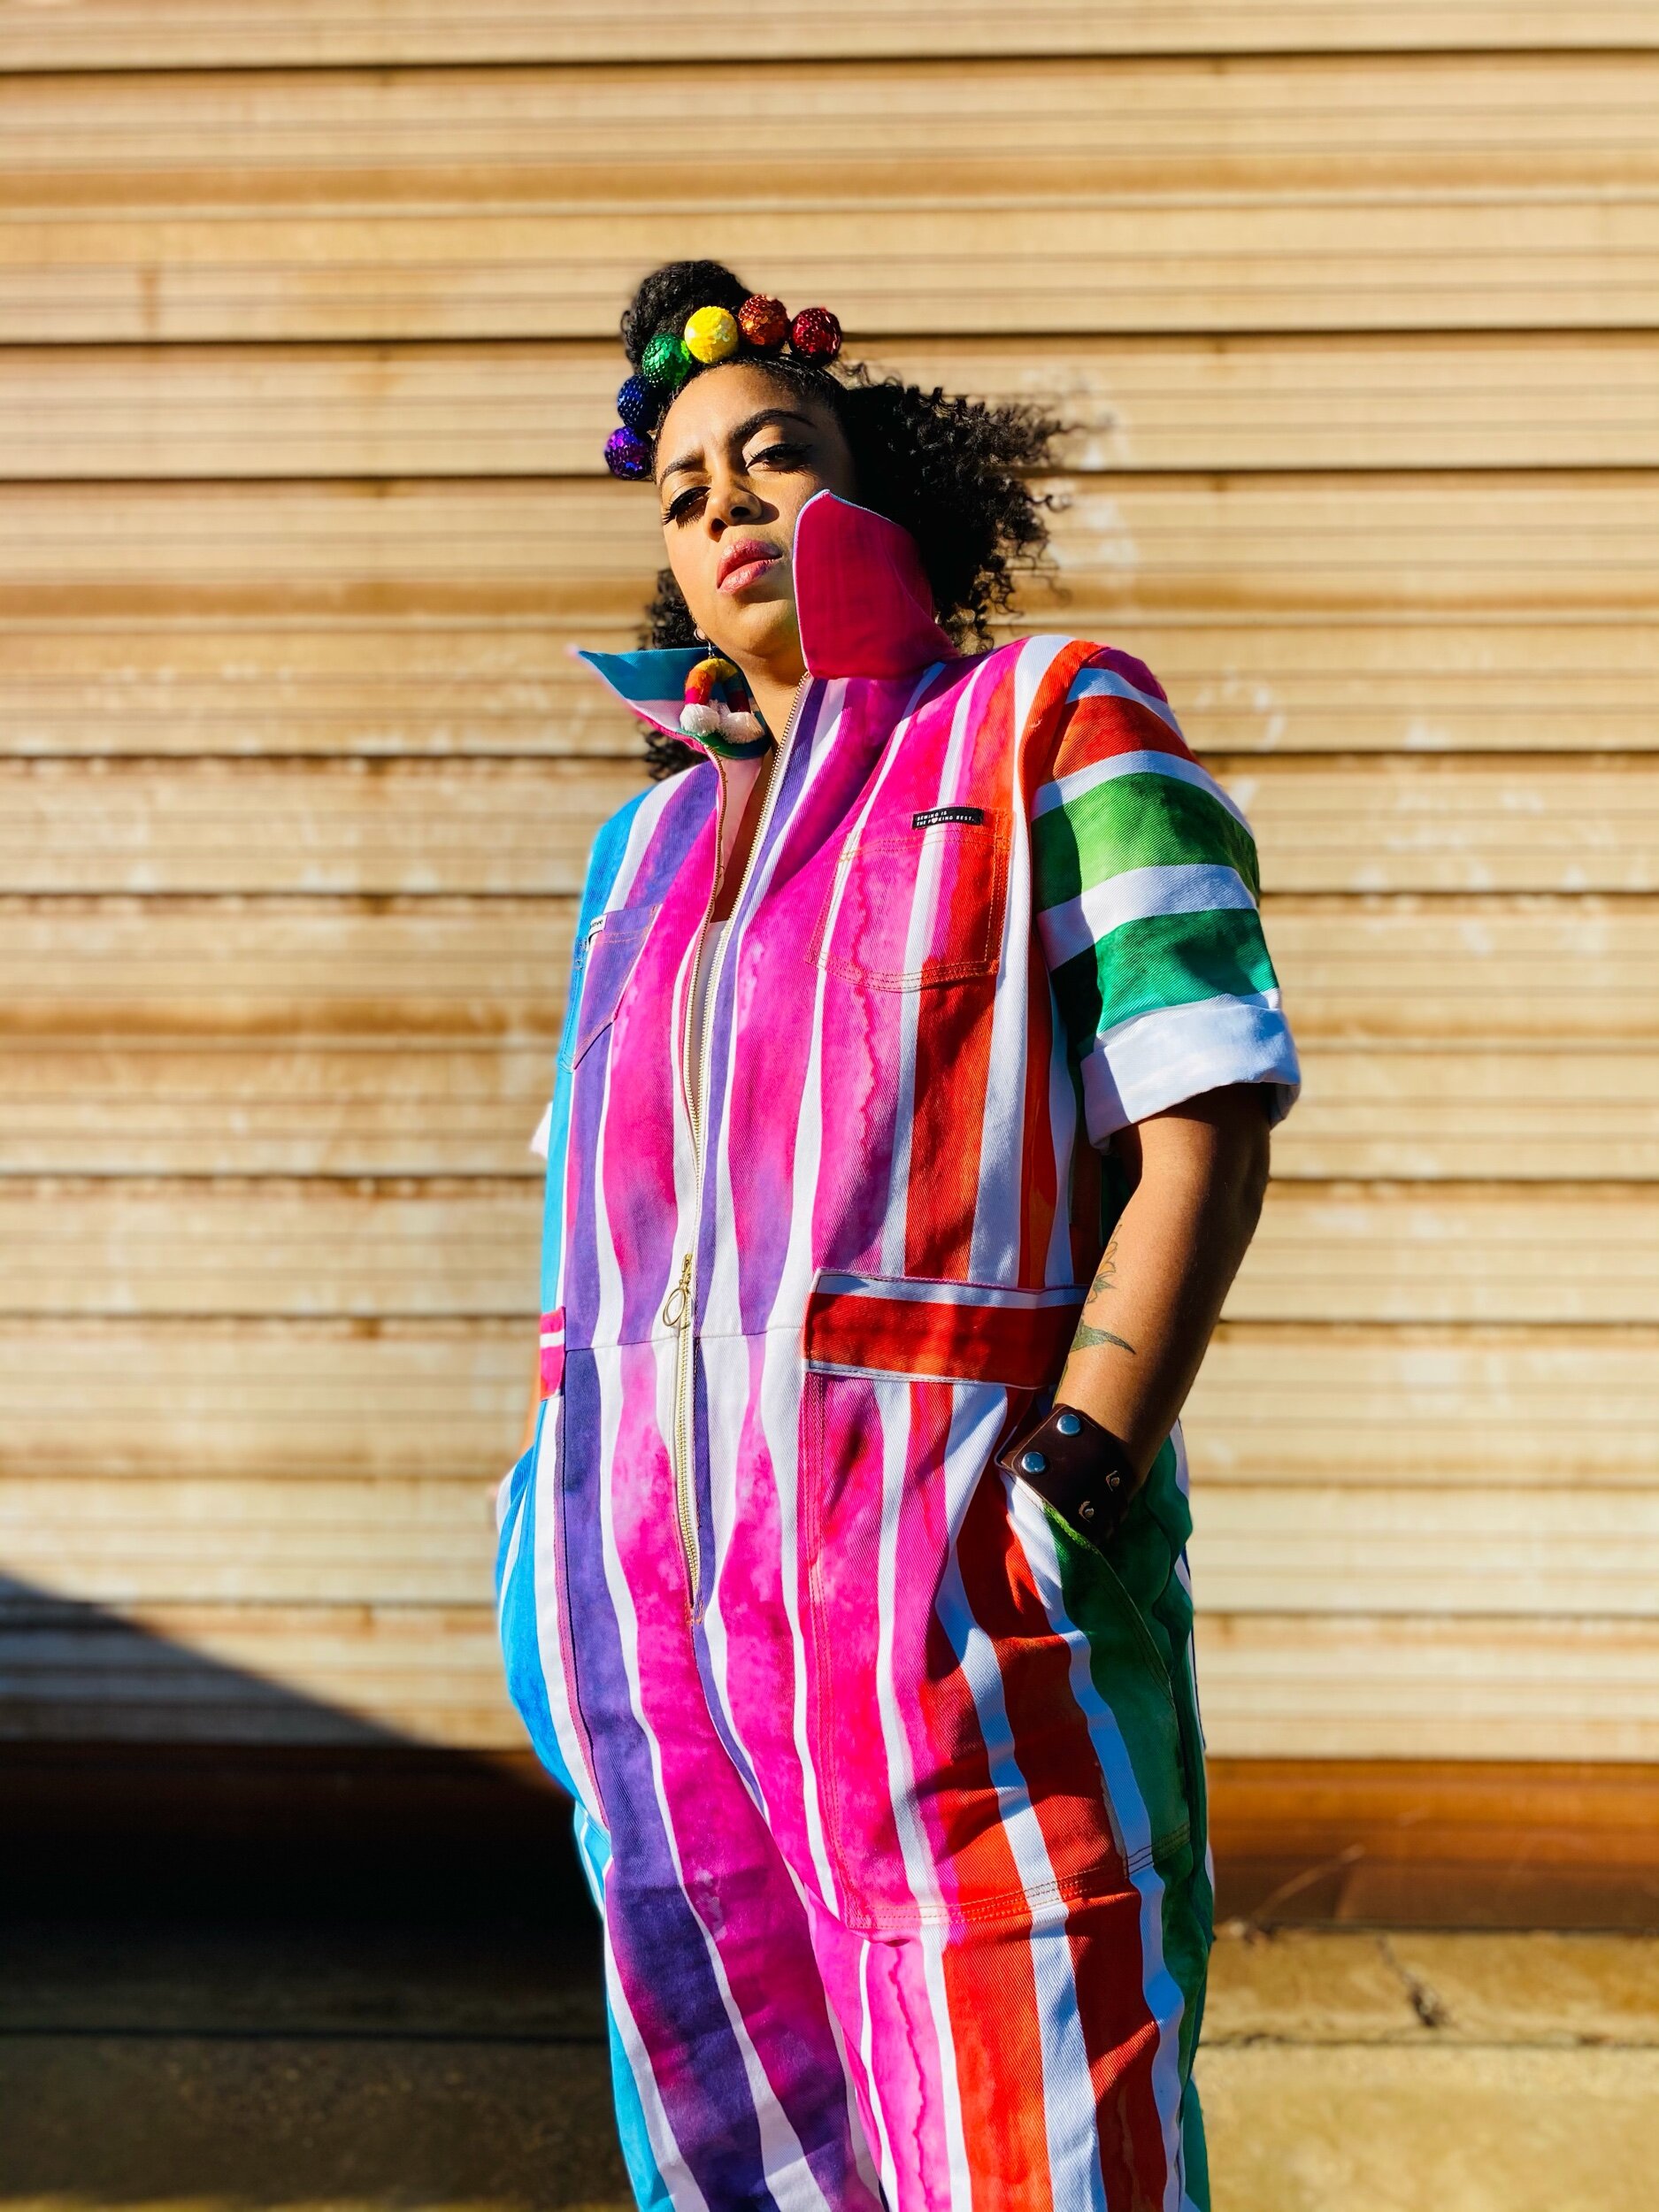
I finally managed to blog for the start of 2021 and oh how great it feels to share this creation with you all. If you have been following me on IG then you are aware that I am one of the new Spoonflower Ambassador’s for 2021! I couldn’t be more excited and thankful. 2021 is my year of rainbows! Each year I focus on expanding my wardrobe with one particular color that I’m craving or lacking. So it was only fitting that after all the rain in 2020, we deserve Rainbows in 2021, right?
Construction
Does this boiler suit look familiar? Well it is the same pattern used for my Fall Florals. You can check out deets and tips there.
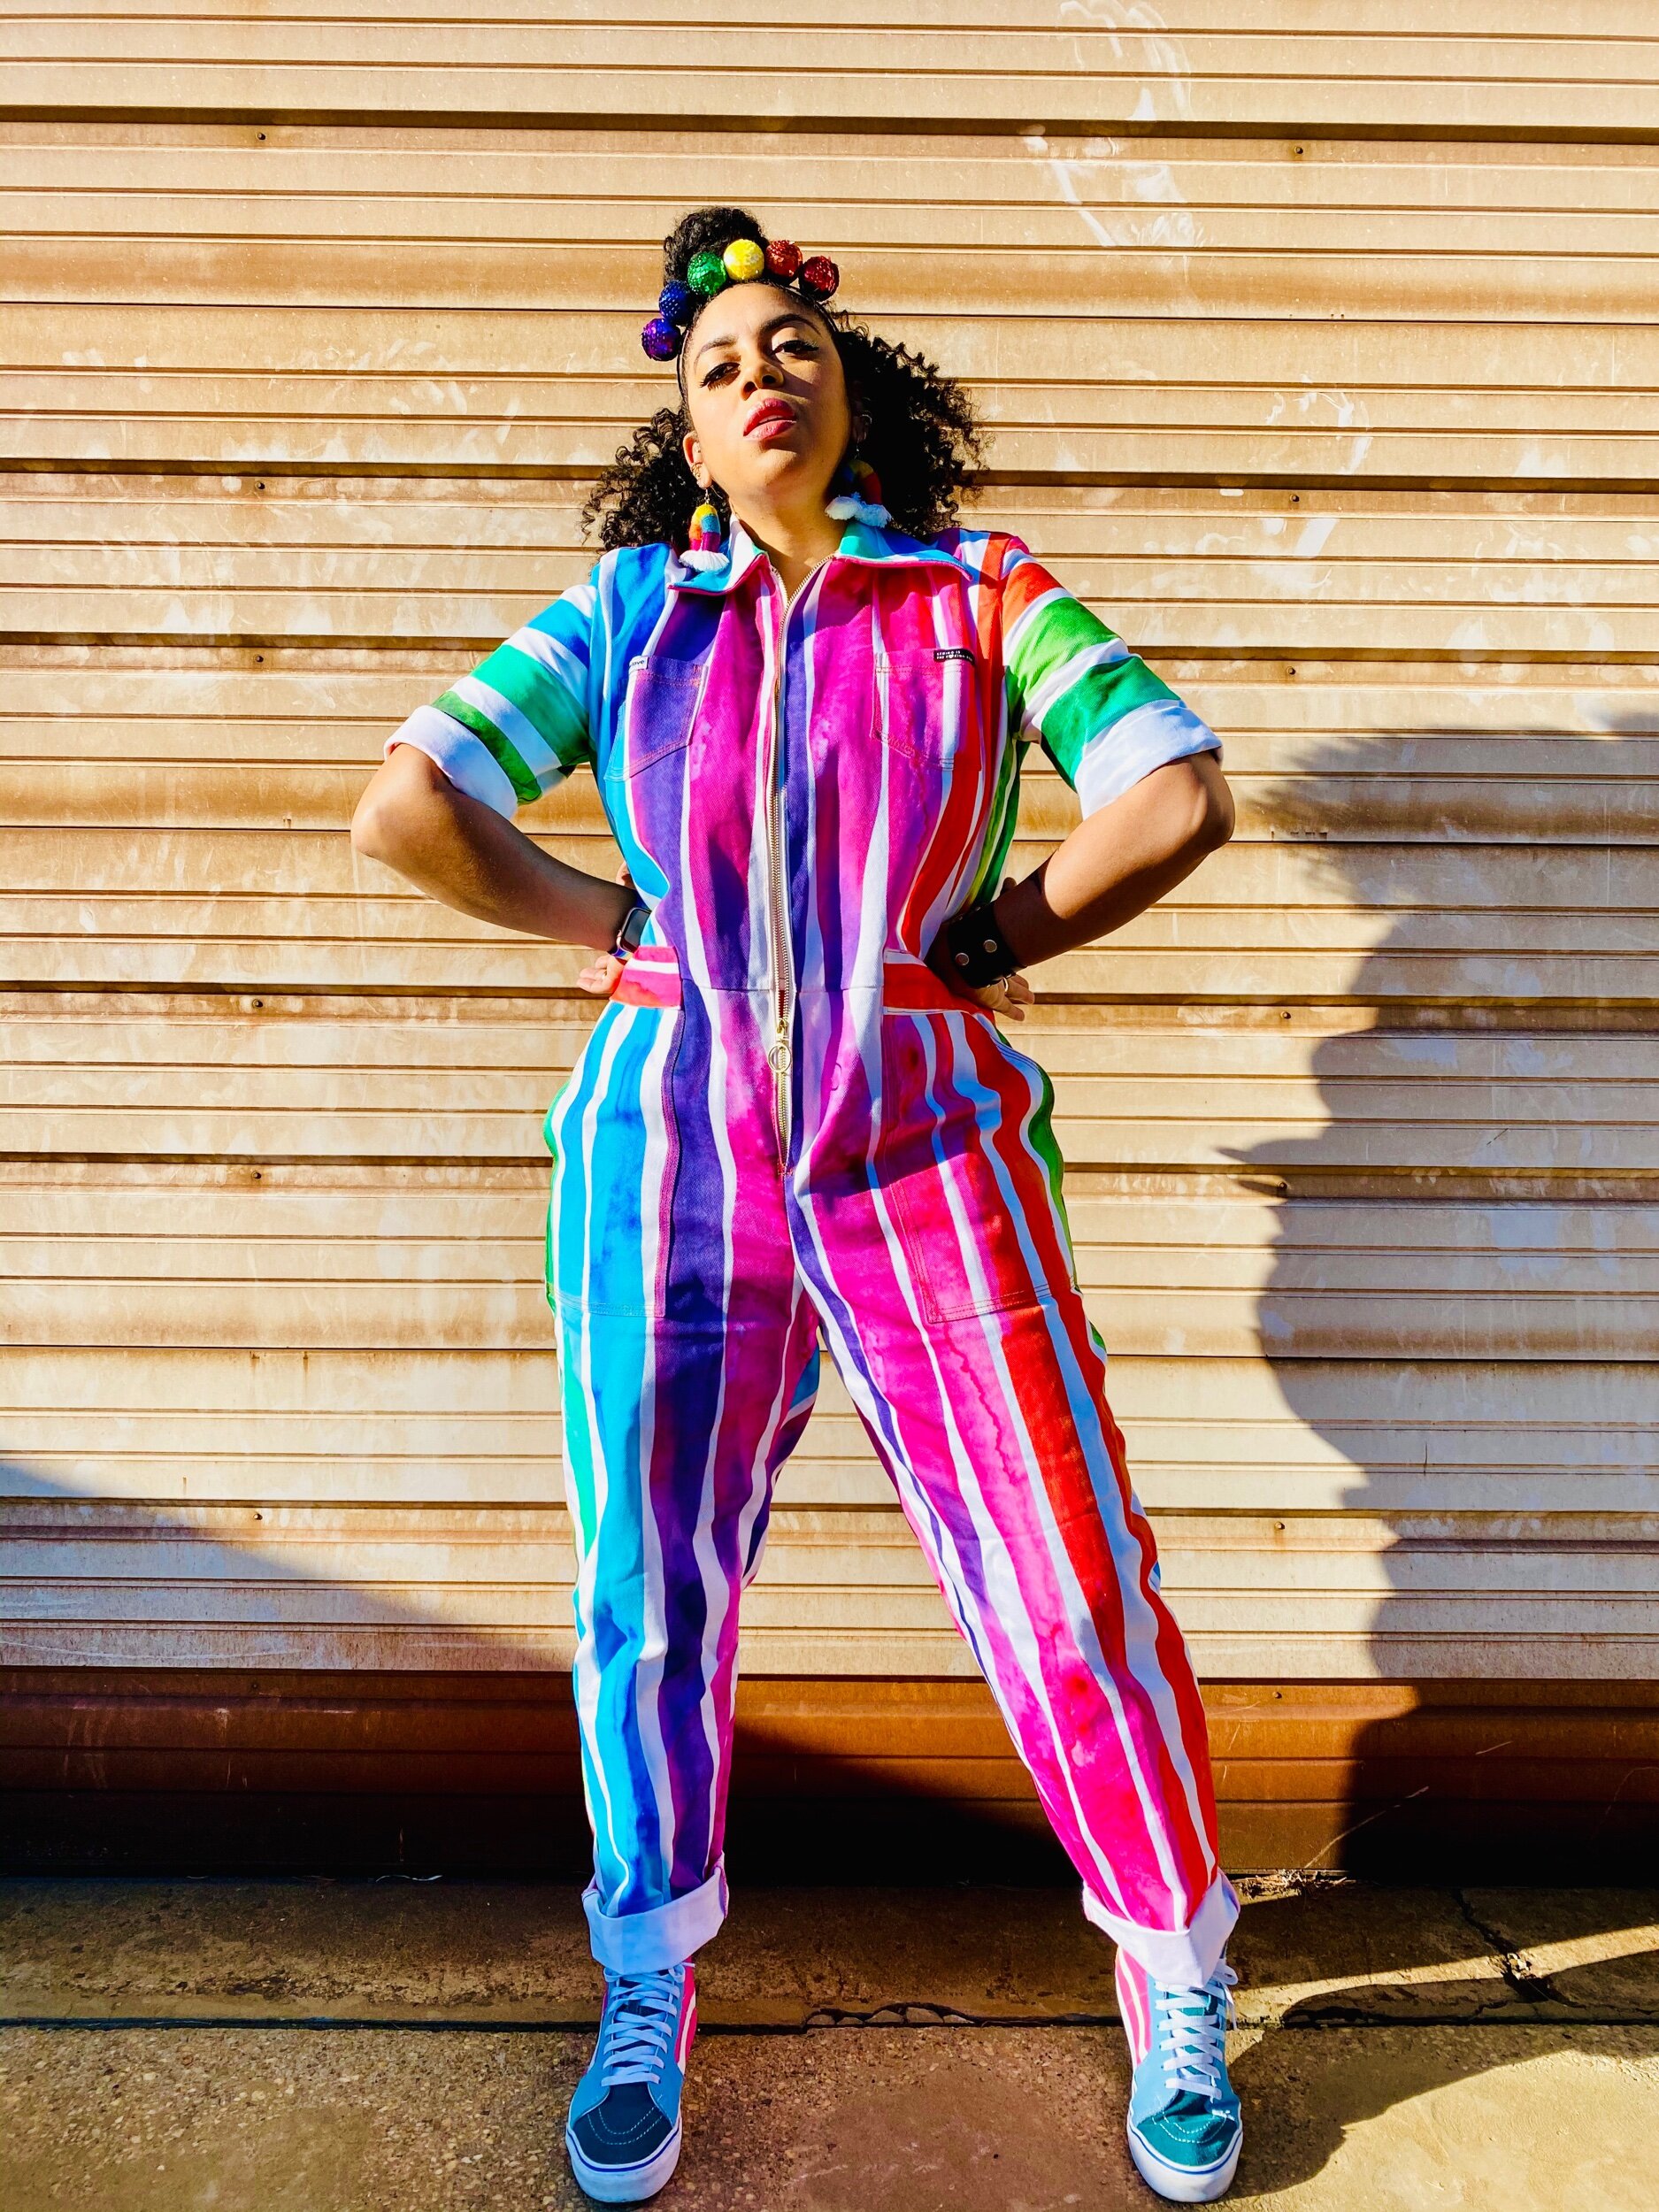
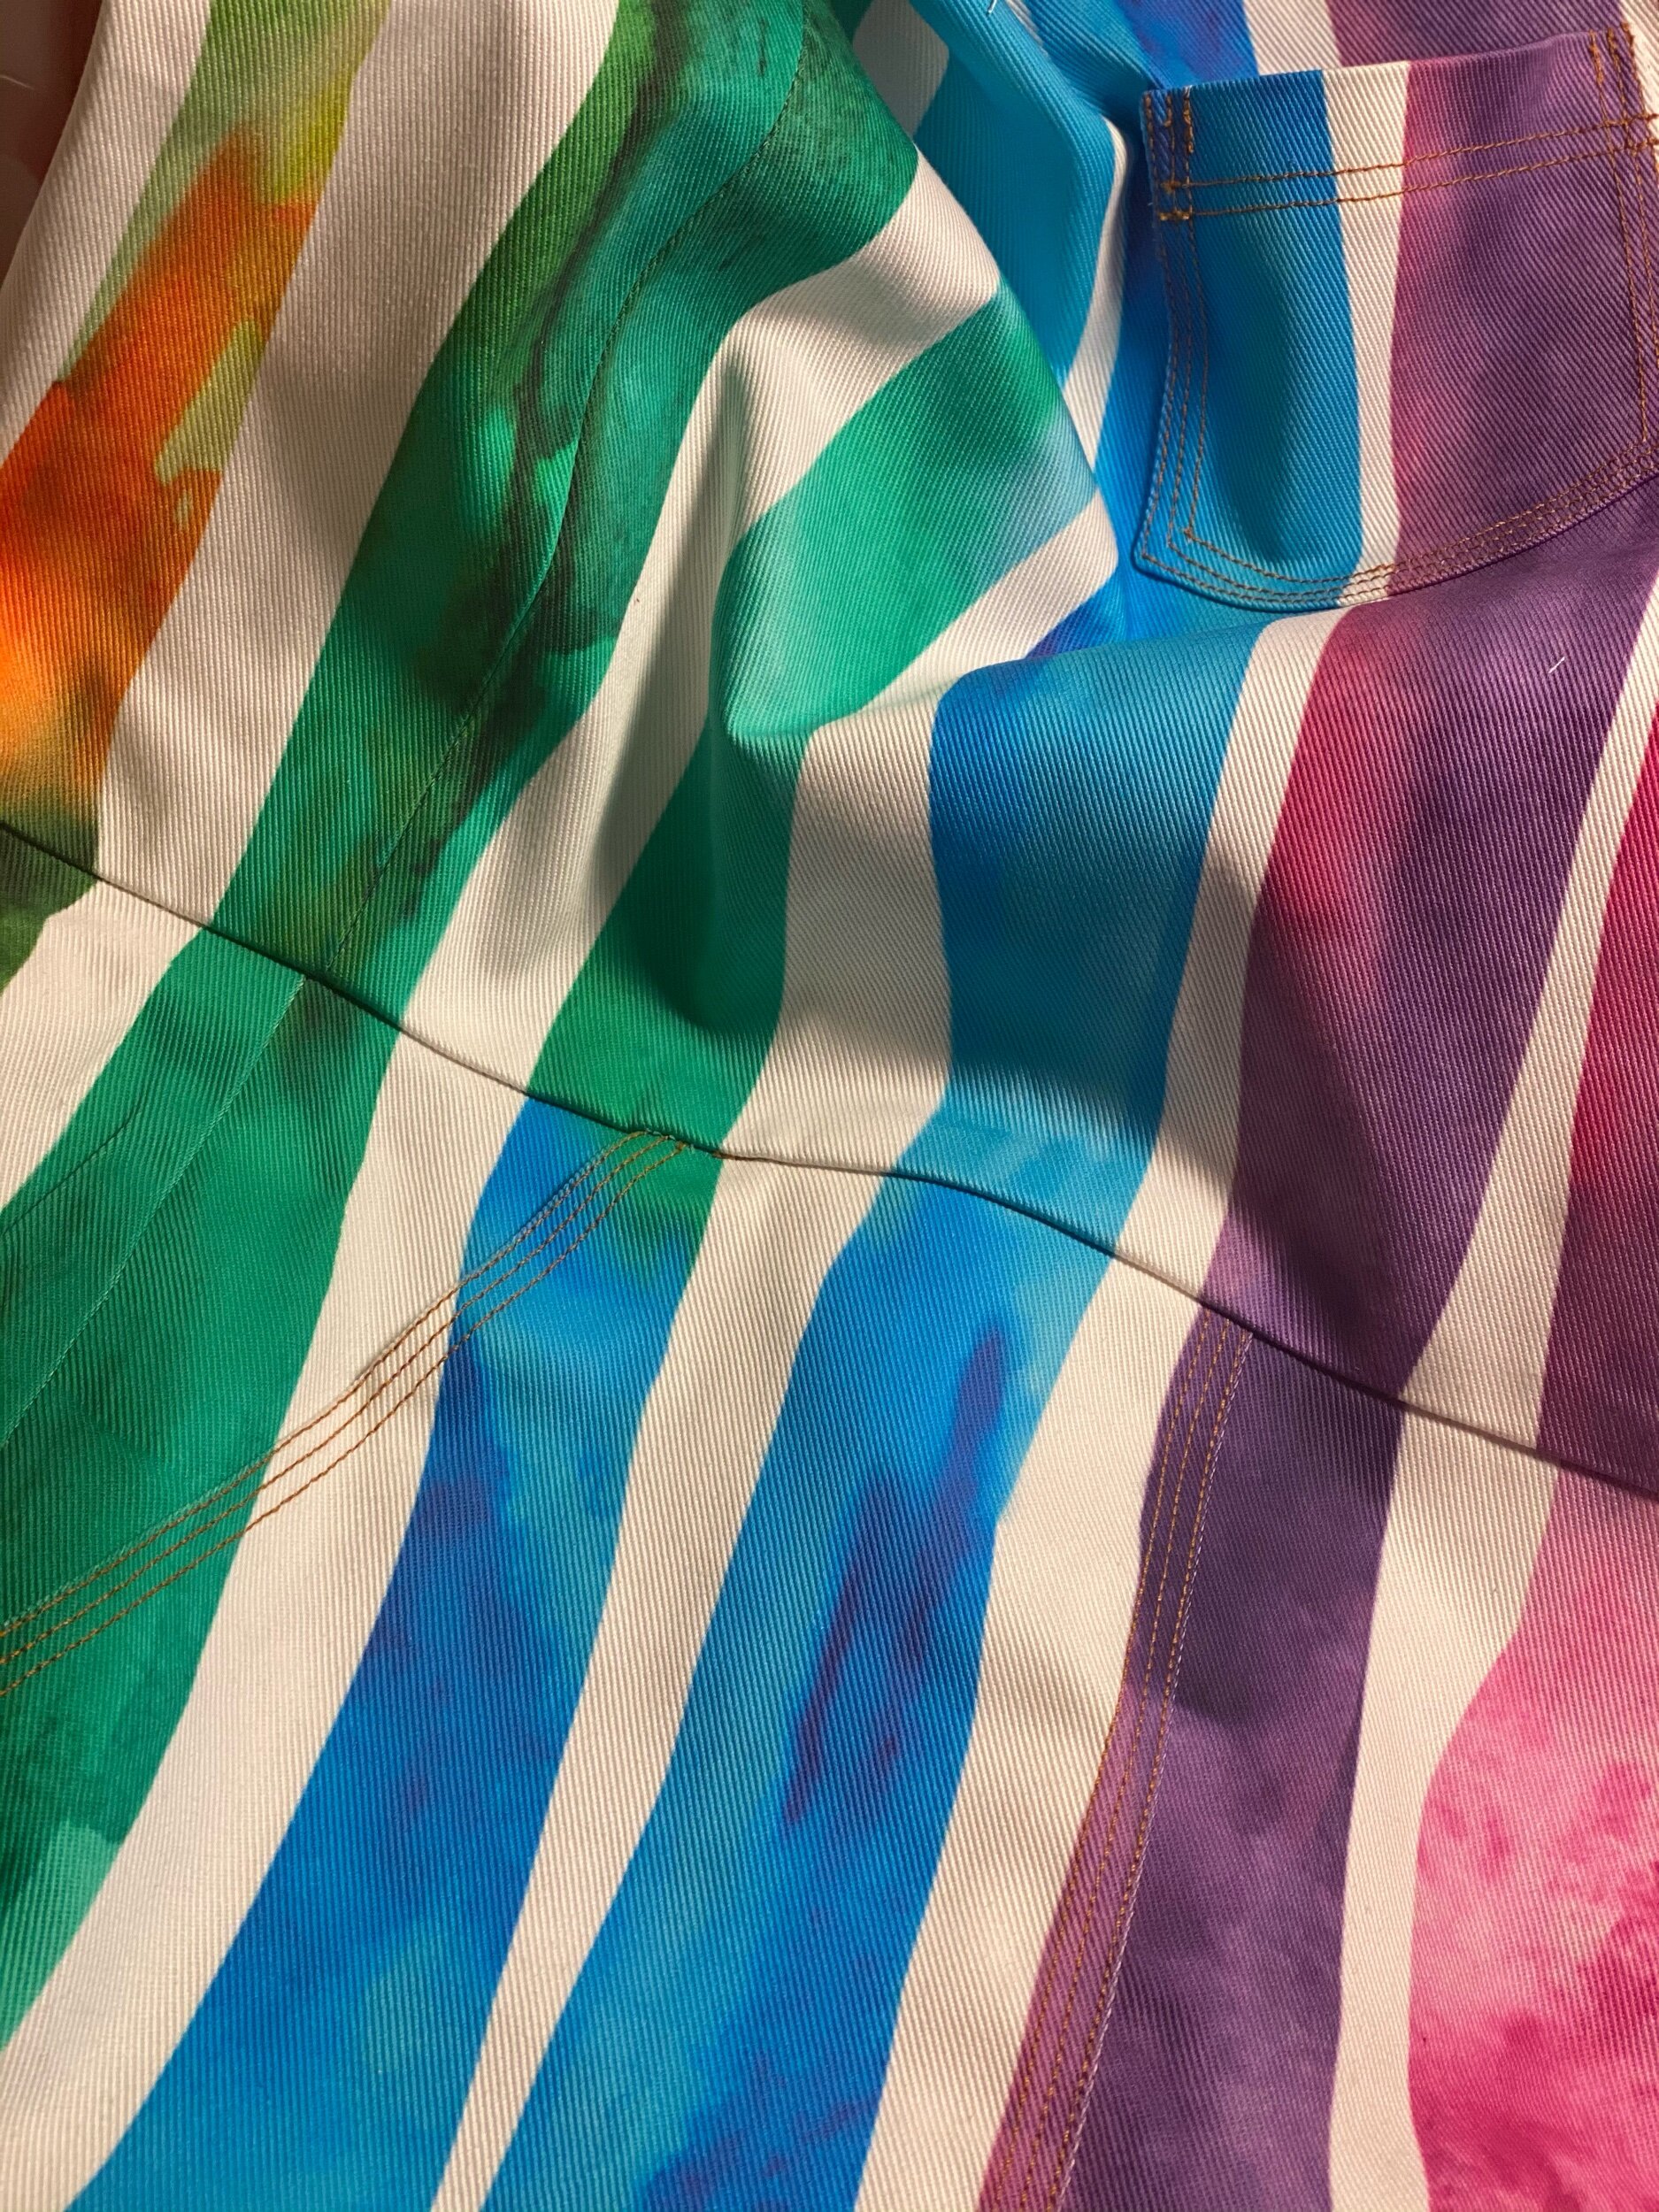
In today’s blog I want to highlight this yummy Spoonflower Dogwood Denim™️ from the Katie Kortman Rainbow collection. I’ve made this boiler suit 3 times so far and this time I needed denim. I had a huge fabric haul from Spoonflower just before the year came to an end and I decided to try out the Dogwood Denim this go round. You can find this exact fabric here. I’m not disappointed at all and it softens once you wash. But let’s talk about color! The colors in this watercolor design are bold and vibrant. I had the most fun matching the prints. Luckily, I had plenty of fabric…well just enough fabric.
The pink shades in this print reminded me that I had an old pair of jeans that I could no longer squeeze into and I decided to use them for the under collar and back yoke. I added a third row of topstitching to give the suit a little more detail. It’s not my best topstitching but I survived!
So what did I do differently on this boiler? I did not add an inside zipper facing and I made the sleeves quarter length instead of full length. There’s also the obvious print matching which turned out lovely and very rewarding. If you can’t find the pockets right away then my job is complete.
The Dogwood Denim does not have any stretch by the way but I’m sure it will make a great pair of classic jeans.
Alright alright, I’ll let you finally get into the Rainbow!
I hope that you enjoyed my drippin rainbow and I’d love to hear from you below. Until next time,

