
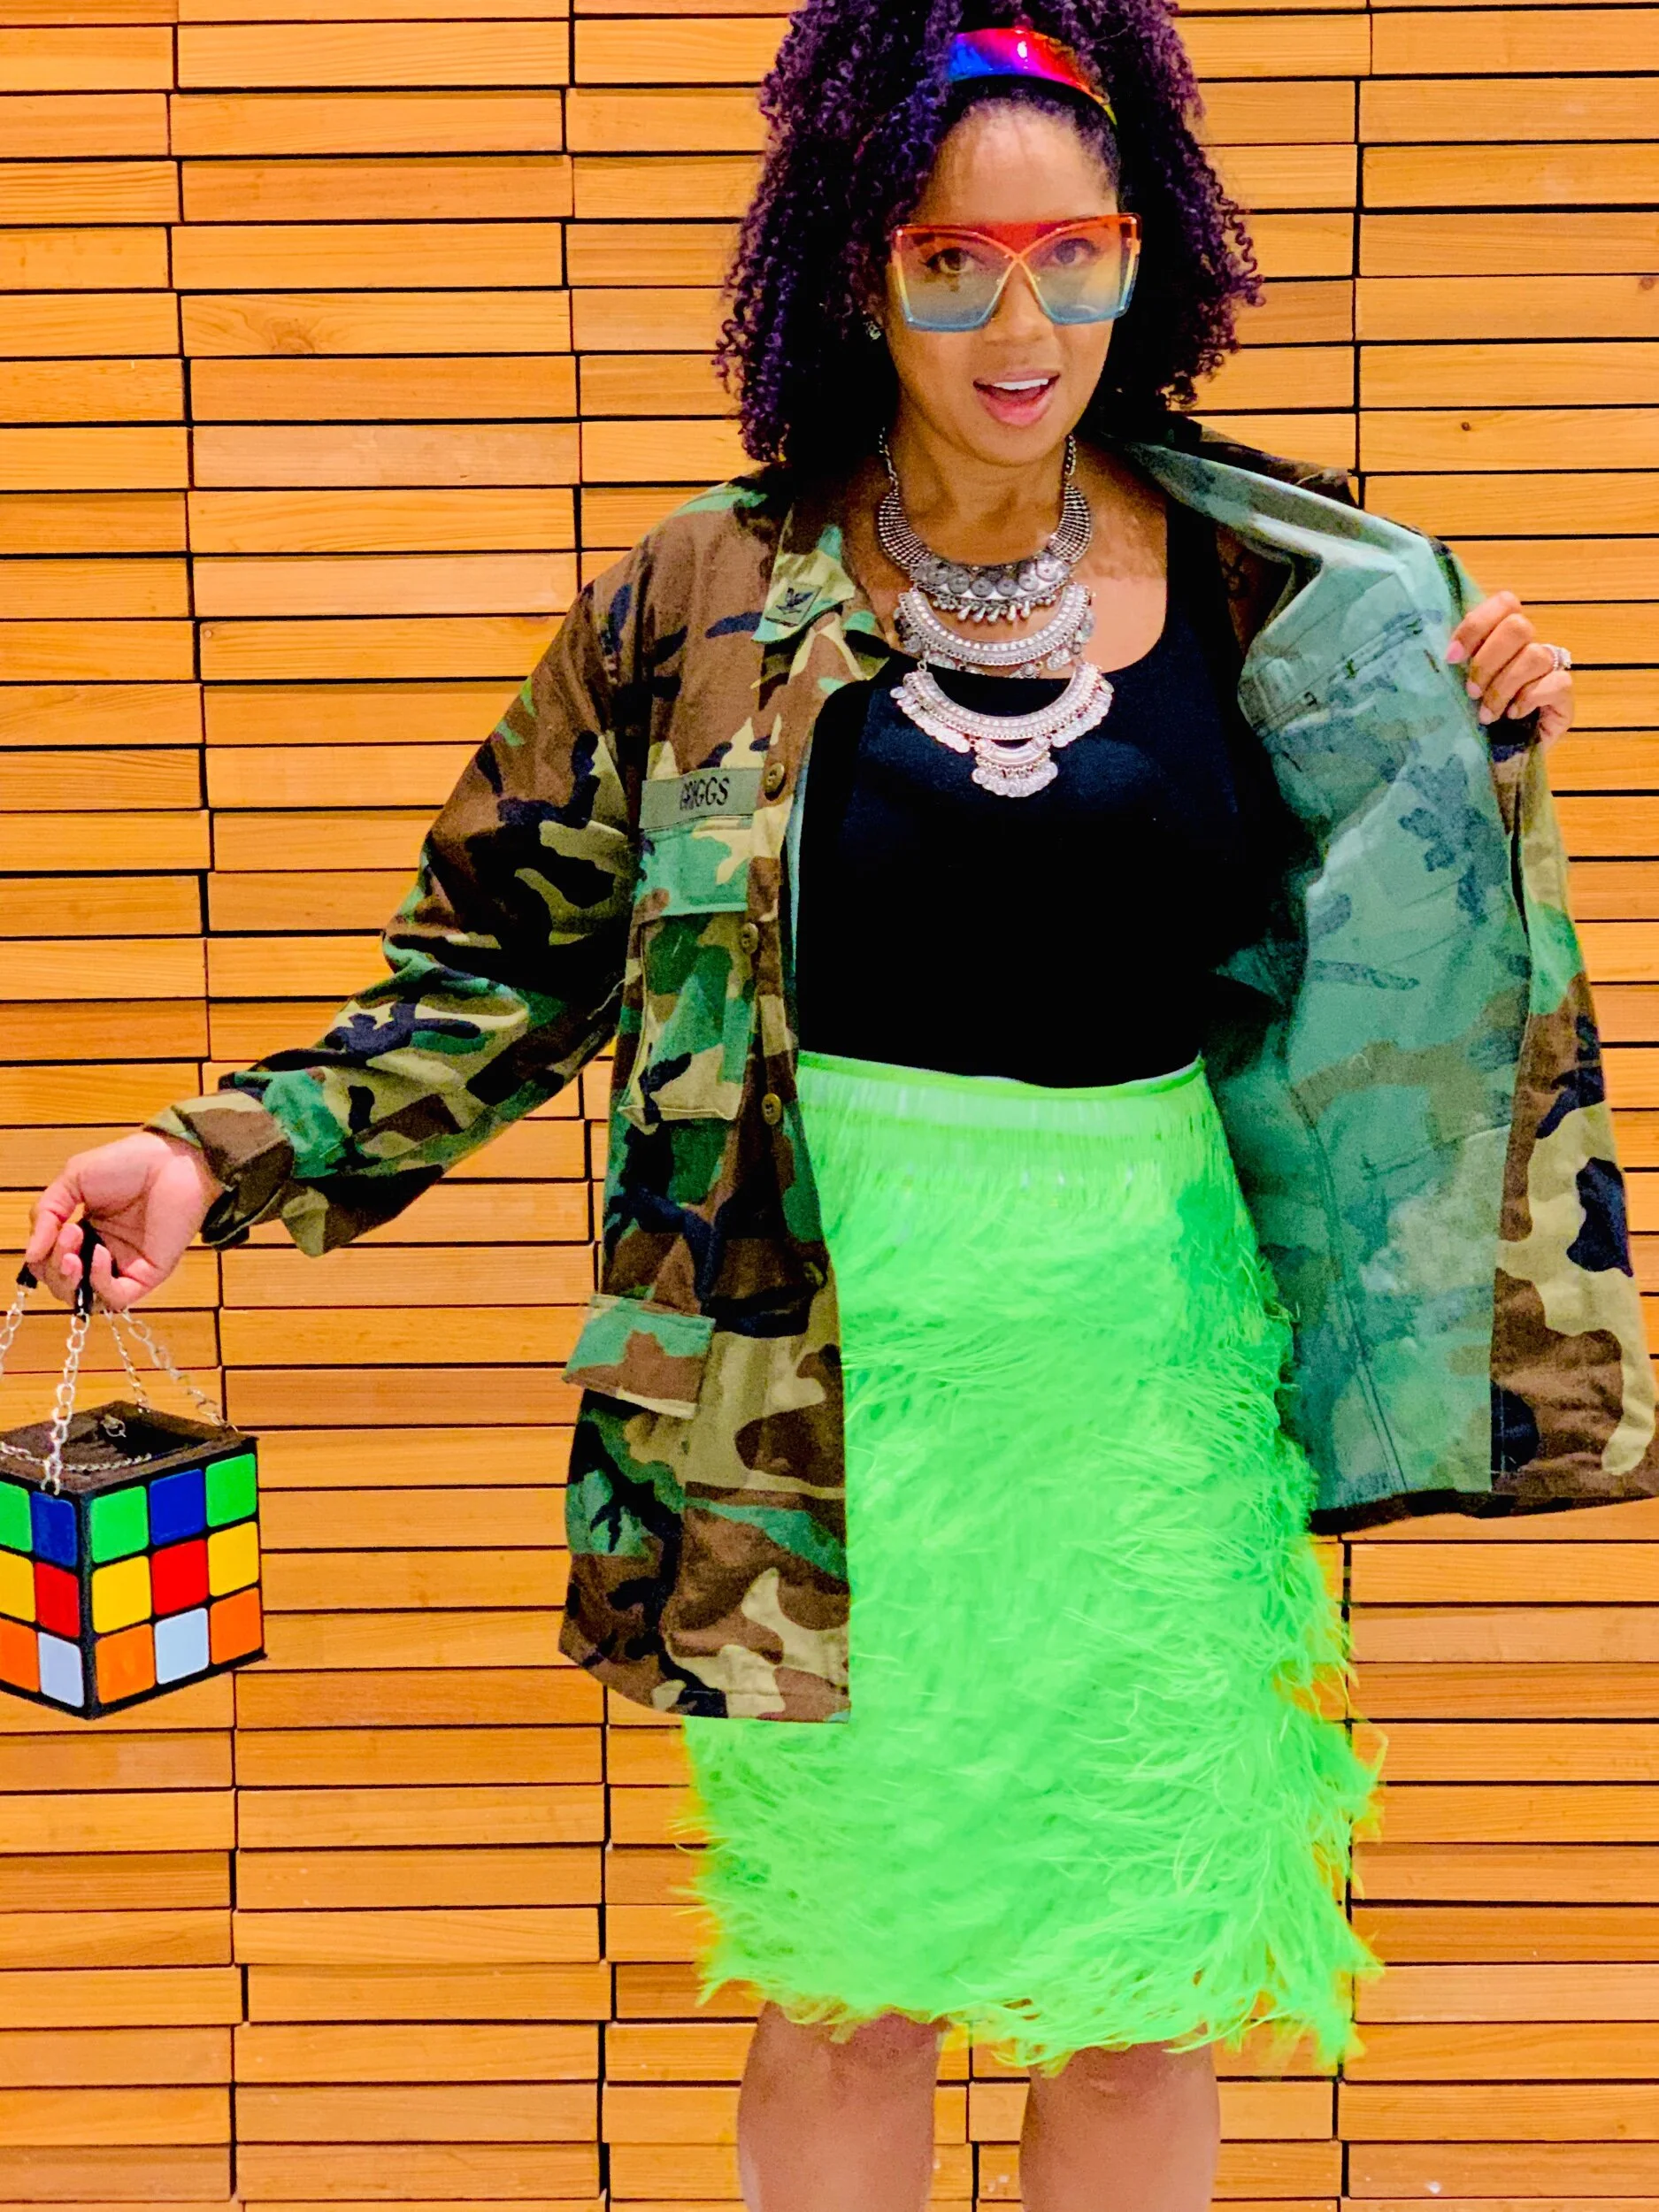
Neon fringe
would you believe me if I told you…IT’S REFASHIONED?
Greetings friends! I’m back today to share this very bright, fun, easy fringe skirt! I’m constantly trying to find and create staple pieces for my closet. This skirt is now extremely high on my wear list. And don’t worry this baby is not restricted to only summer lovin. You can catch me rockin this brightness year round. So let’s talk about it!

I found this skirt at my local thrift store for $2. I was on the hunt for a plain white skirt with no pockets. The closest to all white I could fine was this oversized skirt with embroidery details on the bottom. Initially I was just going to cut off the embroidery and make the skirt short but I had white fabric left over from the inside lining and from the sides after taking the skirt in to add a little more length. I’m glad I made this decision.
Once I had the skirt cut and fitting to my liking, I measured out lines for the spacing of the fringe and began to sew on the fringe with a zigzag stitch. I added fringe to both the front and back of the skirt.
I purchased one 10 yard roll of neon fringe from amazon for $16.99. I thought this would be enough but I could see too much of the white fabric with my spacing so I put the skirt aside and ordered a second roll of fringe.


finish line
Once the second roll of fringe arrived, I began to fill in the empty spaces. Now we’re talking. Time to go shake it! Overall this project can be completed in one day. I feel the most time spent is marking your spacing. Marking is also the most important step if you want your fringe to lay evenly.


Check out my IGTV for a quick look at the entire process.
Tell me what you think. Are you rockin Neon all year? I know I am.
Peace & Blessings