
I'm a Know Me pattern Designer
Get to Know Me…
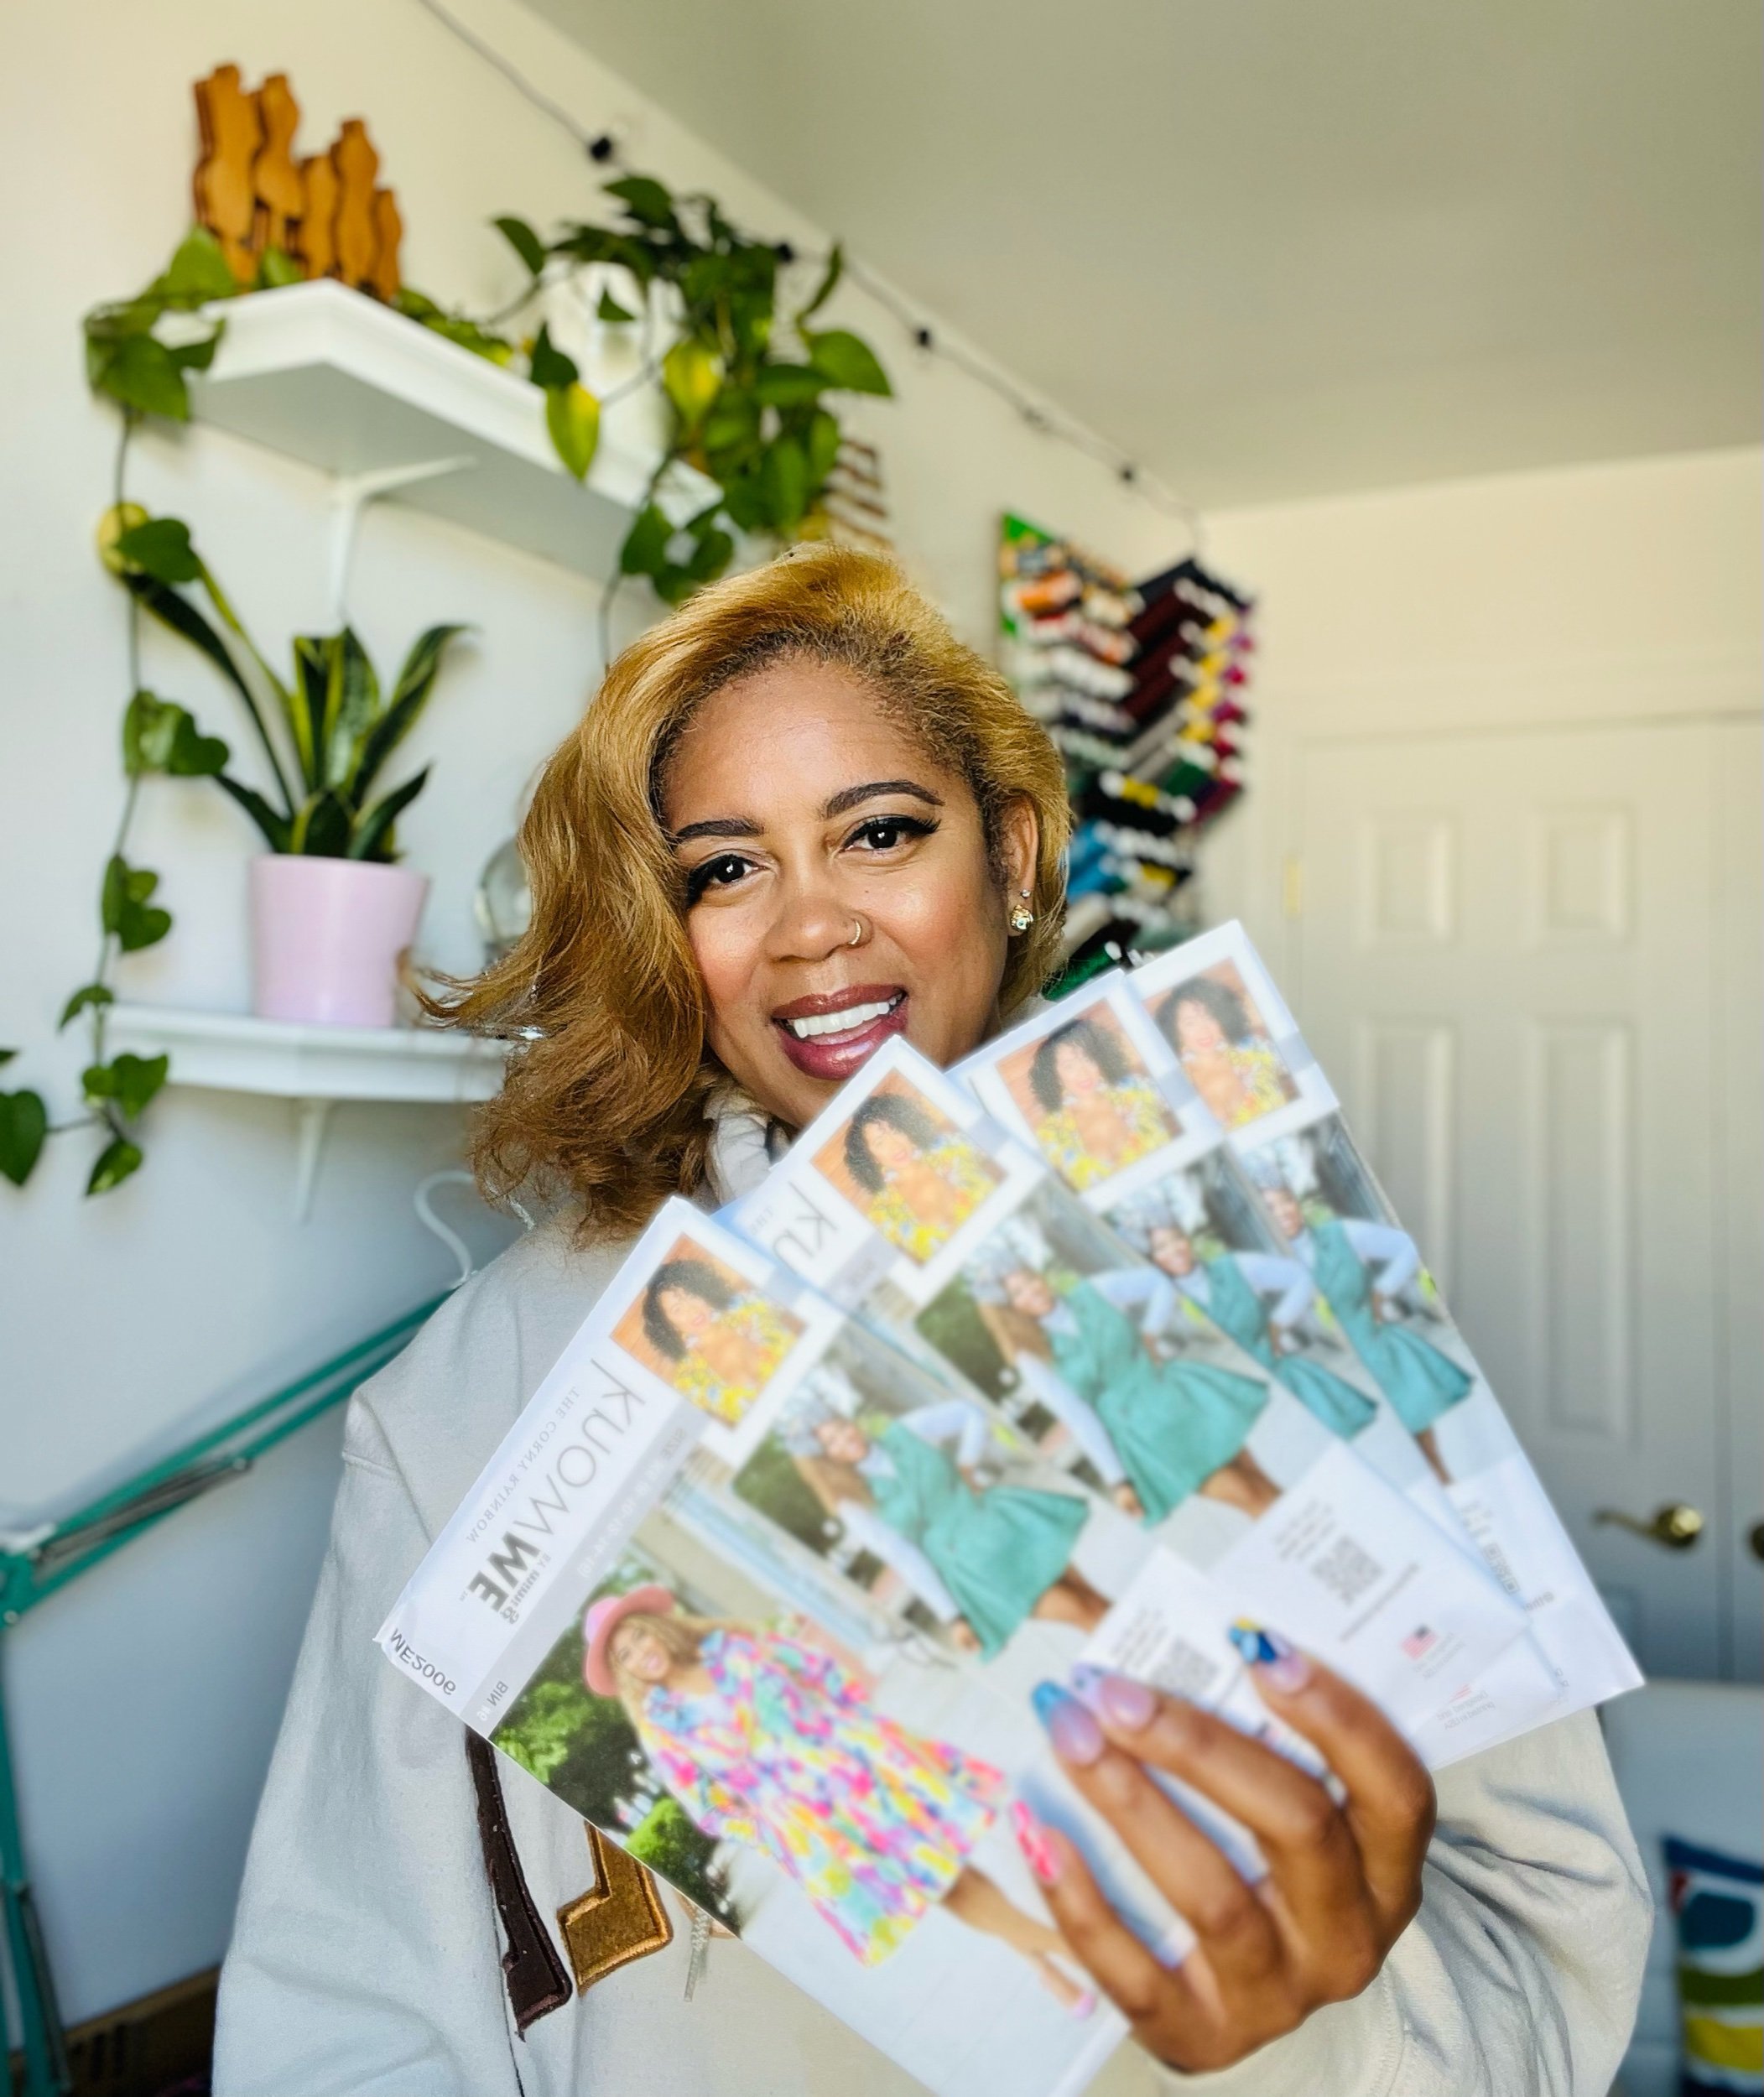
I’m still pinching myself and my Fall pattern ME2006 is in stores!
When I got the call from Mimi I was having a very tough time still dealing with a miscarriage and had recently been relocated on my 9 to 5, 50 miles from my home. I’m not gonna lie, I cried a lot mainly because I was talking out my dreams with a sister a year or so before telling her I wanted to make my own patterns. After that conversation with my friend, I simply wrote down my goals and I didn’t think about it again until Mimi reached out.
Once the news got out about “The Big 4” now being “The Big 5” the love and support from the sewing community has been so amazing.
So how has being a Know Me designer been?
Well, keeping the big news a secret was really fun lol. Then there’s creating designs. I didn’t know when Mimi wanted designs or how any of the process would play out but I went to my sketches and I had about 10 designs ready. I sat on those designs for a few months (maybe more than a few lol) but when Mimi came back and said okay I need your fall designs I was more than ready.
I sent her like 3 designs and finally decided to go with my jacket/dress design. I absolutely love blazers, coats, and jackets so this look was it for me. In my mind I already knew how I wanted to style this pattern (both casual and dressed up).
Once the pattern drafting and instructions were complete, I received my pattern and then it was time to sew it up and photograph. After sewing, cutting out, and hacking so many patterns over the past 10 years it was surreal to now cut out and sew my own pattern. The only other time I have ever been so intentional and focused on sewing a garment was when I made my vow renewal dress. It was kinda easy and that’s when imposter syndrome kicked in. Having sew brothers and sisters to help navigate all the feels really helped during the process.
I have to talk about the pictures because y'all, my husband has never been labeled as my photographer but for my pattern pics…I needed him to step up. For those who don’t know, I take 99.5% of the pictures you see on my socials and here on my blog and I’m a photographer. I was not blessed with a partner who will tell me I have a wrinkle or this angle aint it honey. He will snap 100 of those bad shots with no words lol. A whole ass struggle y’all. We managed to finally get on the same page while shooting and he got some really good shots. So for that, I’m thankful.
Then there are the other amazing Know Me Designers who are sharing this experience with me. Everyone brings something different with their designs and I’m so honored to be apart of this group of creatives. I actually want to sew the mens patterns for hubs and that normally takes an act of God!
This journey is just getting started and Early Spring 23” is right around the corner. Thank you again to you all for supporting me on my creative journey. And thank you for supporting Know Me Patterns and all the designers.
Sew alongs are now live on the Know Me YouTube channel HERE
Shop Know Me Patterns Here or in craft stores like Joann!


Fabric: Spoonflower Velvet

Fabric: Suade


Fabric: Joann Denim

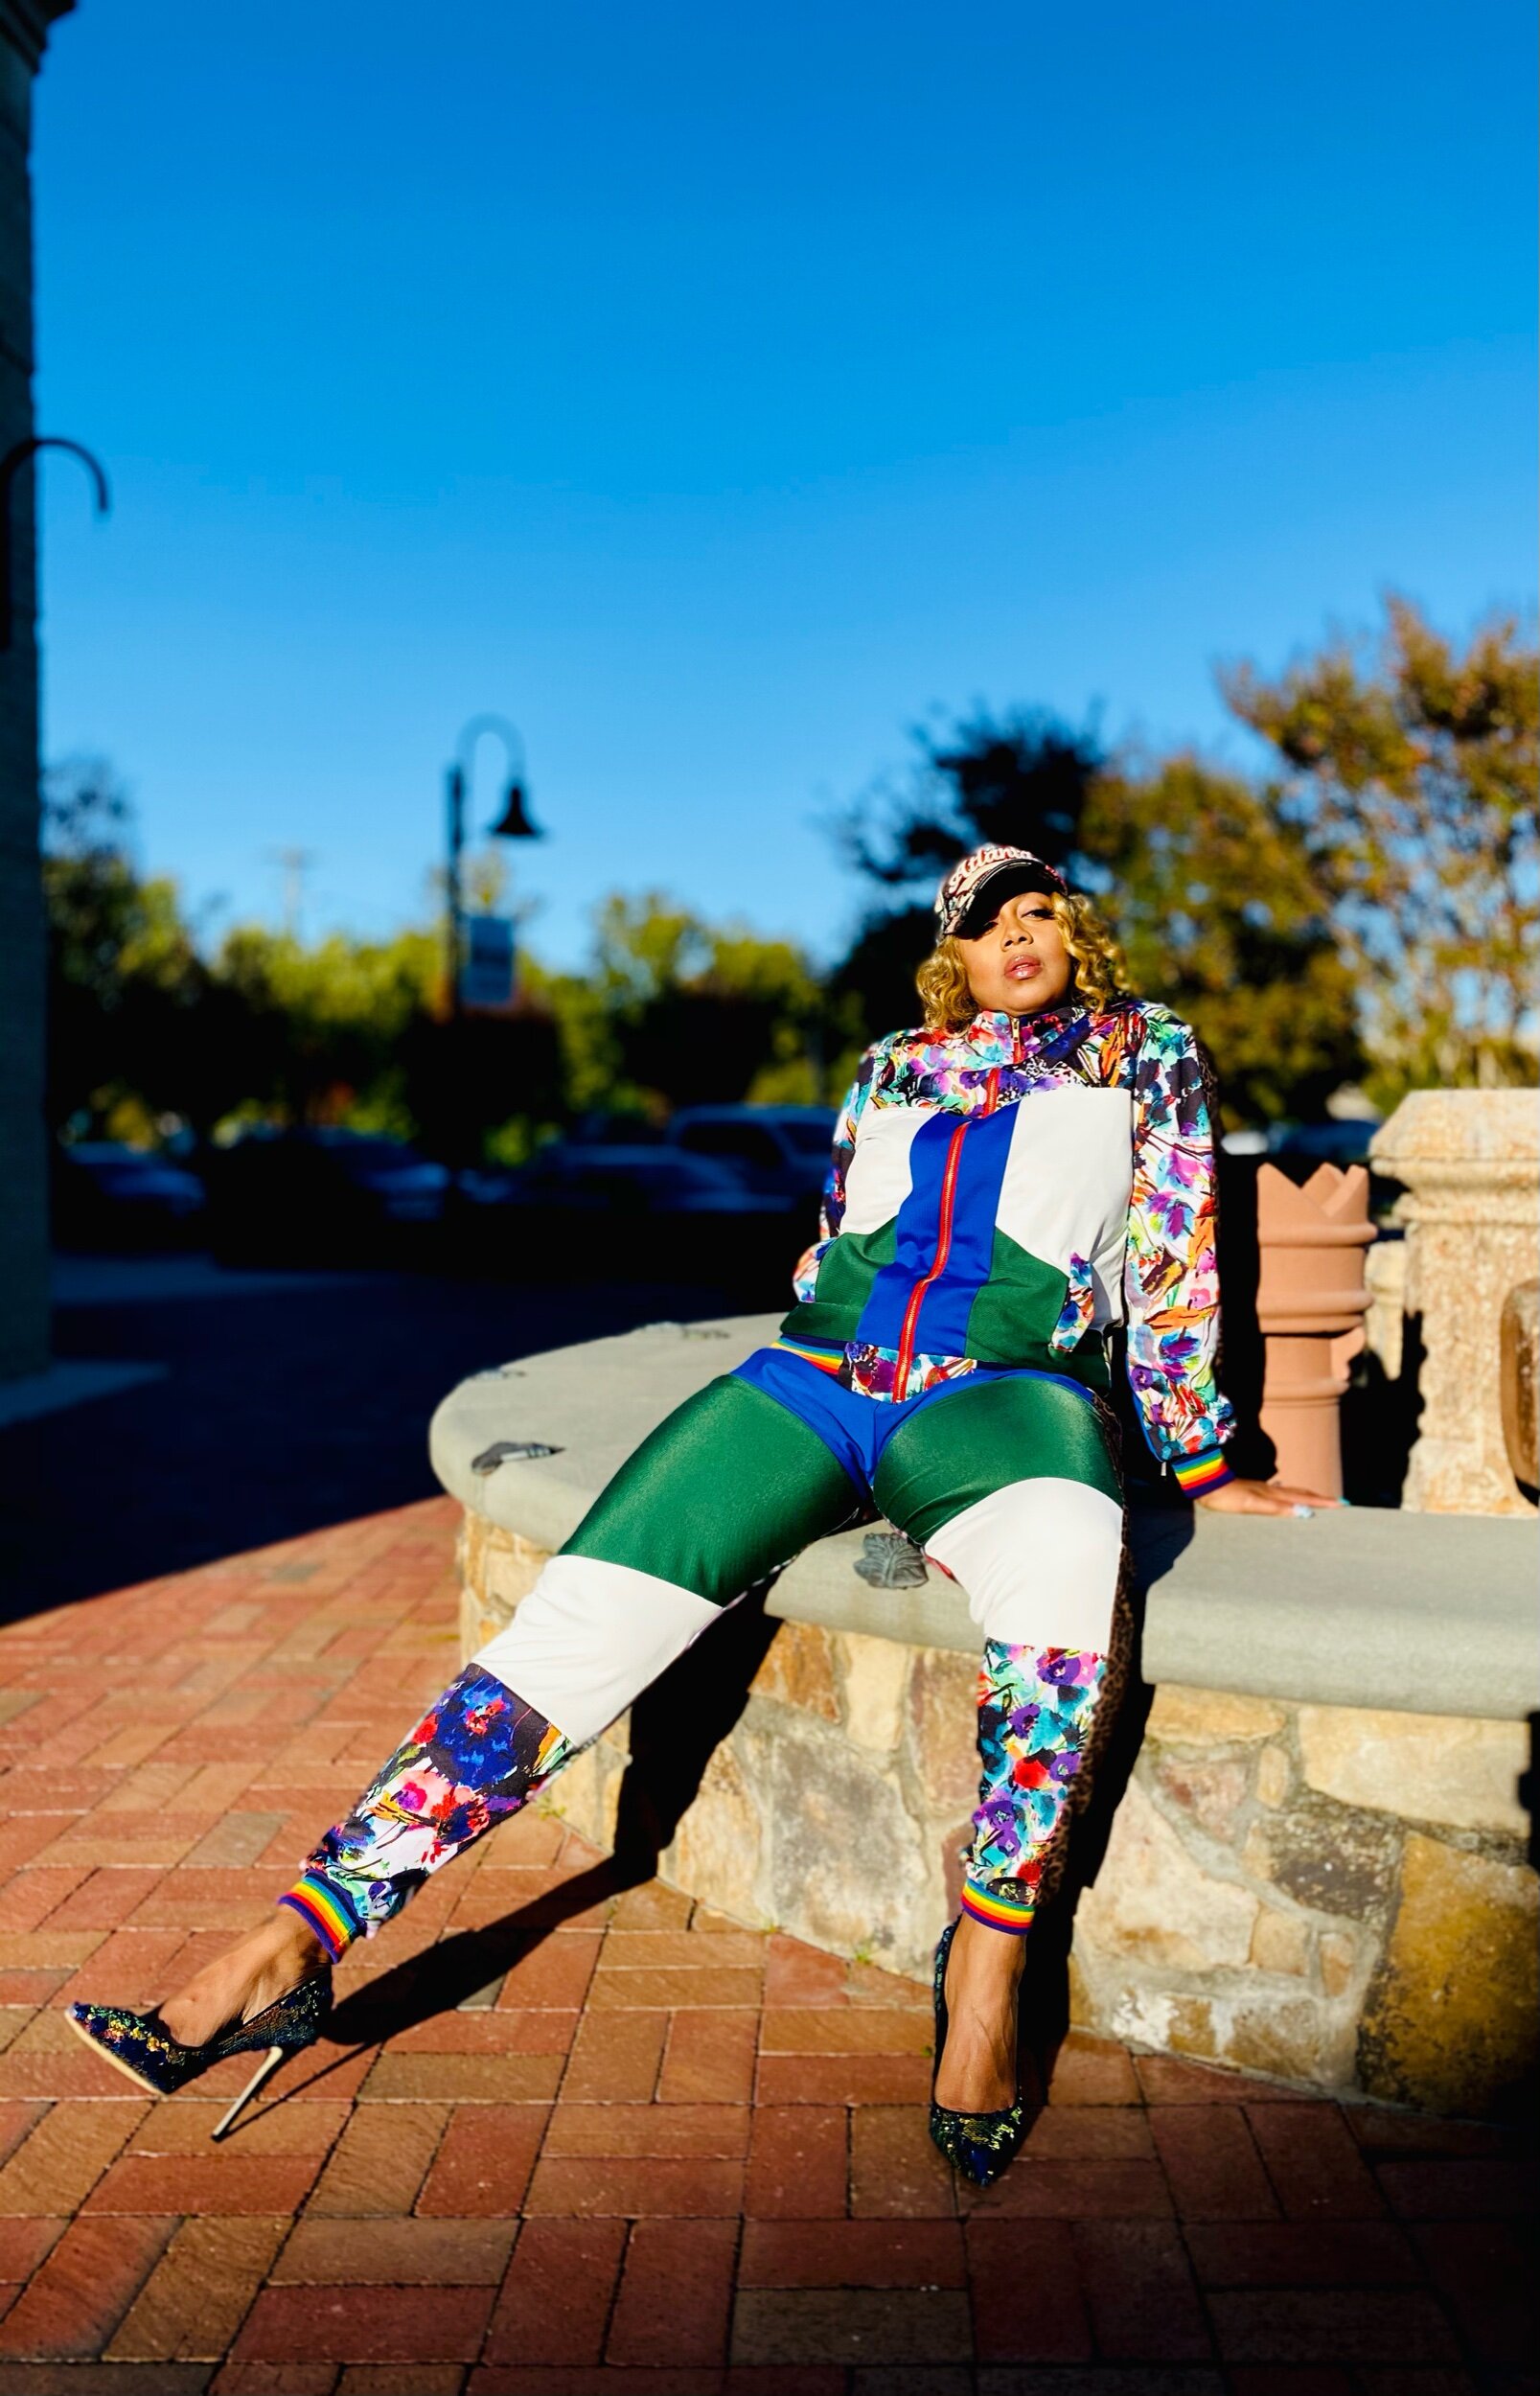
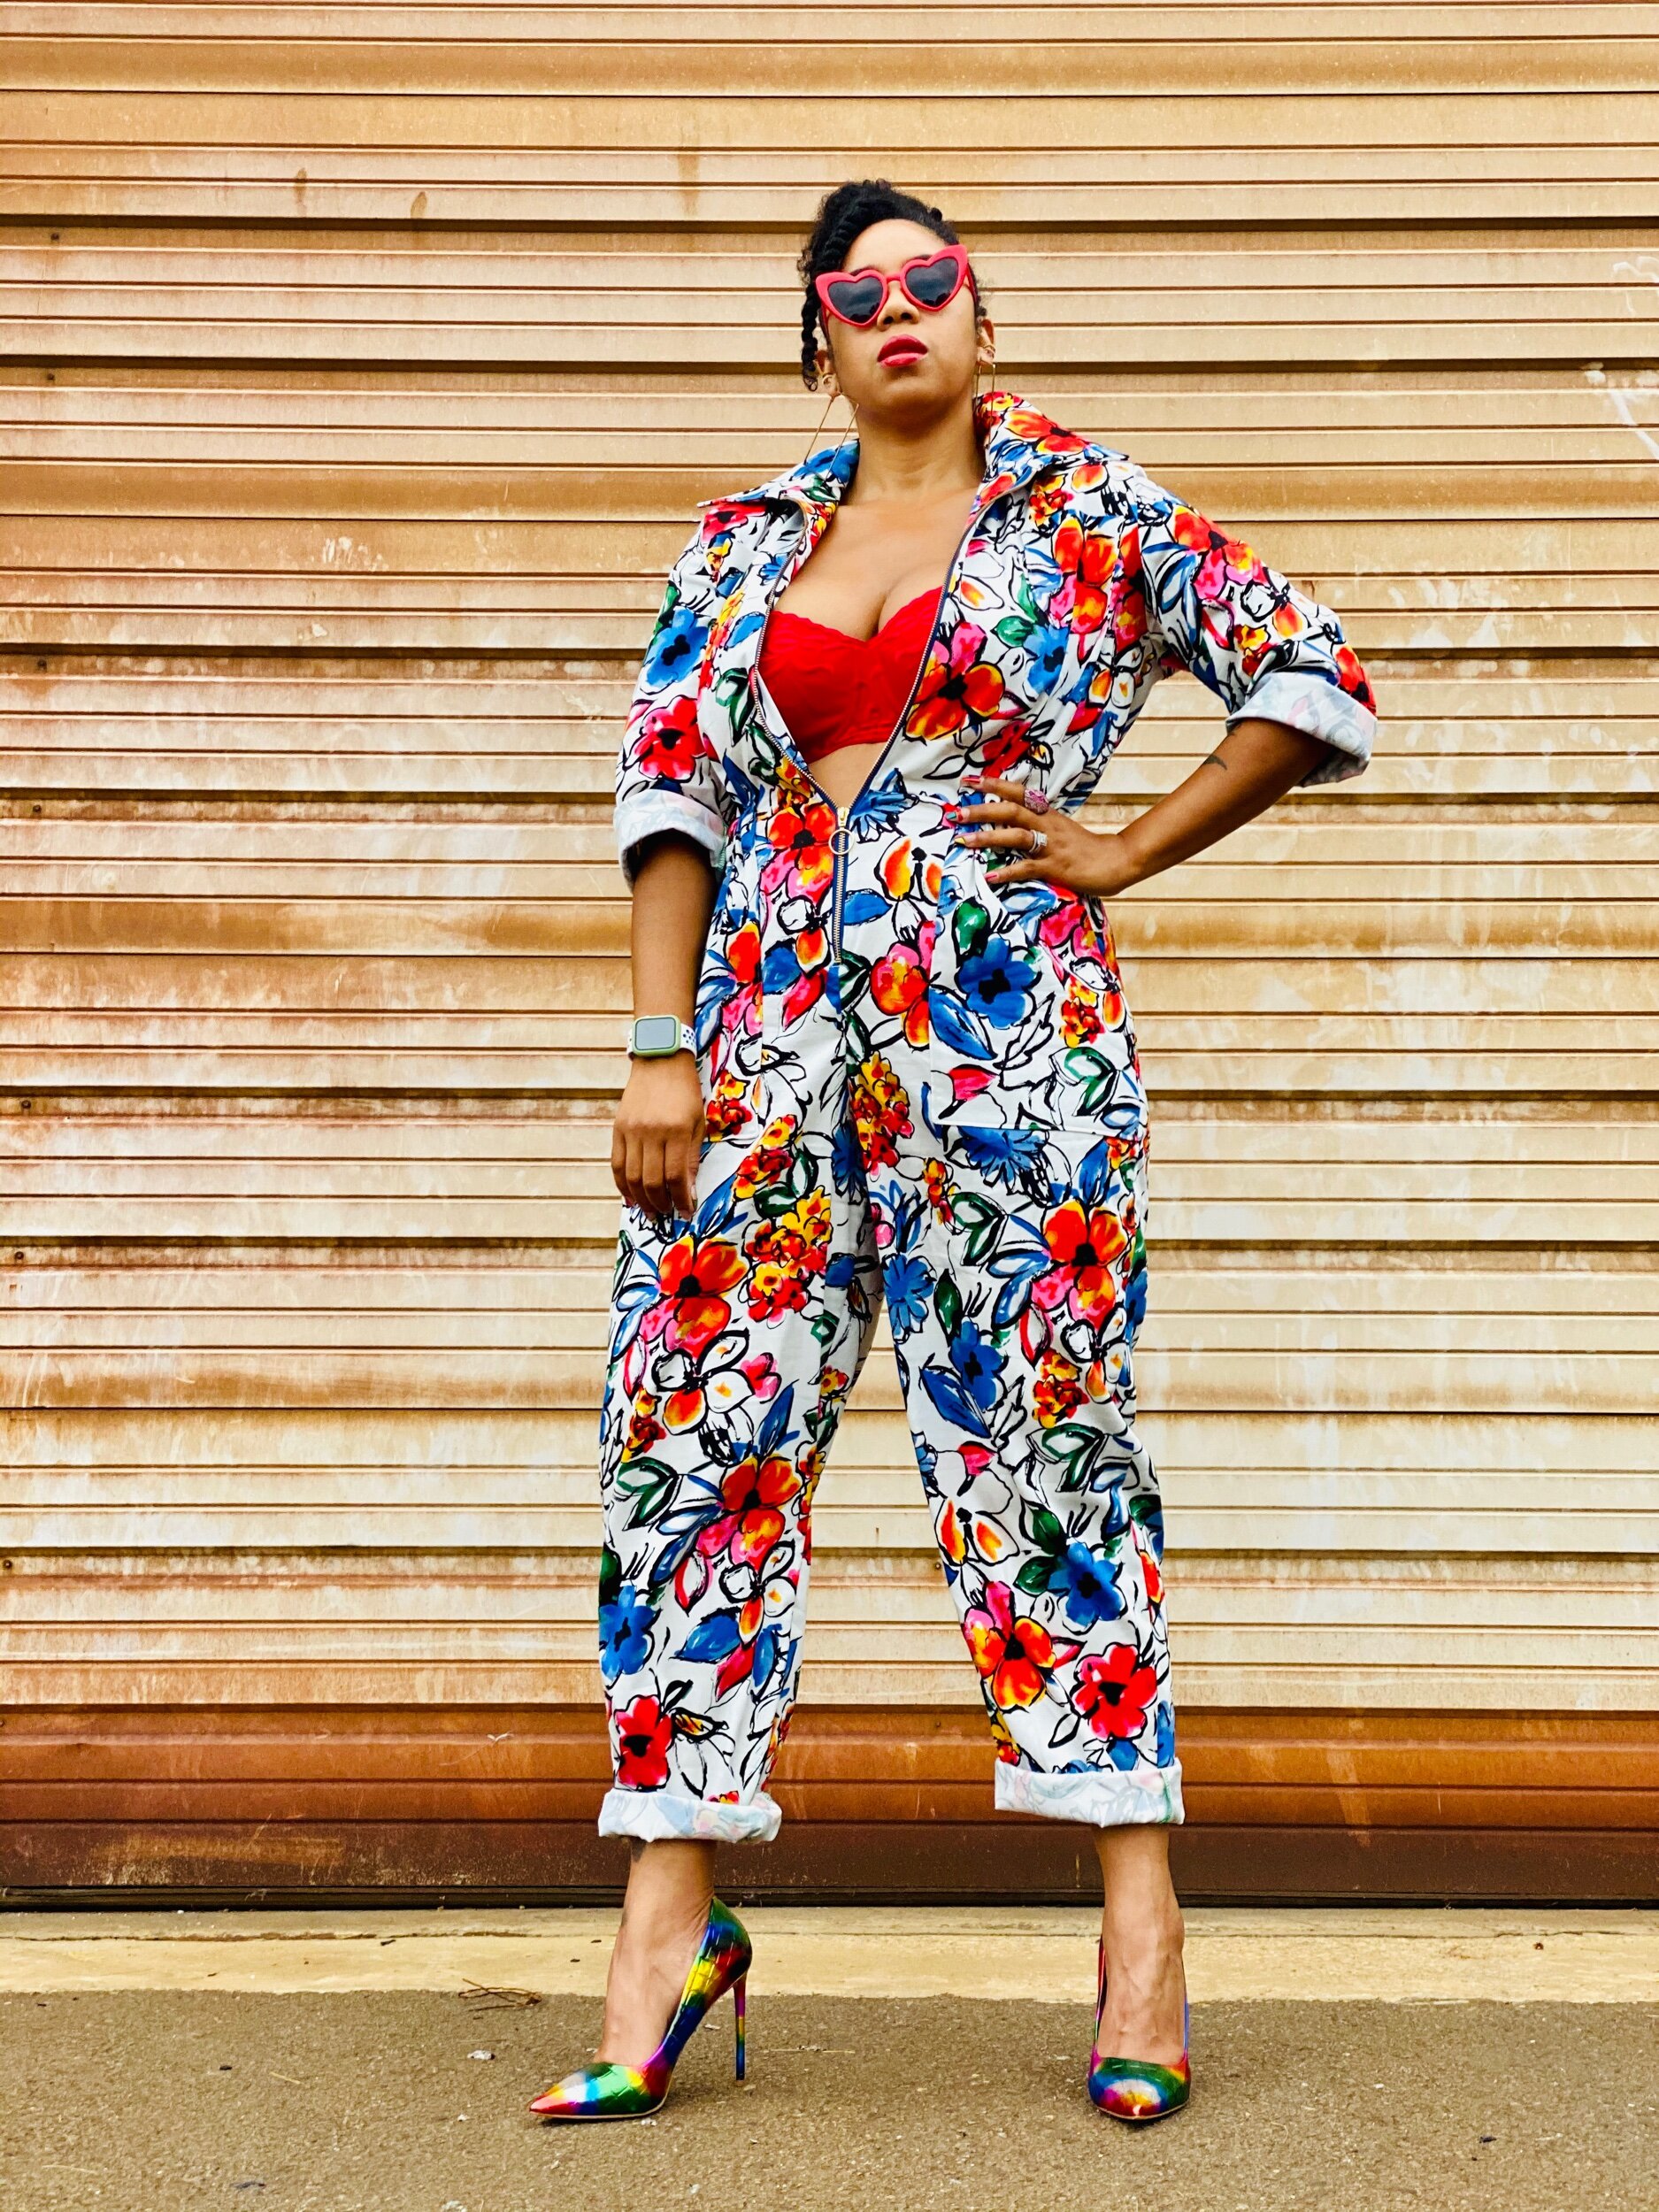
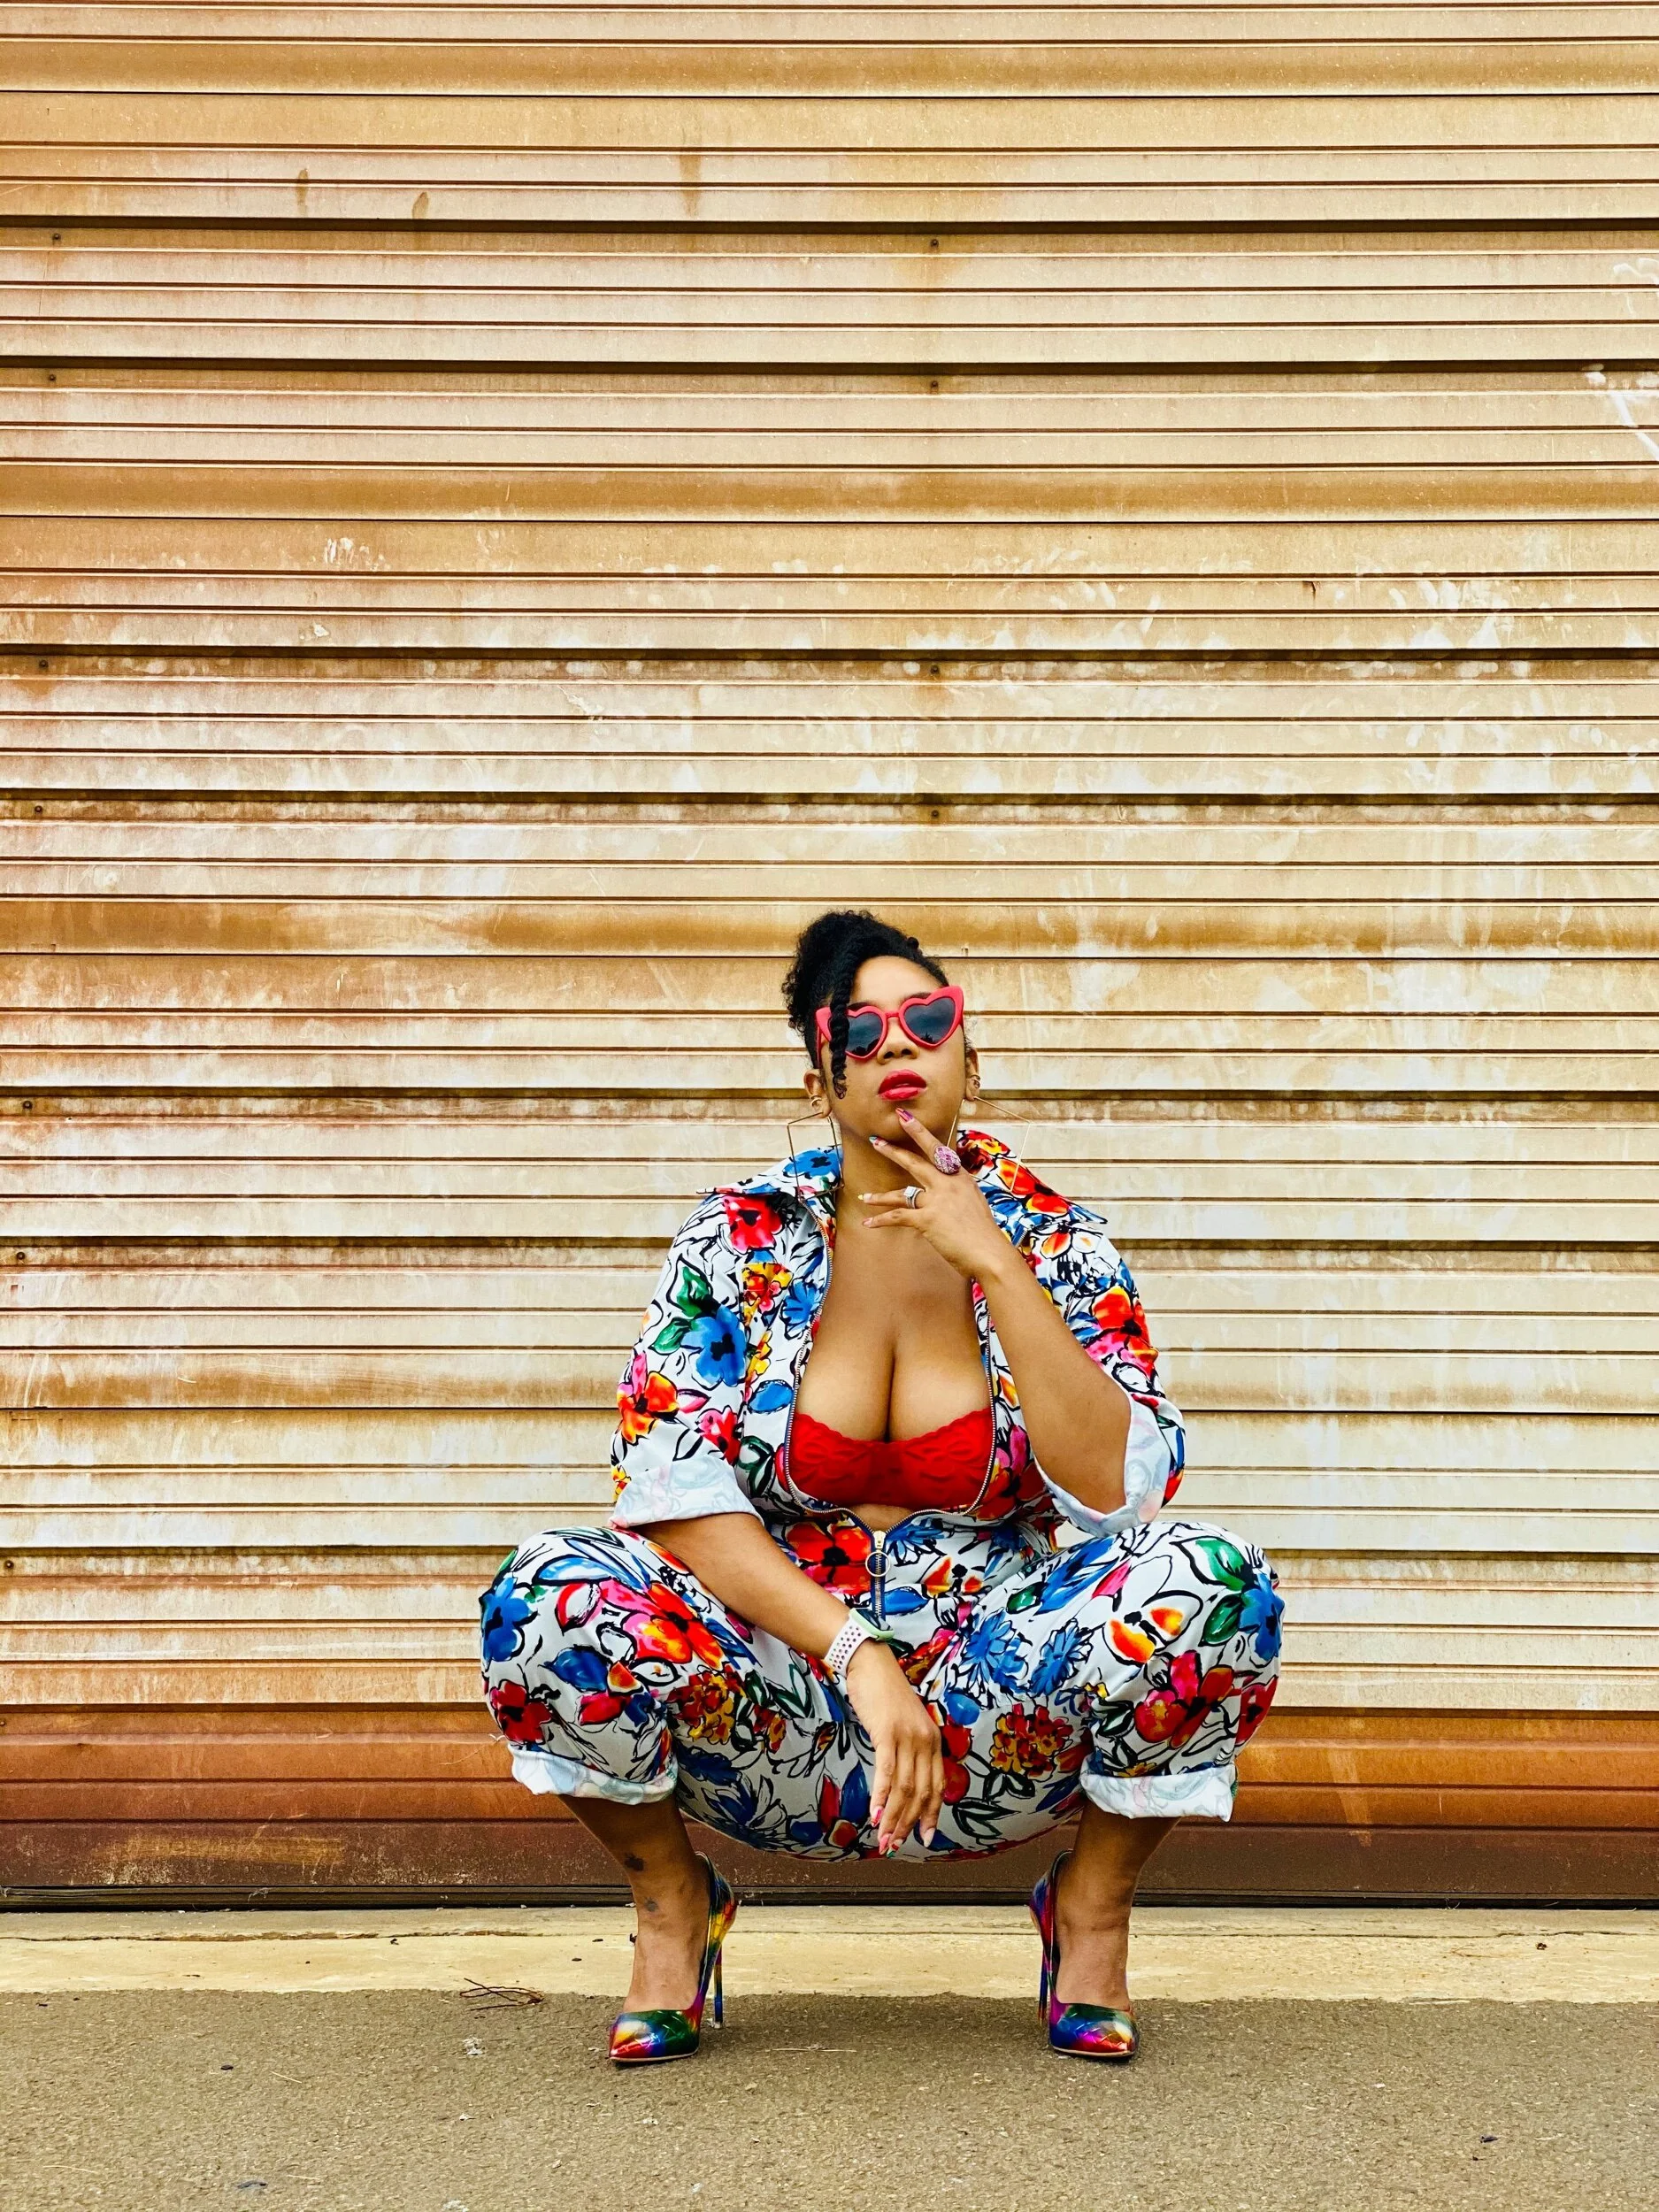
Jogger Season
Jogger Season
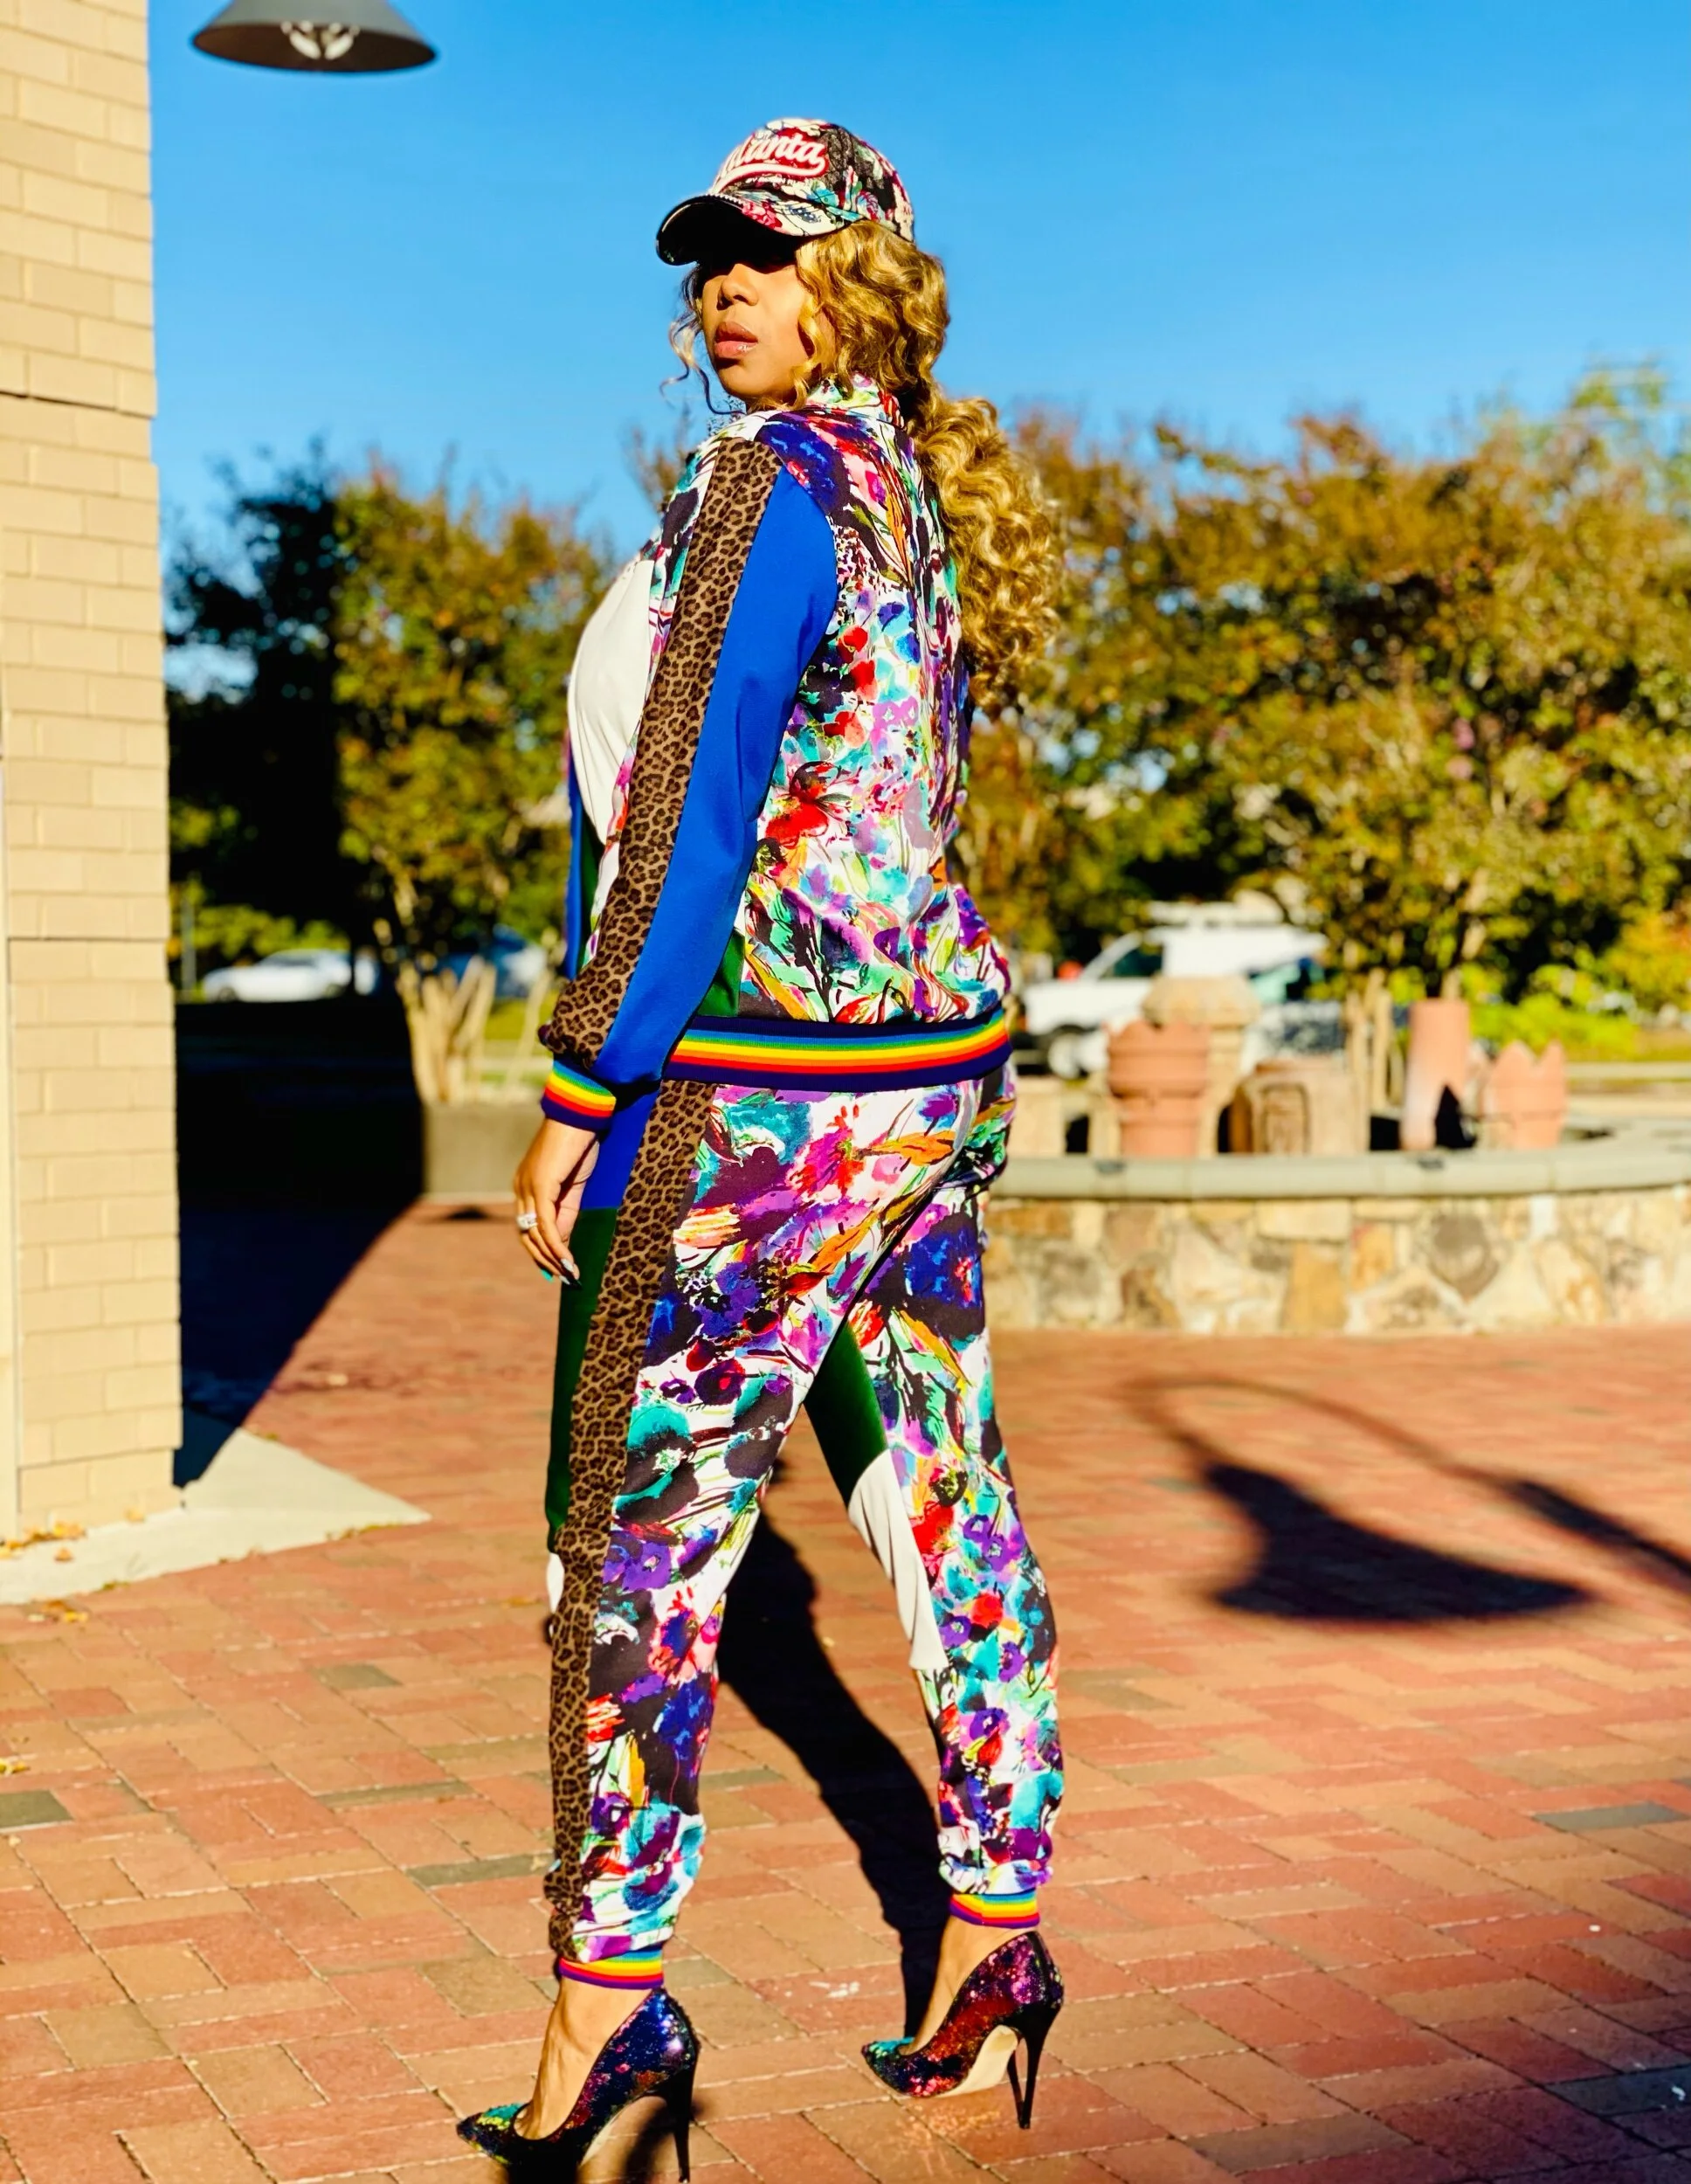
I can’t help but want to wear sweats and jogging suits right now but I also need my pumps. That’s the beauty of a jogger set! You can be comfy and sexy all at once or you can dress it down with sneakers. However you choose, these babies are staples in my wardrobe.
When ideas come to life
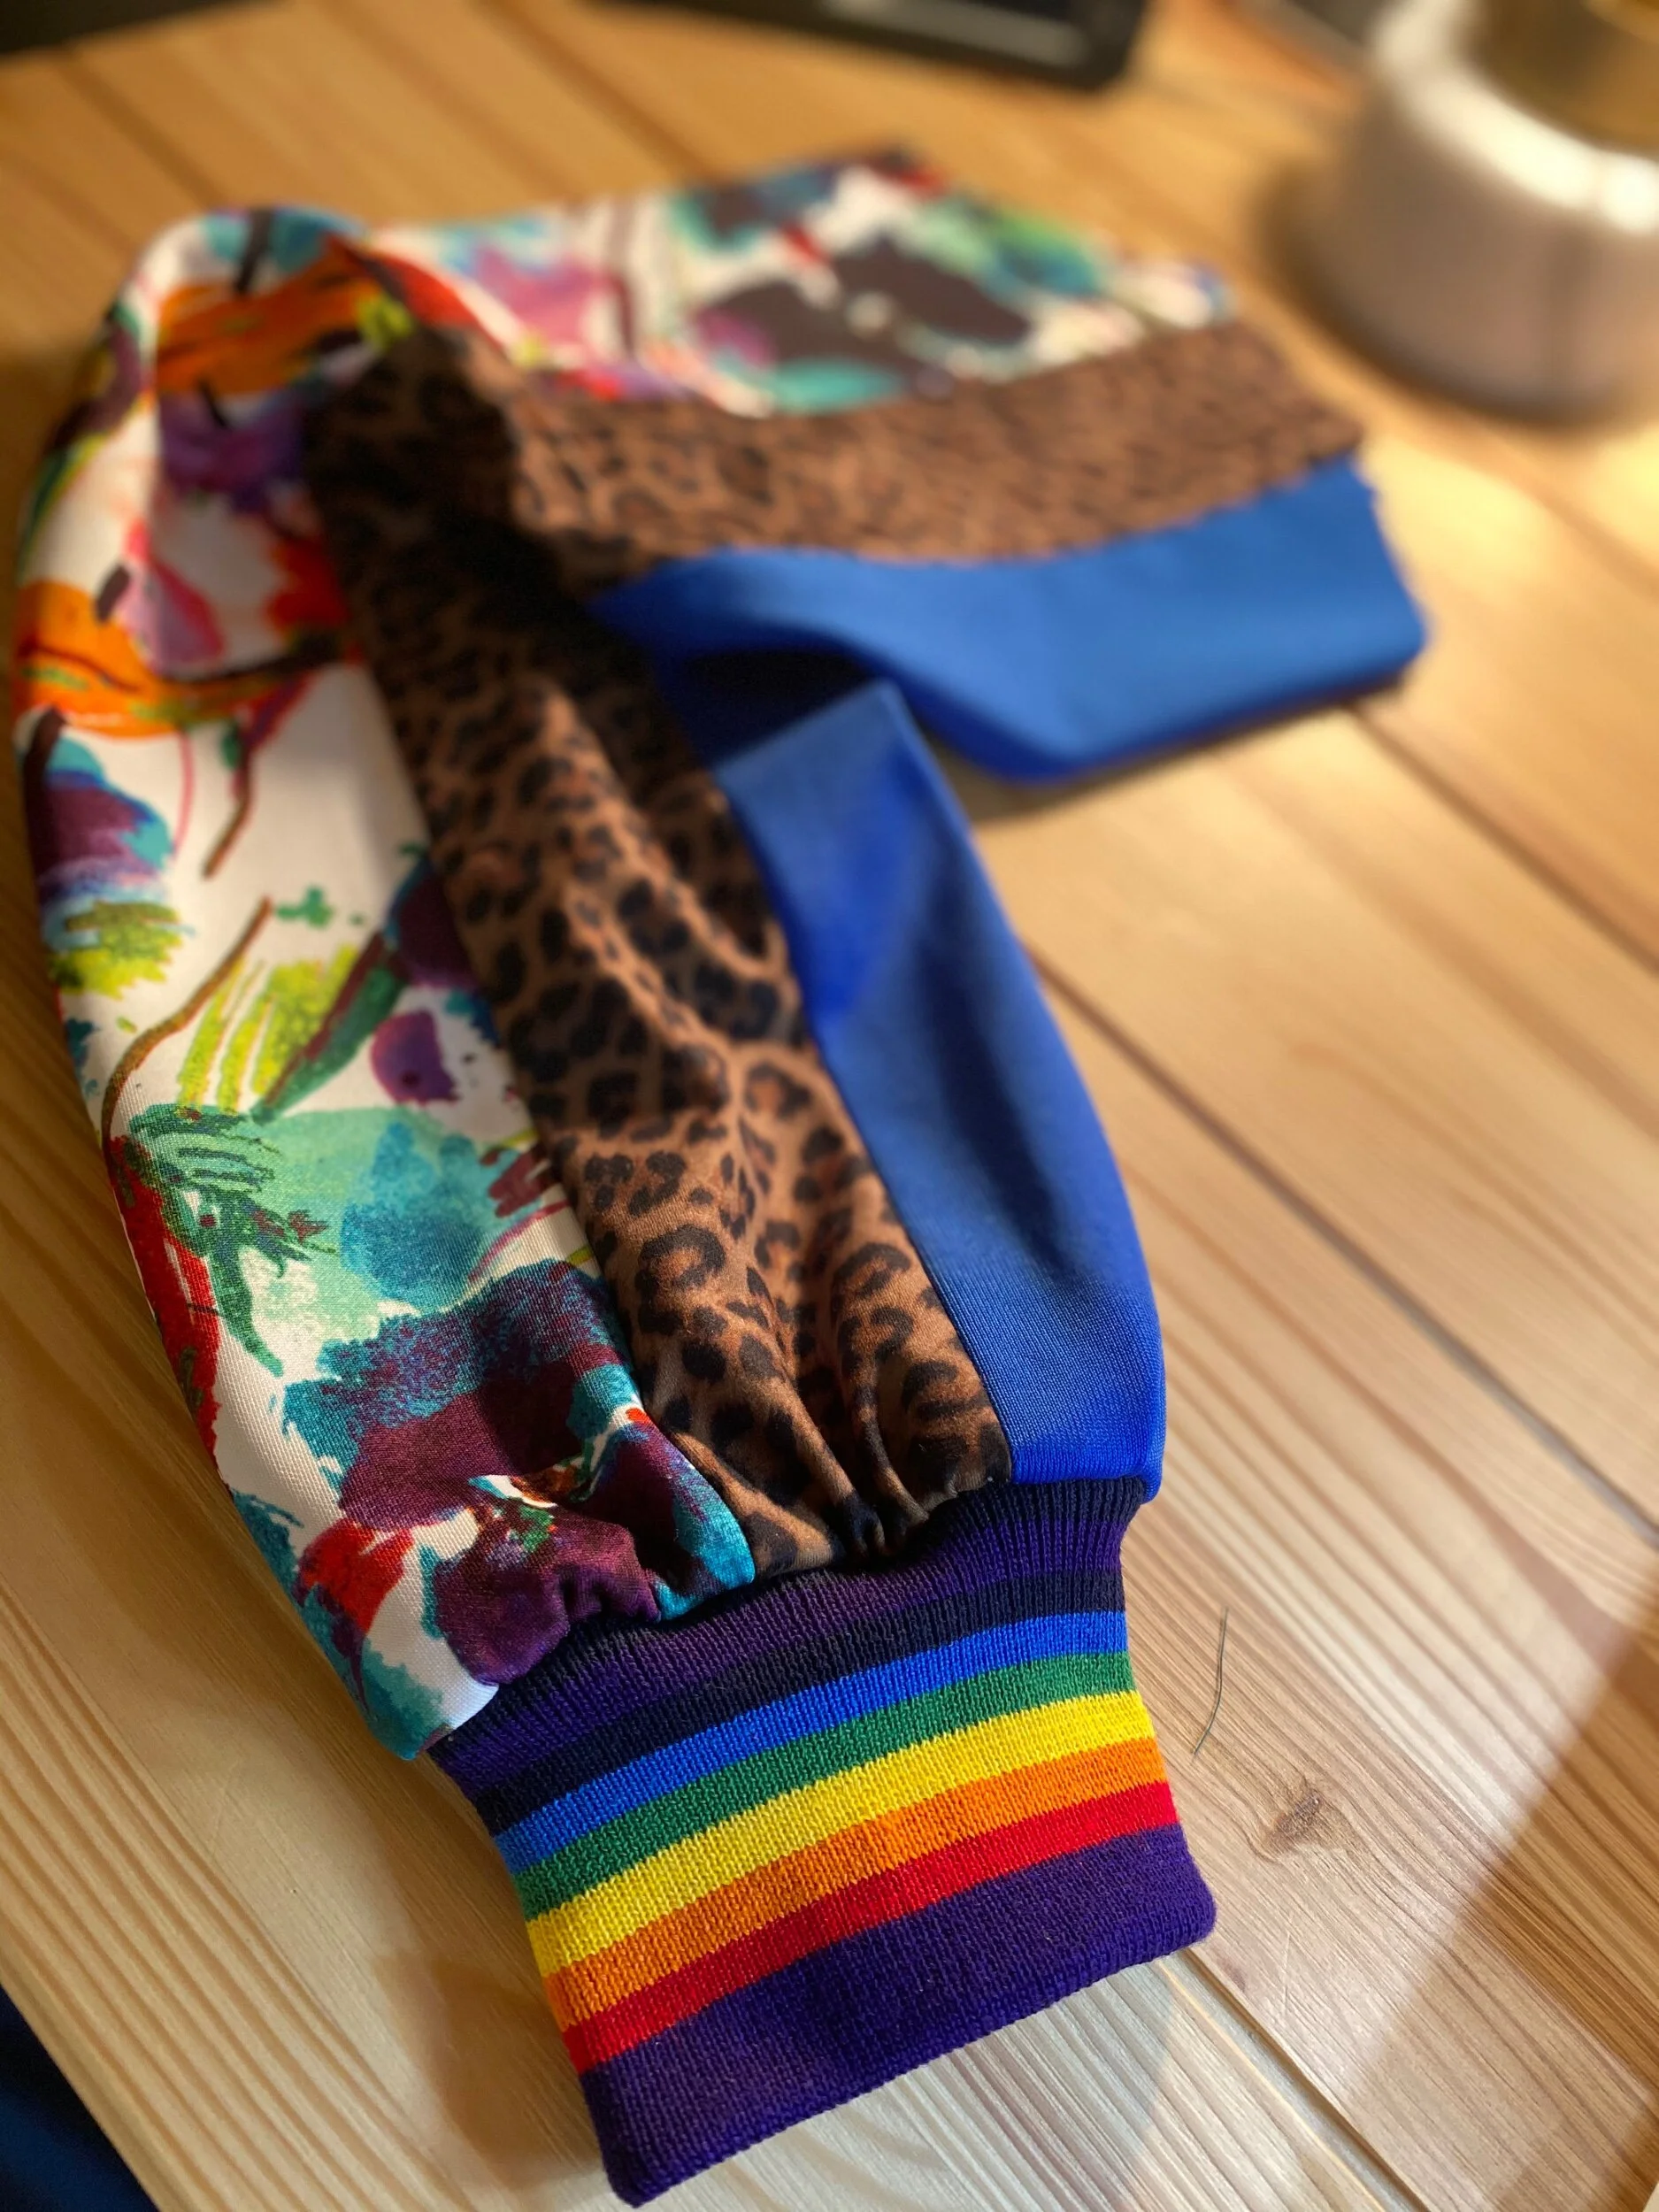
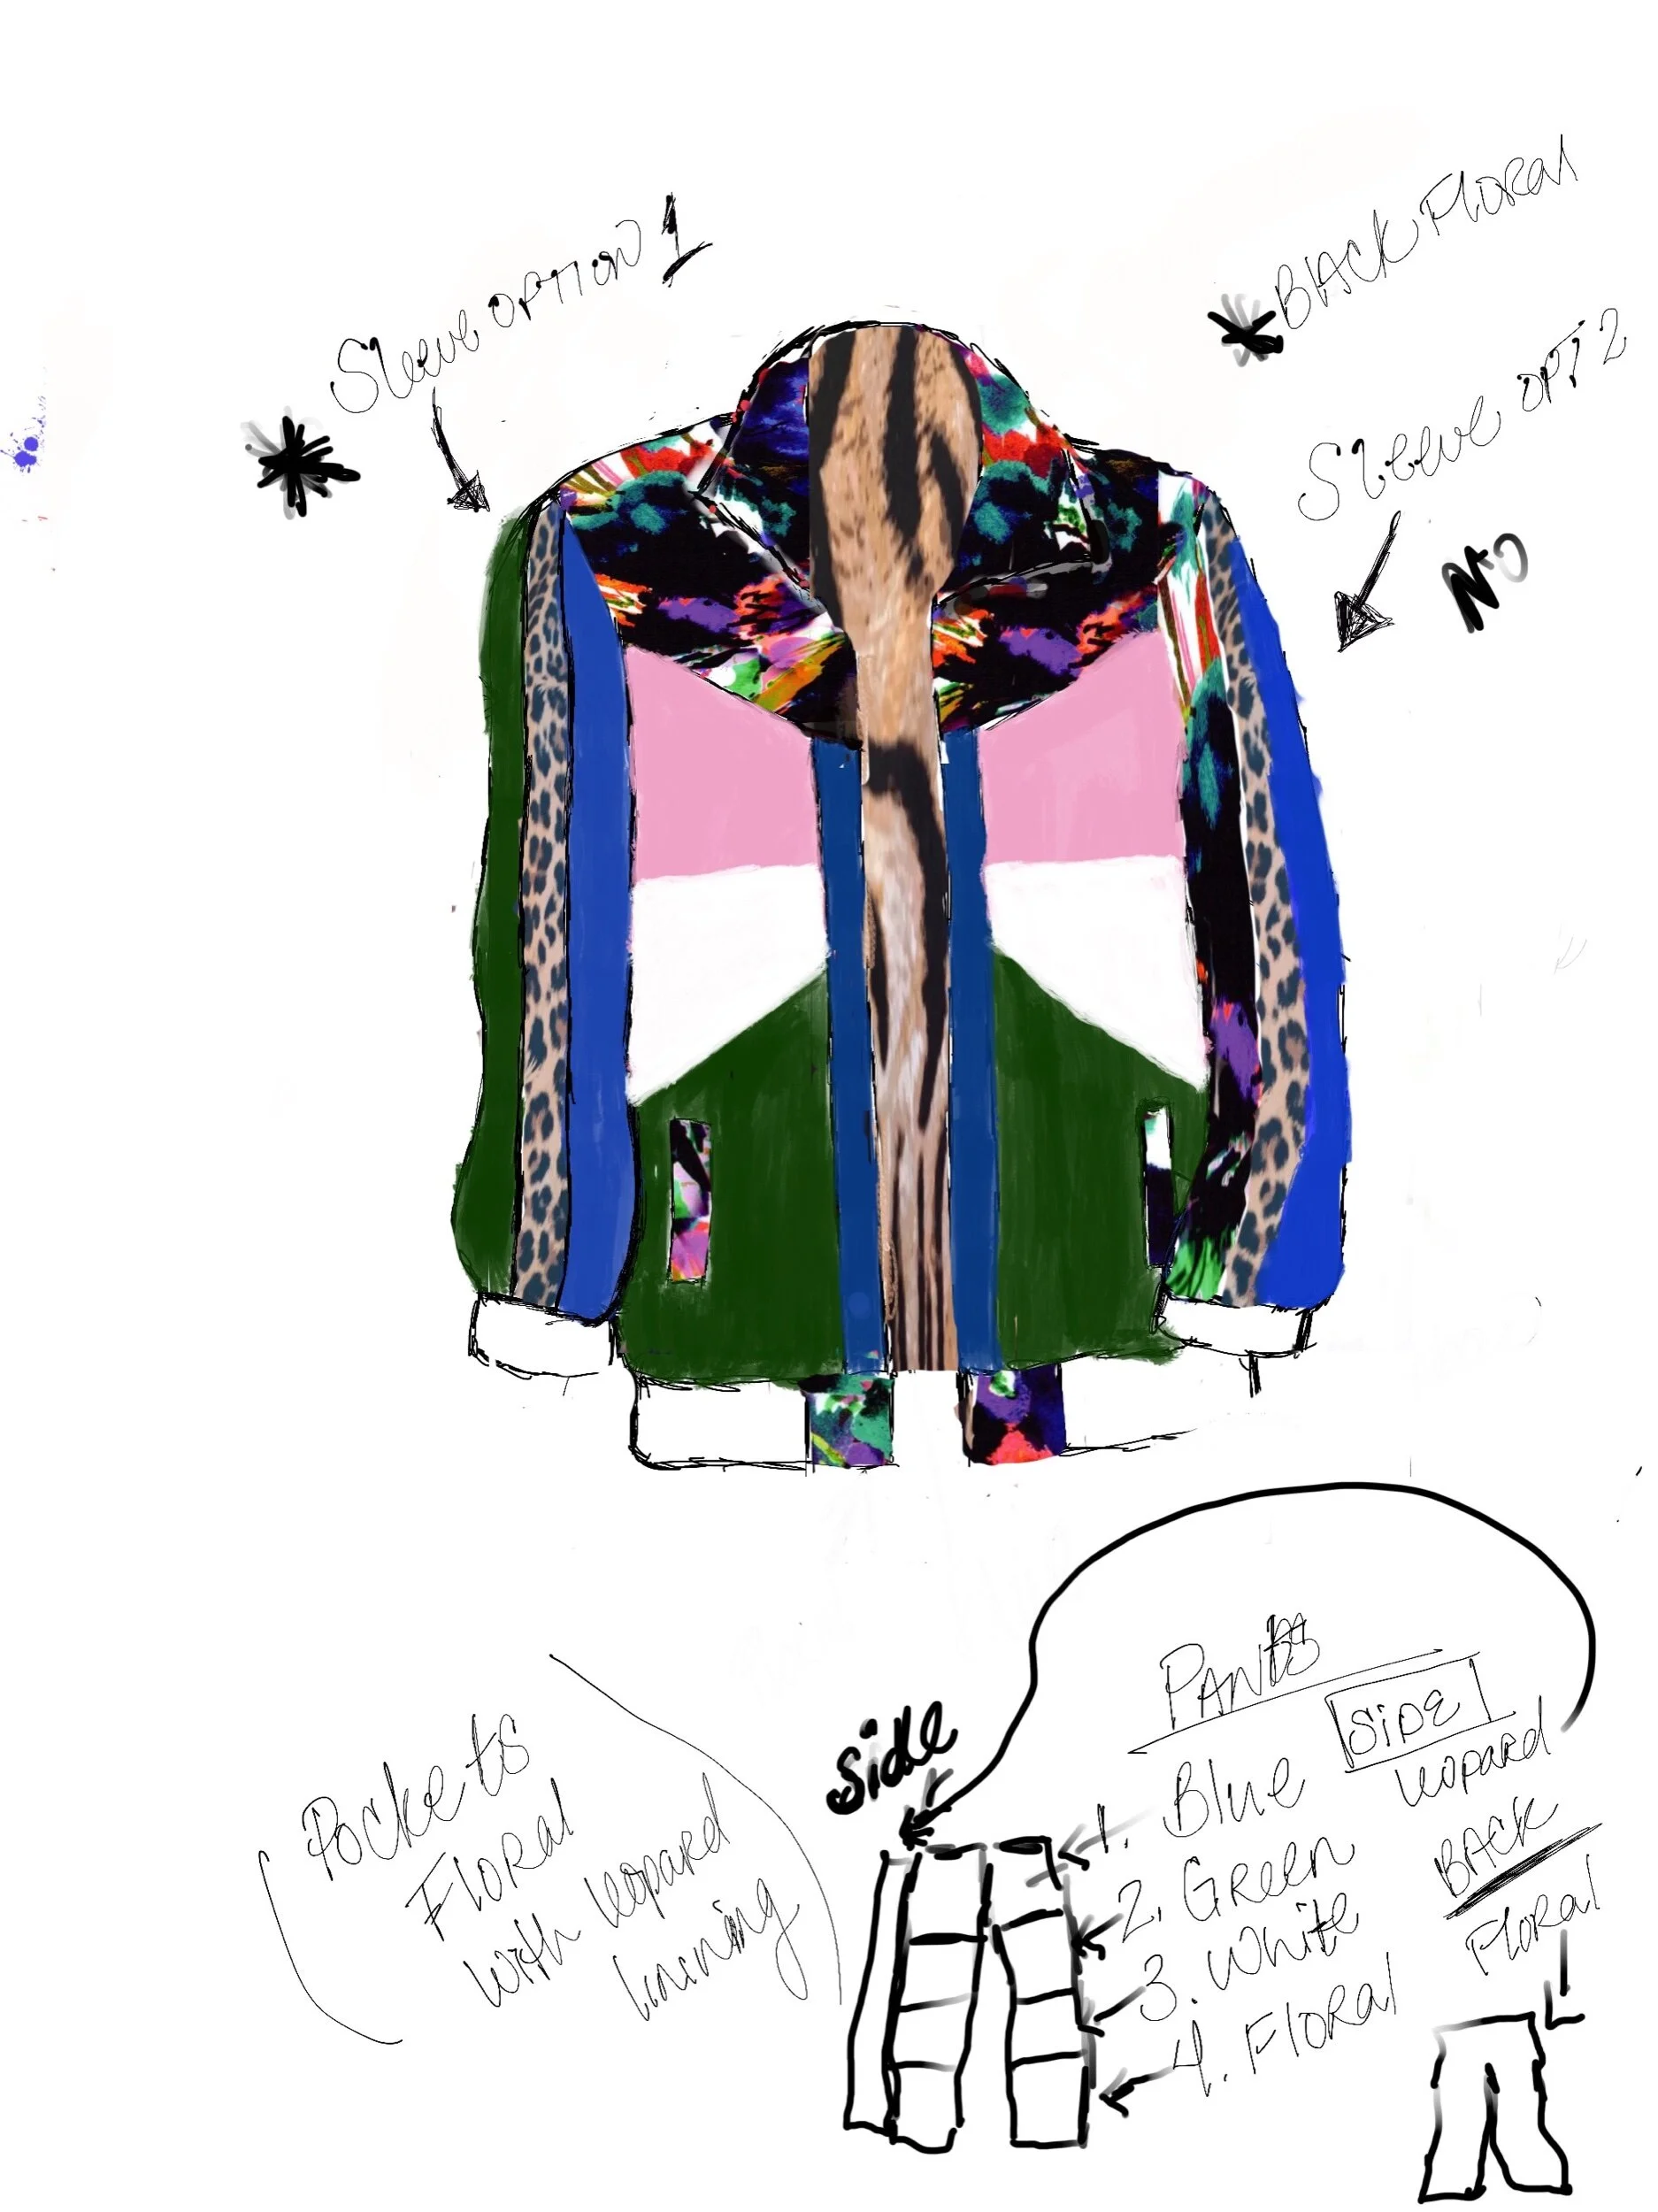
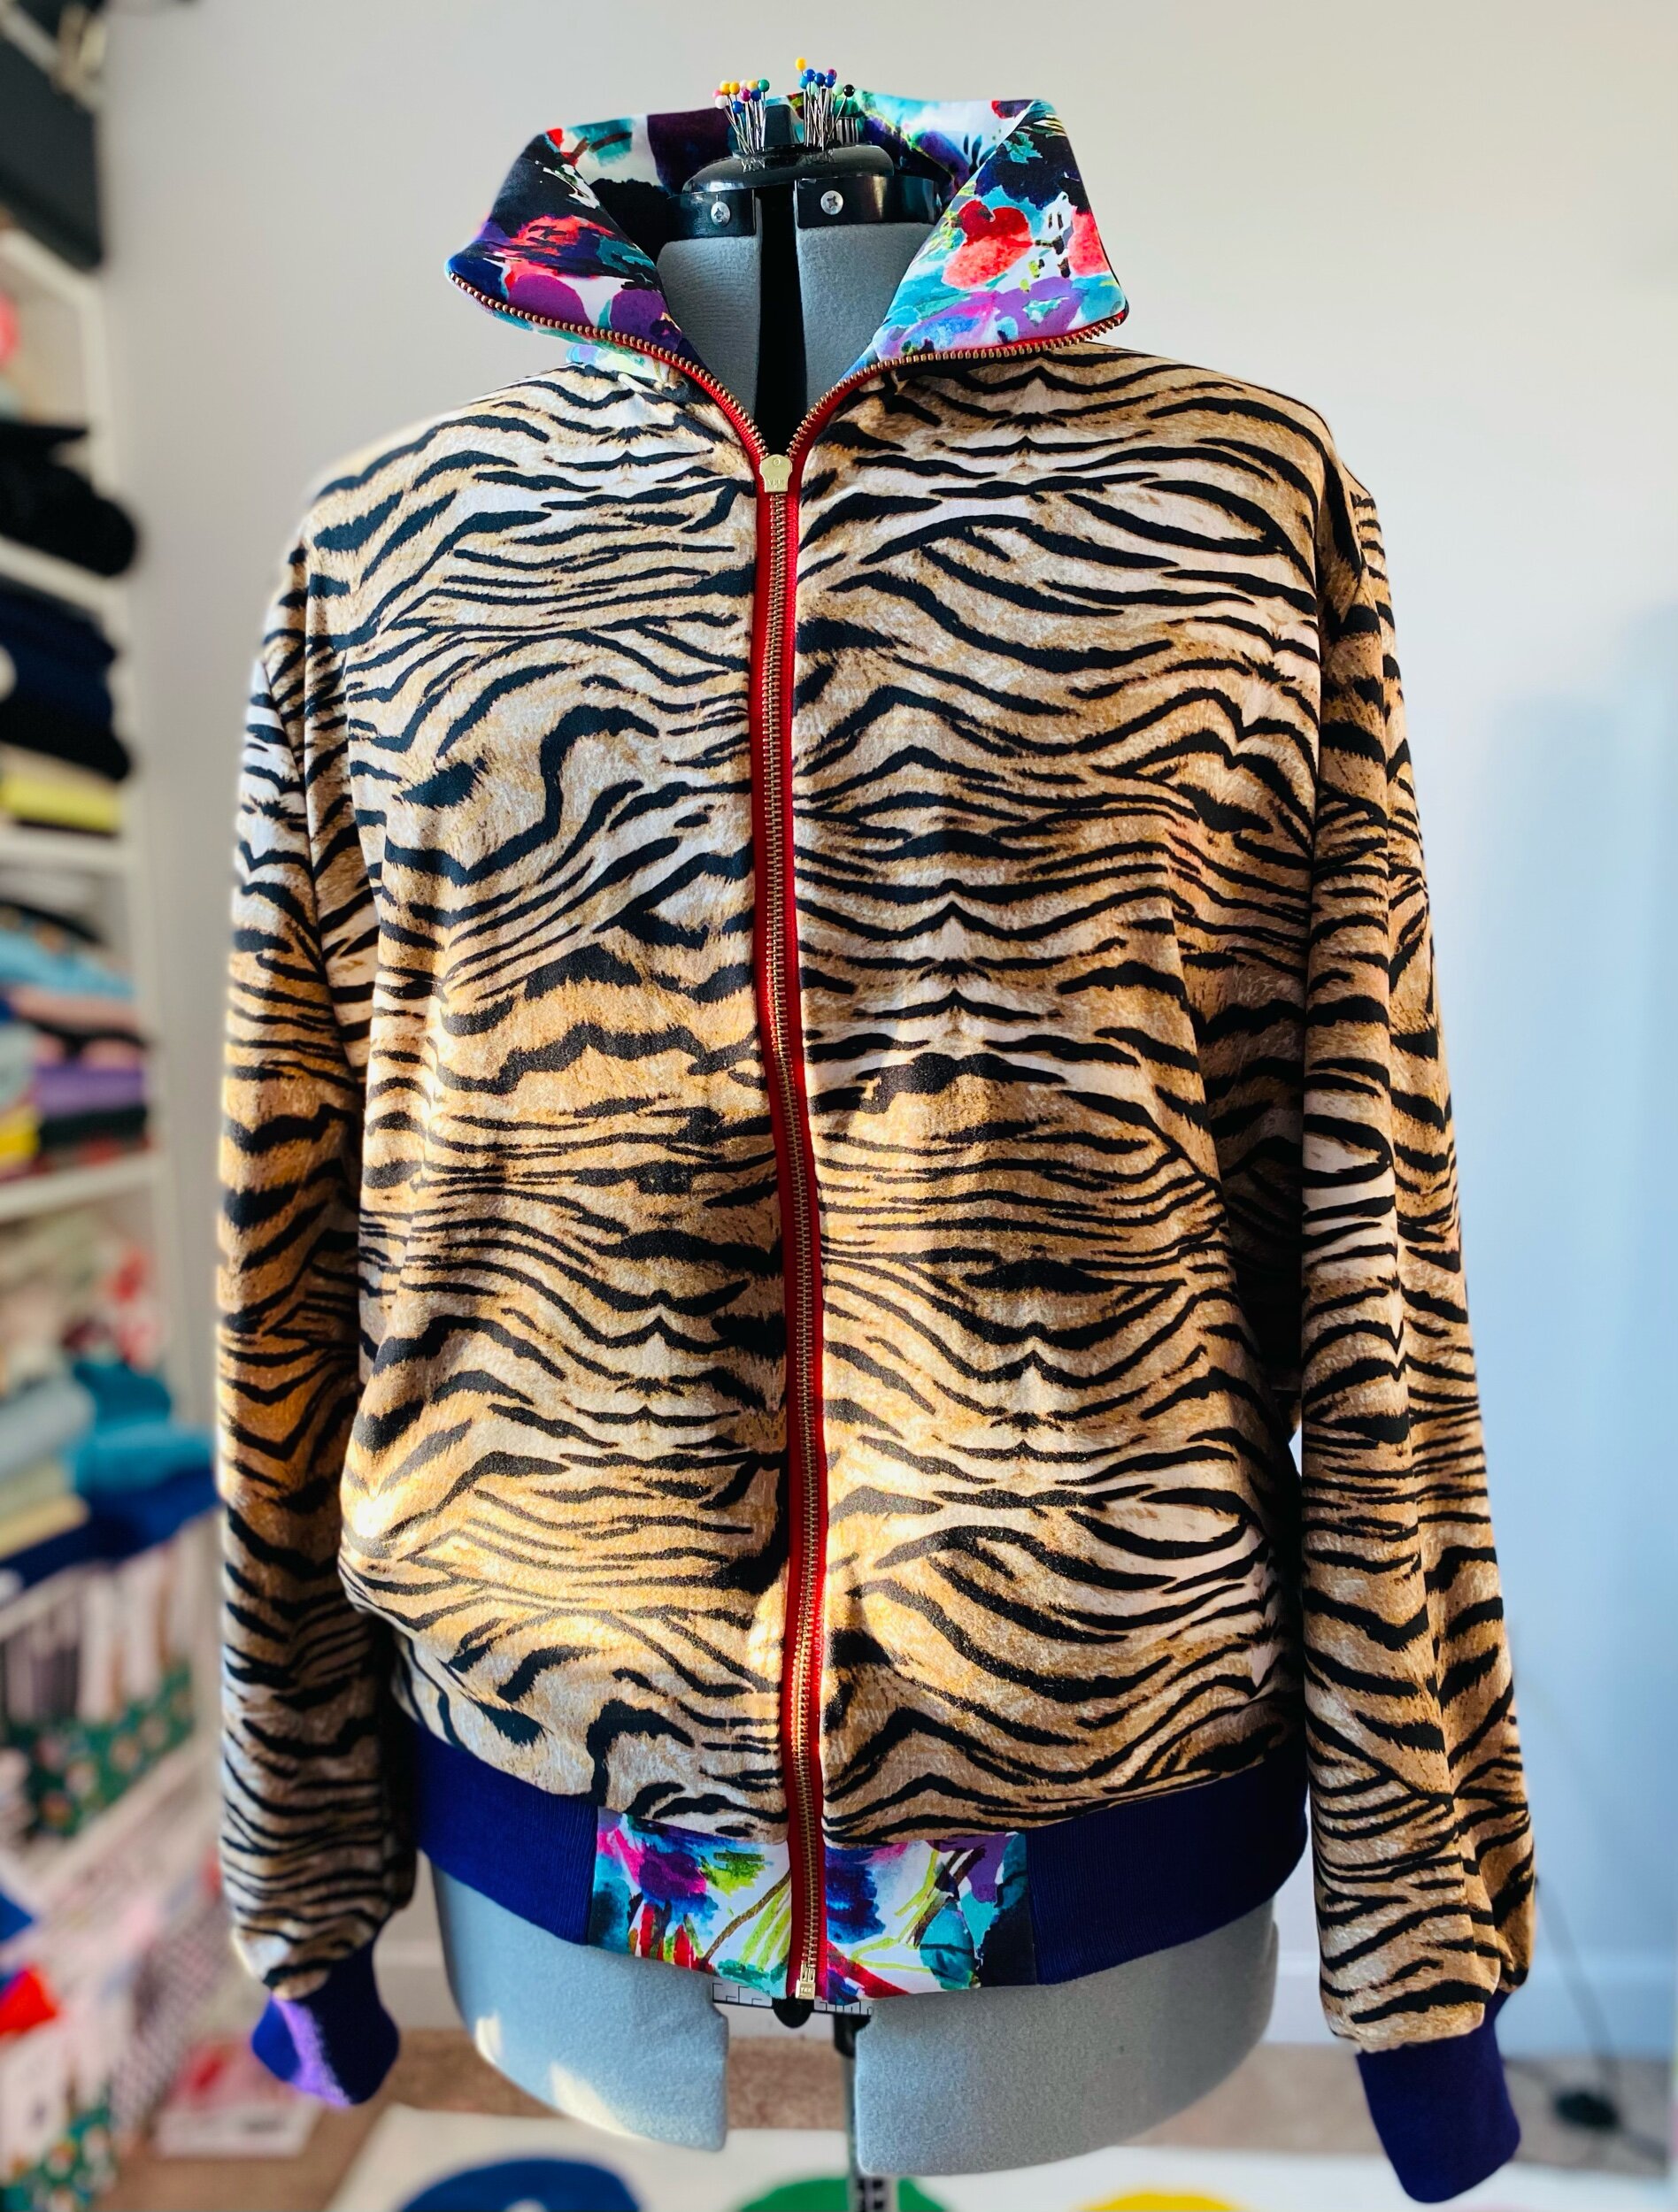
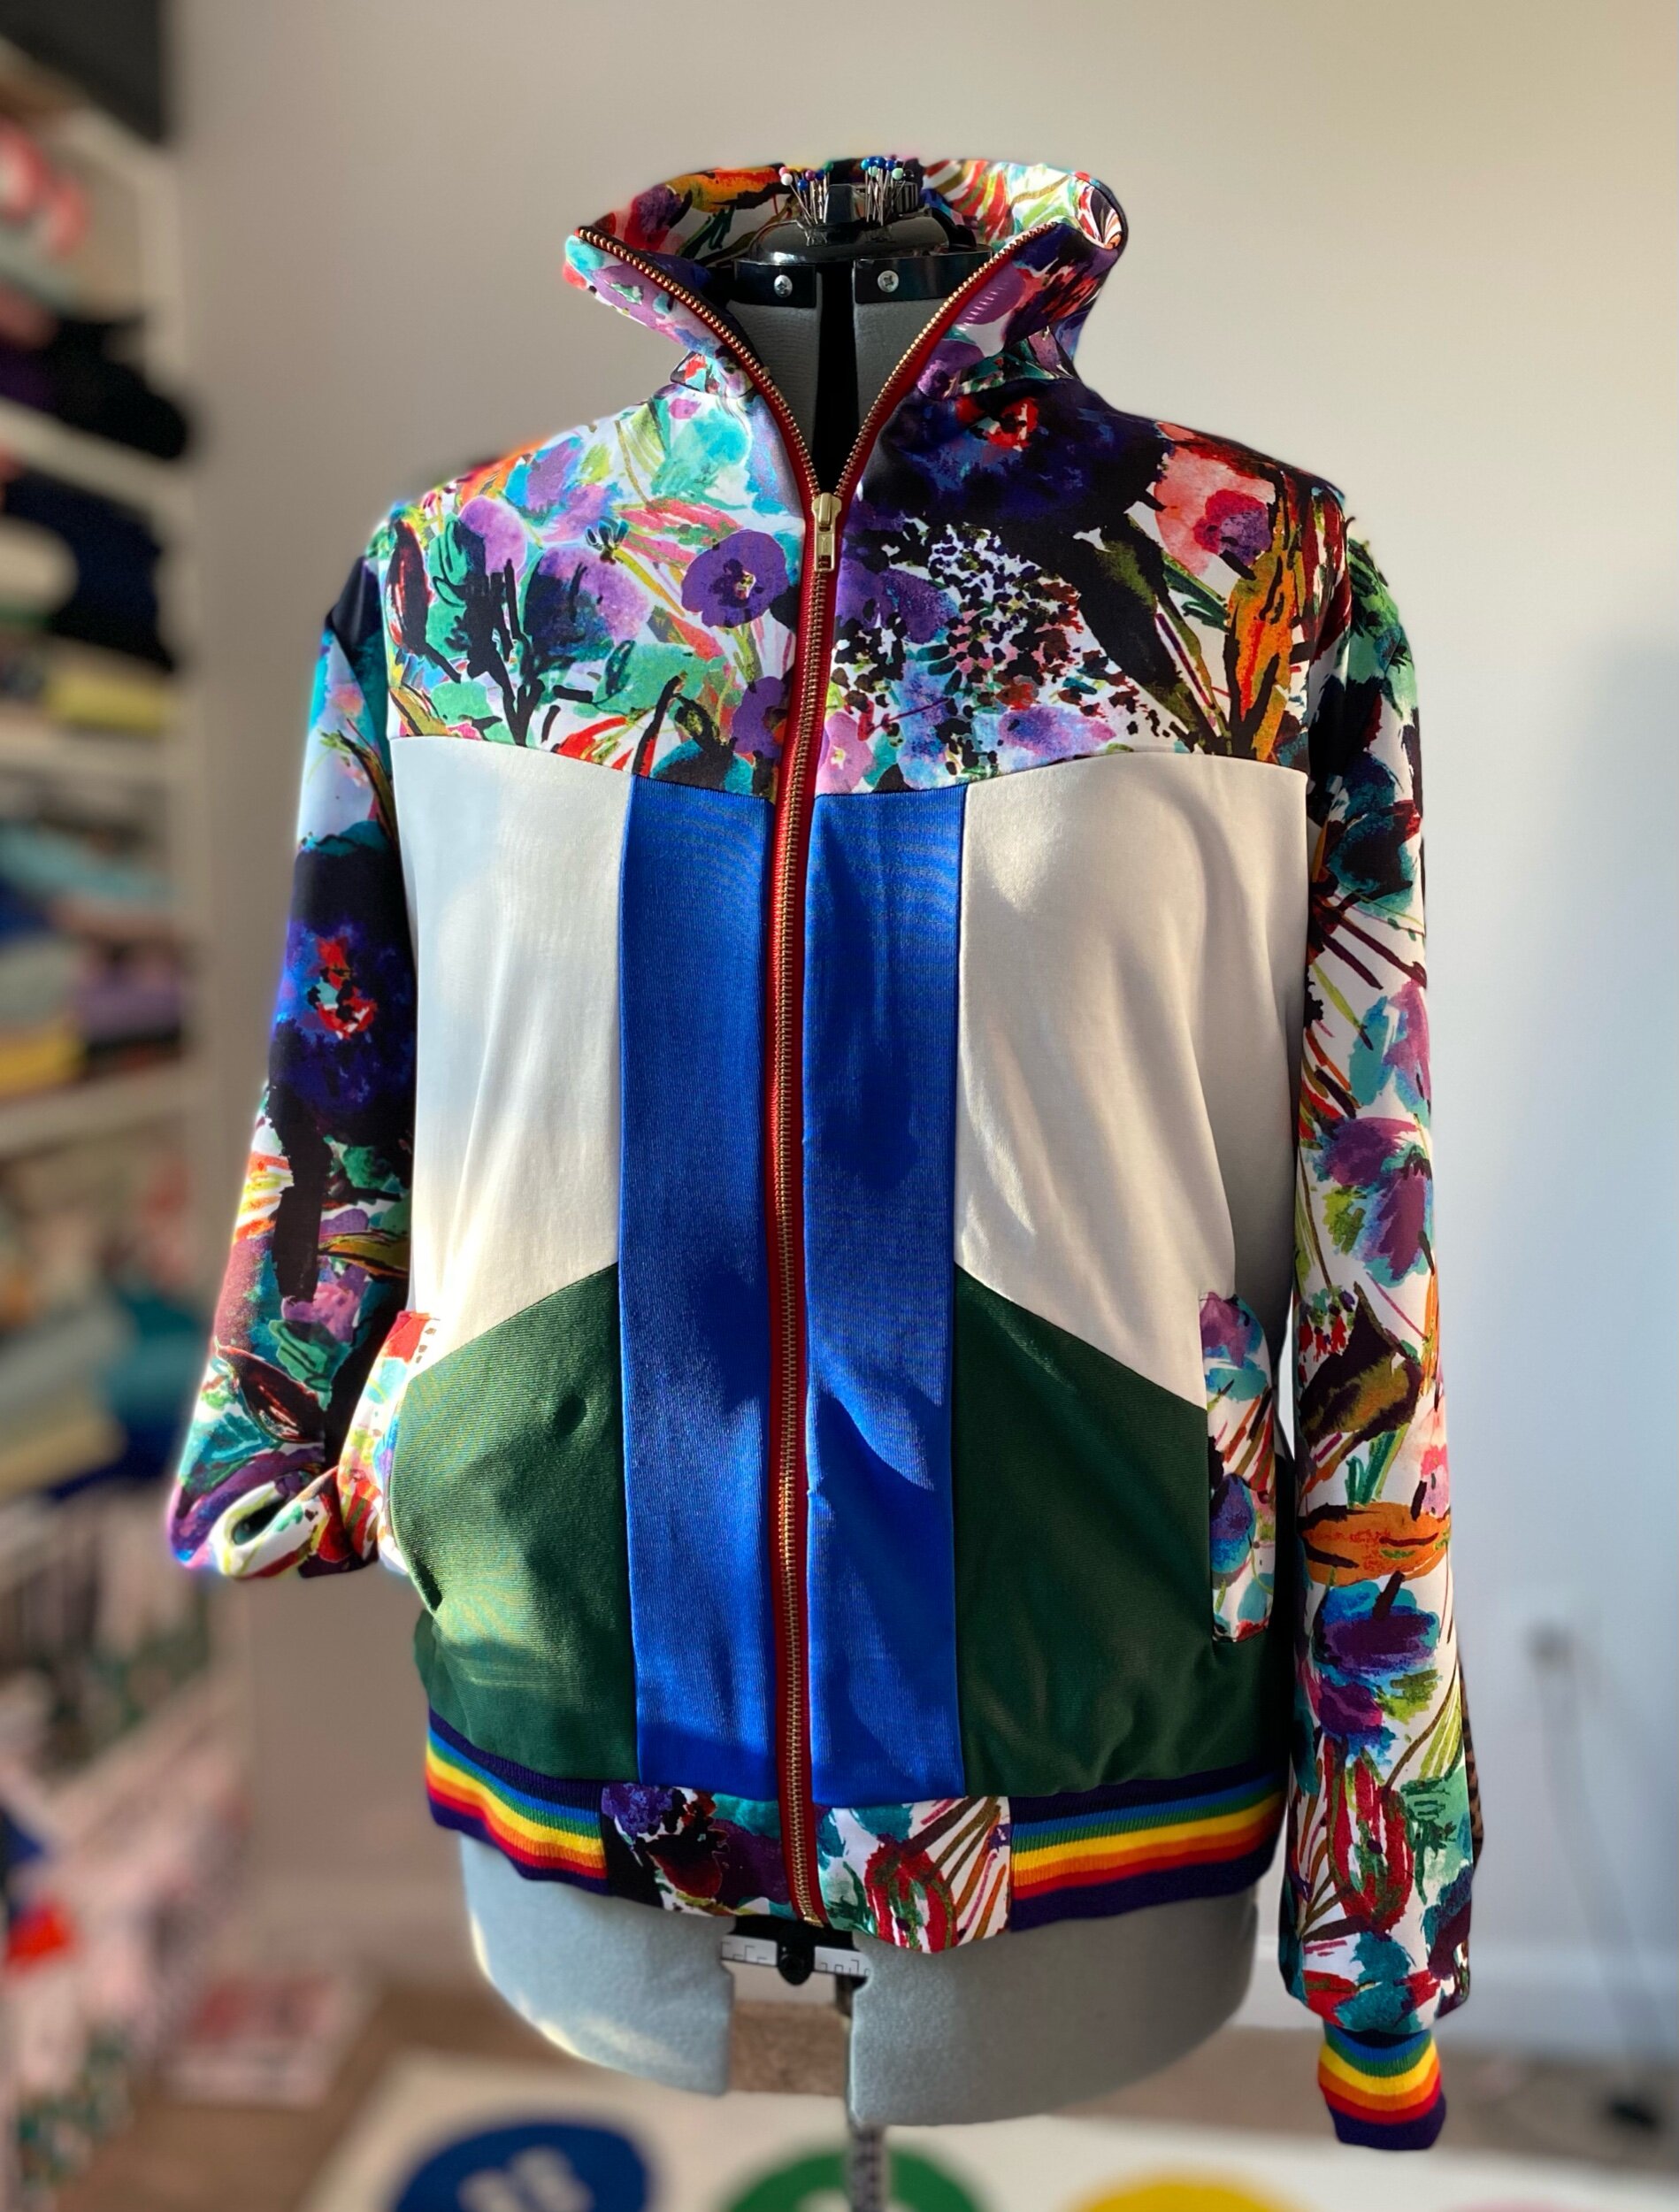
This project started with a sketch but before the sketch I saw an amazing designer named Prep Curry rockin his custom floral jogger set and I knew I had to make one for myself. So I shopped my stash and found floral, green, blue, and white fabric. I have had all these fabrics for a few years now and finally found something to create with them. I sketched out the jacket late last year and just never got around to sewing it up. Most of my ideas for contrasting fabrics arise because I simply don’t have enough fabric to make an entire garment so I think of ways to spice it up. This was the case with the floral print. When I purchased it, I had no idea what I was going to make and when it came time to create I couldn’t find the fabric anywhere (I looked for about 1 day total lol). So I had about 2 yards of the floral fabric and based my sketch off of that. Initially, I didn’t think I had enough floral to add to the sleeves but I’m so happy I was able to squeeze it in. As for my solid color fabrics, I had plenty for this project so I wasn’t playing Tetris. My initial design I added a pink contrast but when I went shopping for this shade I didn’t find the perfect fabric at local stores so I just scratched pink off my design. I also didn’t want to spend much on this project.
I’m often asked how do I come up with contrasting looks, mixing colors, and prints? Well sometimes it’s really me just making what I already have work. Other times I actually plan out color palettes and design and source from there. I really just like to have fun with colors and prints and don’t like following rules.
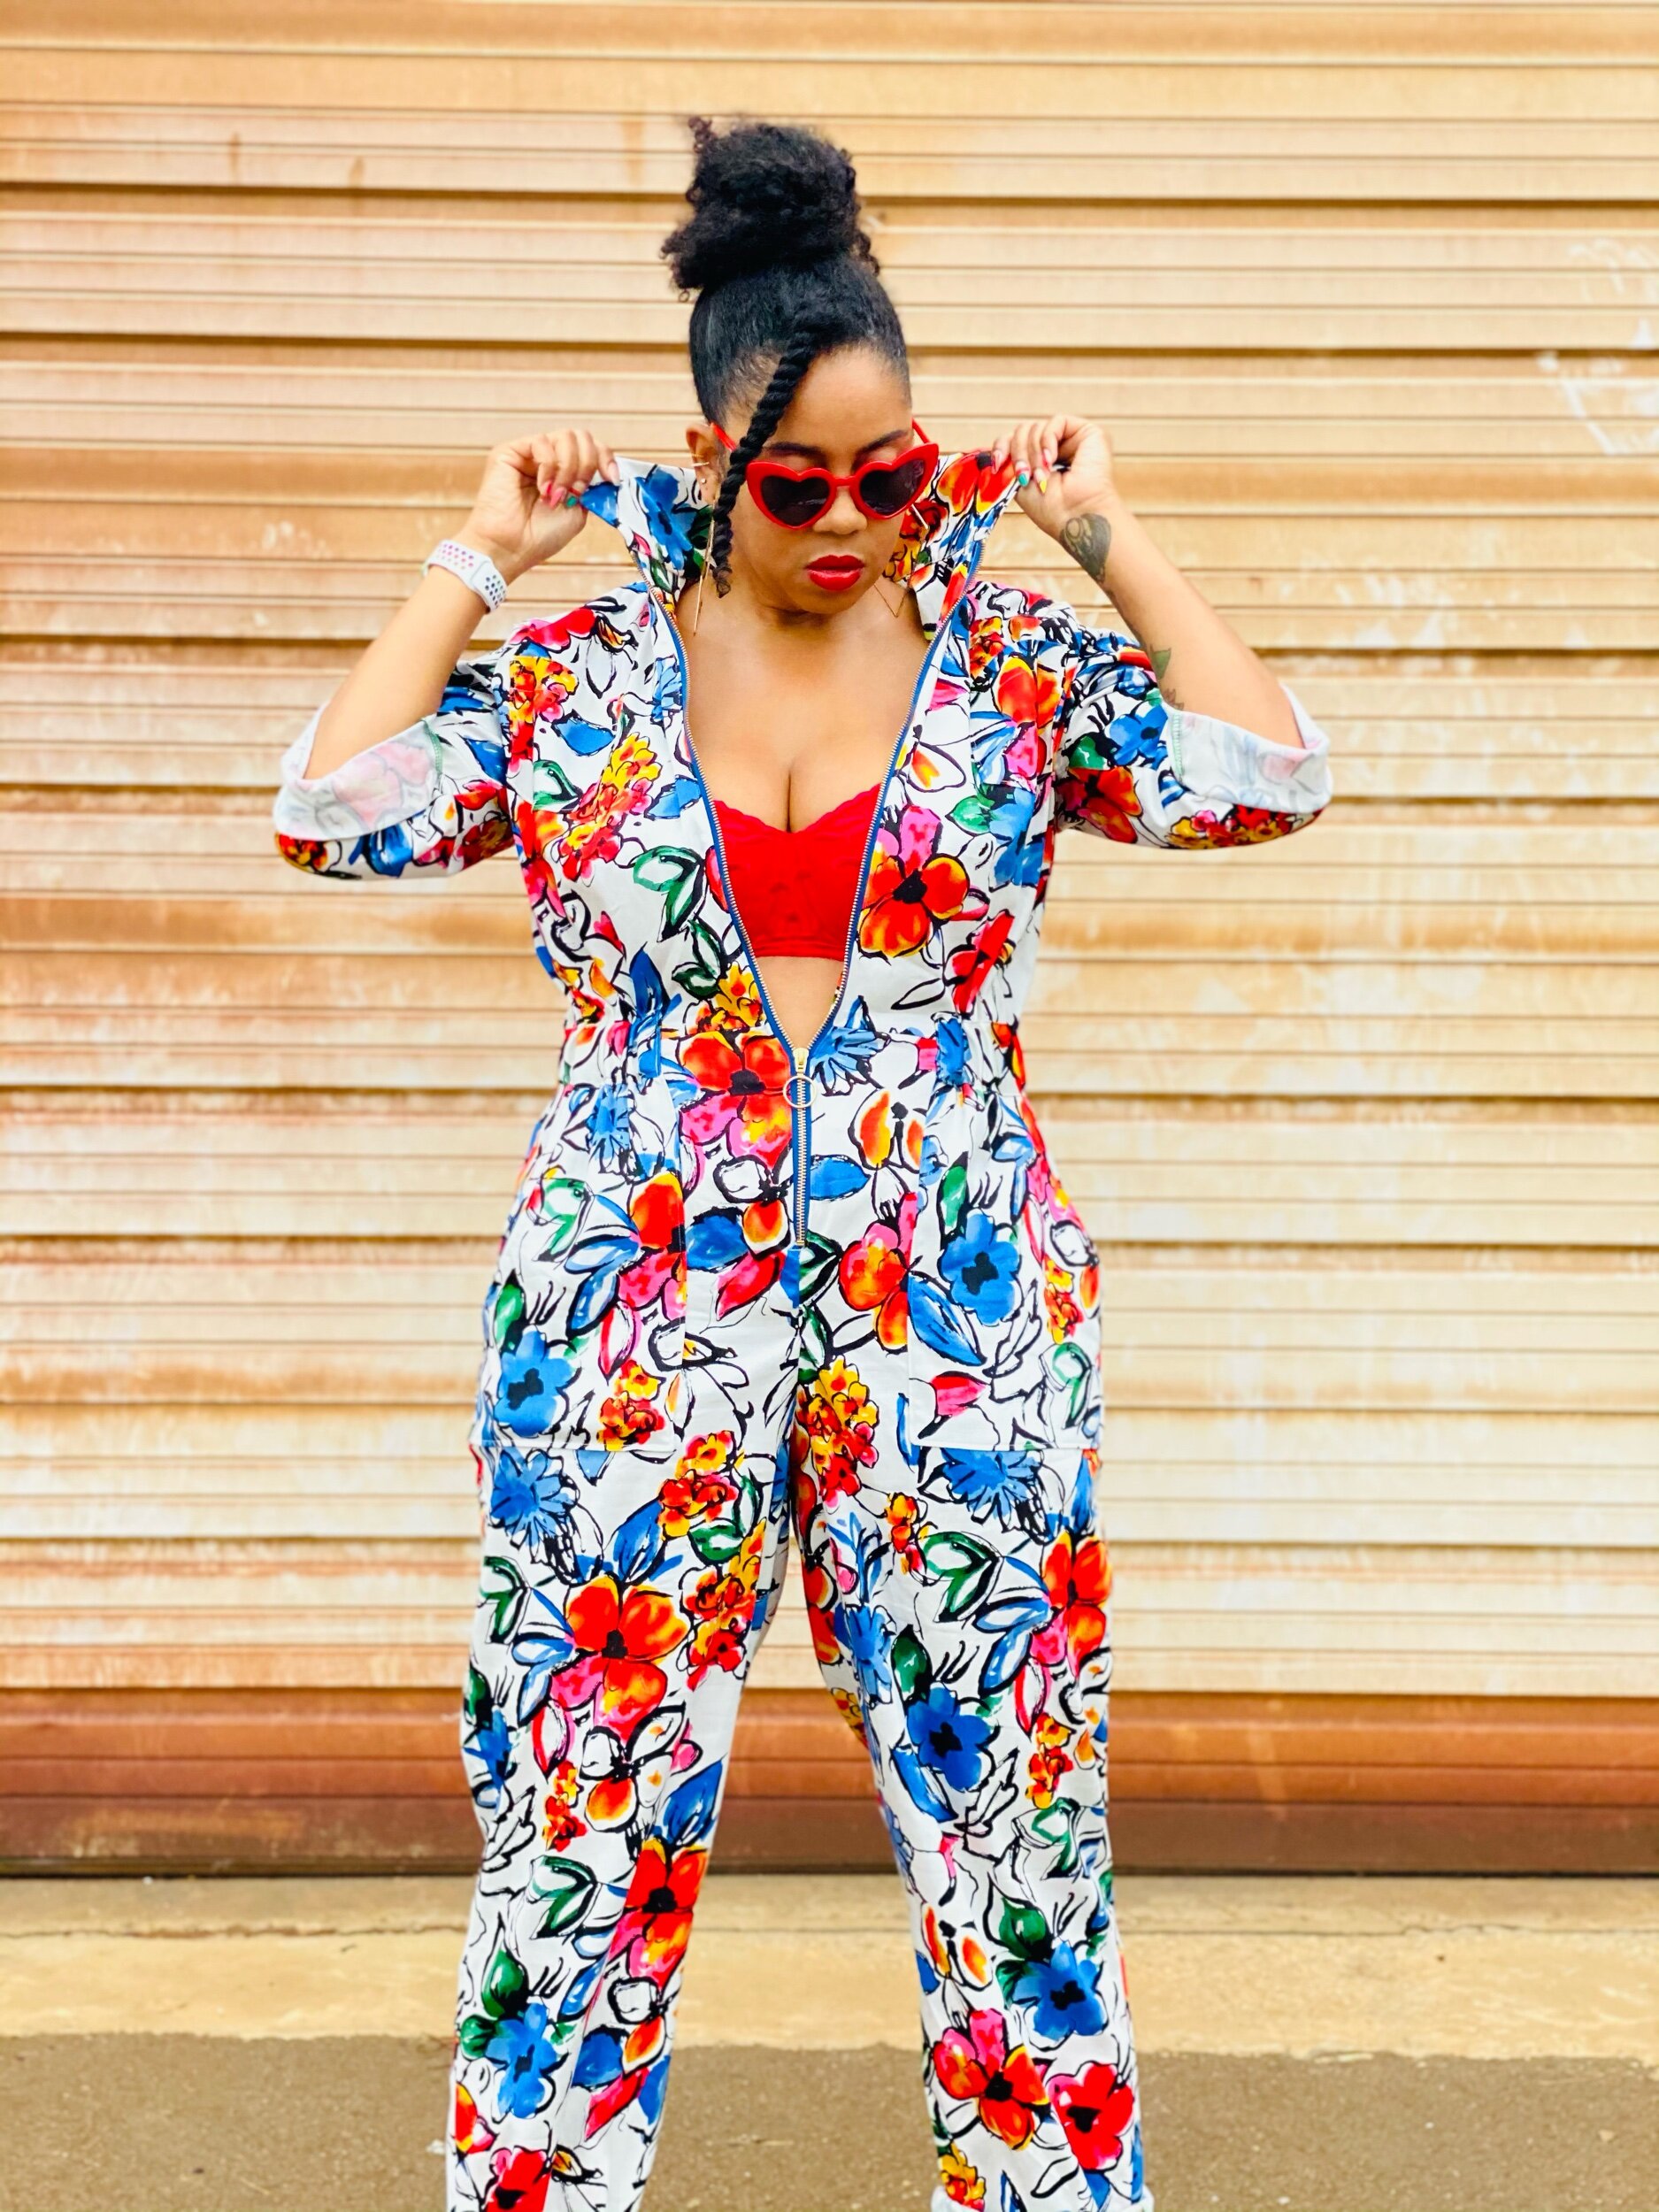
Let’s Sew
I used Mimi G’s Simplicity pattern 8702 for both the pants and the bomber jacket. I switched up the design in the front for the jacket a bit by cutting and taping pattern pieces in the direction I wanted for each contrast. When doing this type of hack, be sure to add or subtract seem allowance where necessary. It takes a little more time but the outcome is worth it. I shared some of this process for the pants contrast on my Instagram IGTV video here! I serged the side seems on the pants but I used a straight stitch for the contrast to help everything lay flat. The pants for this pattern are meant to be fitted and also have a zipper at the ankle. I went up a size because I wanted a slight loose fit and instead of the zipper on the ankle I added rainbow ribbed knit (purchased on Amazon).
Like majority of Mimi G’s simplicity patterns, there was a video tutorial for the entire set on YouTube. I have made this jogger set once before so I was confident sewing it for the second time.
The pattern doesn’t have pockets and ya girl needs pockets! So I added welt pockets to the bomber jacket. You could even add pockets to the pants. I personally found it easier to just add pockets to the jacket. I would’ve had to get a little more creative with pockets on the pants since the middle side section (animal print) is not perfectly centered for pocket placement on a seem. Whatever your preference, I say do you!

Welt pocket Install


POCKETS PLEASE!


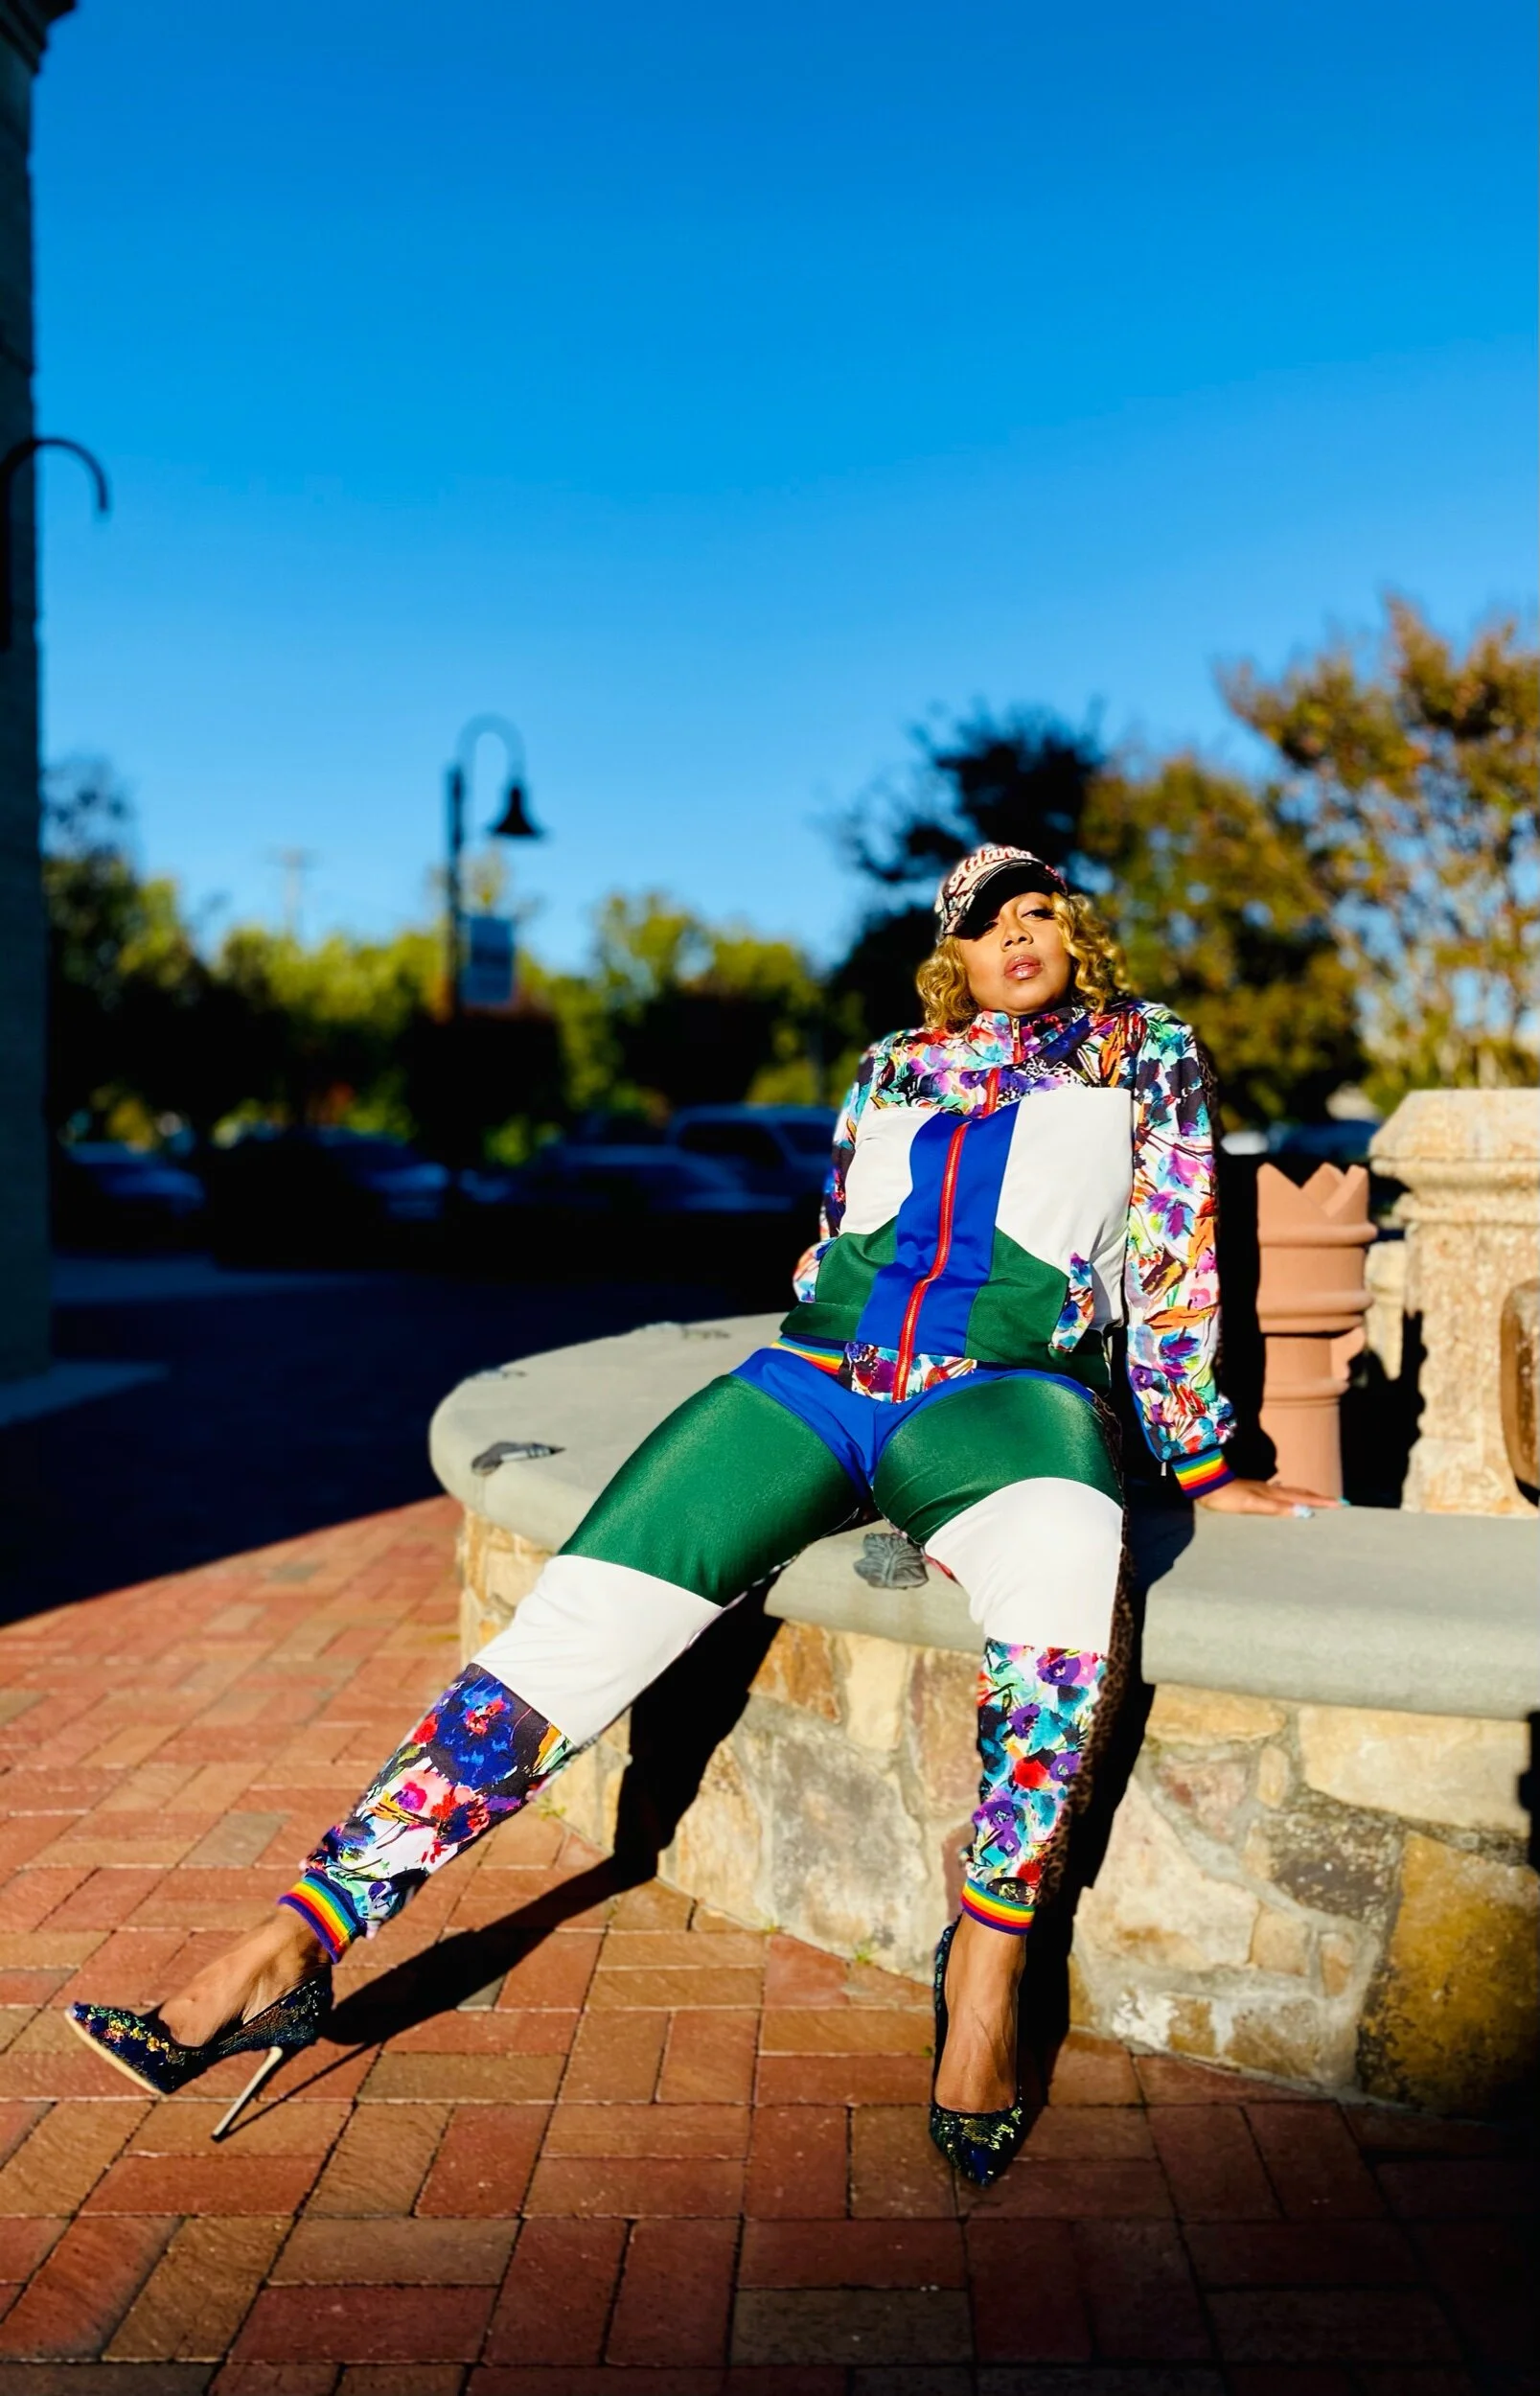
Overall I had so much fun creating this look! The lining gave me the pop I wanted on the inside and I will definitely keep warm wearing this through the winter.
Will I make it for a 3rd time? Absolutely! I feel this pattern can be beginner friendly as long as you don’t get too intimidated by the zippers and follow along with Mimi. I hope you all enjoyed this creation. Tell me what you think below. I’d love to hear from you.
Until next time
Peace & Blessings

Fall Florals
Fall Florals

Who says you can’t be colourful in the Fall?
Greetings! It’s finally fall and I like to migrate my vivid summer colours all year round. So for my first official fall make I wanted to use this Telio denim cotton from fabricdotcom. I had to have it (I also snagged it in yellow). So what to make? I have 8 yards of this amazing fabric and the first thing I thought of was a jumpsuit!
I choose the Intrepid Boiler Suit by Alice & Co with the zipper and elastic waist option. What I love about this PDF pattern and the instructions is that it has a few different options for creating this jumpsuit. The main option is with an exposed zipper. You can also add a facing for inside the zipper and the instructions break down how. I added the zipper facing and bias binding to majority of my seam allowances for a more detailed look on the inside.


I won’t get too heavy into the construction of the pattern because I feel the instructions were pretty good. I did notice that when attaching the pants to the bodice there is more than enough space to make adjustments. I personally added 1.5 inches to the waist length of my pants because I have long legs. Even with adding the extra inches, I still needed to bring down the seam allowance for the bodice and pants seam. What I noticed for myself is, I needed a baggier fit in the booty and sewing based on the instructions, my boiler suit was definitely giving me more of a wedgie.
Tip: Until you see what seam allowance width is best for your body, this would be a seam to baste stitch instead of stitching at regular stitch length.
Tip: select a longer zipper if you’re taller so you can remove this jumpsuit easier for bathroom trips! I usually use a zipper 2-4” longer than what the pattern calls for. If it’s too long you can always remove teeth and shorten but if it’s too short…well, you’ll be upset you have to get a longer zipper.


I have made this boiler suit once before and have yet to wear it because I want to add bigger pockets for the butt (the original pocket do seem small to me). As far as additions and spicing this boiler suit up a bit, I plan on creating another version with pocket flaps, a loop to catch the the sleeves when folded, and instead of elastic in the waist try a tie belt. I hope you all enjoyed this look and I would love to hear your thoughts on this pattern. Are you jumping on the Boiler suit train? I hope you are welcoming Fall with lots of colour! Until next time,
Peace & Blessings!