
Feels Like Summer
My first fabric collection is here!
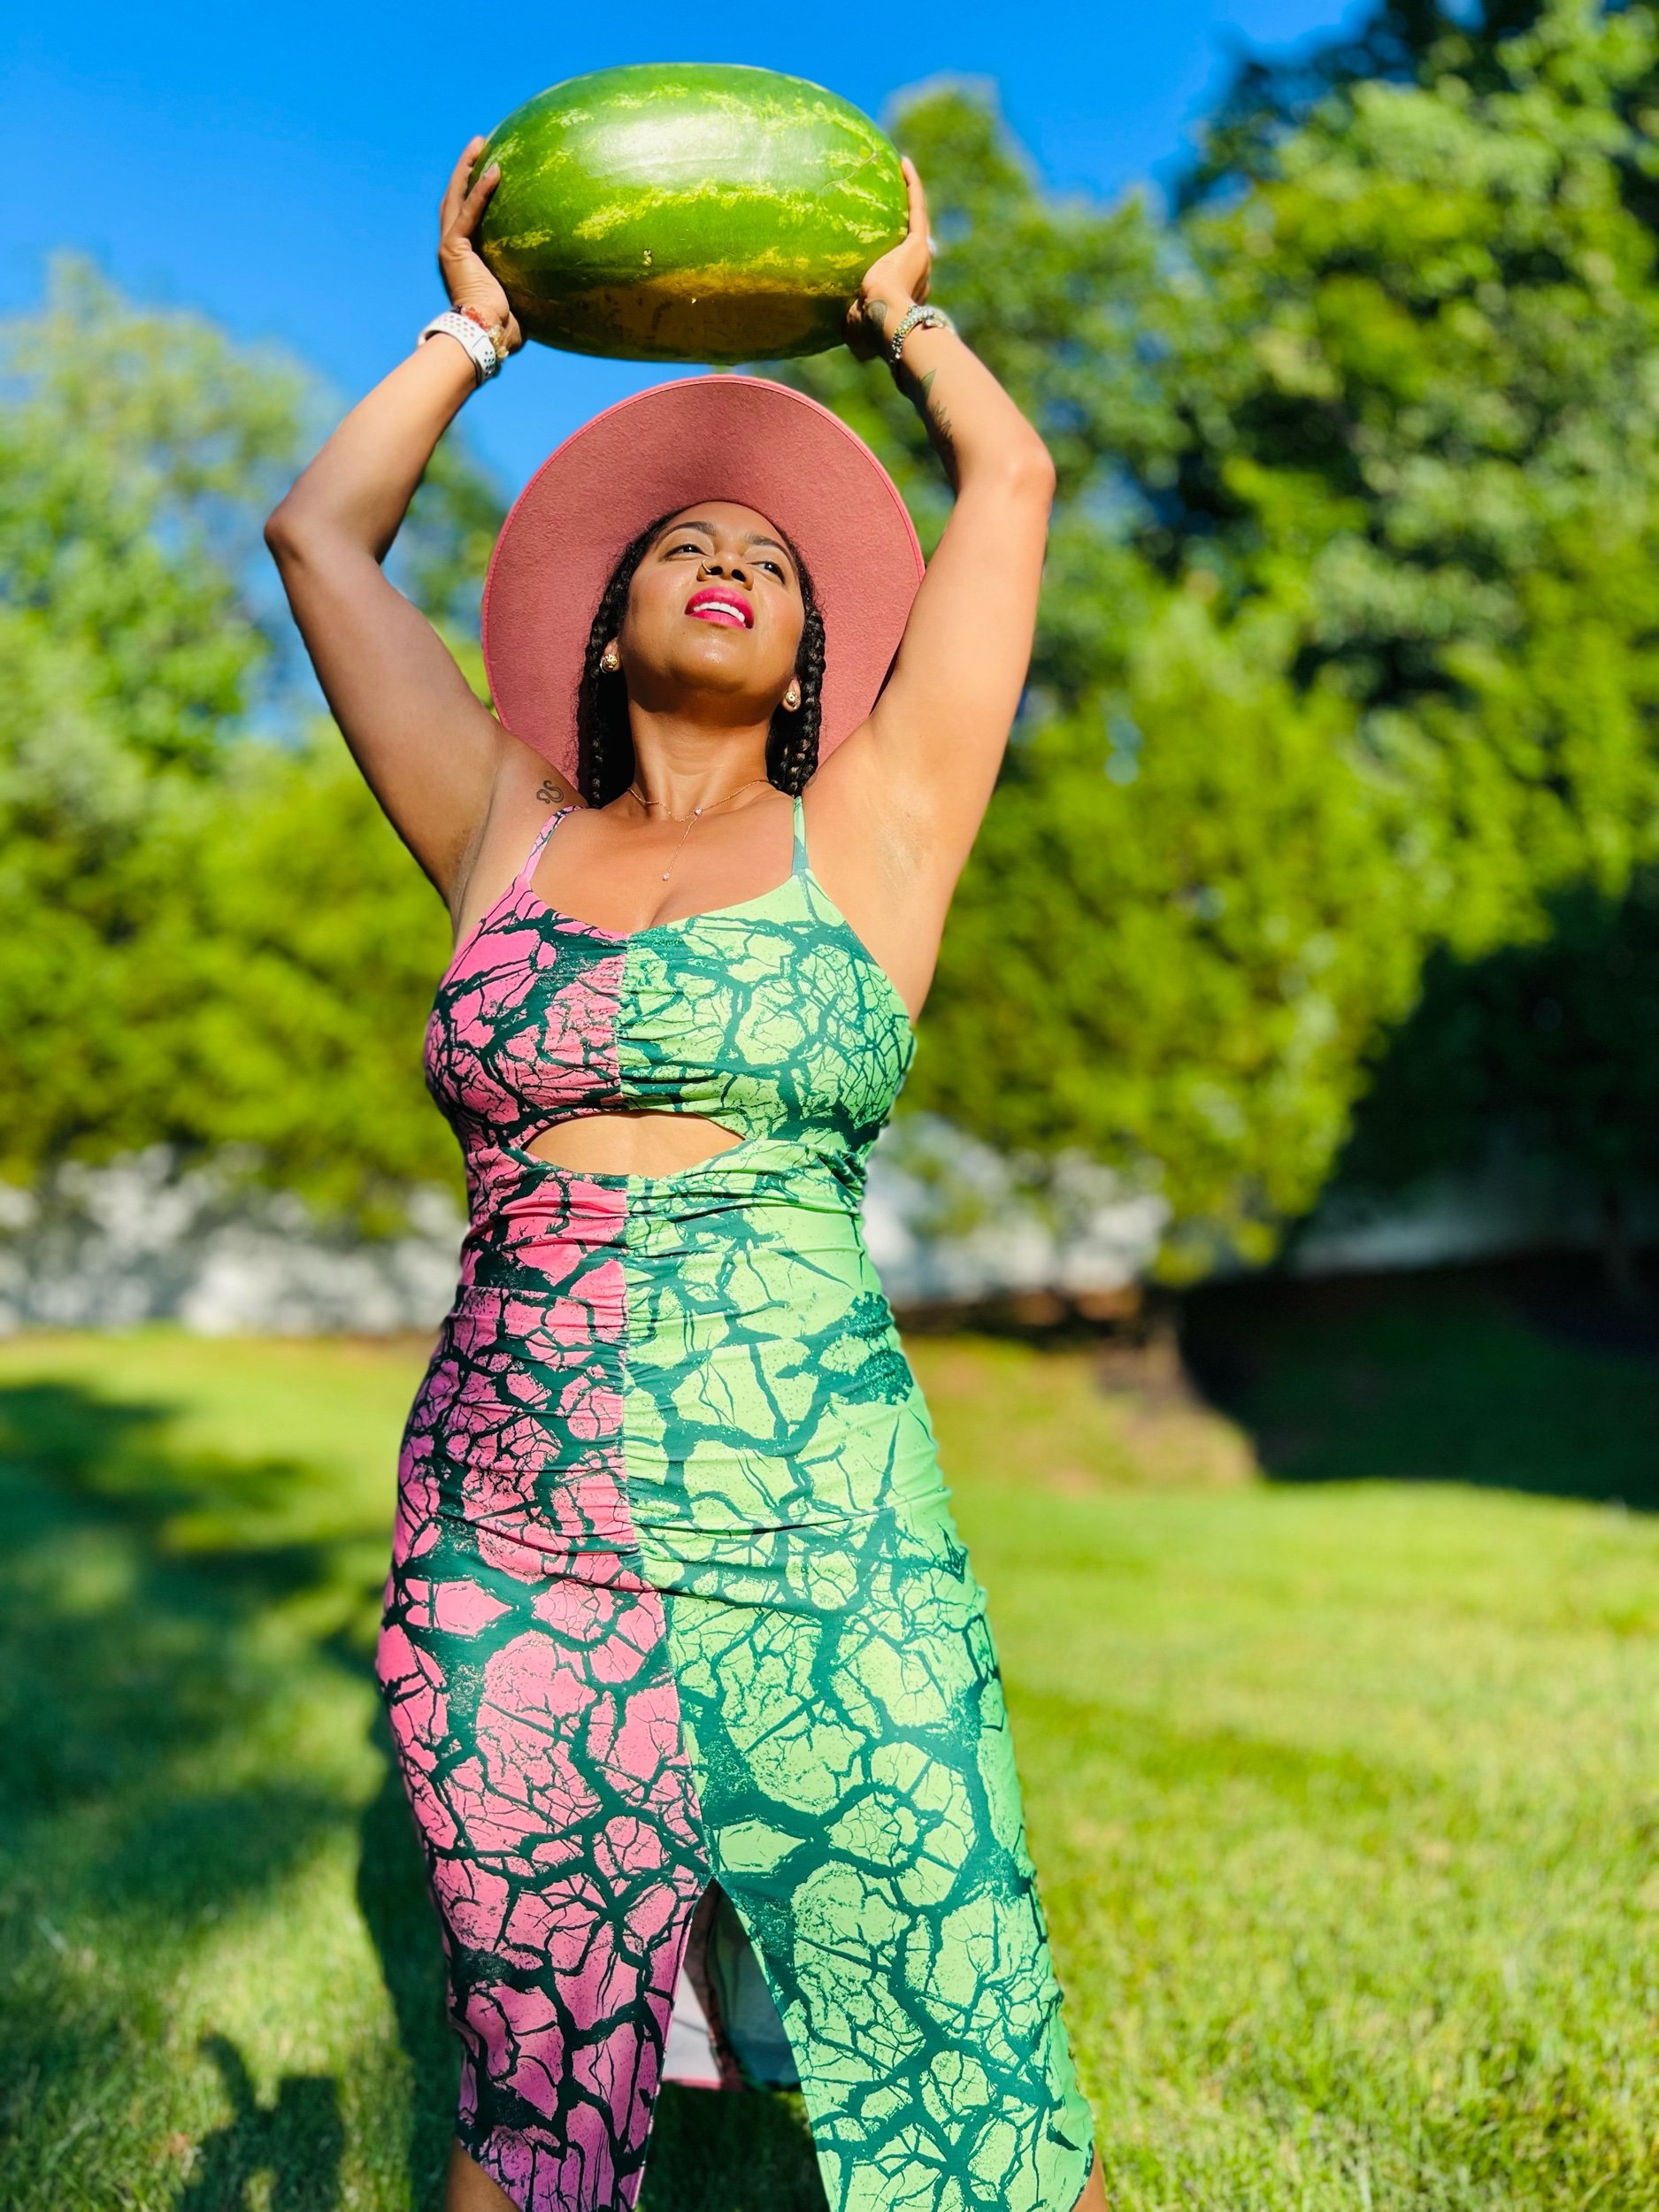
If you are following me on Instagram then you know I recently released my first collection of designs “Feels Like Summer” now available on the Spoonflower website!
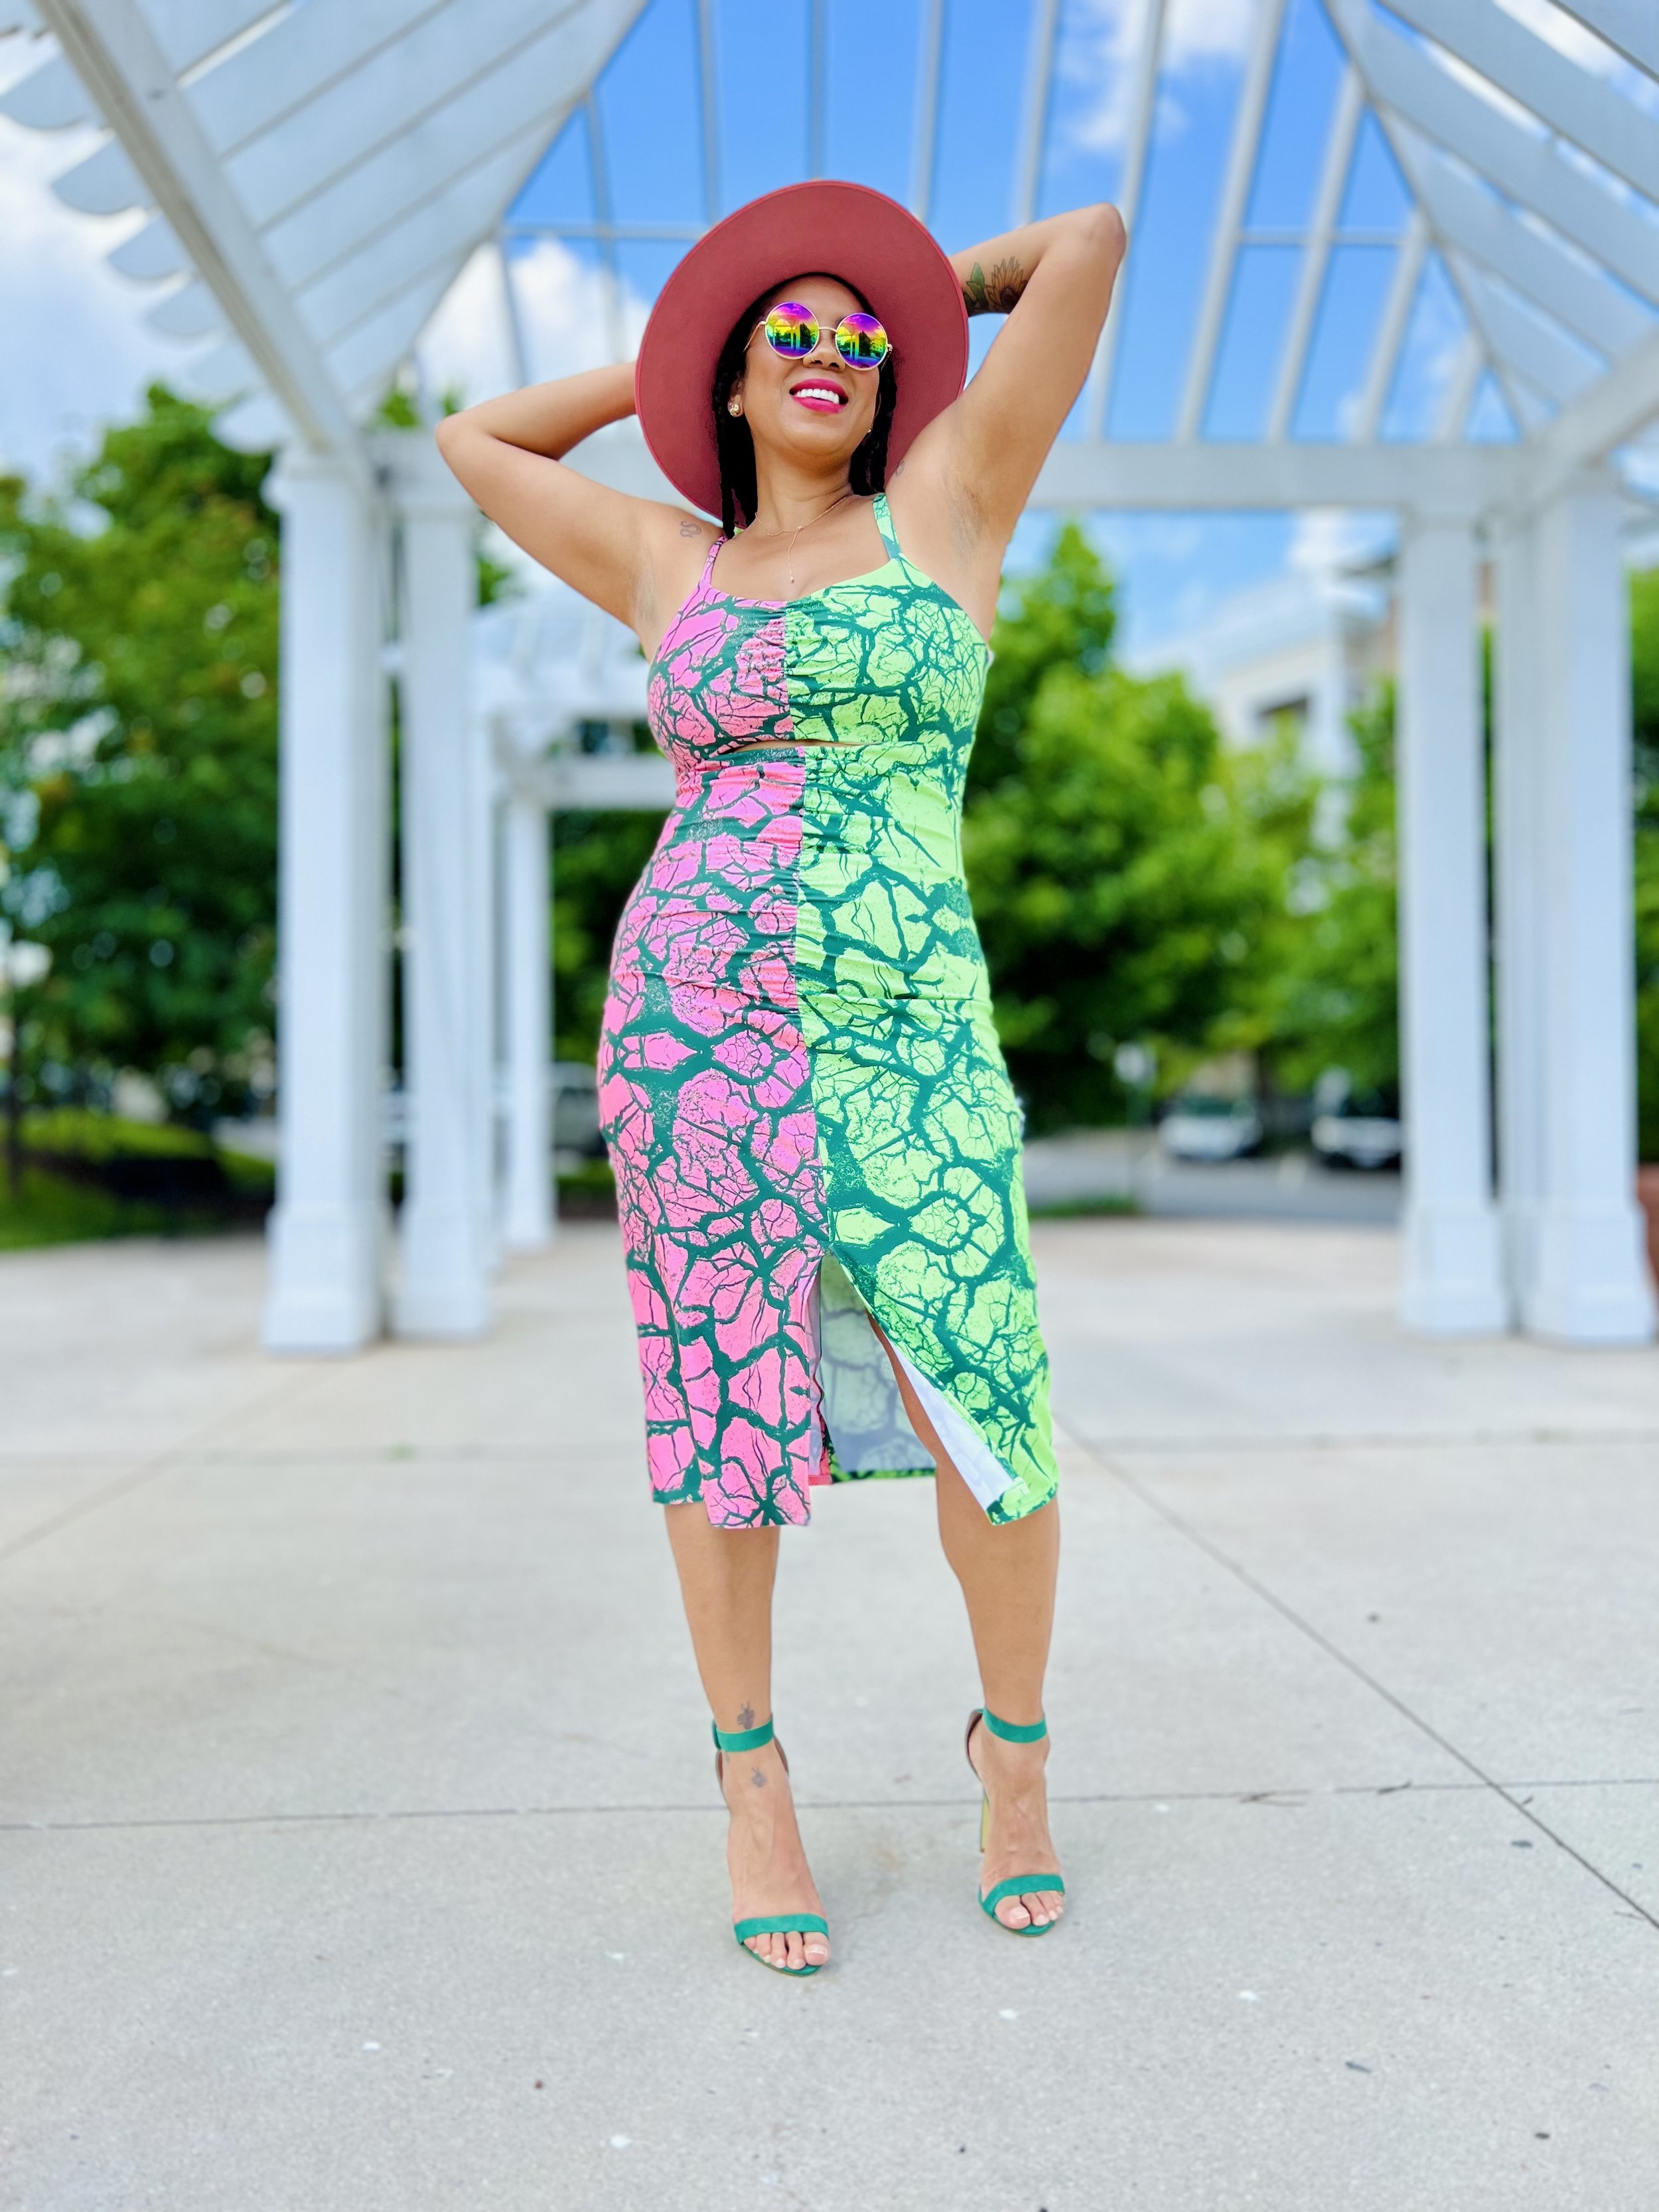
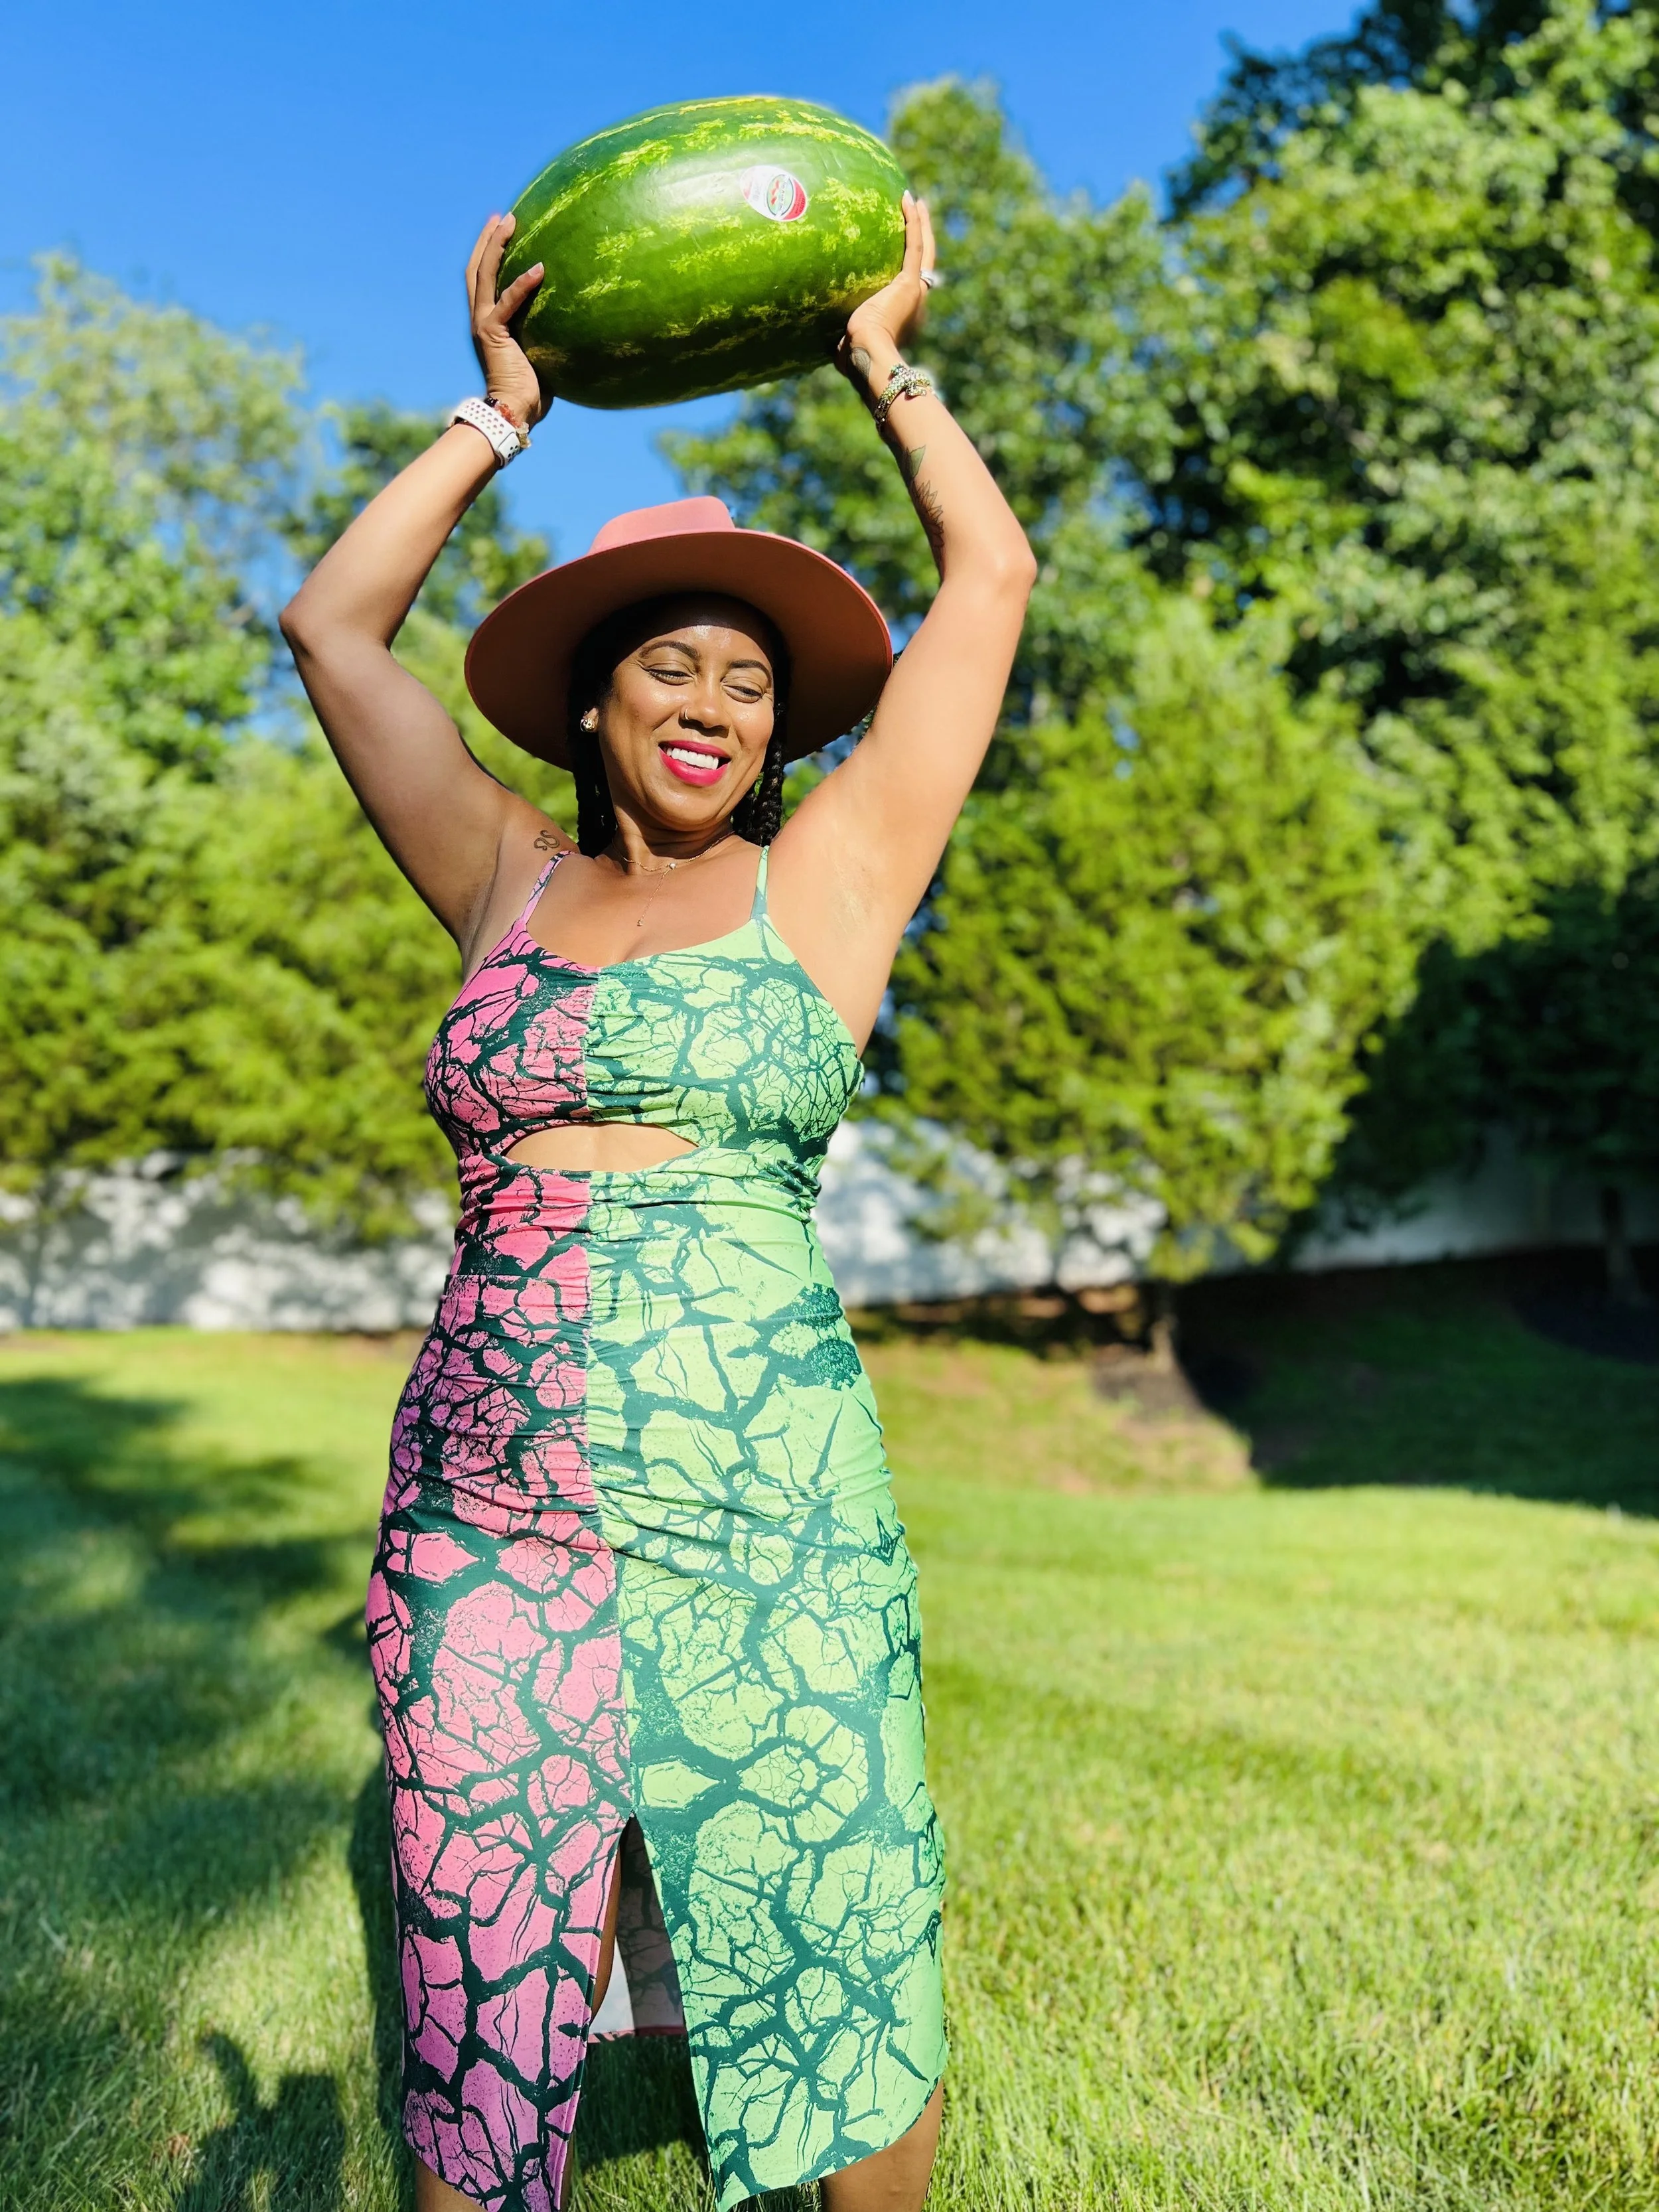
My collection features a few of my favorite things and colors for summer. Obviously I’m obsessed with watermelon and my plant babies.
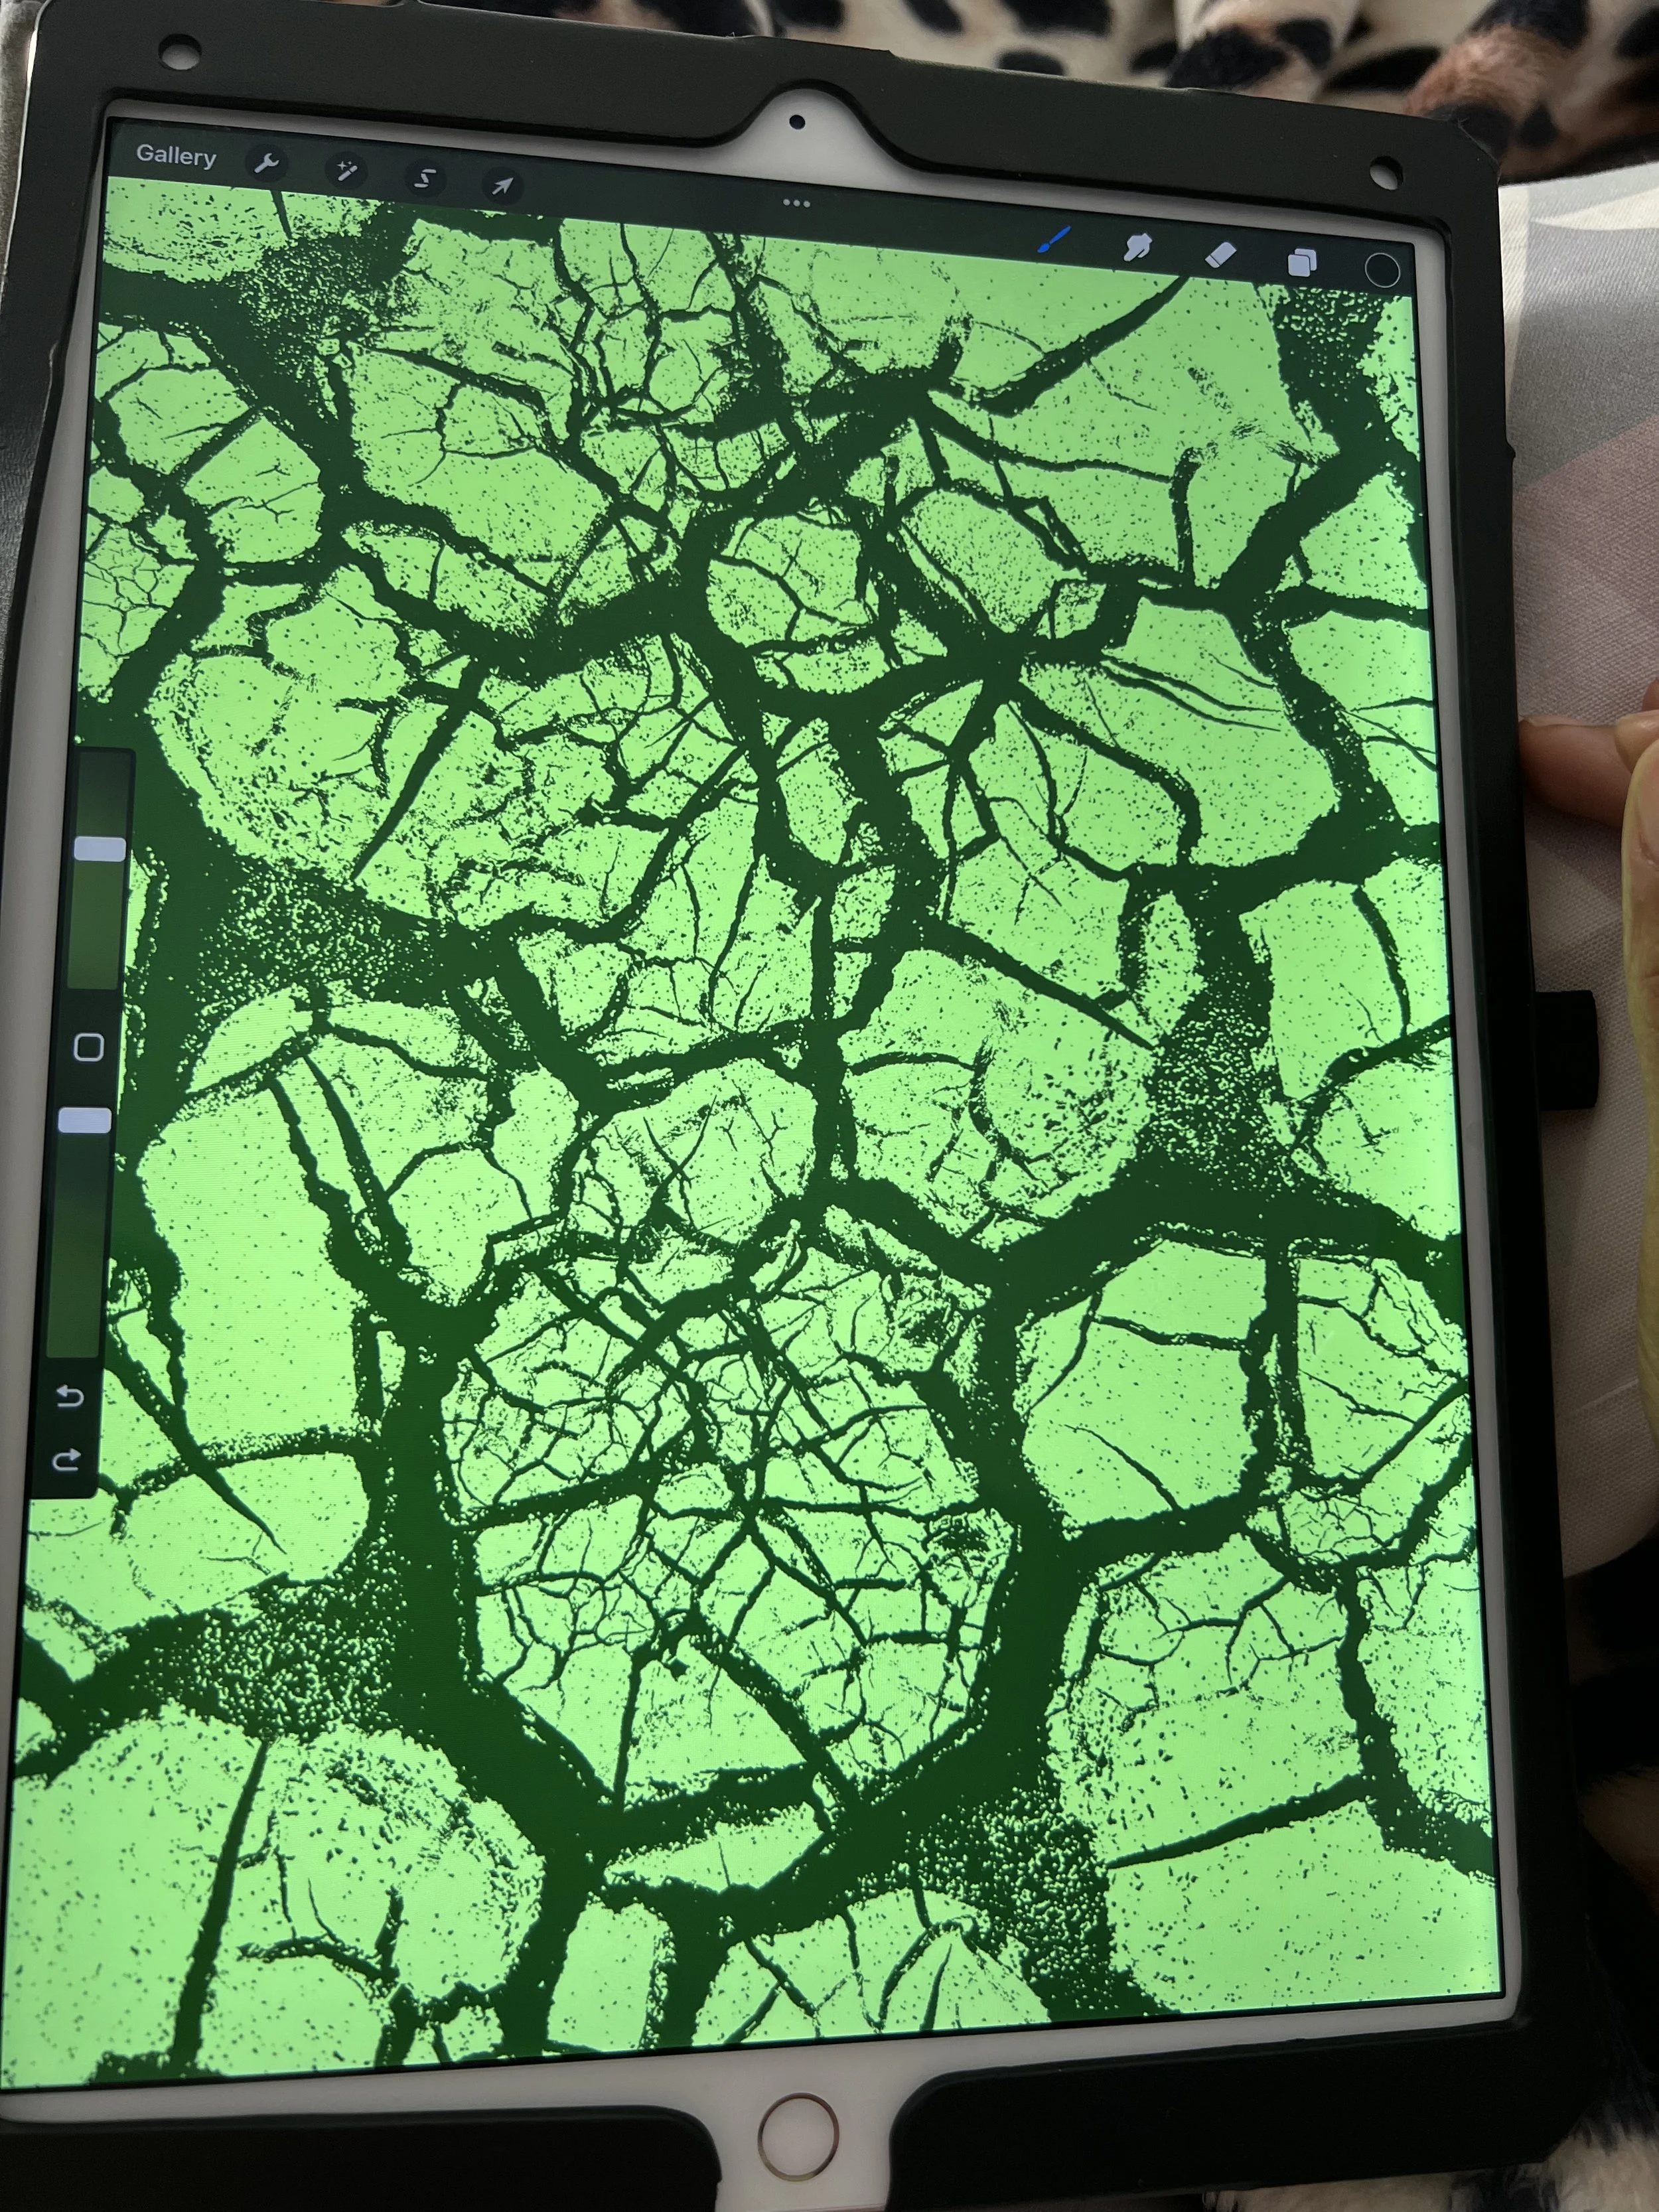
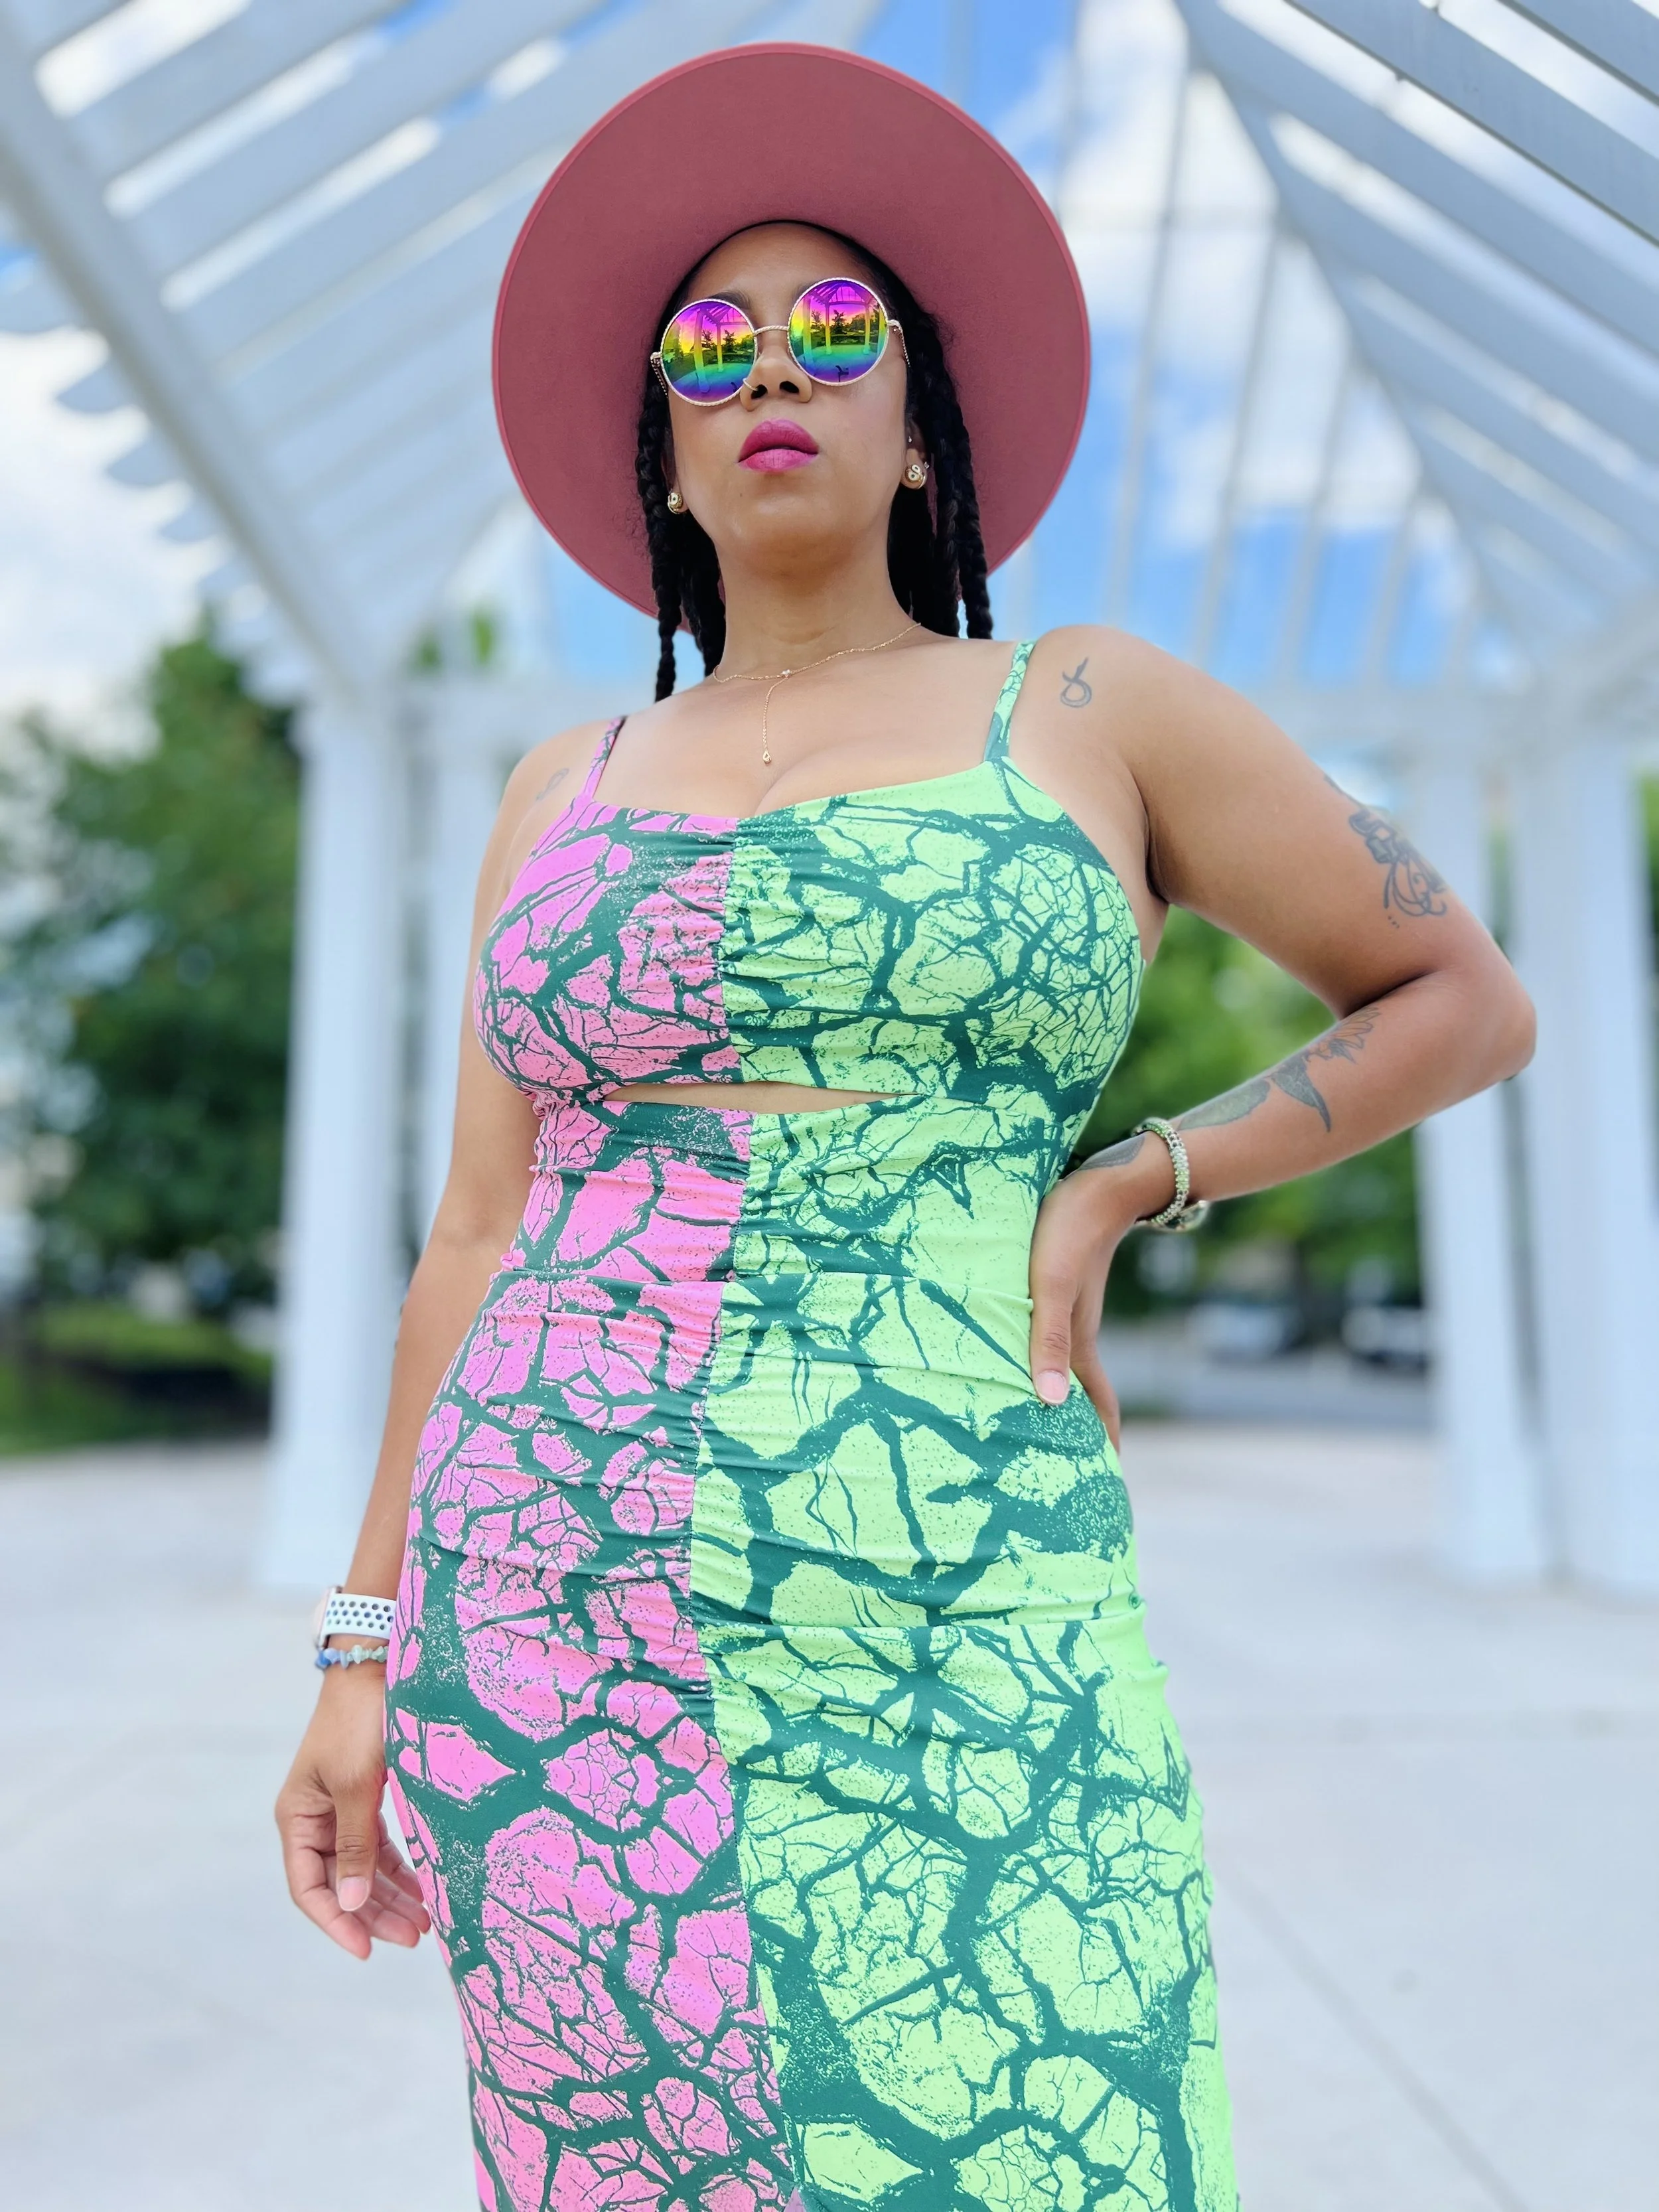
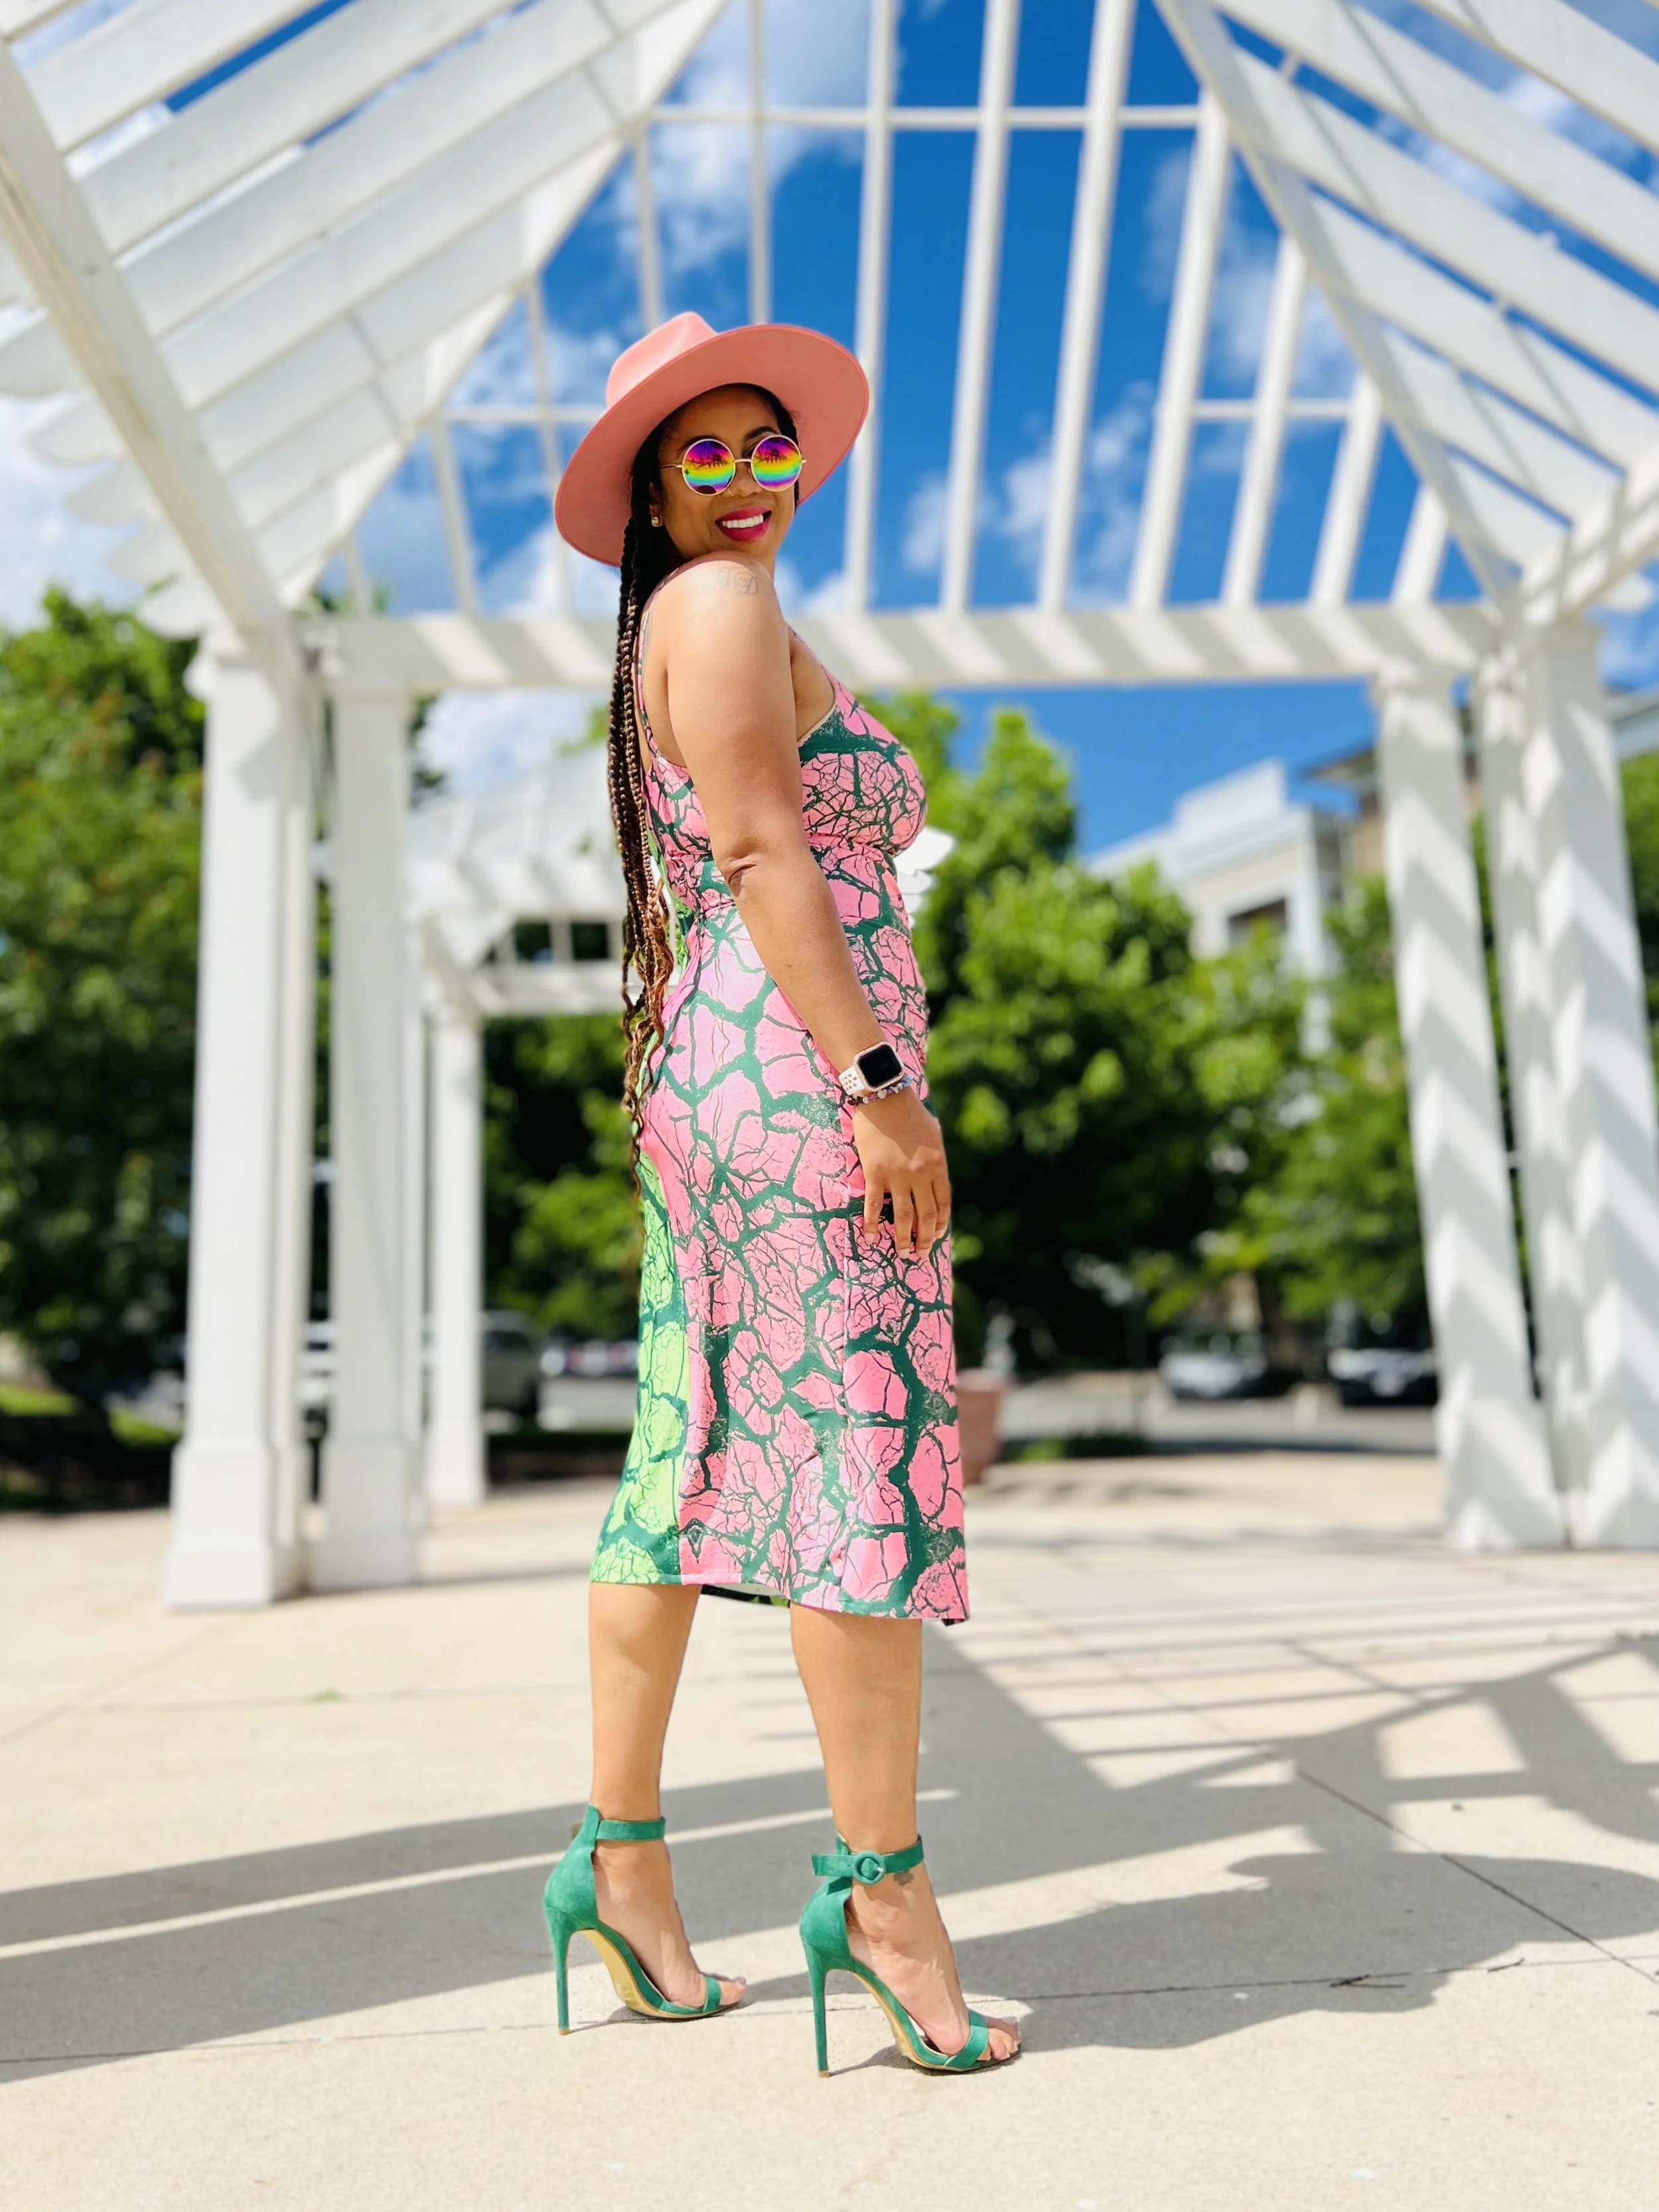
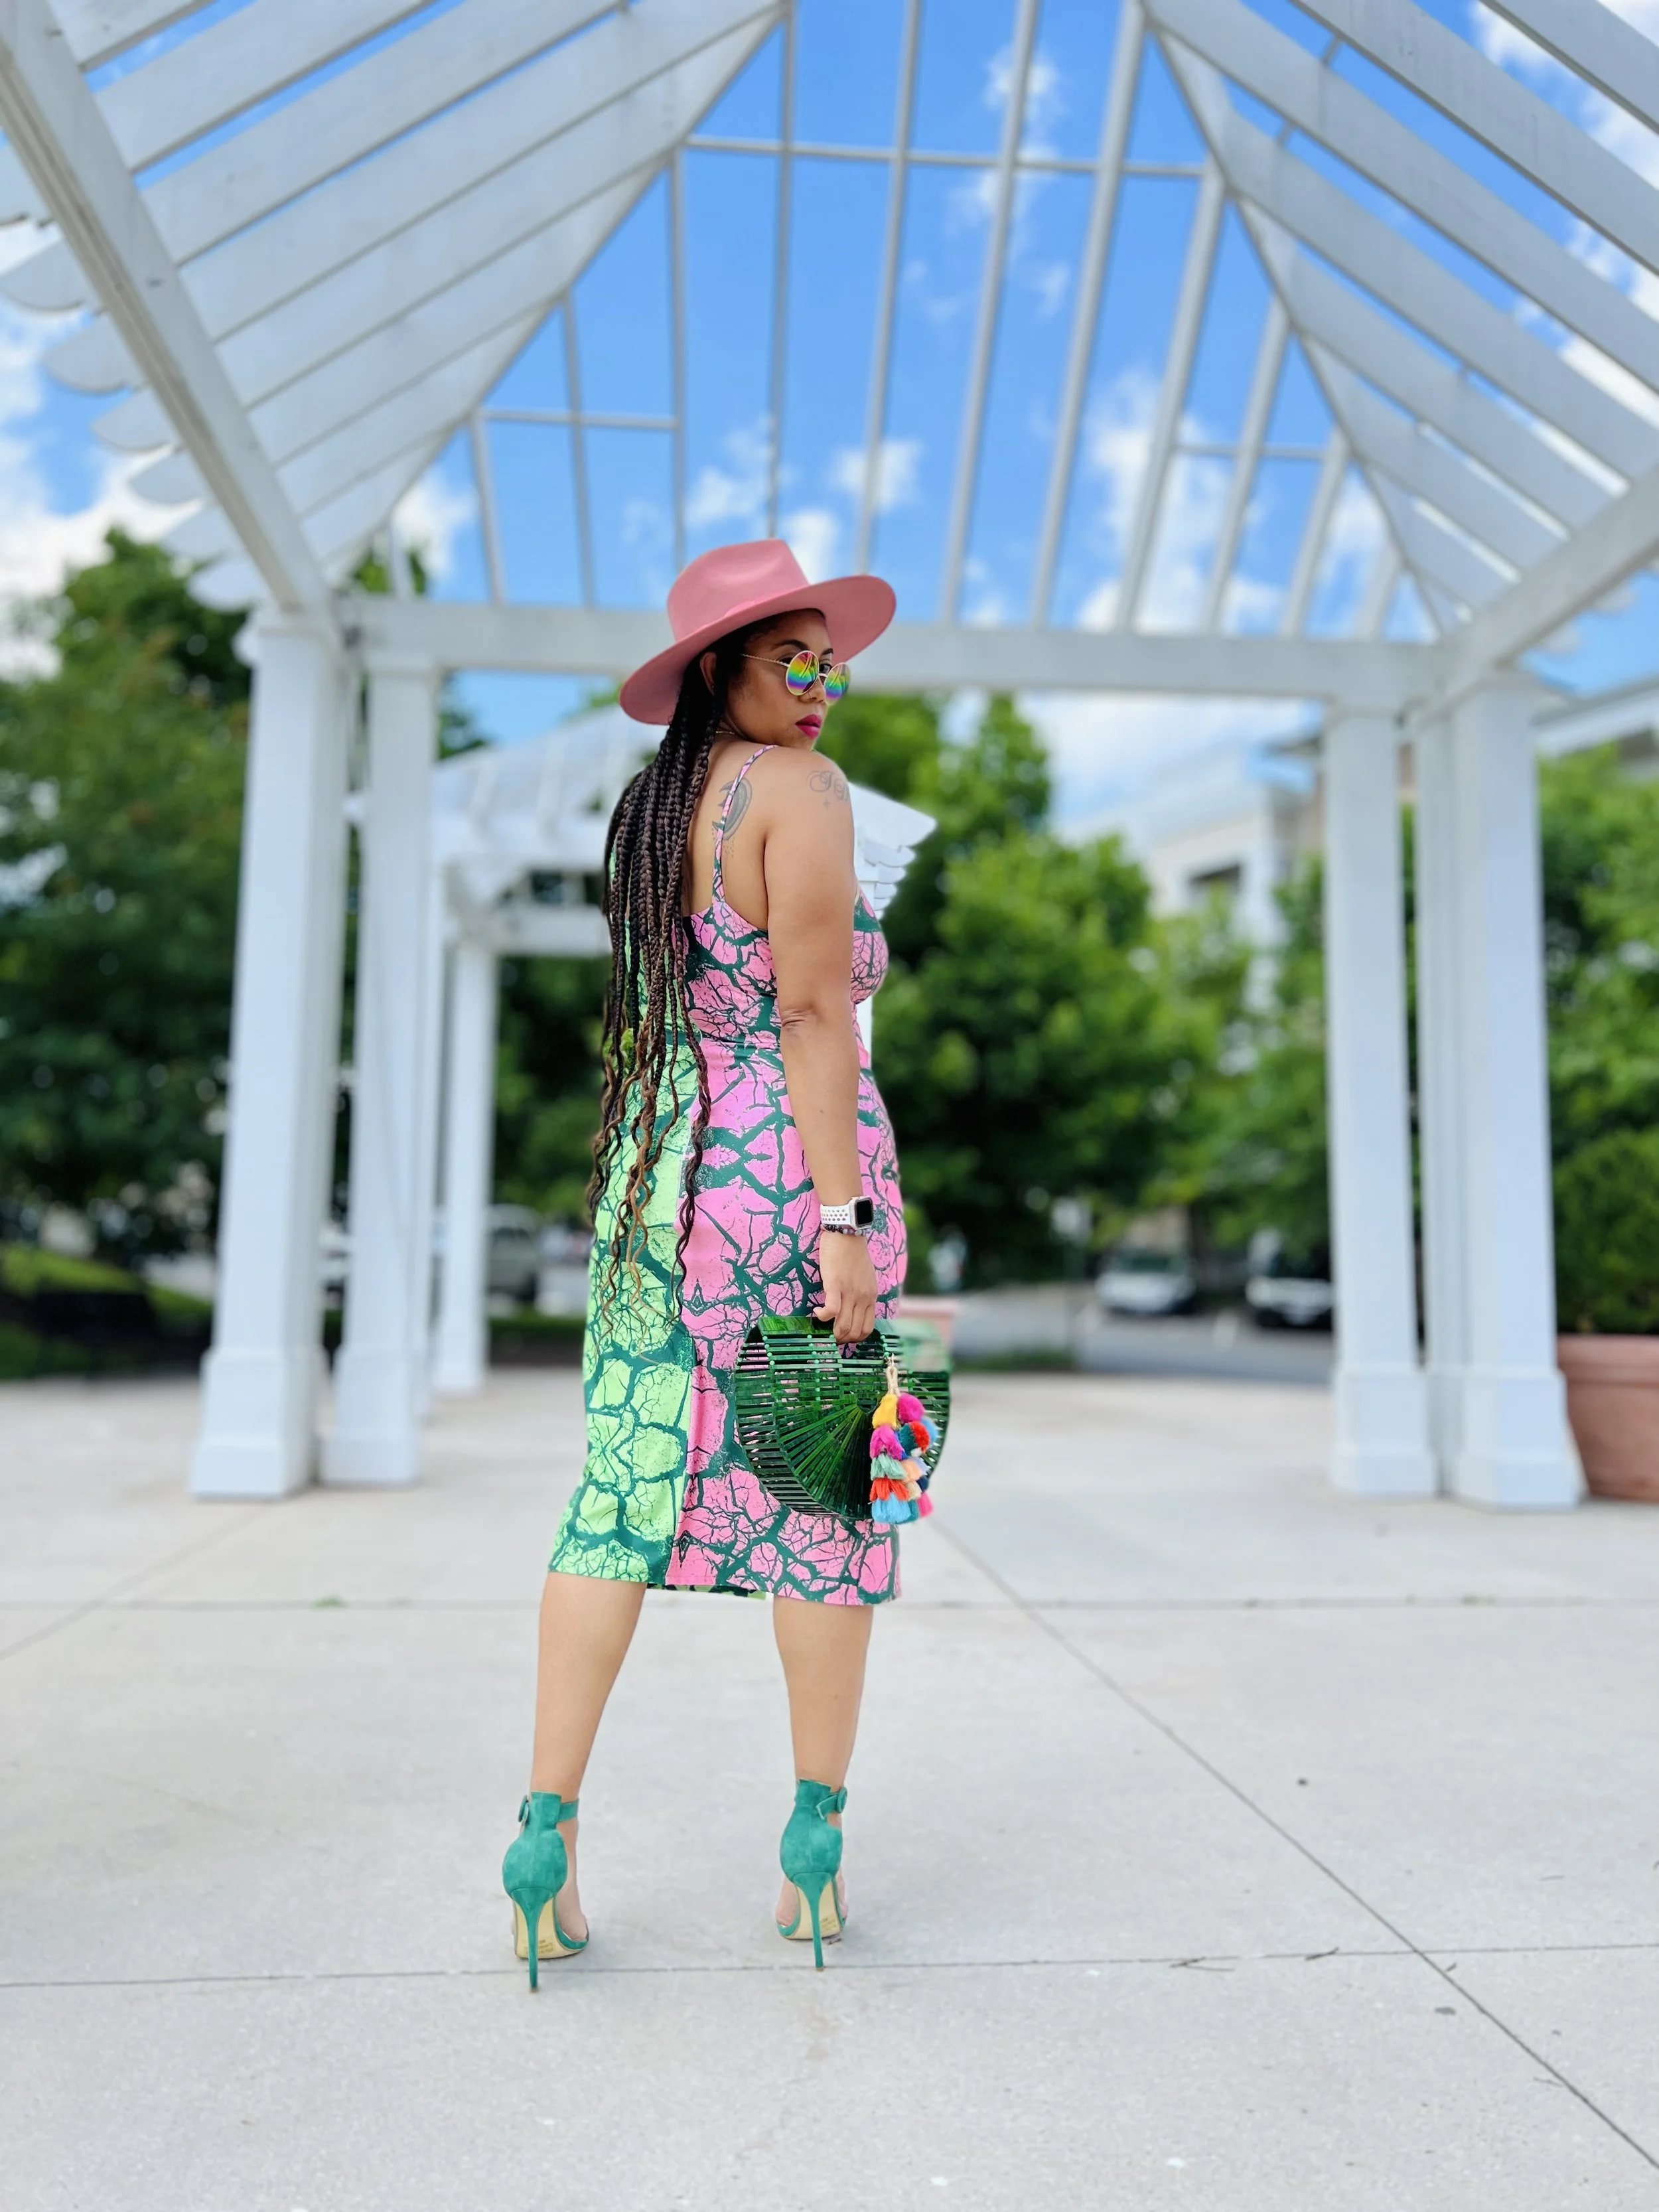
One of my first makes with my own design, I choose Watermelon Skin in original and pink background. You can find these prints in my Spoonflower design studio here.
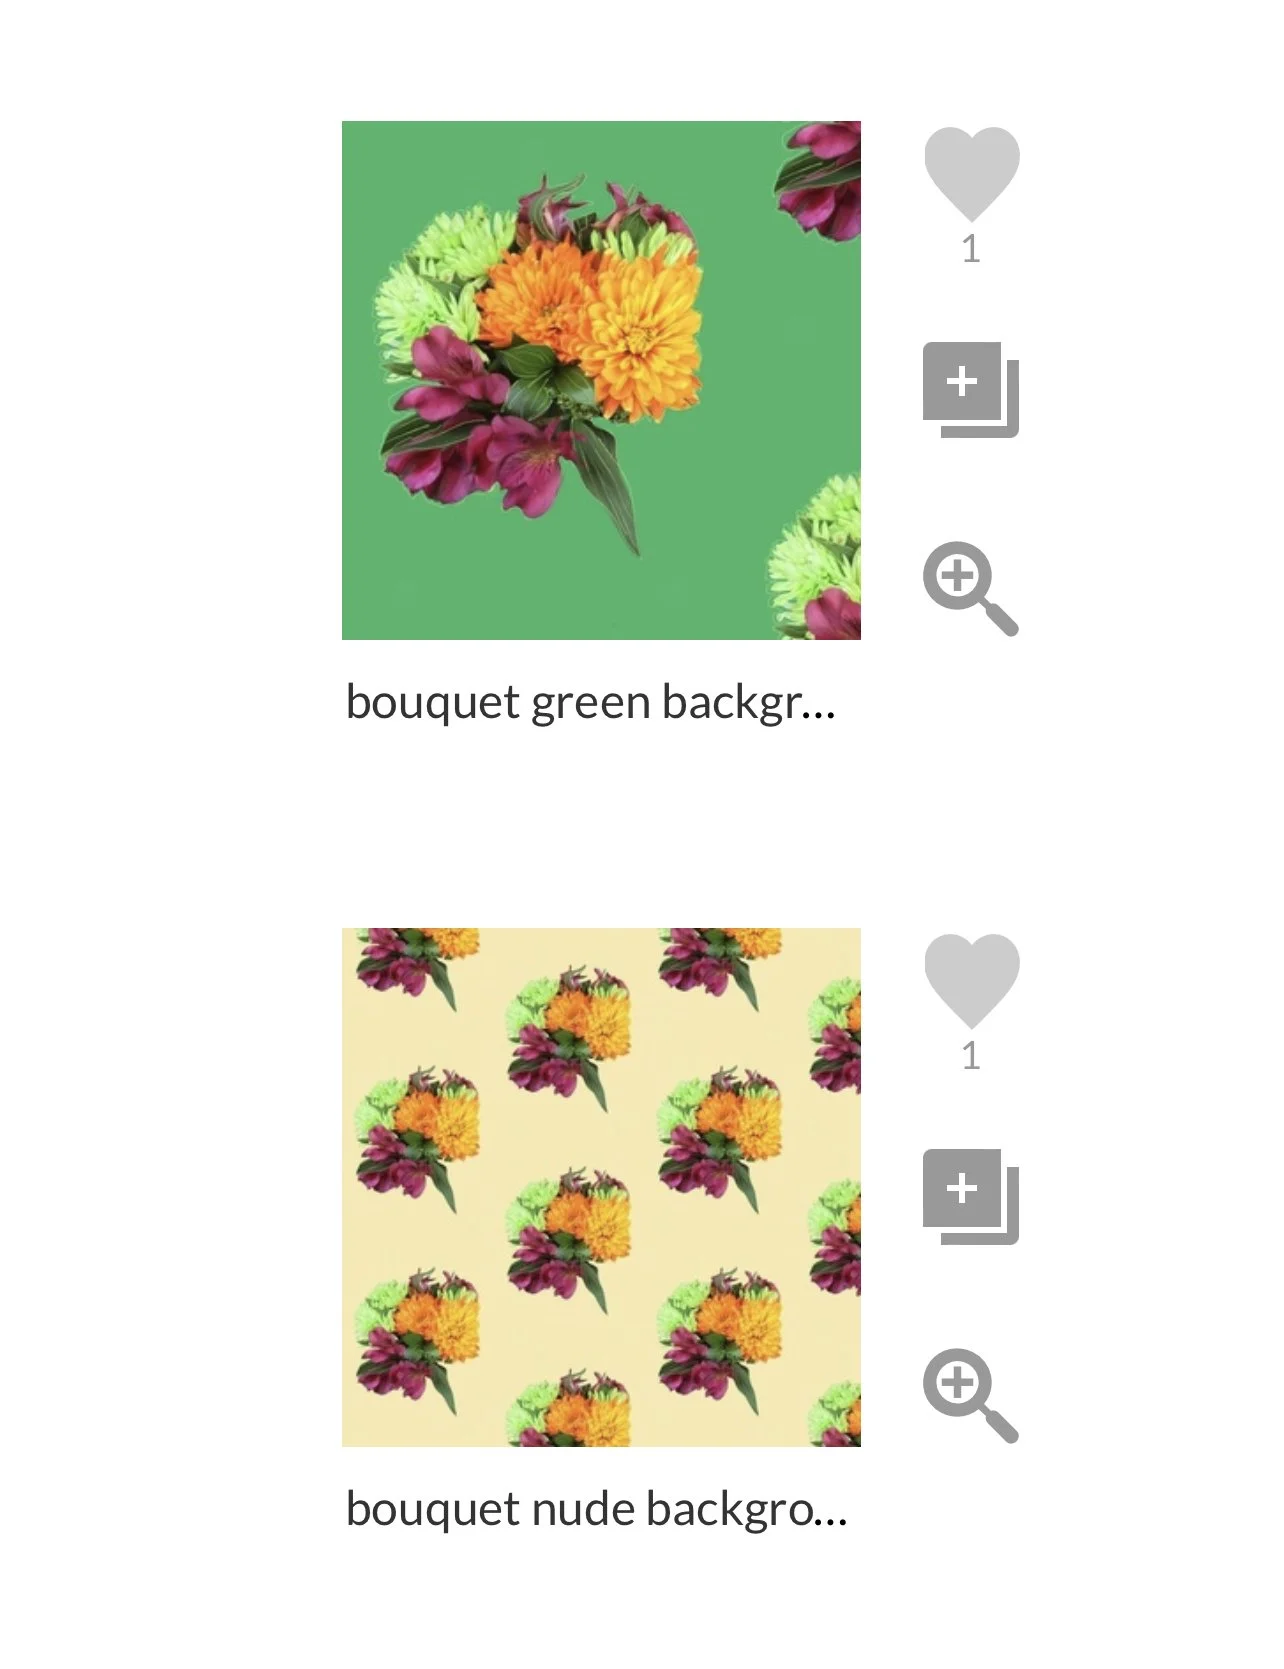
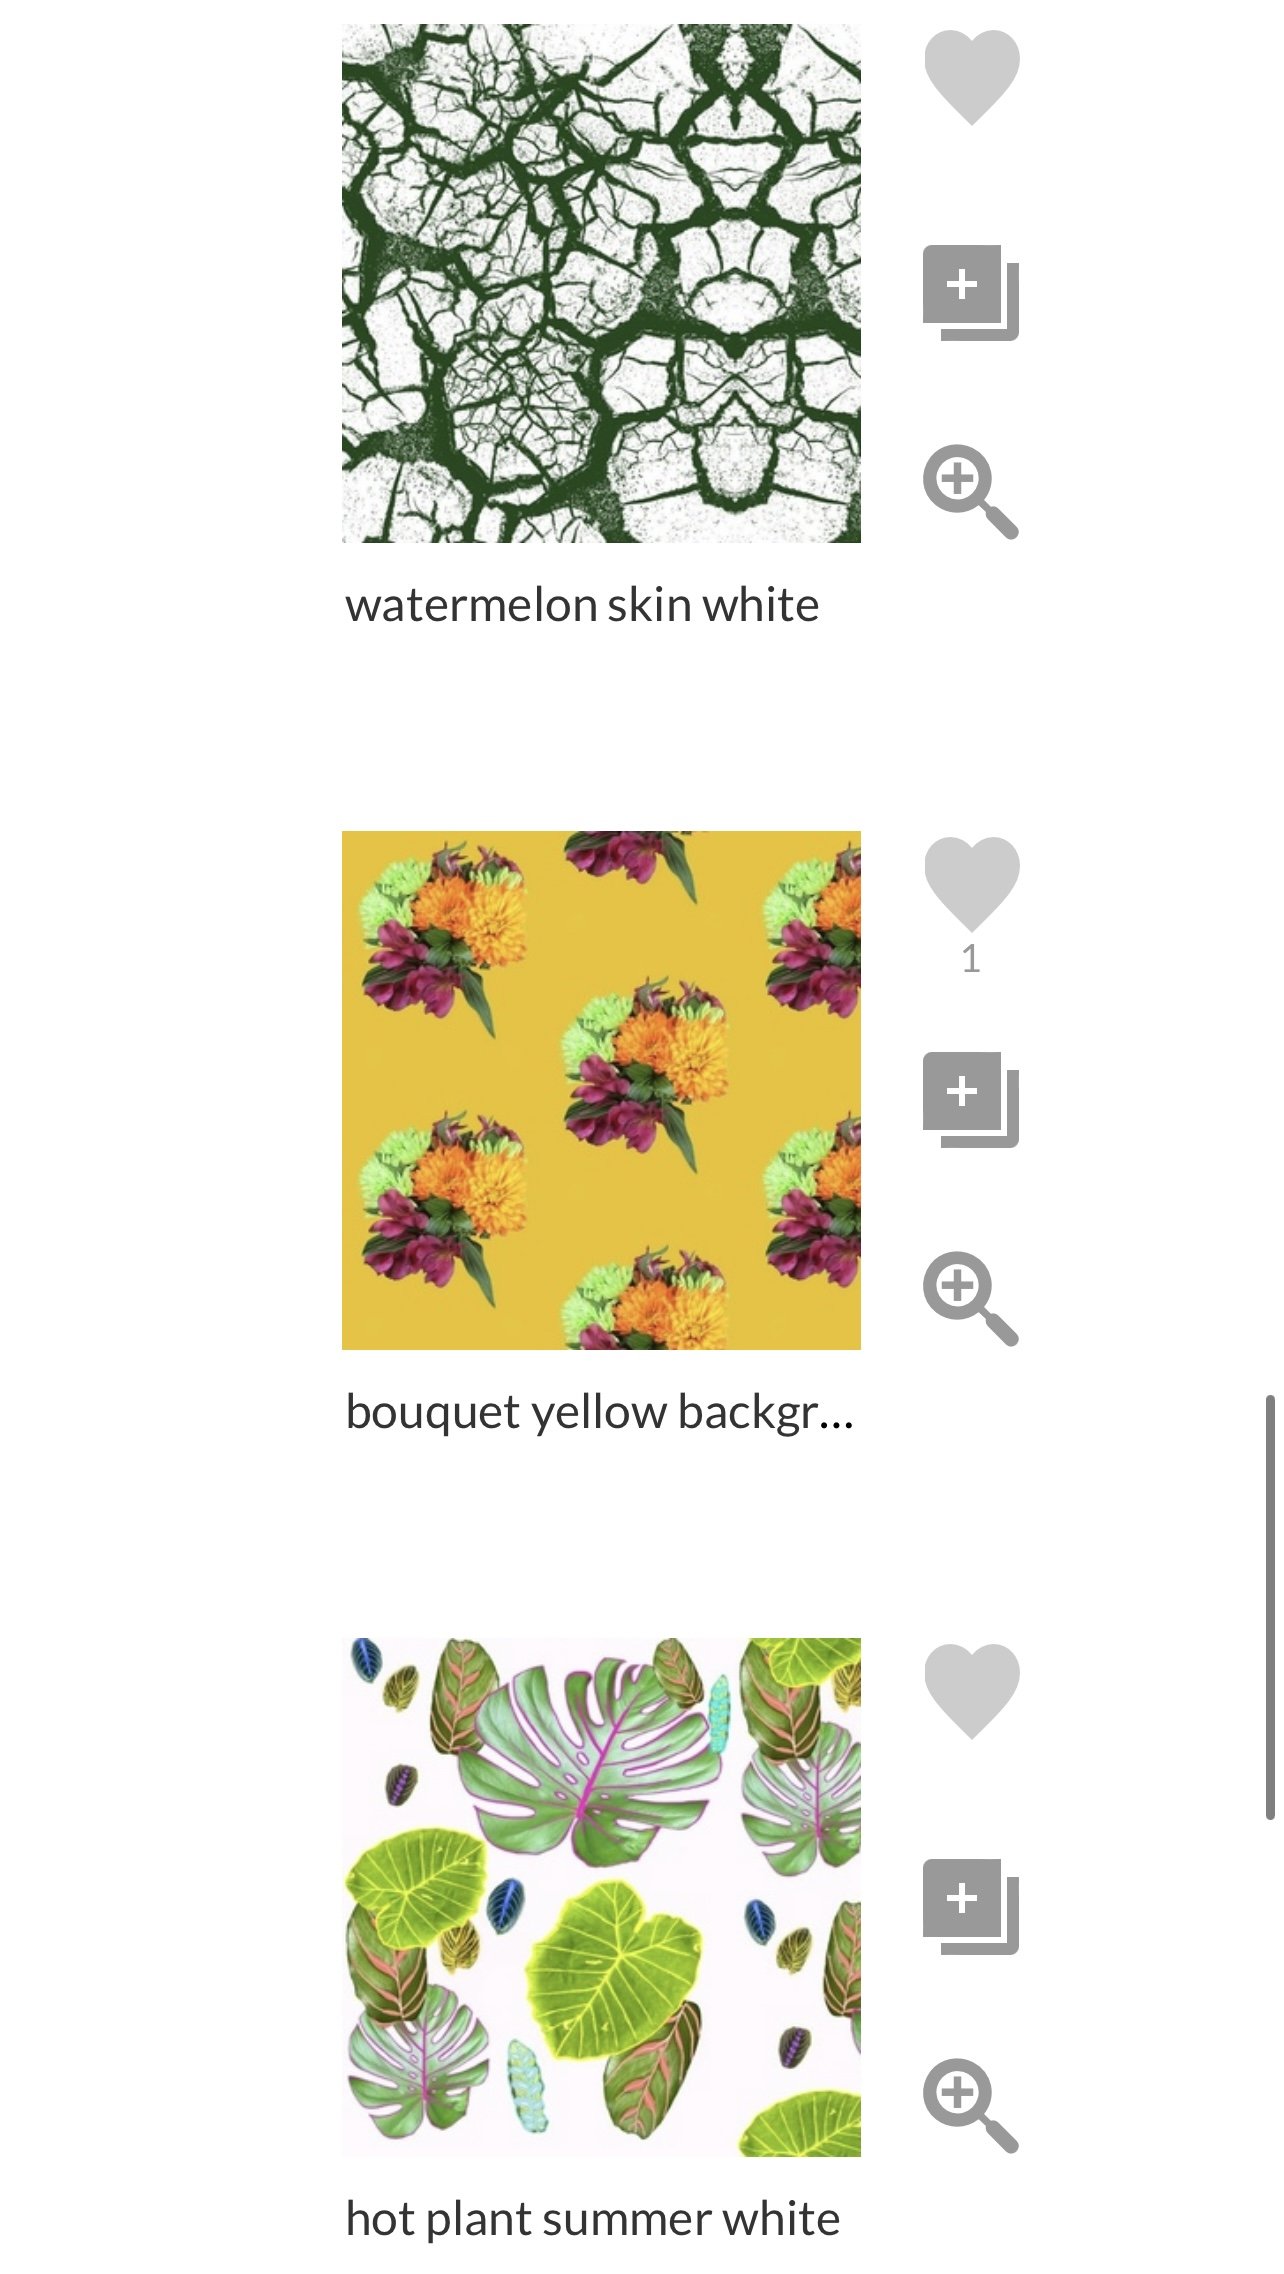
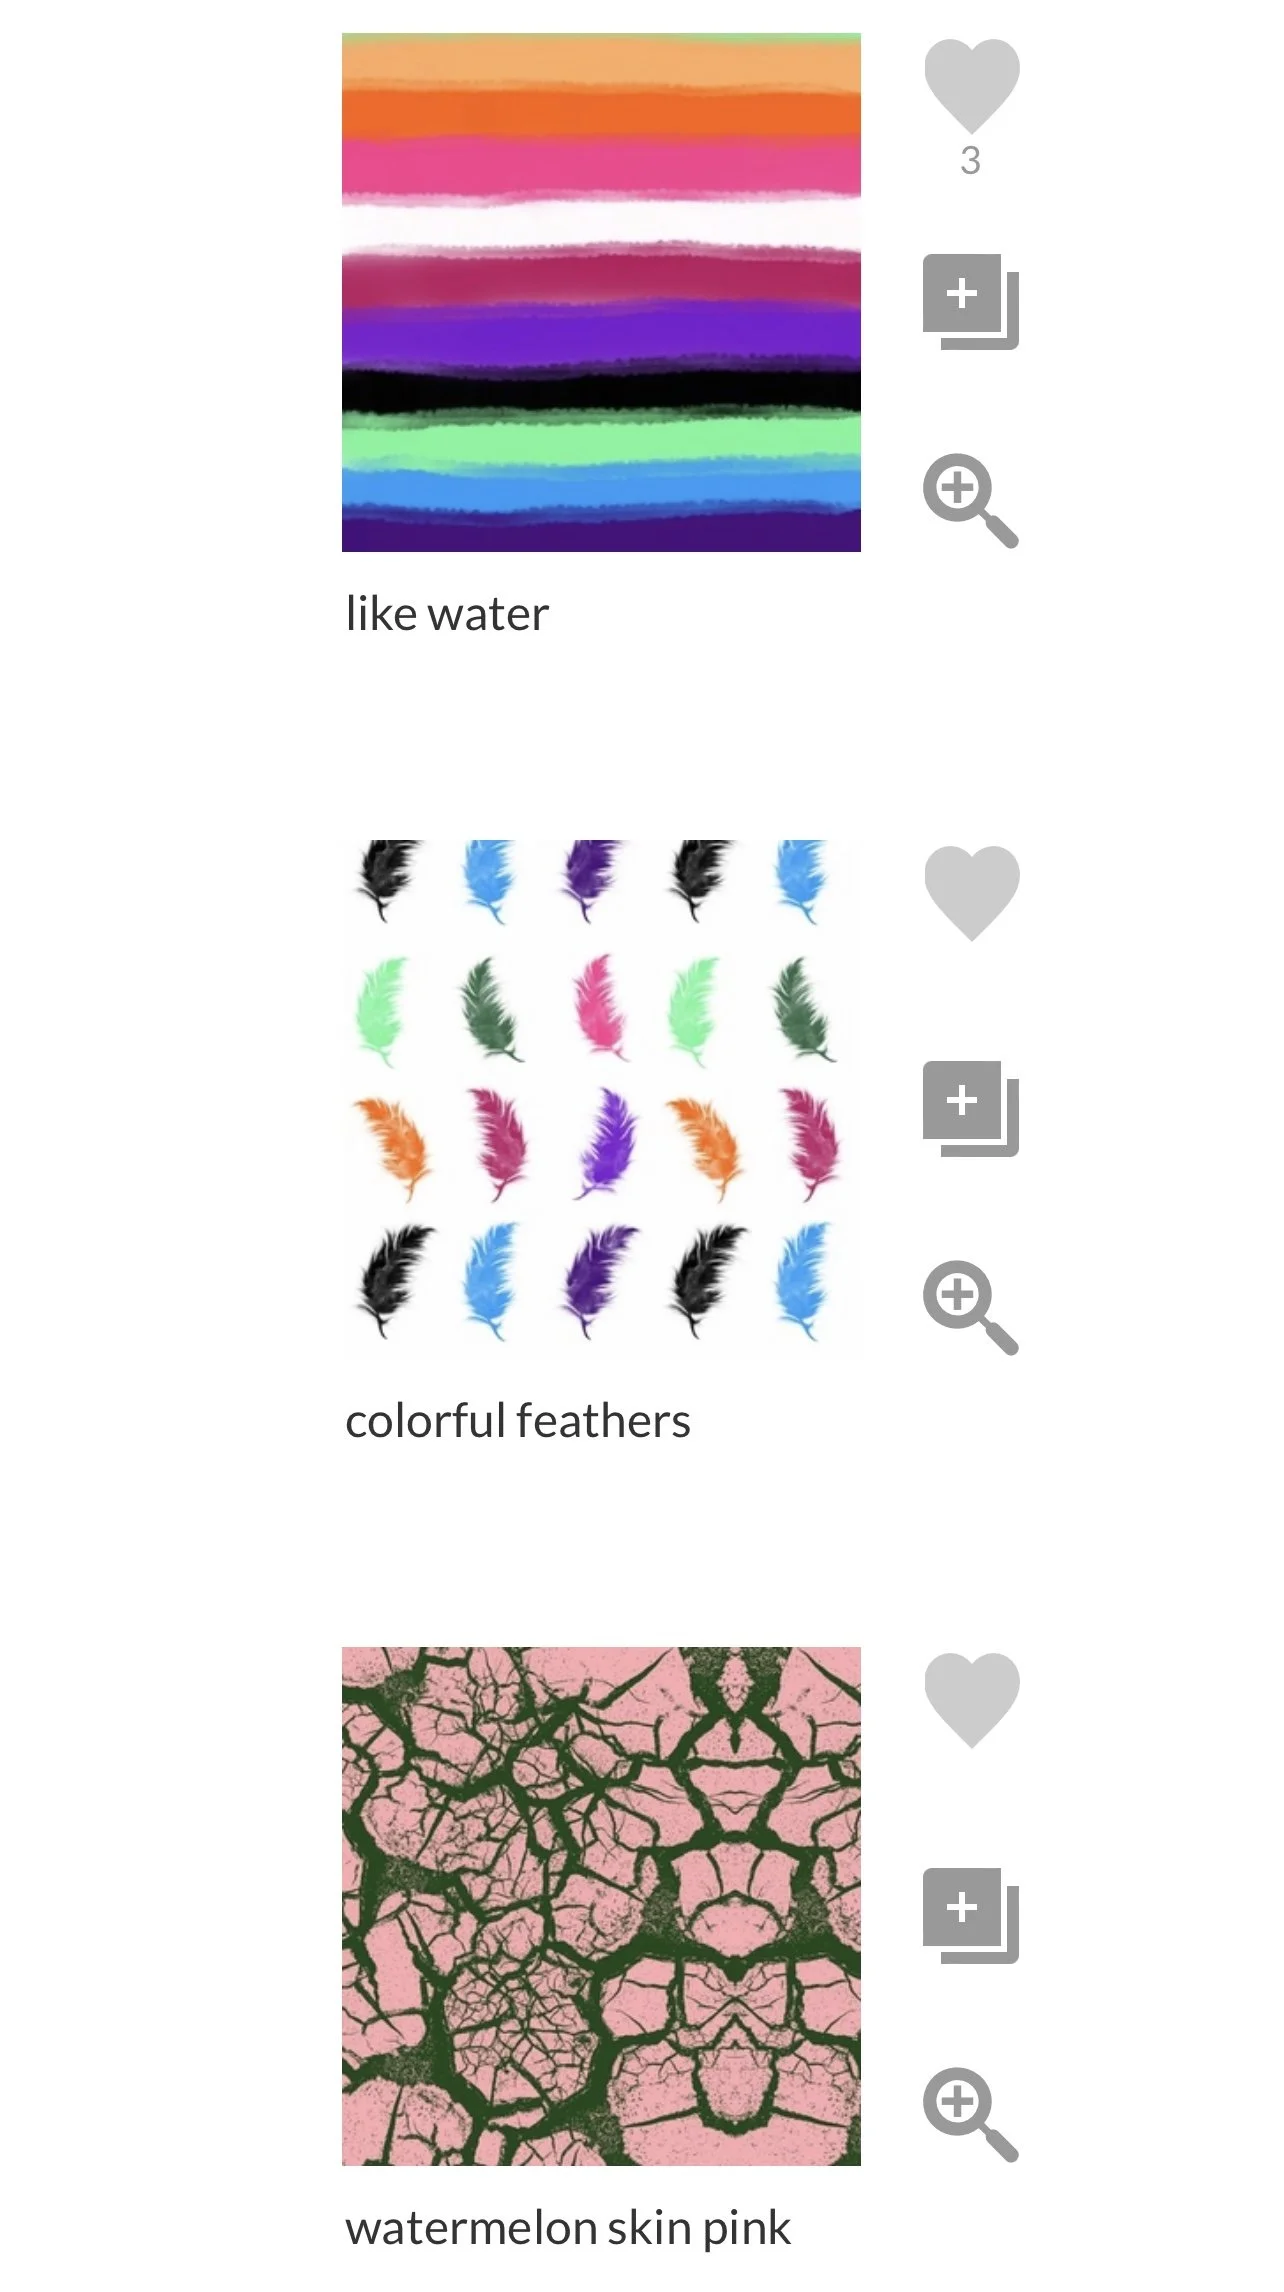
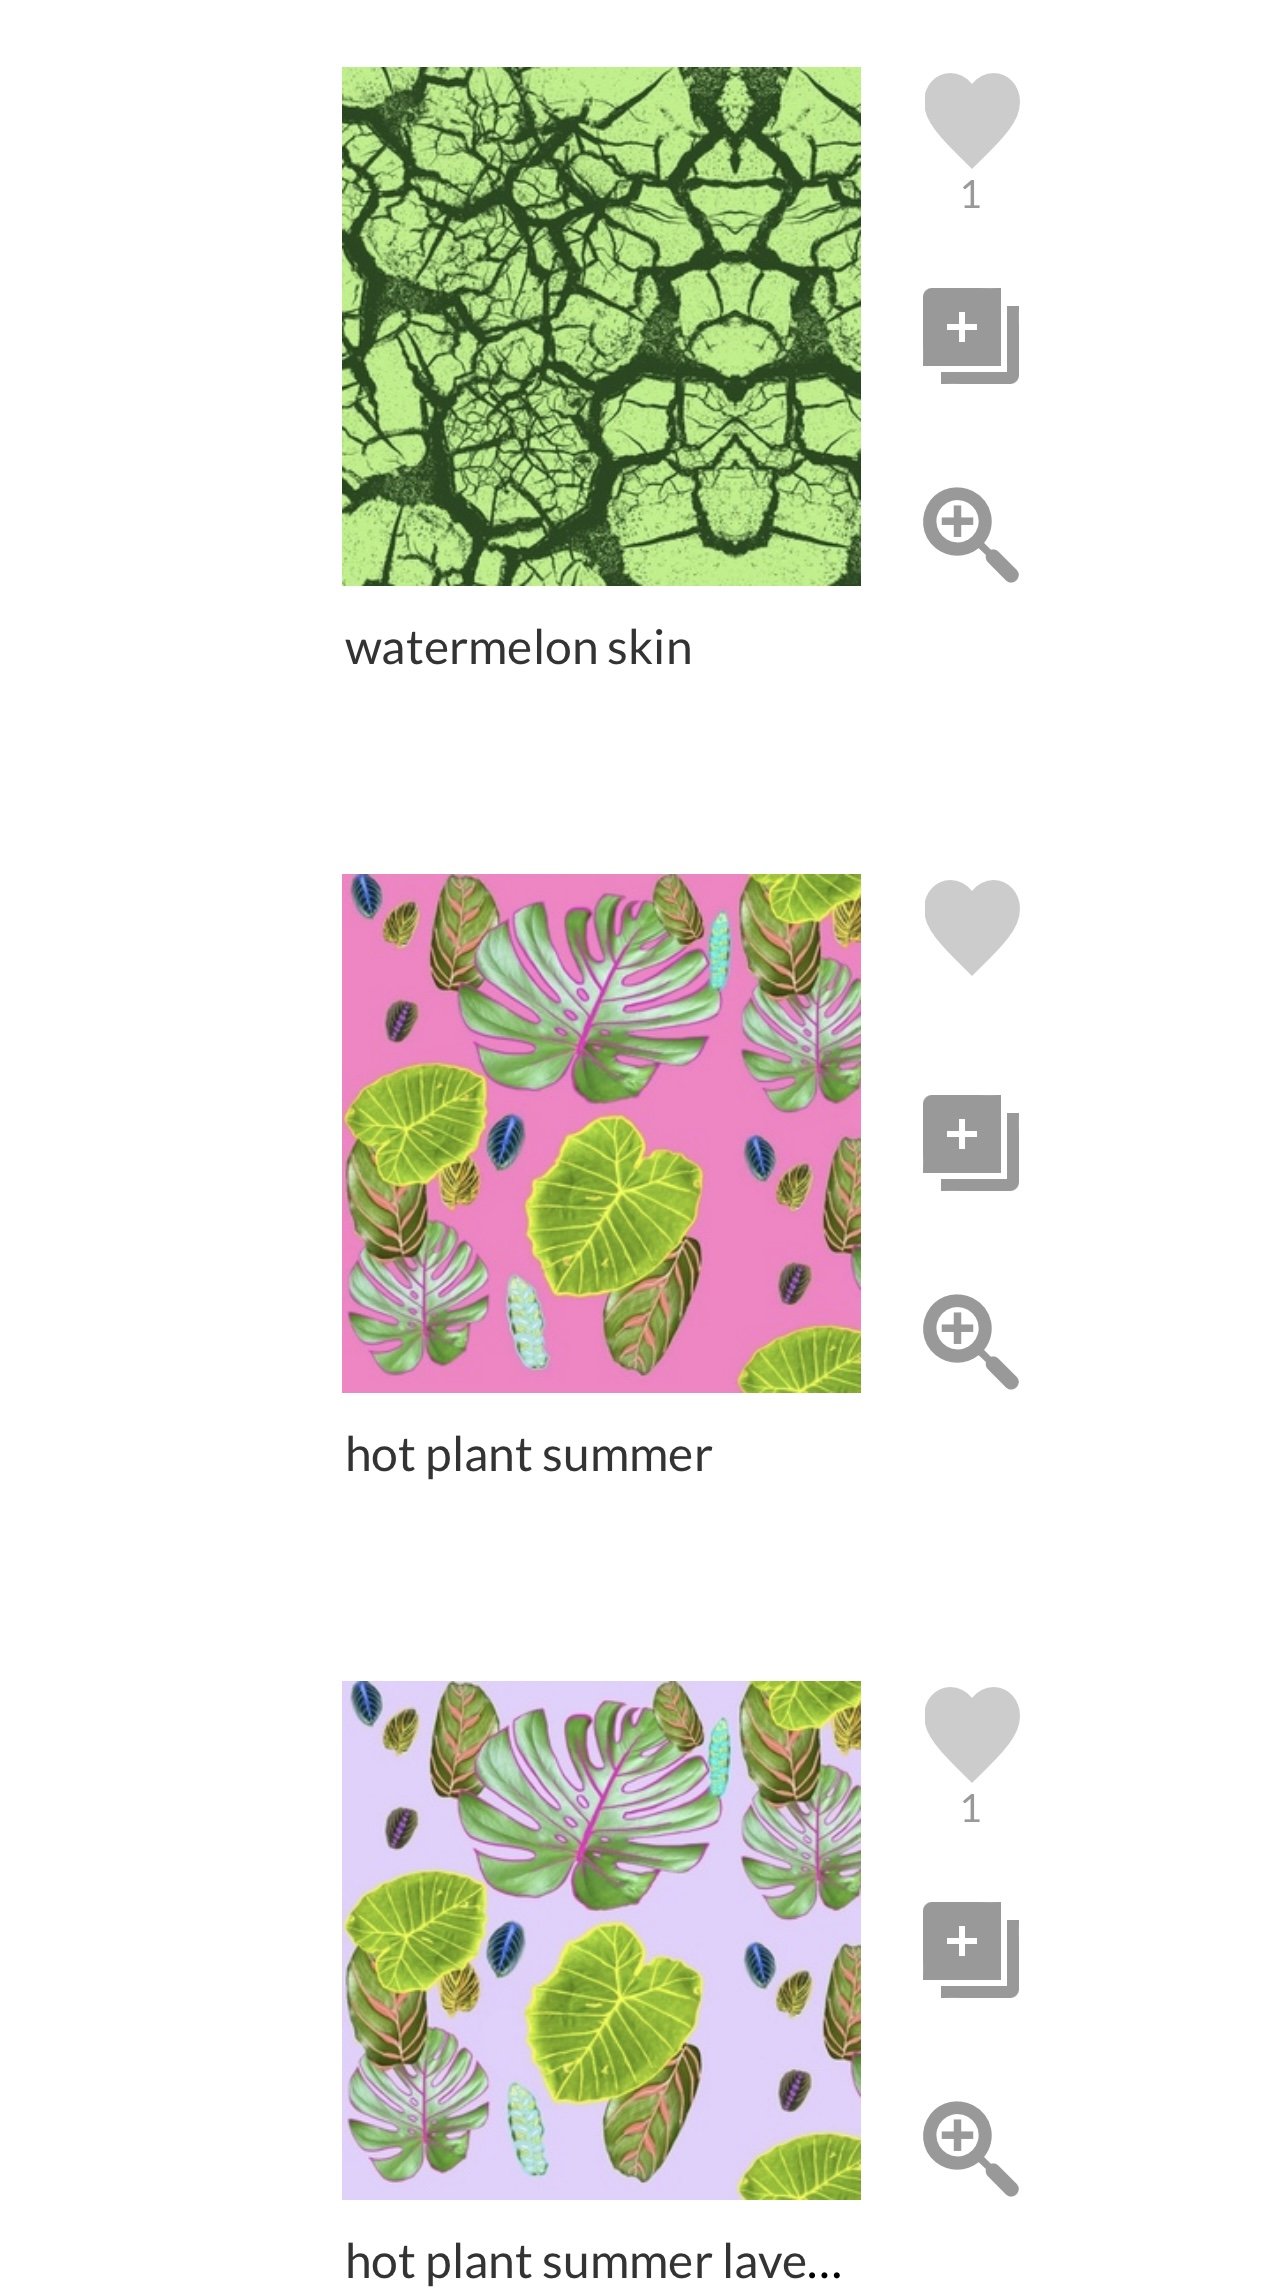
Feels like summer has a total of 11 designs (some smaller scaling upon request). There are currently 3 variations of Watermelon skin, 3 variations of Hot Plant Summer, 3 variations of Bouquet, 1 Like Water, and 1 Colorful Feathers.
This collection was created and intended to mix and match prints with each other. For instance, the stripes in the Like Water design share the same colors as the Colorful Feathers design.
Hot Plant Summer would look beautiful with any mix of the 3 color ways . The Bouquet print features a large scale bouquet in green background, medium scale yellow background, and small scale nude background. I think it would be fun to mix the large scale with the small scale for a fun floral project.
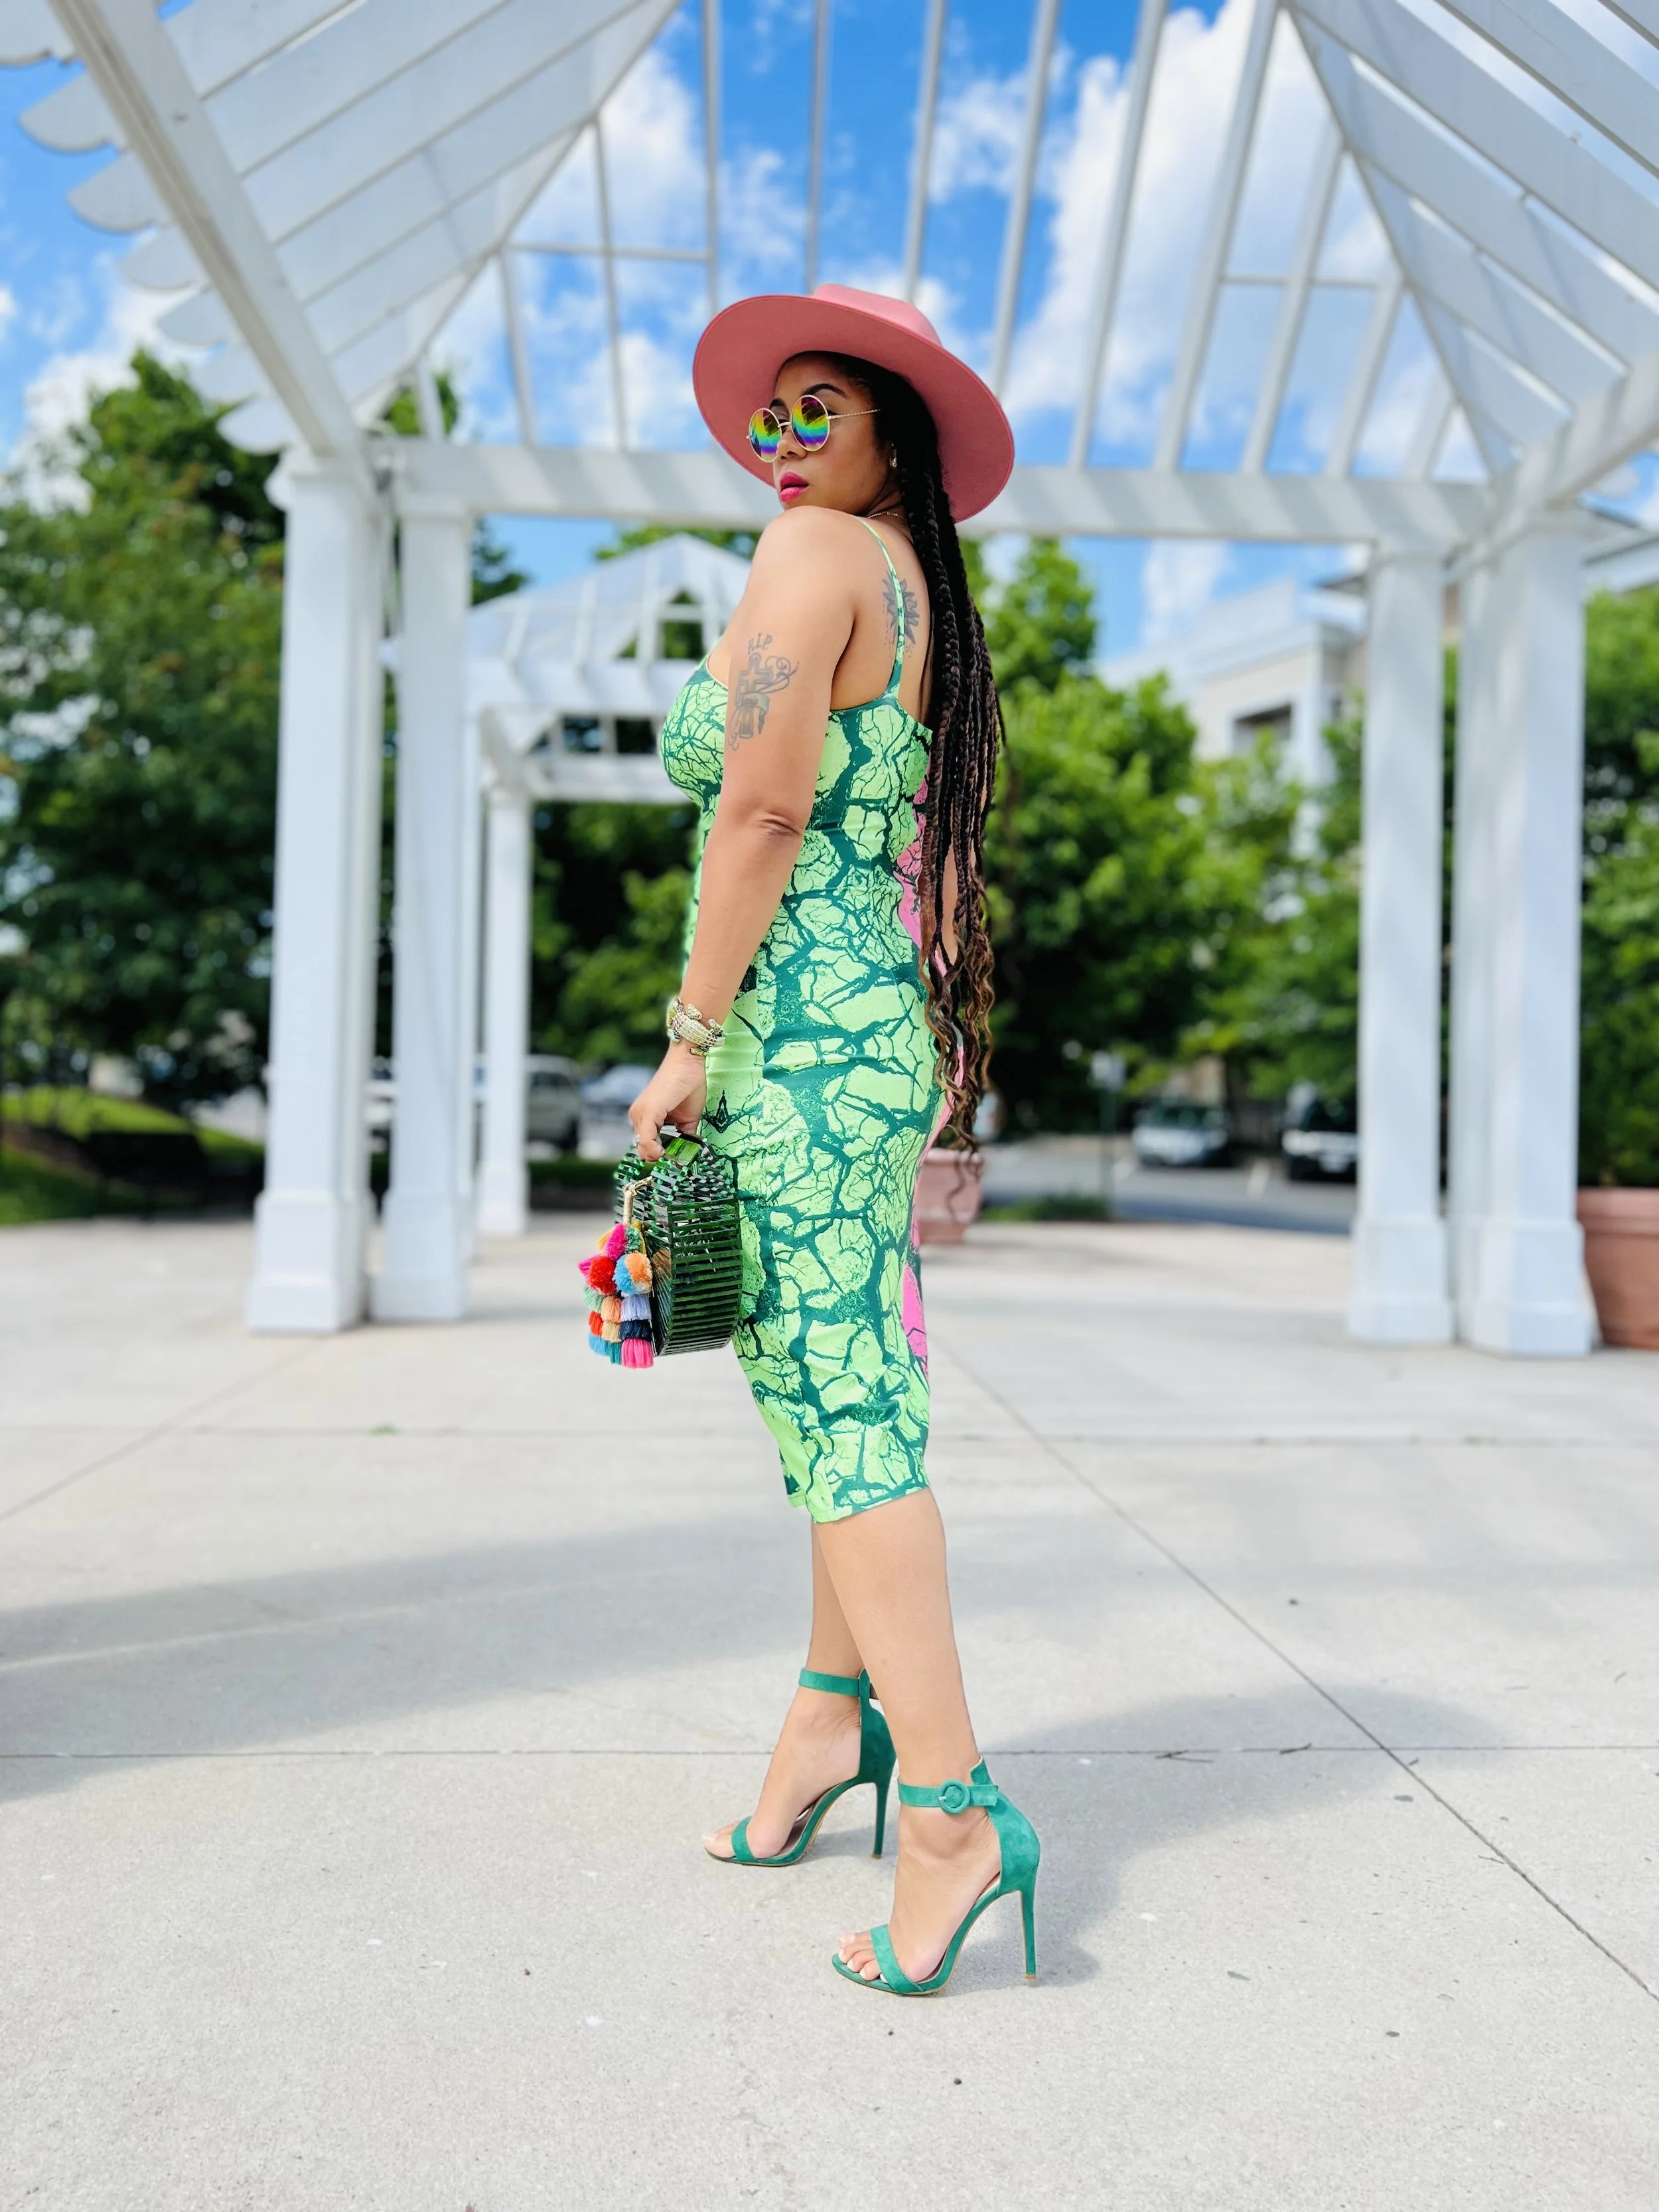
The dress
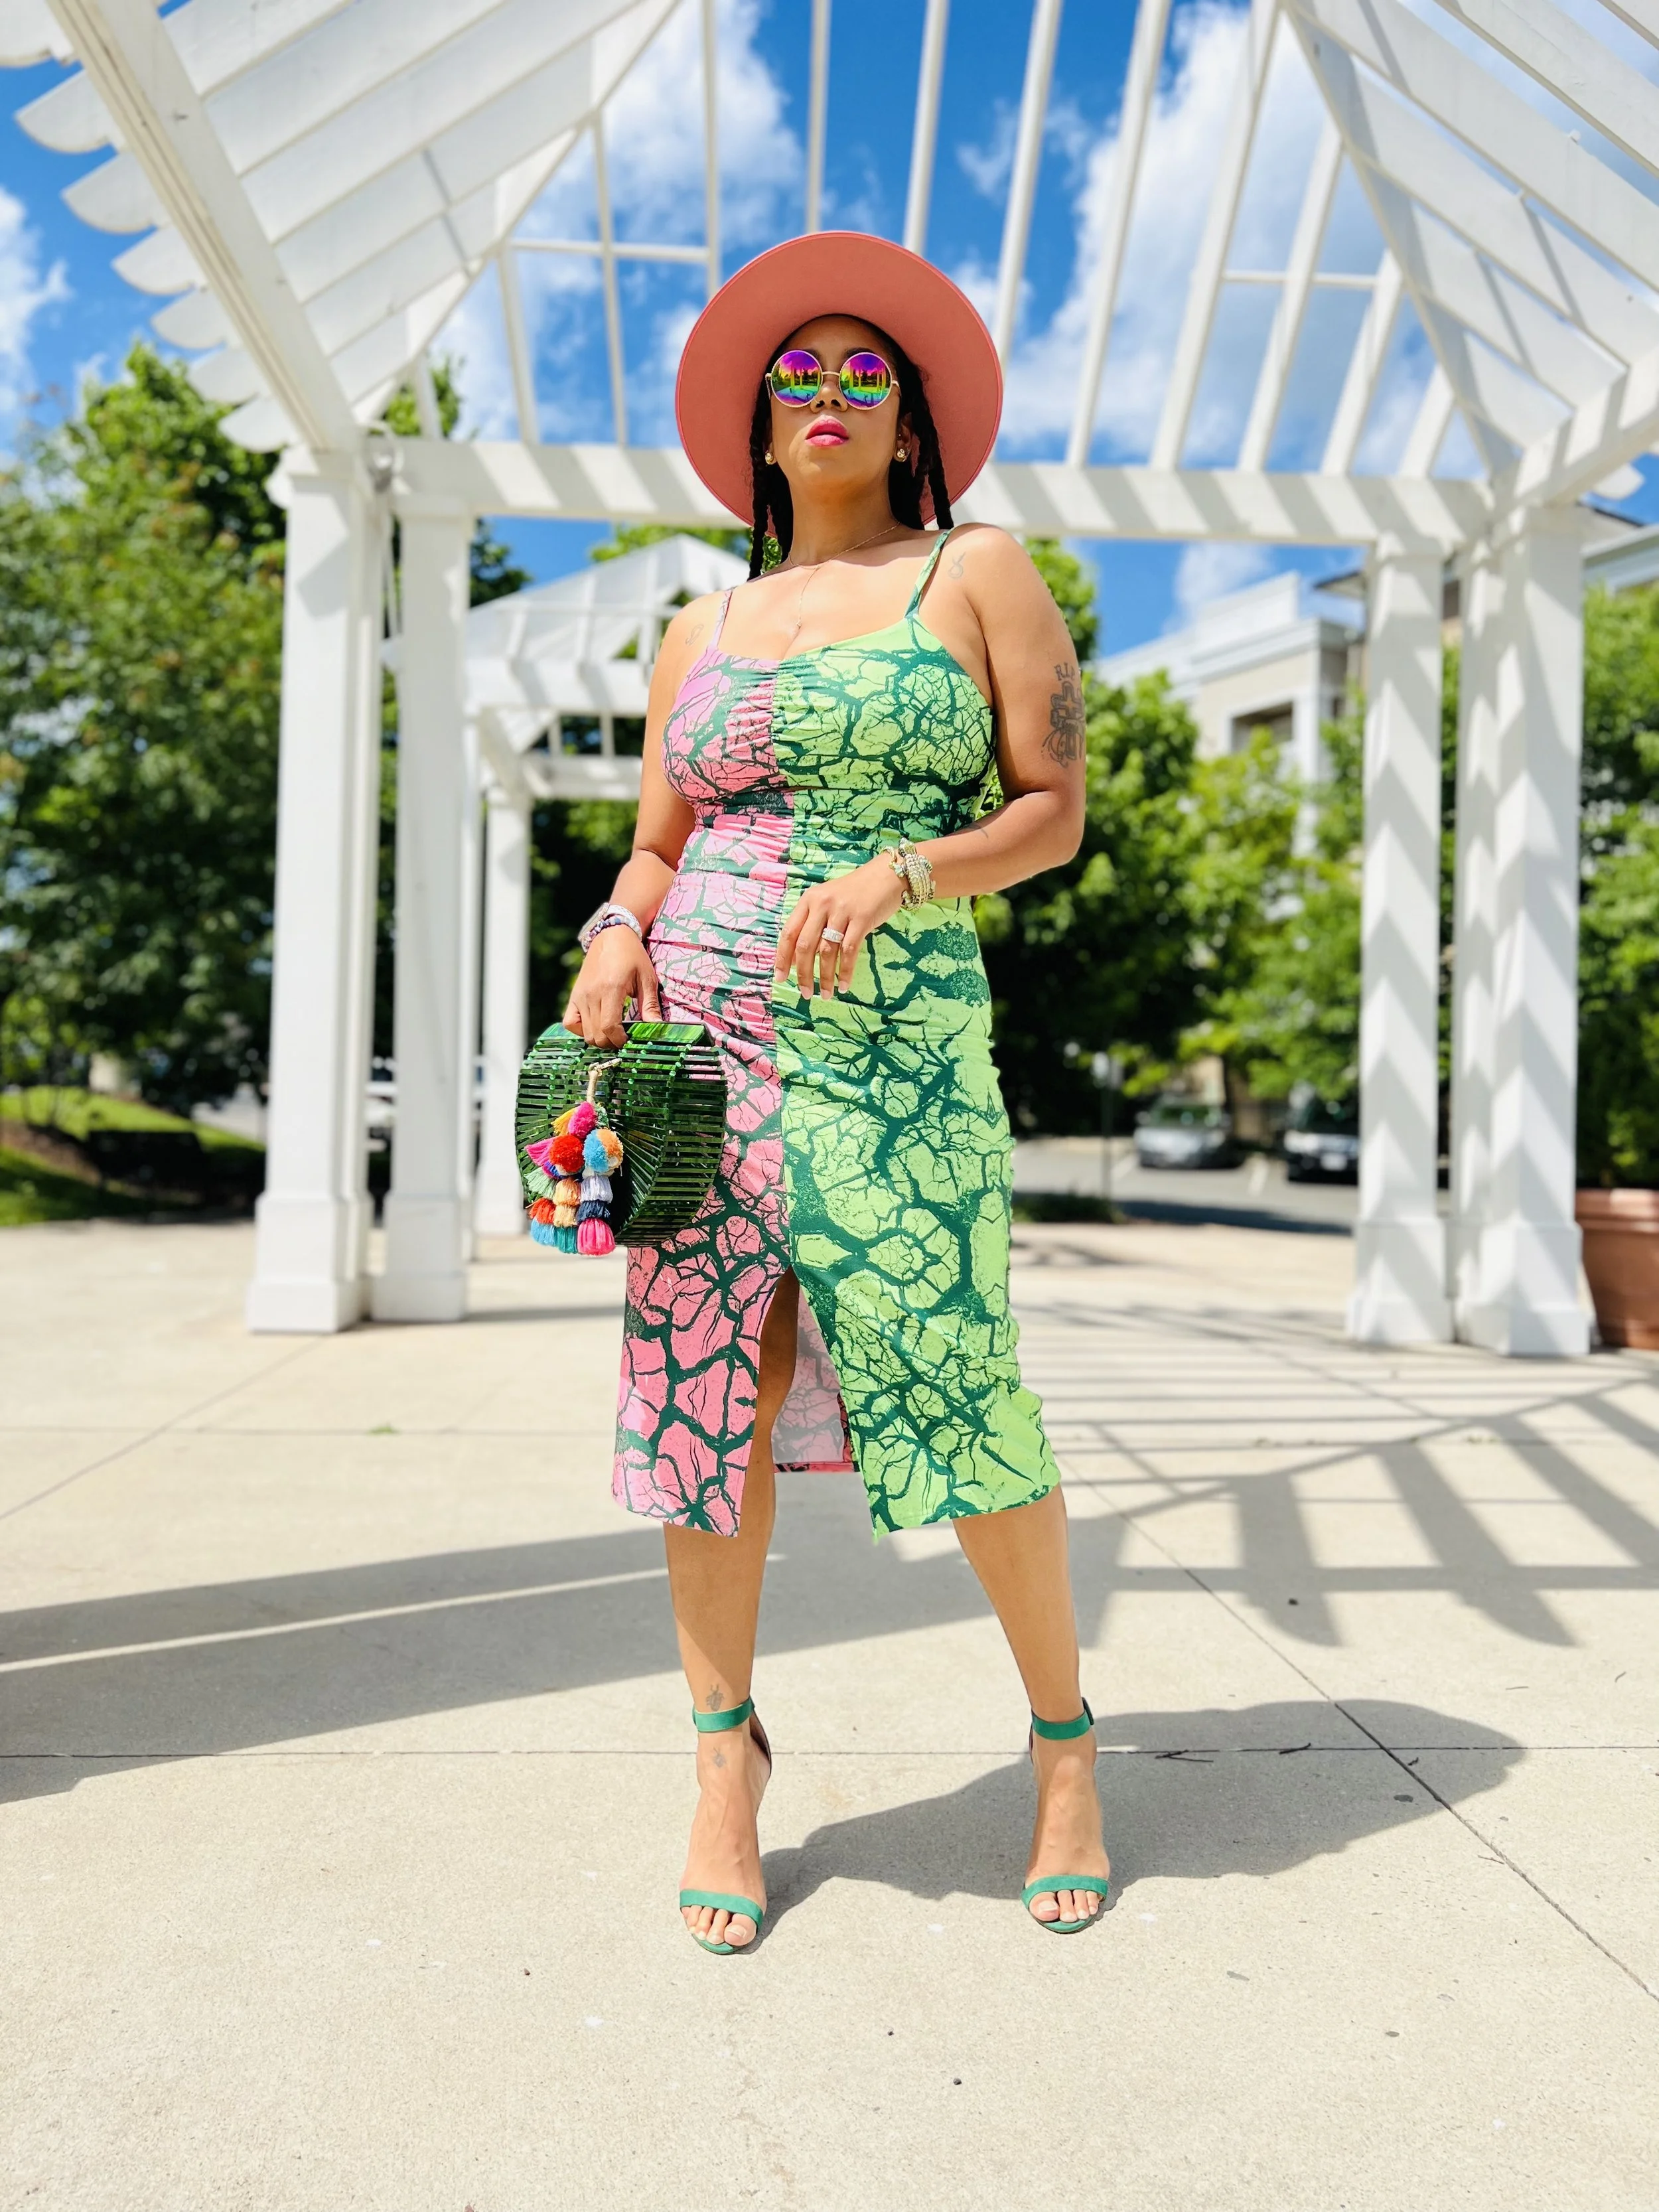
For my first project I went with the Mimi G Simplicity pattern 8639 and Spoonflower Sport Lycra. While sport lycra is most used for swimwear, I love to also create dresses and activewear with this fabric. I used a strong power mesh lining for the bodice portion of the dress and a lighter weight mesh for the skirt. Overall the dress hugs my curves very nicely if I might say so myself.
The pattern is very straight forward and does also include an invisible zipper and darts in the back bodice. I feel if you aren’t the greatest with installing a zipper on stretchy fabrics, you can opt out of the zipper as long as the dress will stretch enough for you to put on the dress. The pattern instructions do not specify but some seams need a zigzag stitch and not a straight stitch. You don’t want your seams popping when you put the dress on and if you sew in complete straight stitches, this will happen.
Mimi G has a YouTube tutorial per usual that you can also refer to.
SpoonflOwer Fabric suggestions
My top choice in every print is Spoonflower Satin! I mean why not satin? Satin is lightweight, smooth, sexy (slip dress season) and perfect for maxis, blouses, and as my friend Seweu likes to say booty clappers. Lol
Sport Lycra is my next favorite because we’re making all the swimsuits this season right? But we can also make all the activewear and dresses with this one too.
All the knits Spoonflower offers are a great choice, Modern Jersey being high on my list for color boldness.
Chiffon and Poly Crepe de Chine are also perfect for those flowy lightweight blouses, coverups, and dusters for summer.
The Lightweight Cotton Twill has won me over in the bottom weight fabric category. I have plans to make several boiler suits and jumpsuit with this fabric.
Cotton Poplin and Cotton Lawn are great for all those gathered, big, puffy sleeves we want this summer.
I love creating new designs so this is only the beginning. My next collection will be dropping soon!!
Please subscribe to my newsletter so you can stay up to date with new drops. I’m so excited to share this portion of my creativity with you all and I can’t wait to see what you create!! Thank you for stopping by and your continued support.
Happy Summer!!
Details Honey
Here we are in the thick of Spring!
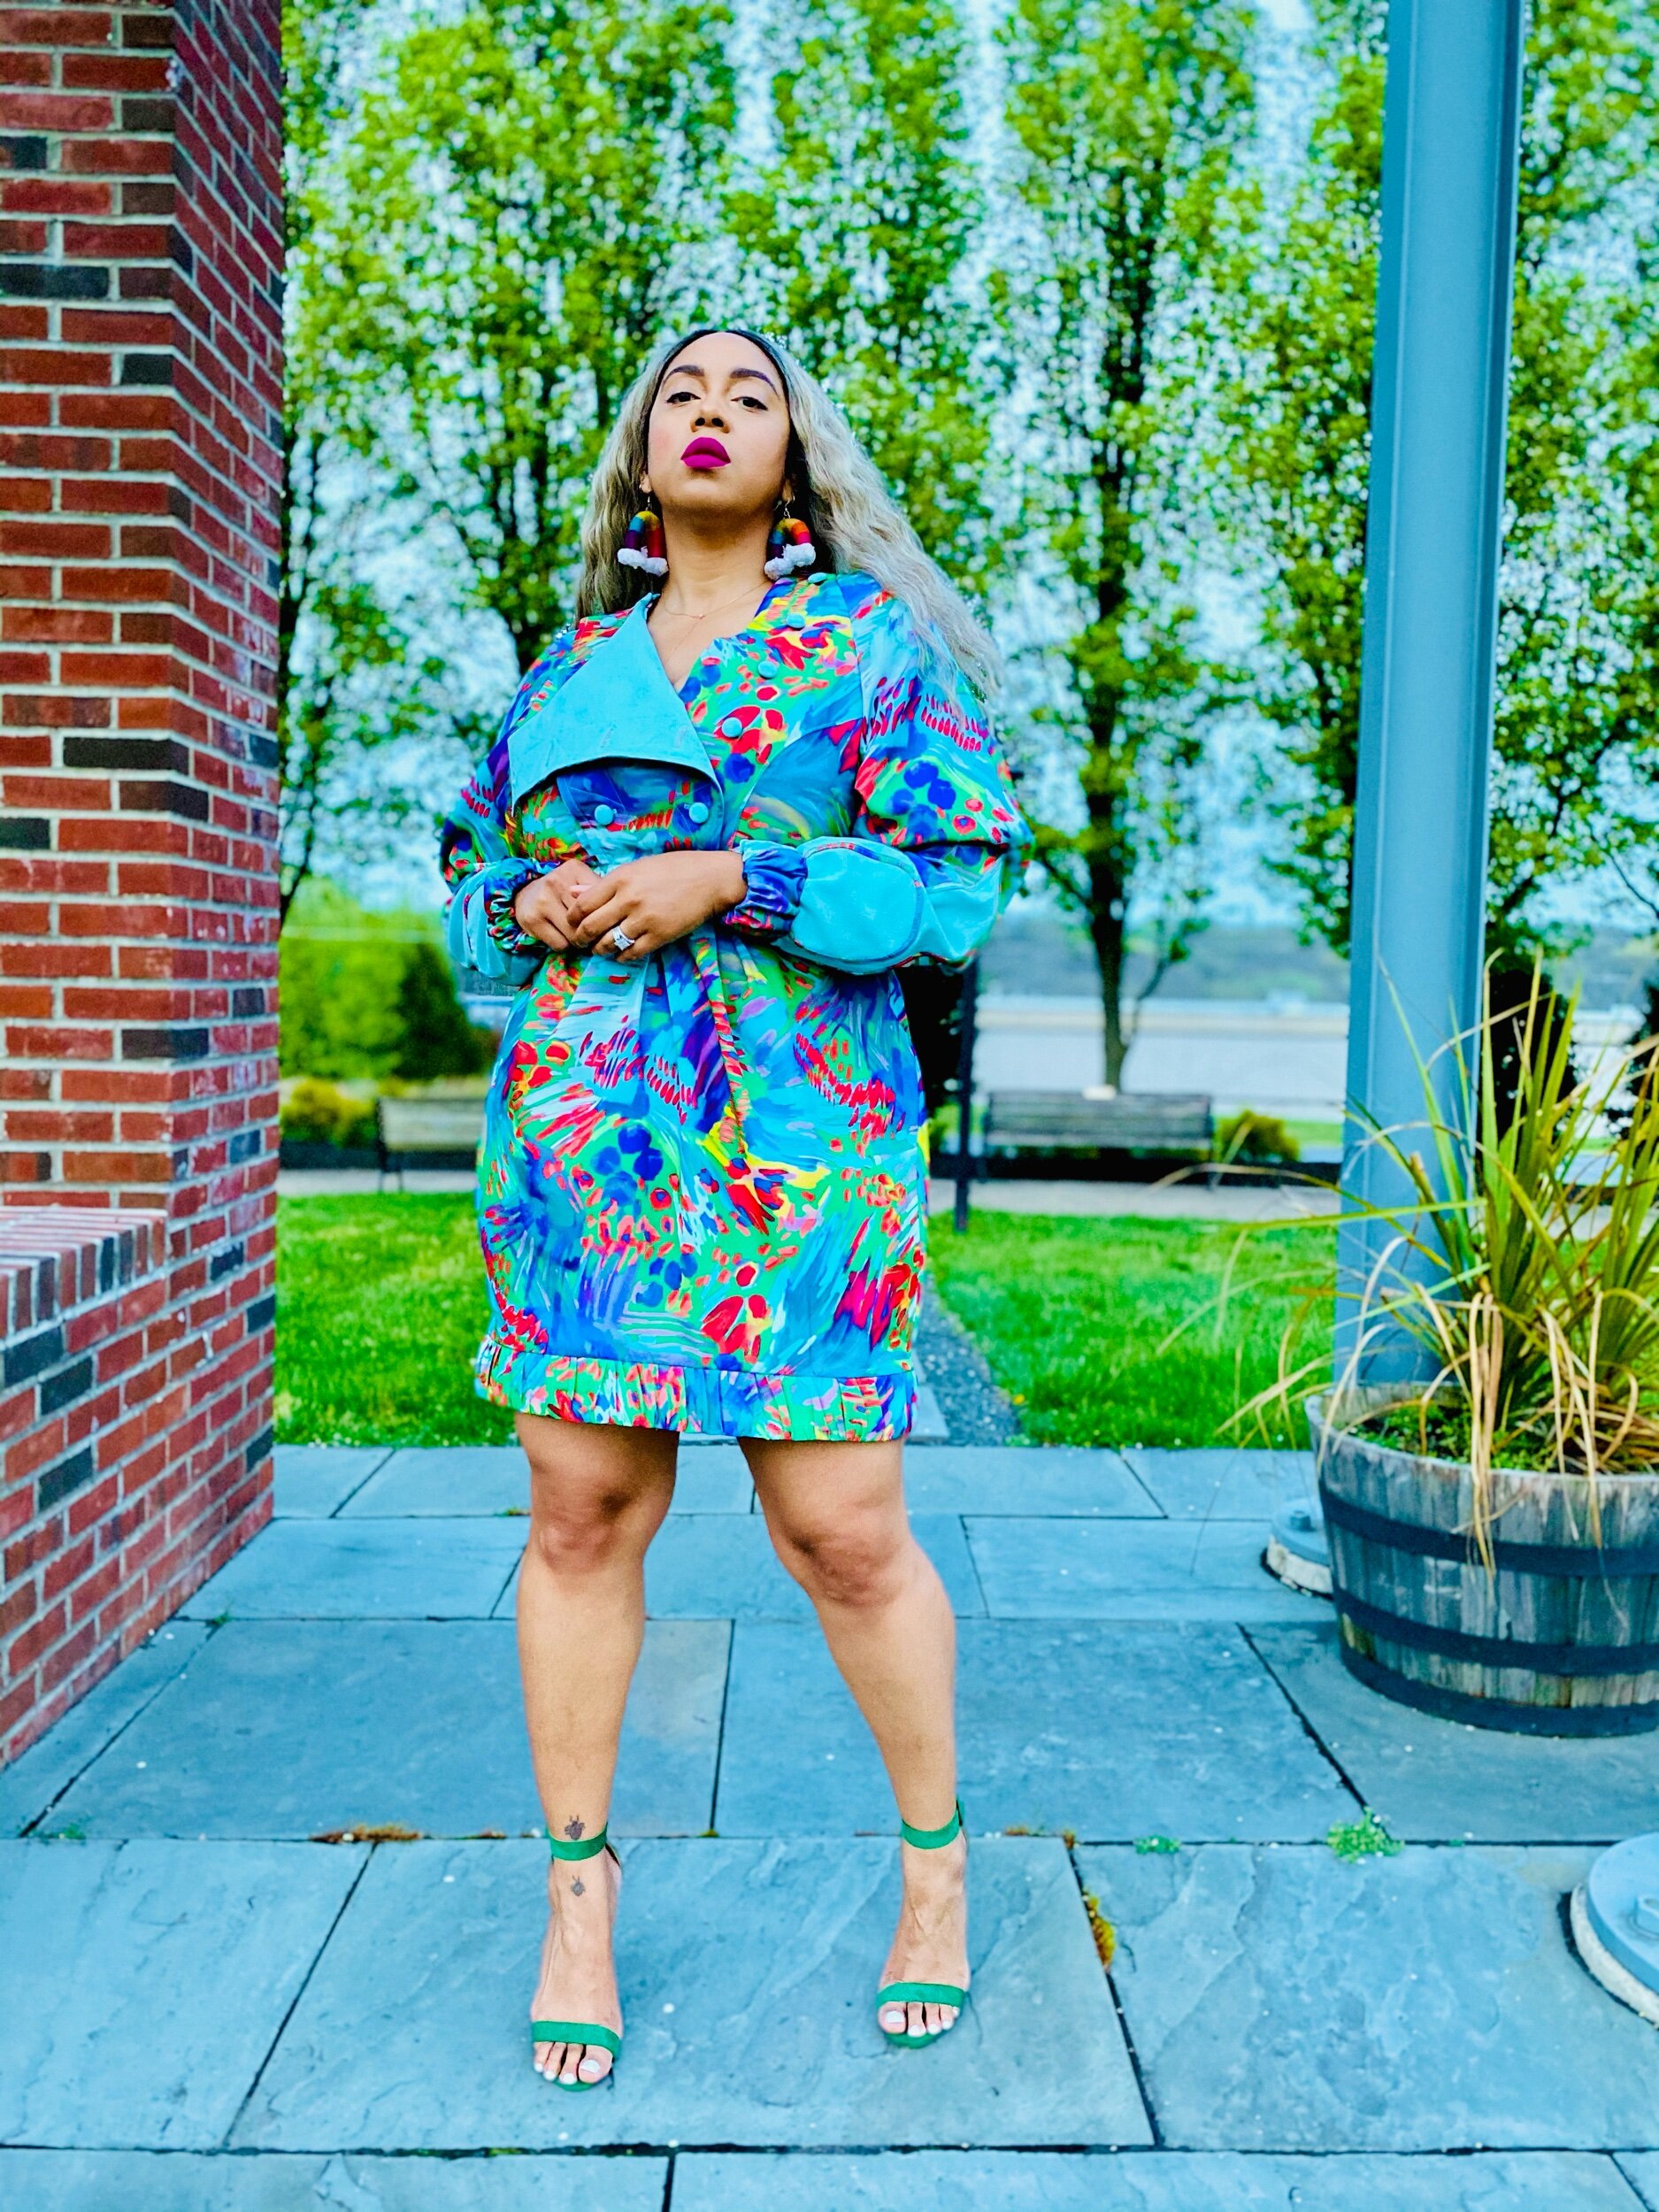
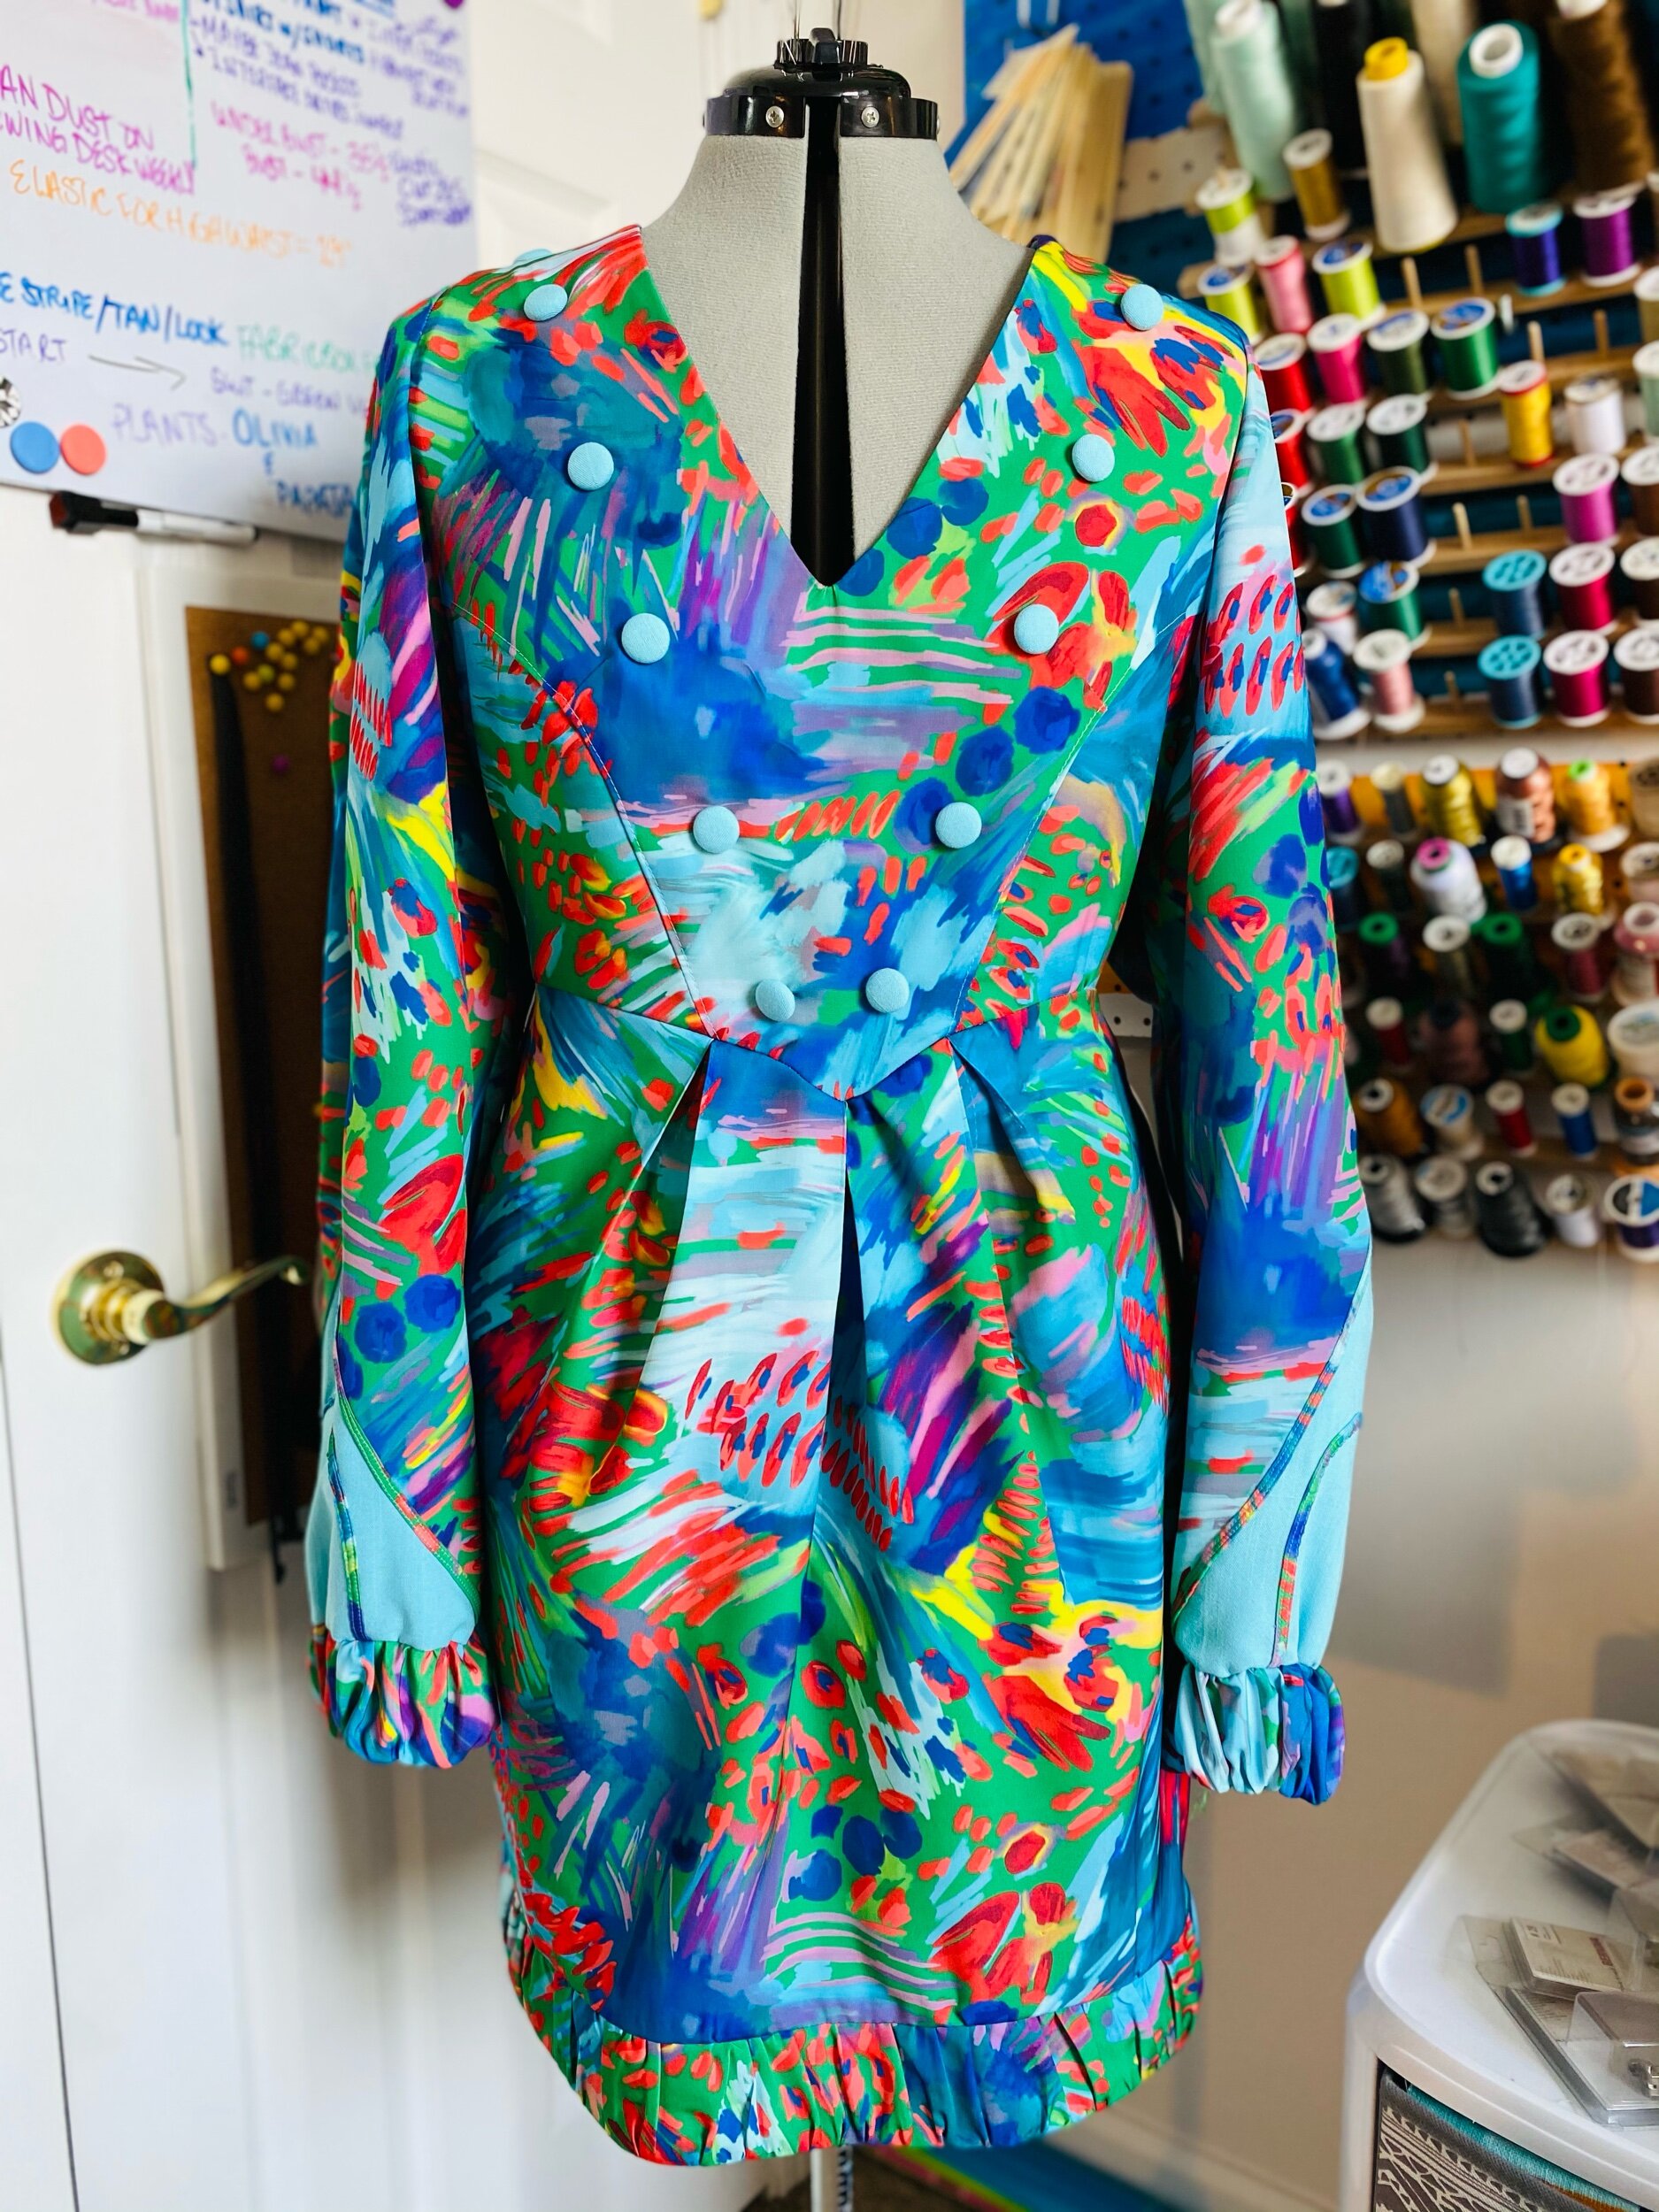
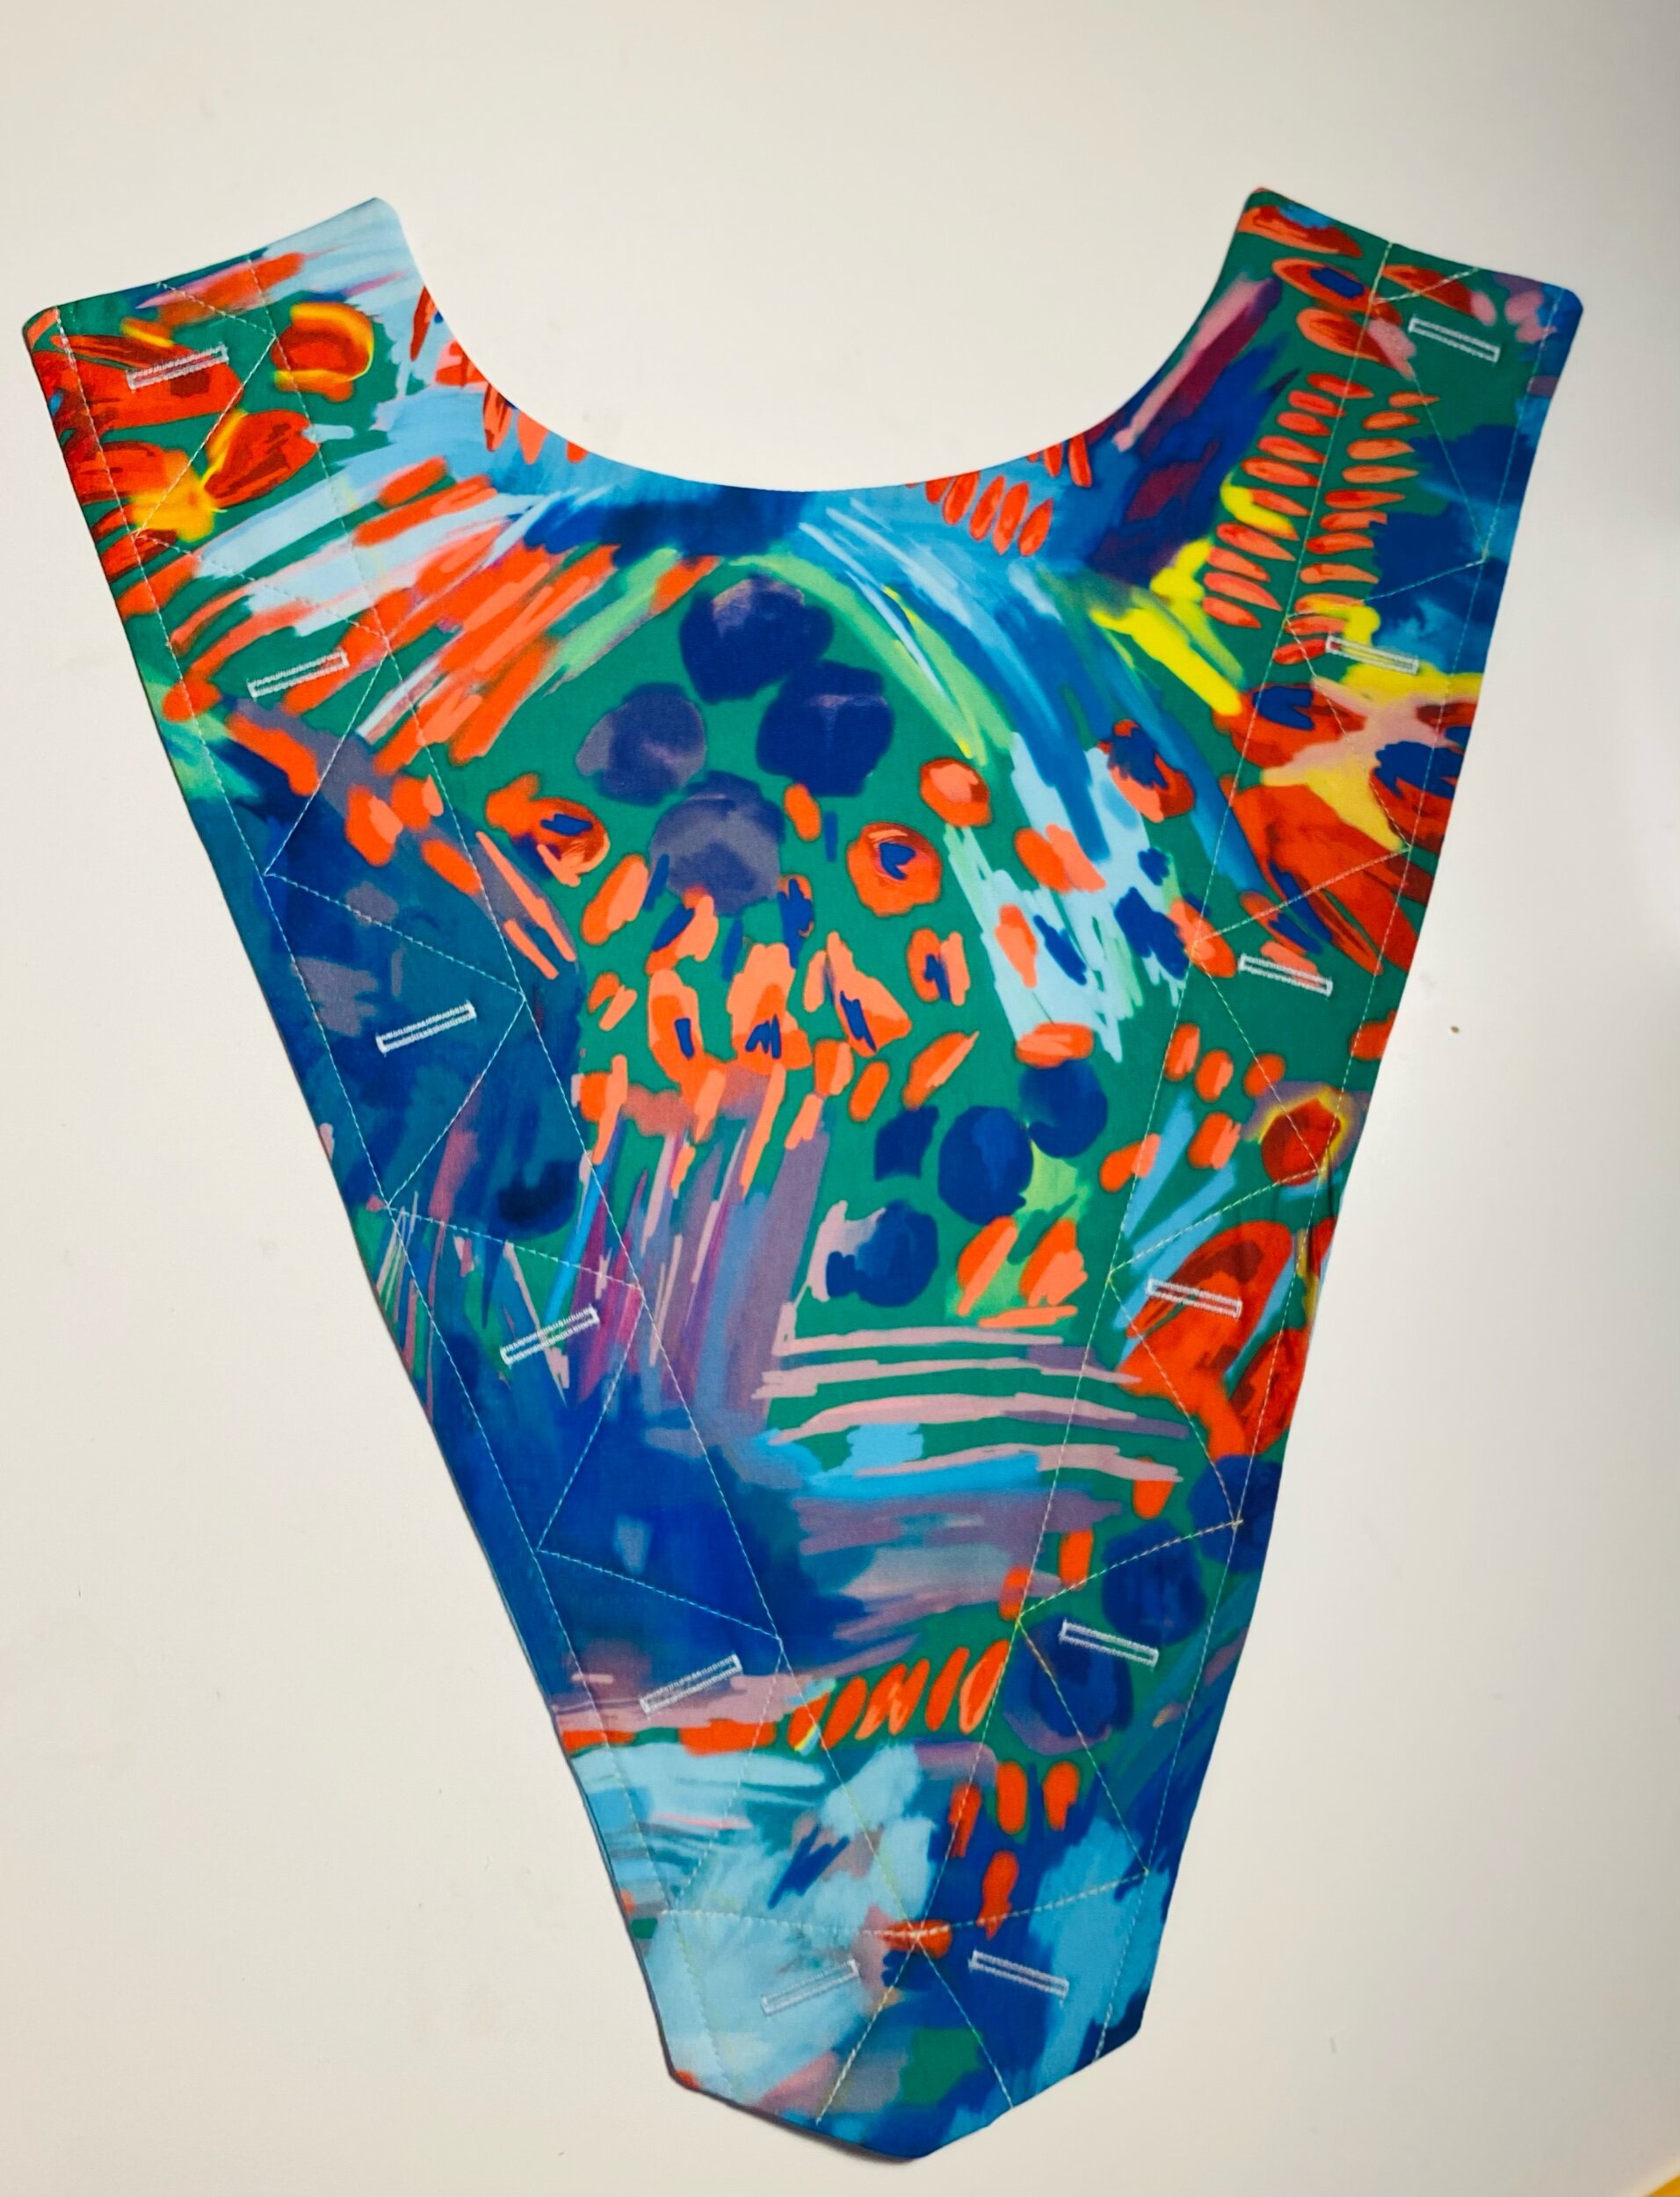
I have dreamed of the perfect fabric for this Vogue 1548 Guy Laroche pattern for quite some time. The model on the pattern is wearing this dress in white which to me was very chic but not bold enough. It was then I realized I didn’t want to use a solid this go round. Just before I became a Spoonflower Ambassador I racked up on a few prints I had my eye on. A few of those prints were obviously my sis Katie Kortman. So I had this Spoonflower Silky Faille that I never used and my machine was ready!
Designing
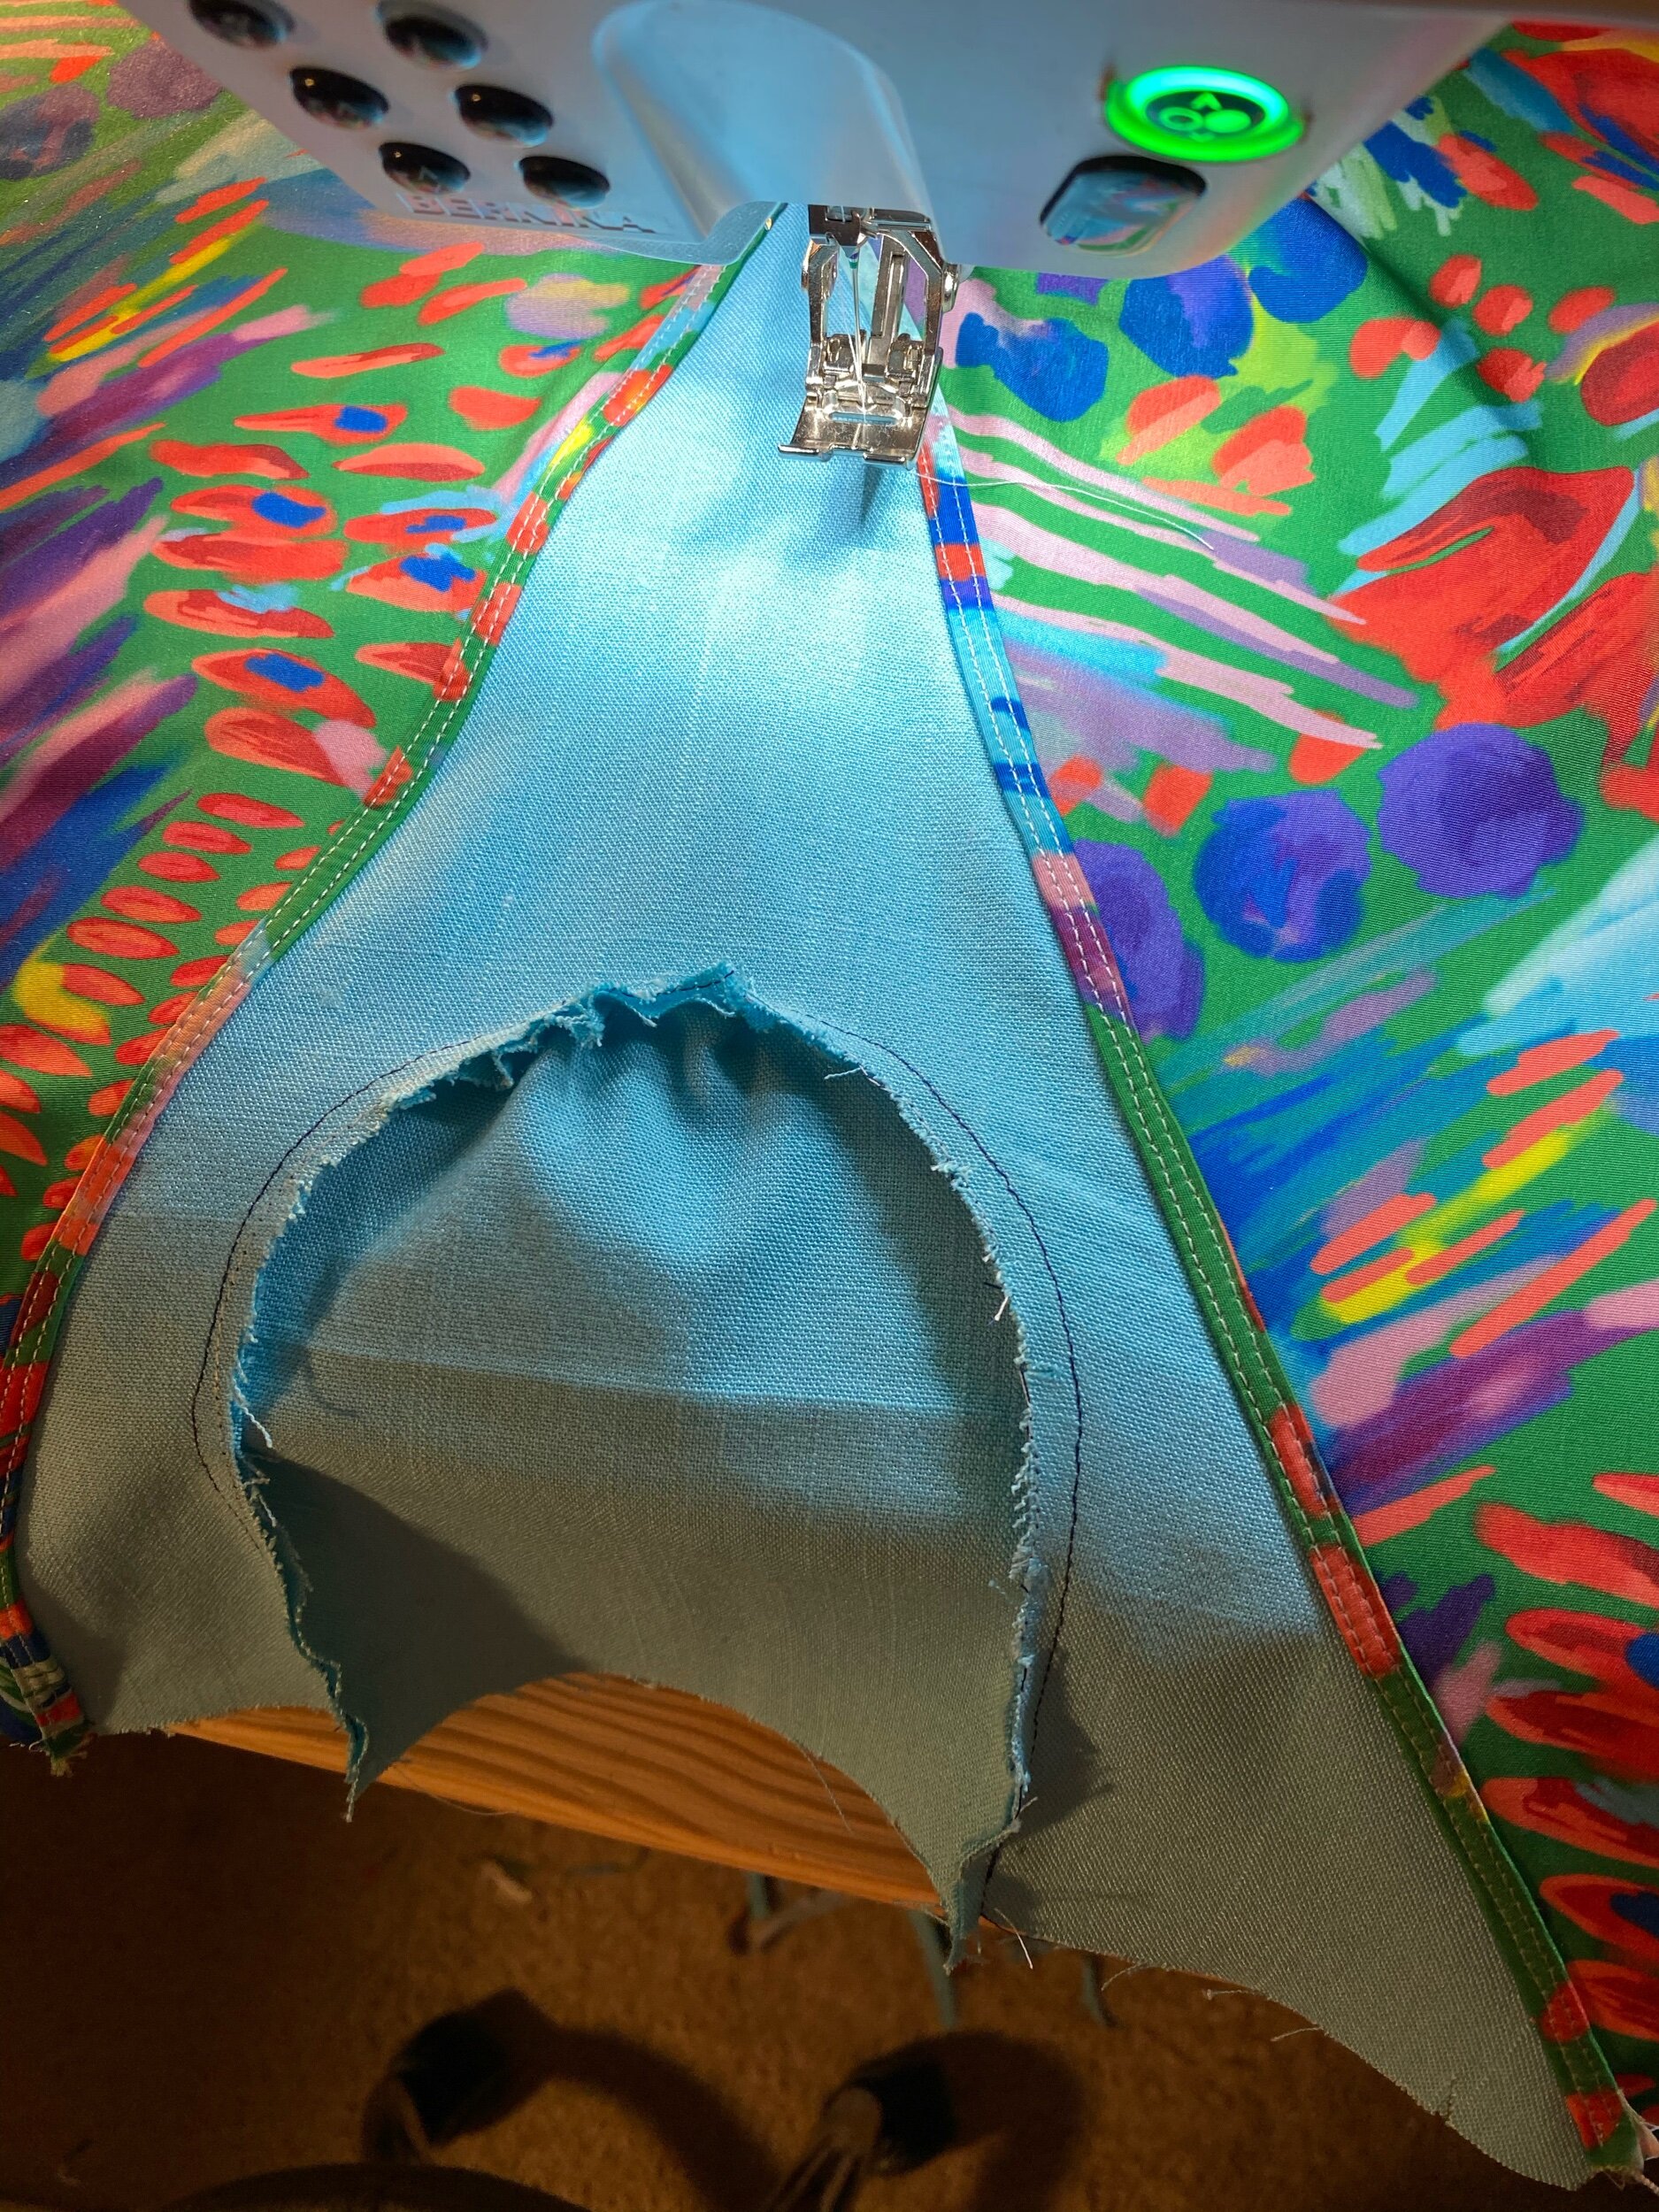
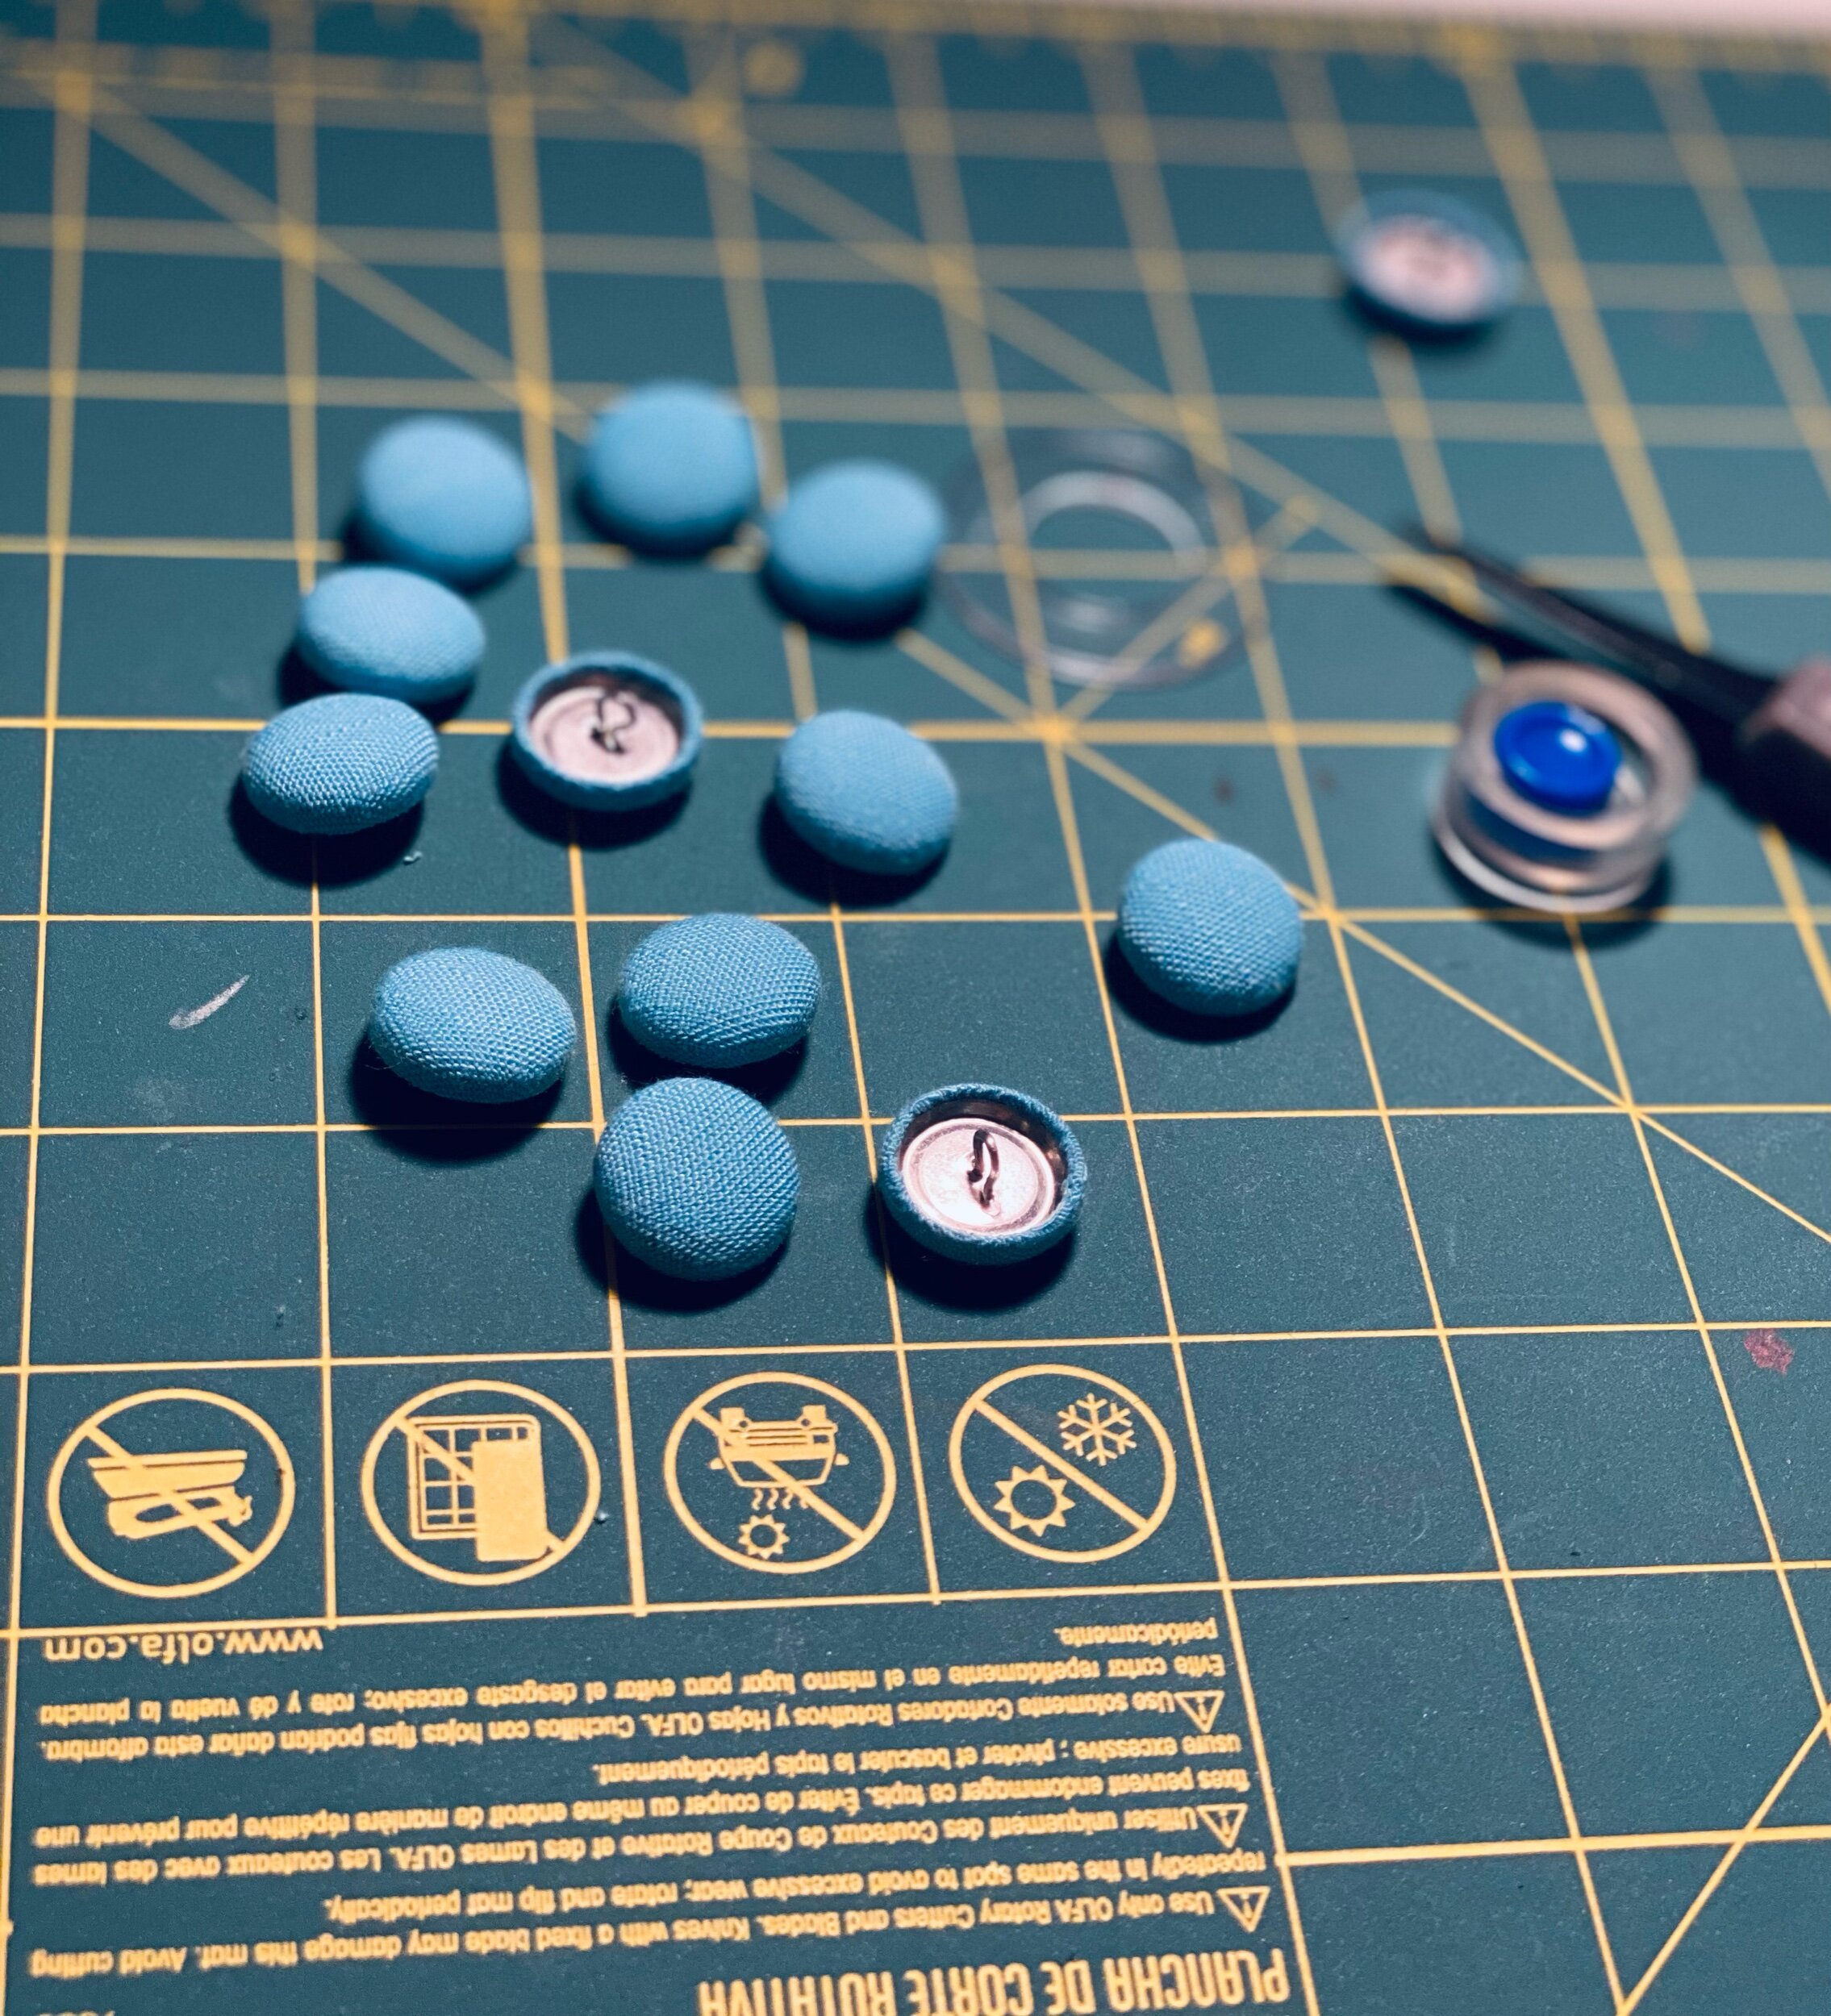
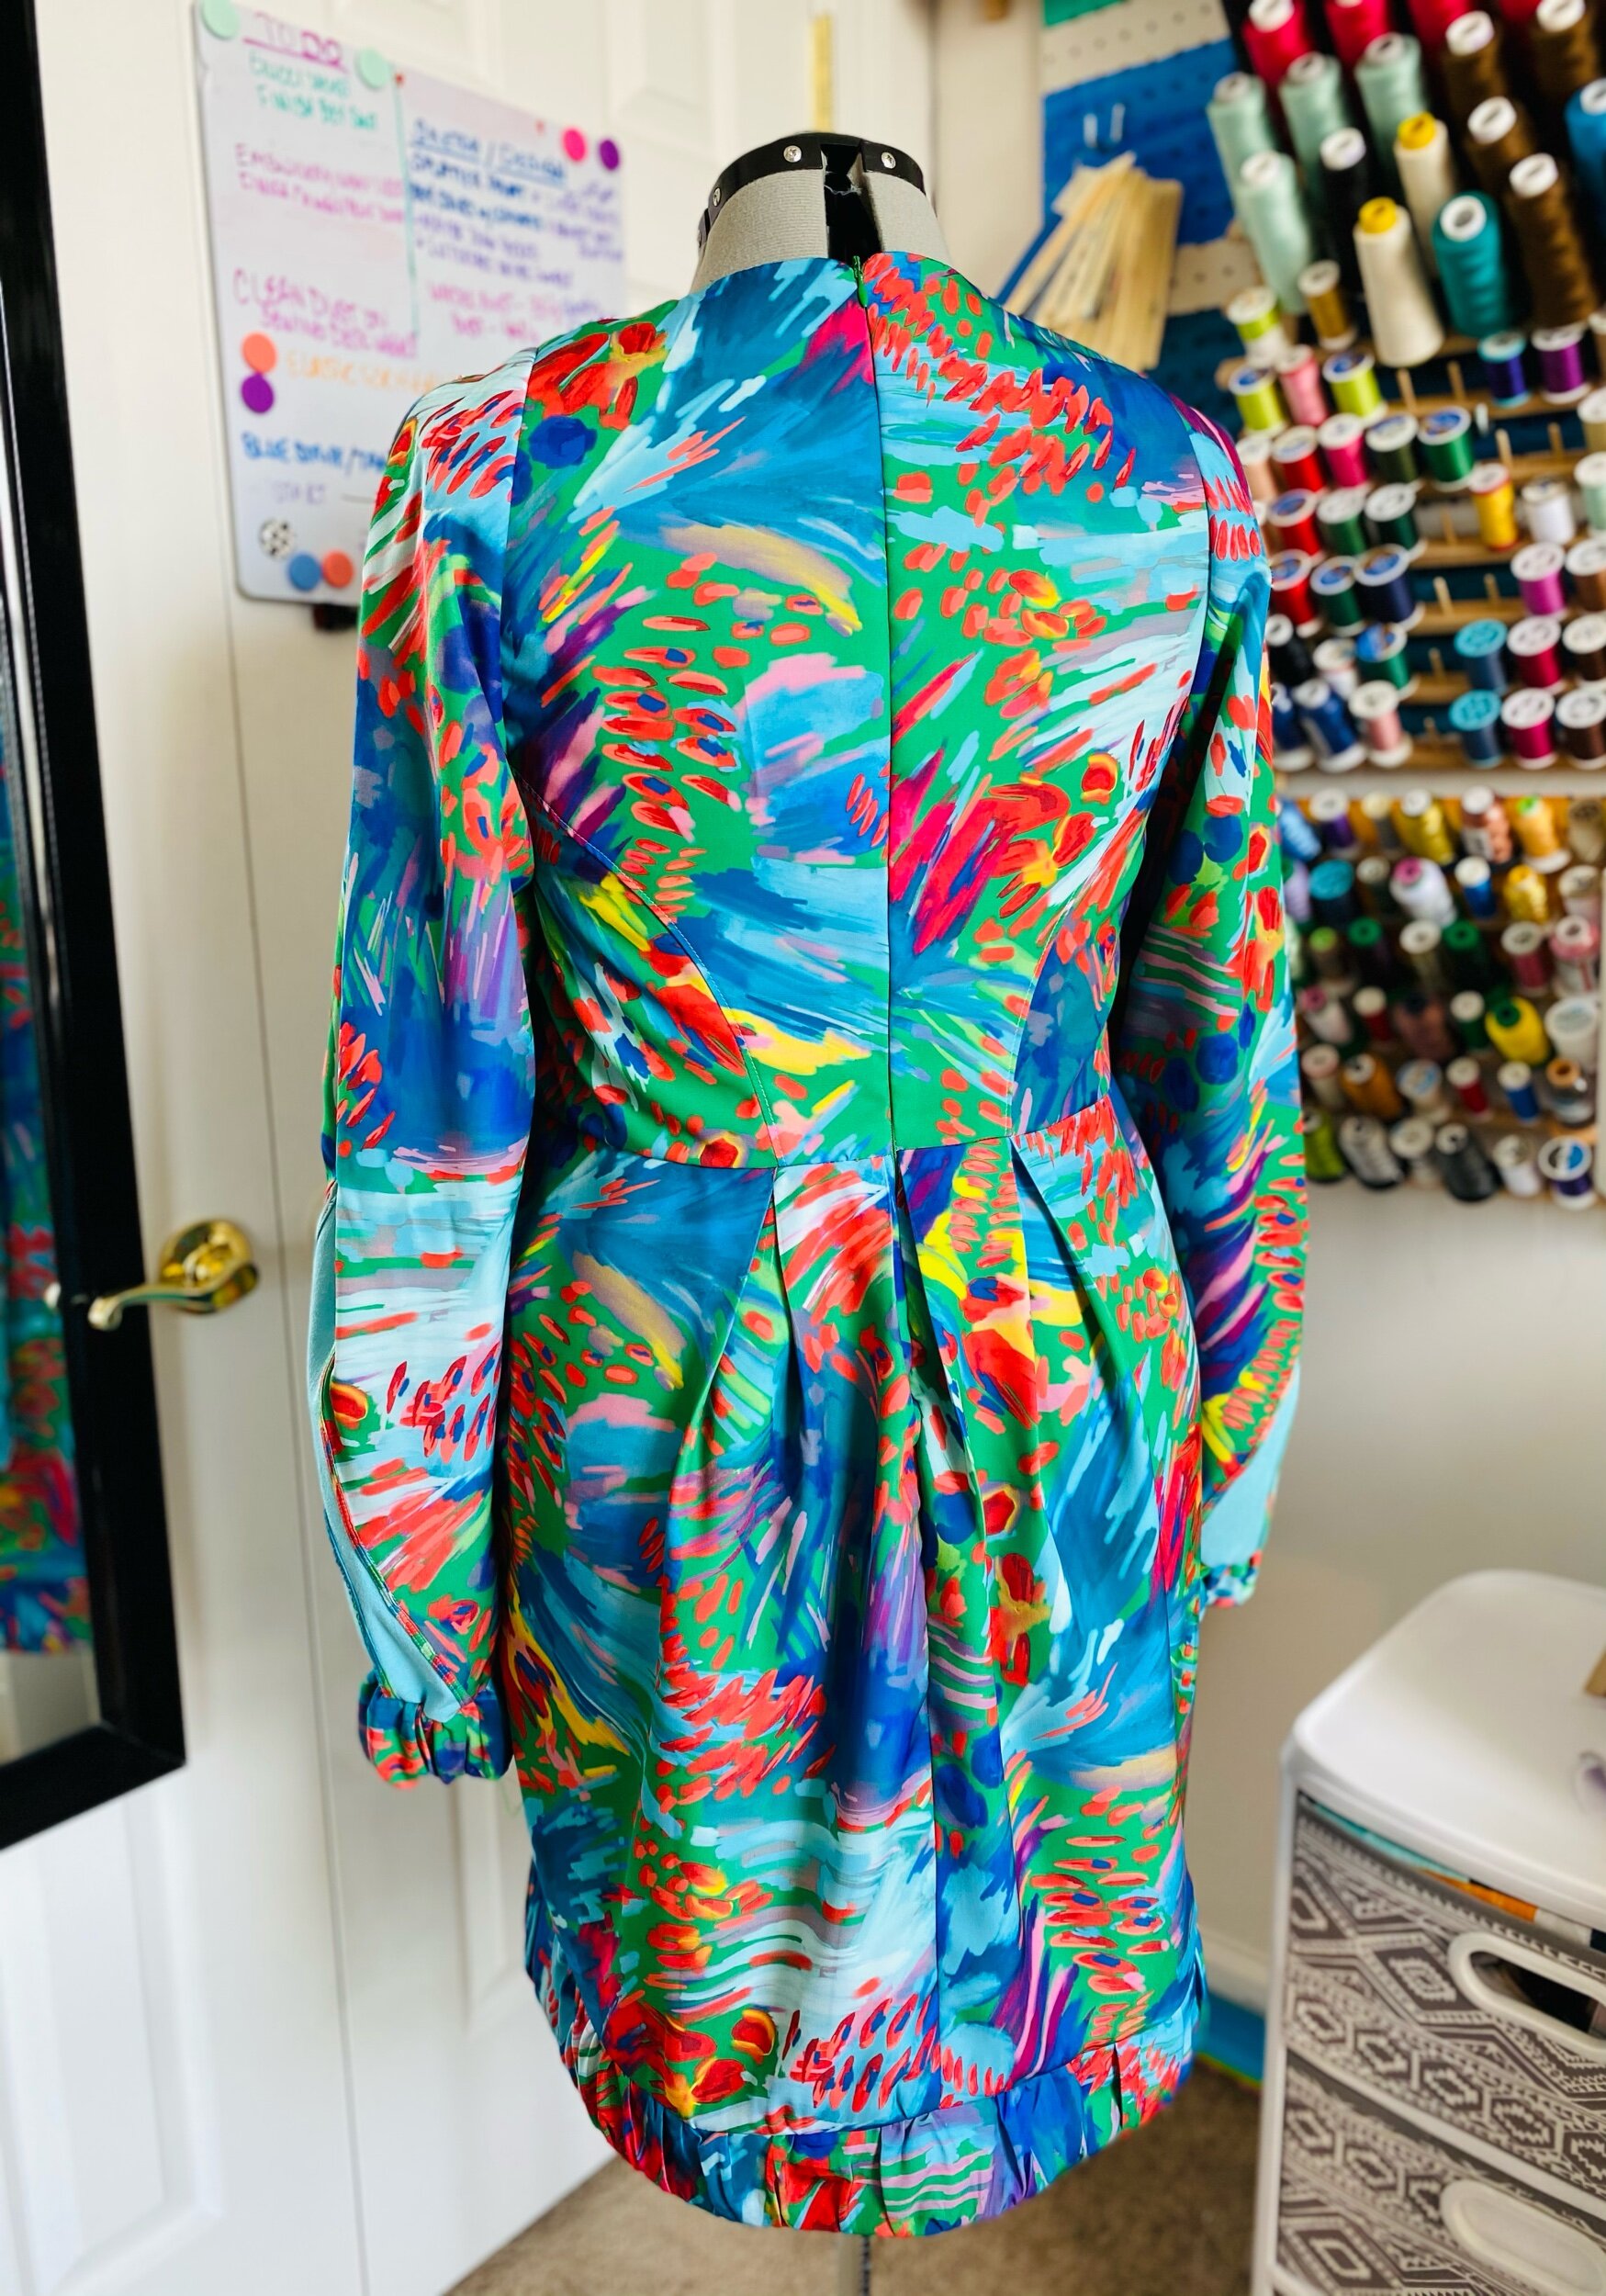
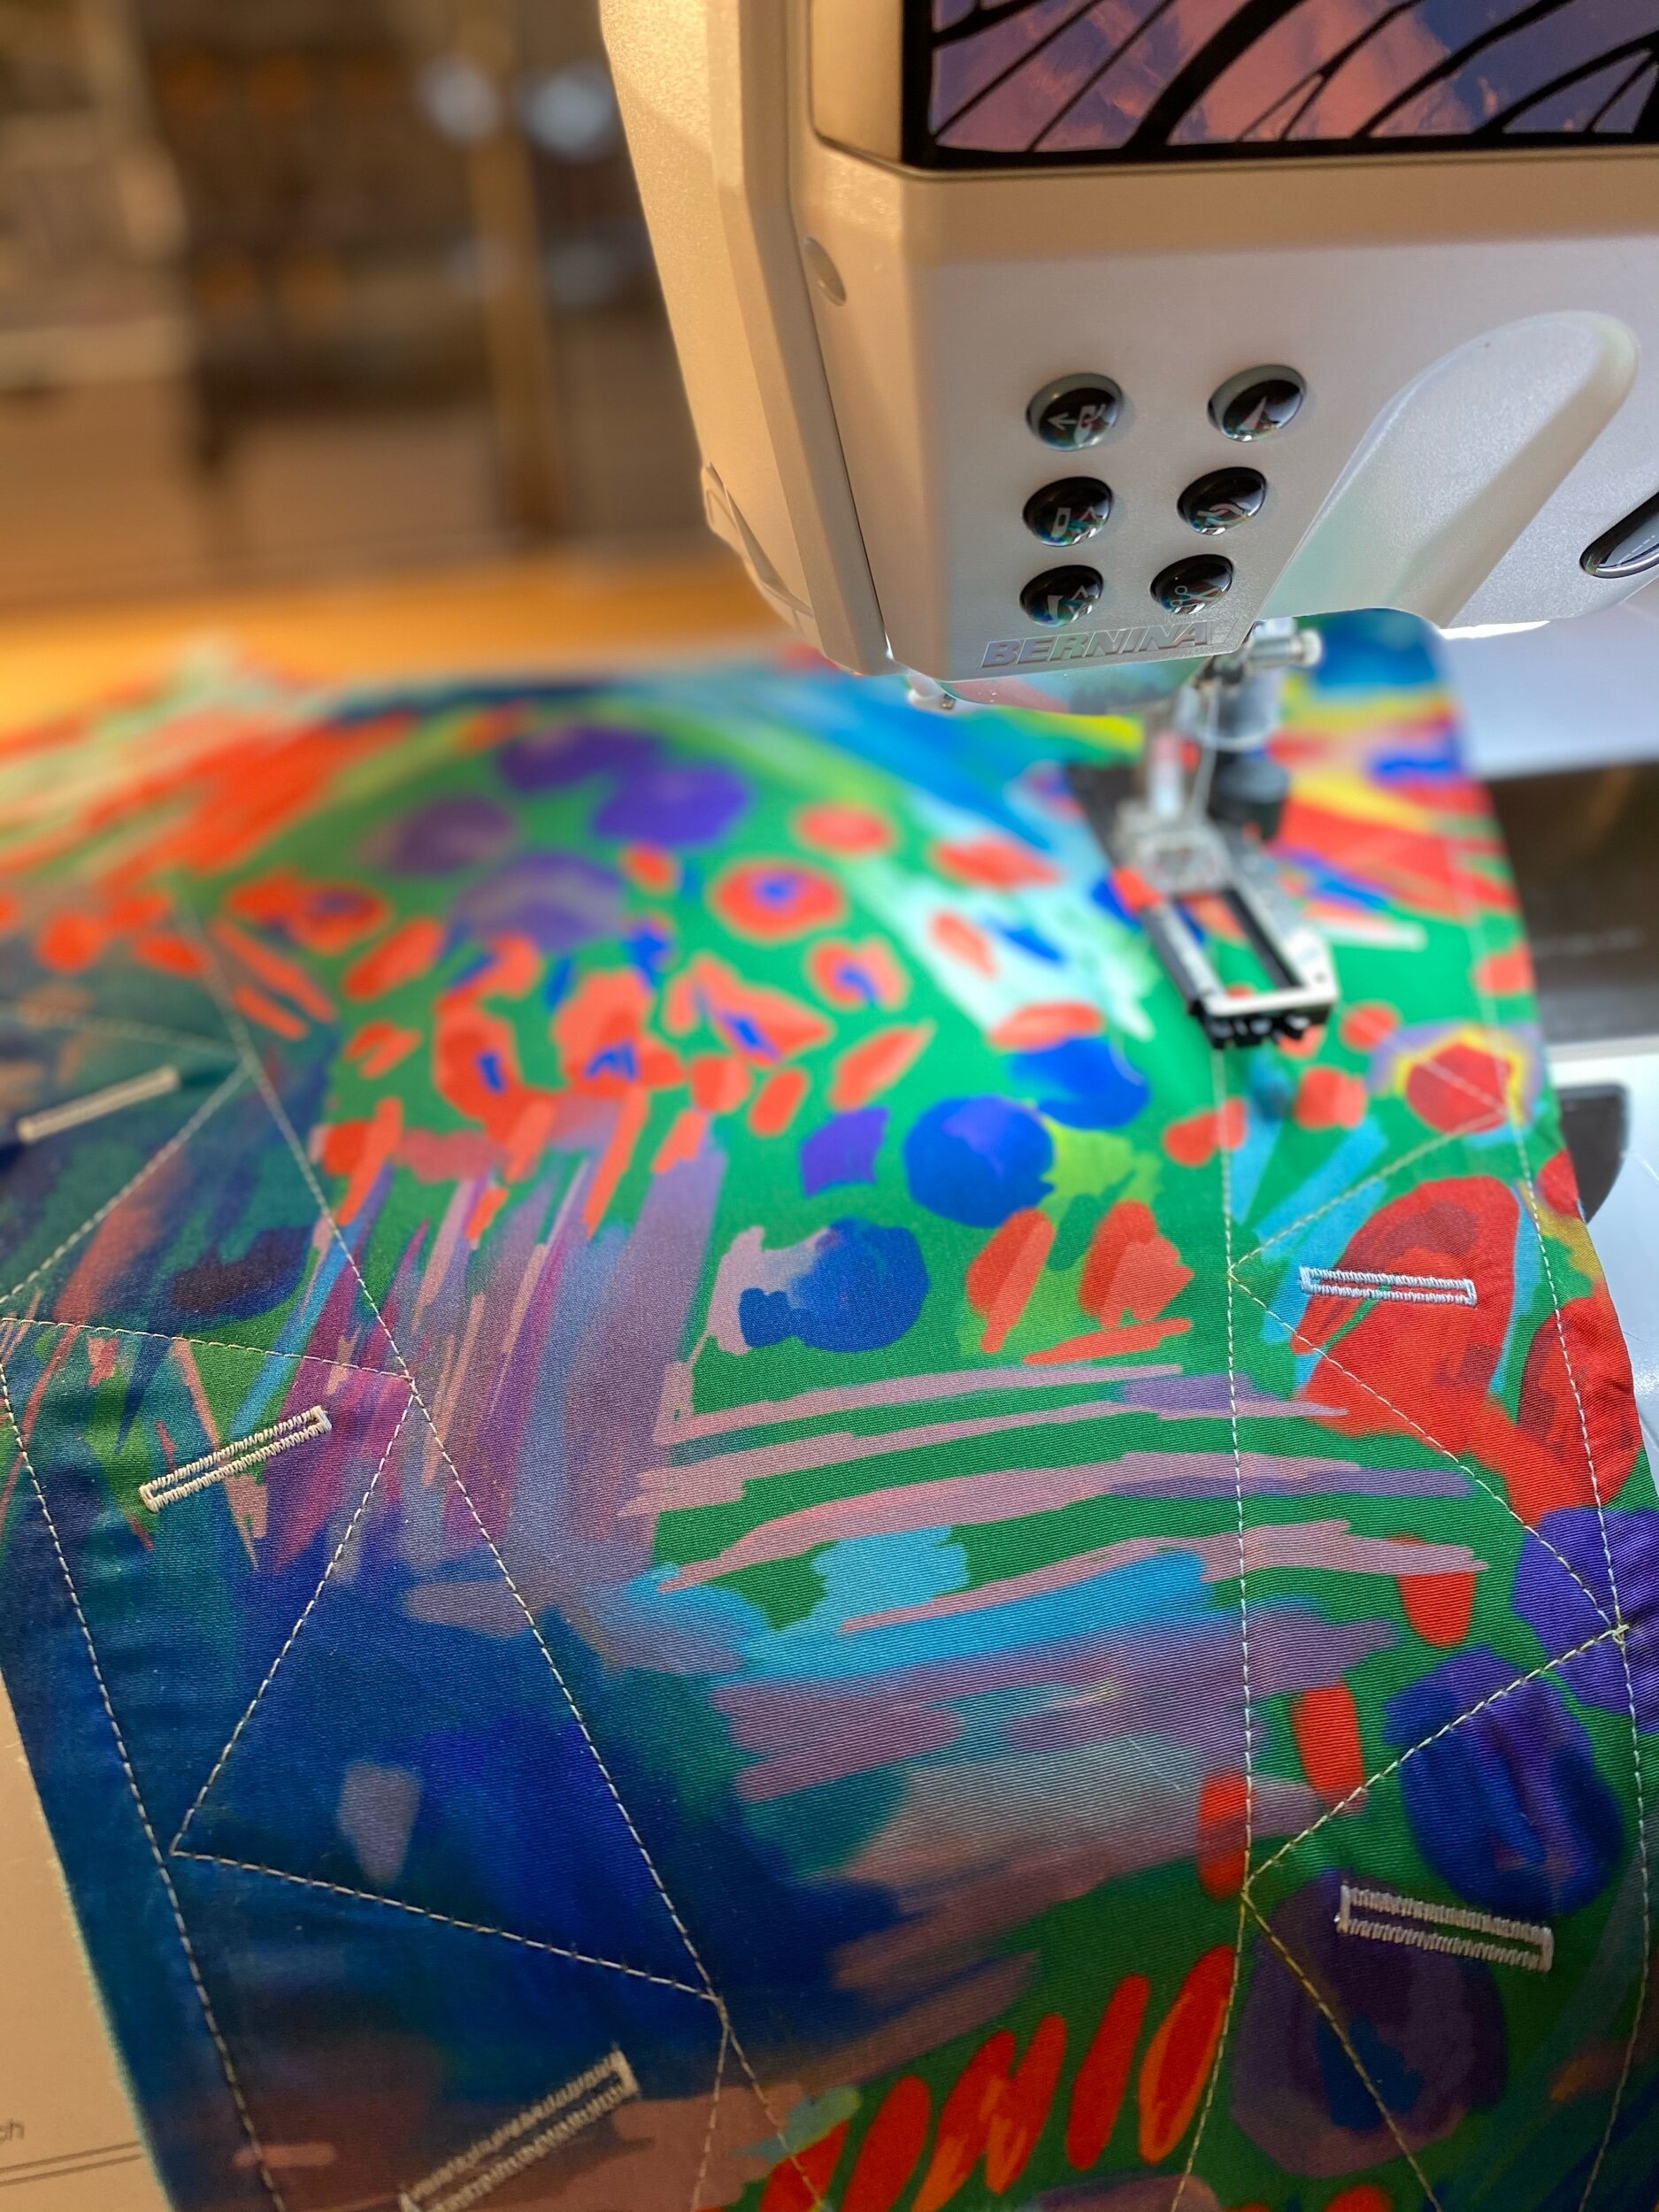
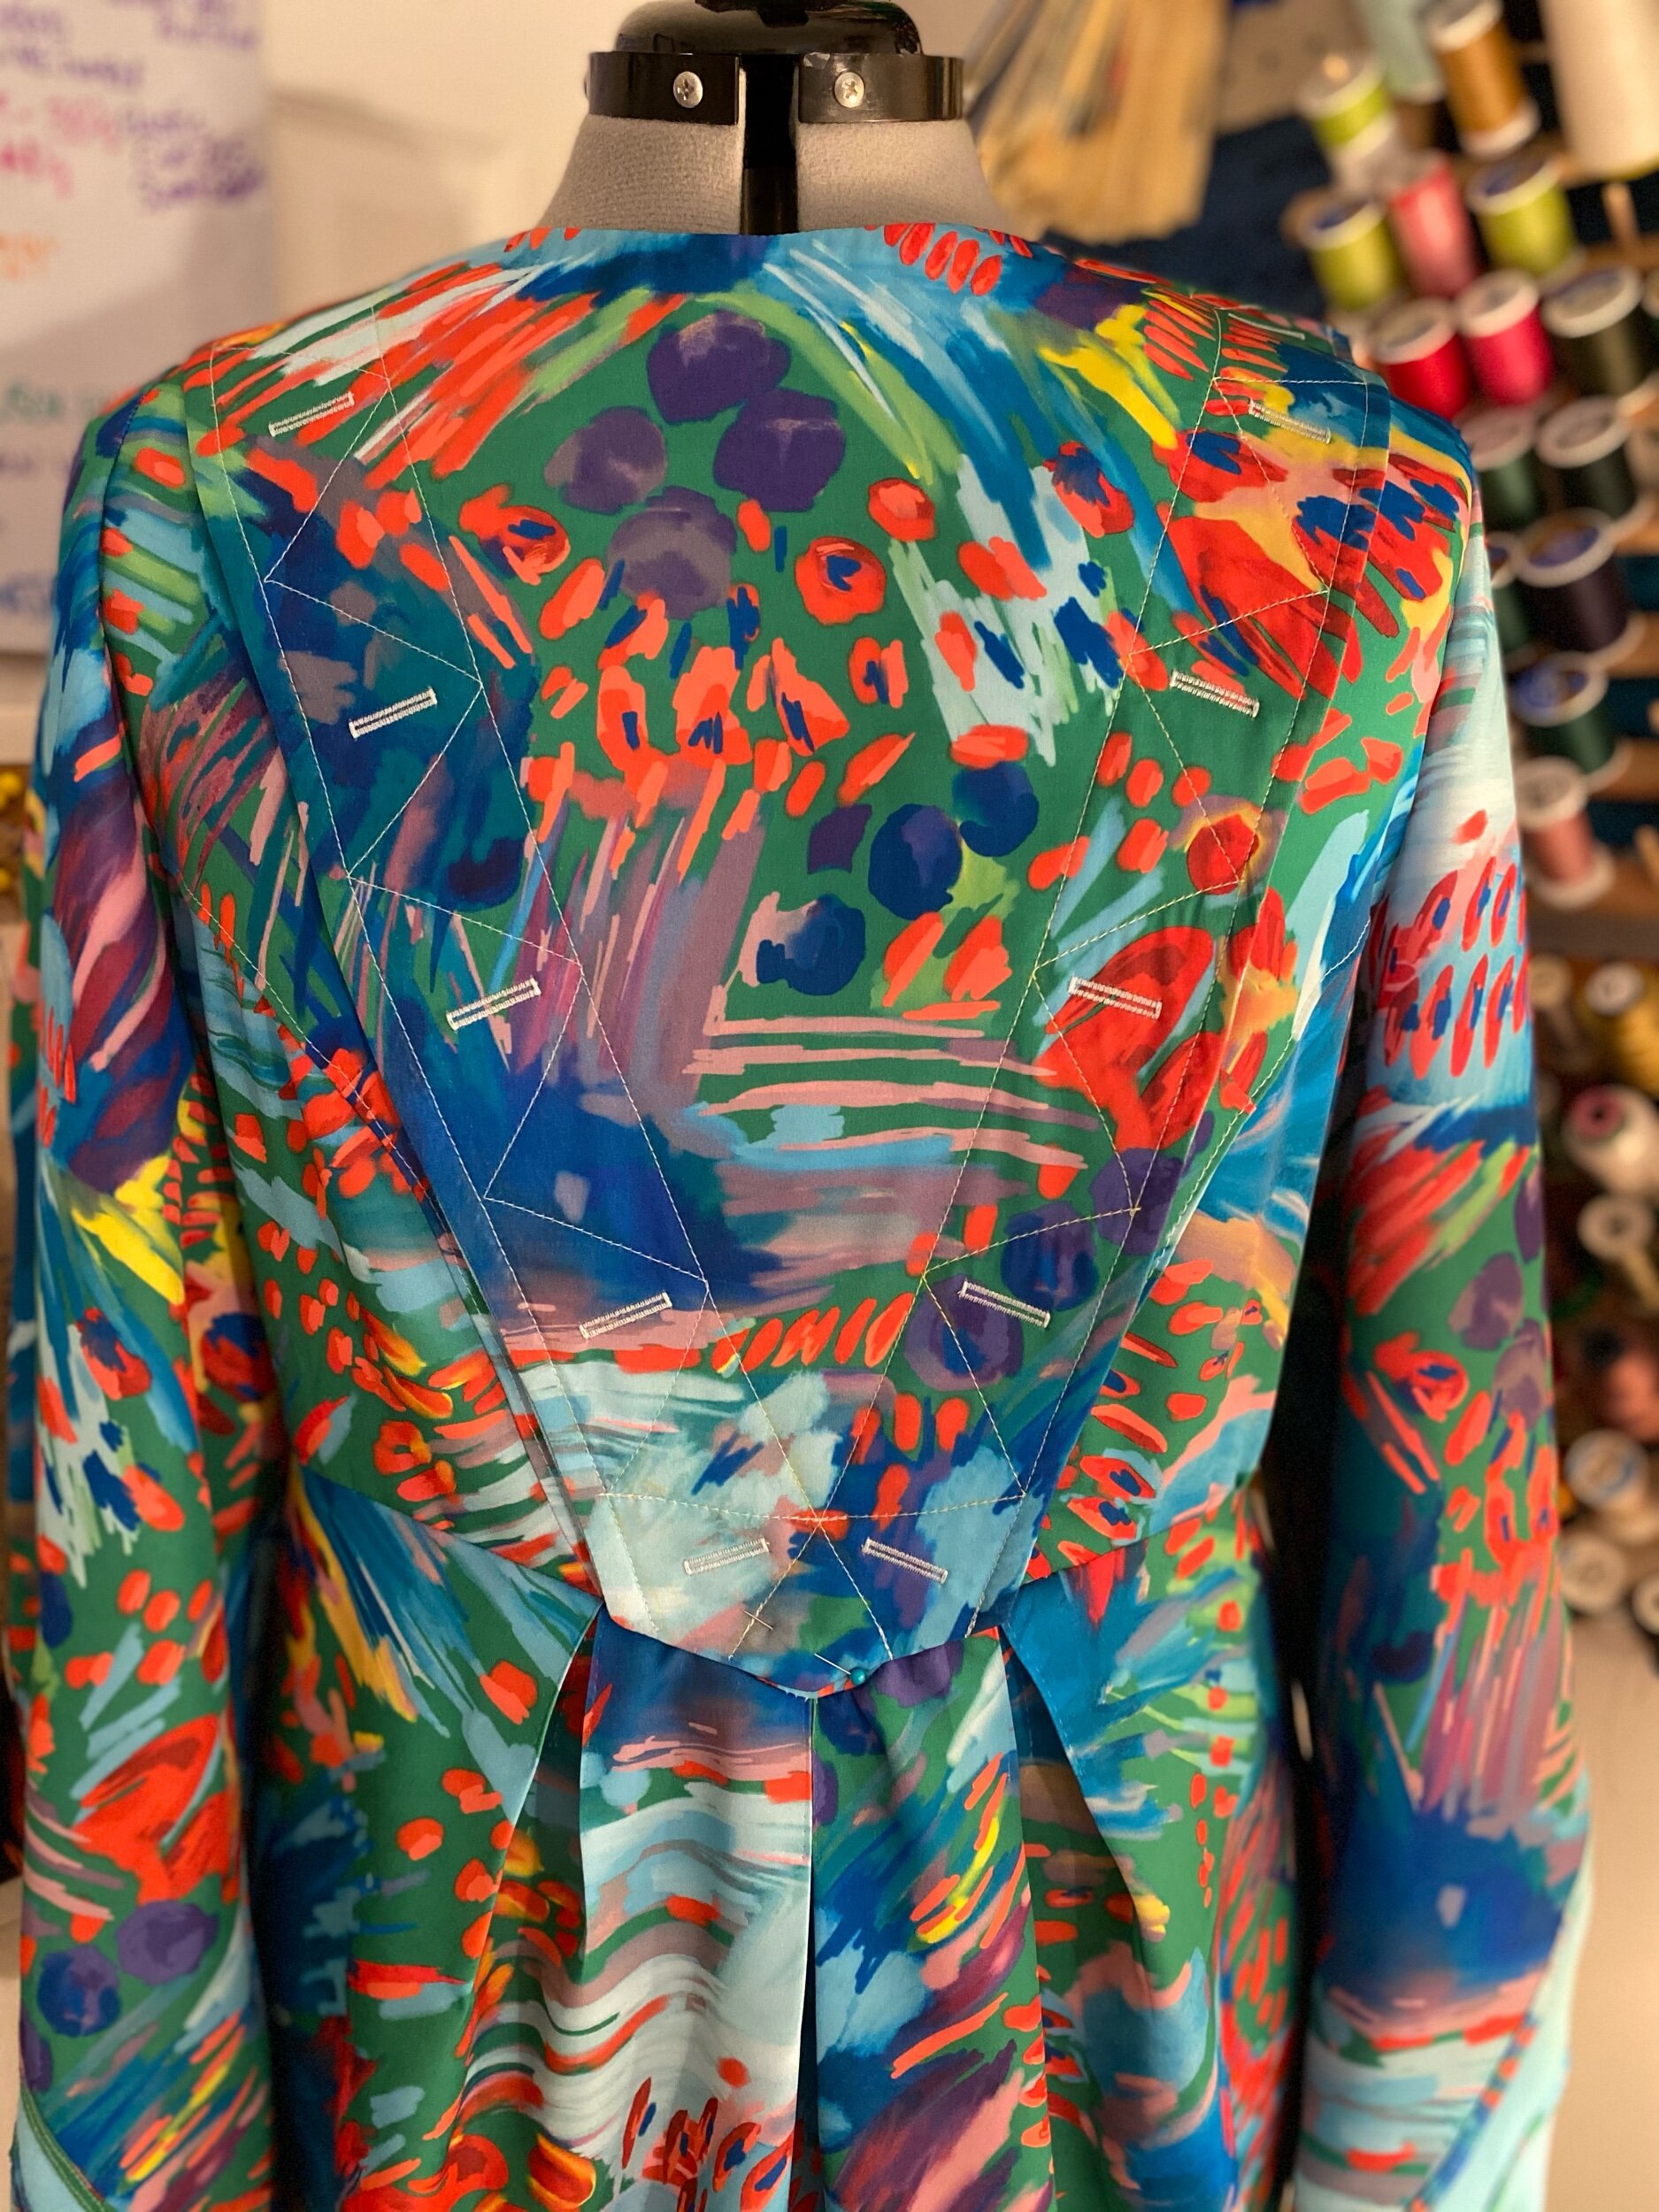
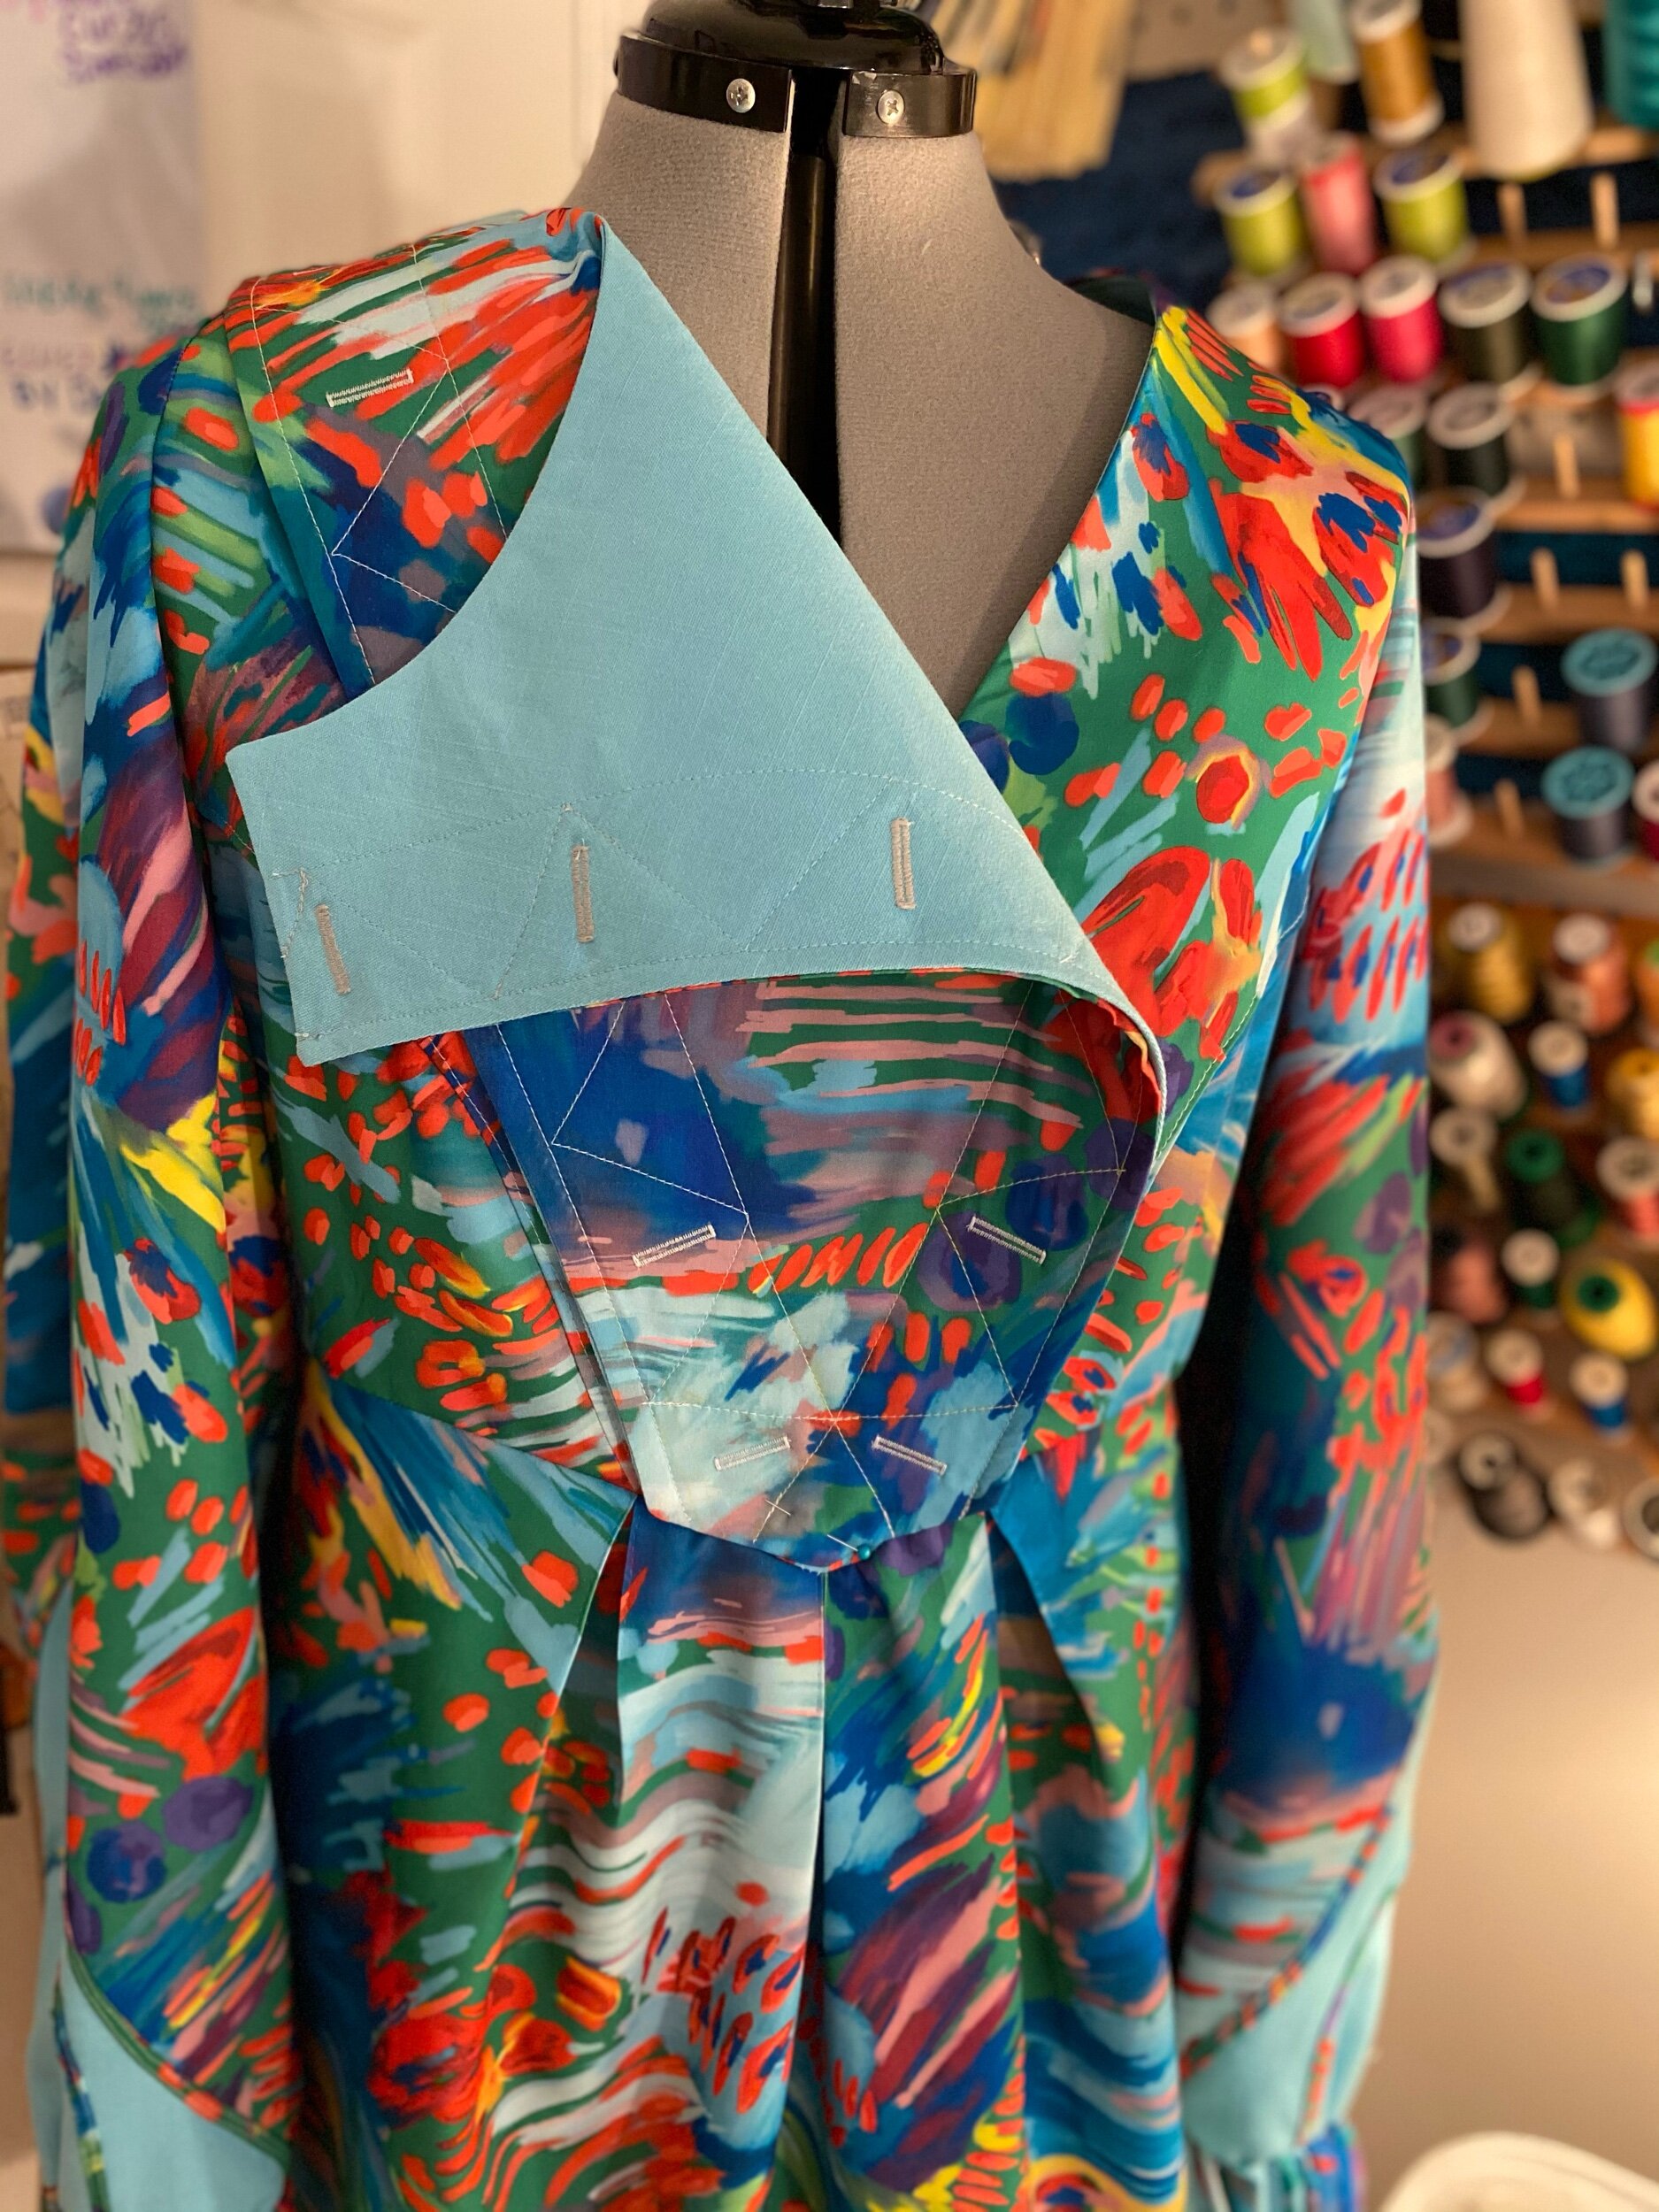
This pattern has lots of details; topstitching, making bias binding, covered buttons, pleats, invisible zipper, gathered hems, fully lined, and a good bit of hand sewing and I really wanted to highlight as much of these details as I could. If you don’t already know, I’ll usually start with a contrast. So I happened to have some sky blue linen on hand and it was perfect to contrast with this Katie Kortman print. The hard part was deciding which areas would be sky blue contrast and which wouldn’t. The binding on the sleeves were definitely an area I wanted to bring attention to so light blue on the sleeves it is. The overlay is another must for contrasting and when the dress isn’t completely buttoned up you get this peekaboo of blue and it makes me so happy. I also wanted to add the blue linen to the hem of the sleeves and the dress but I changed my mind (I wanted to use every inch of this Silky Faille).


Construction
This dress is not beginner level friendly!
The binding was one of the more tedious steps but I managed to cut down a little time with using my bias binding tool.
Tip: Be sure to always change your needles for new projects. Topstitching the binding on the sleeves are thick layers and this Spoonflower Silky Faille likes my Schmetz Chrome needle the most.
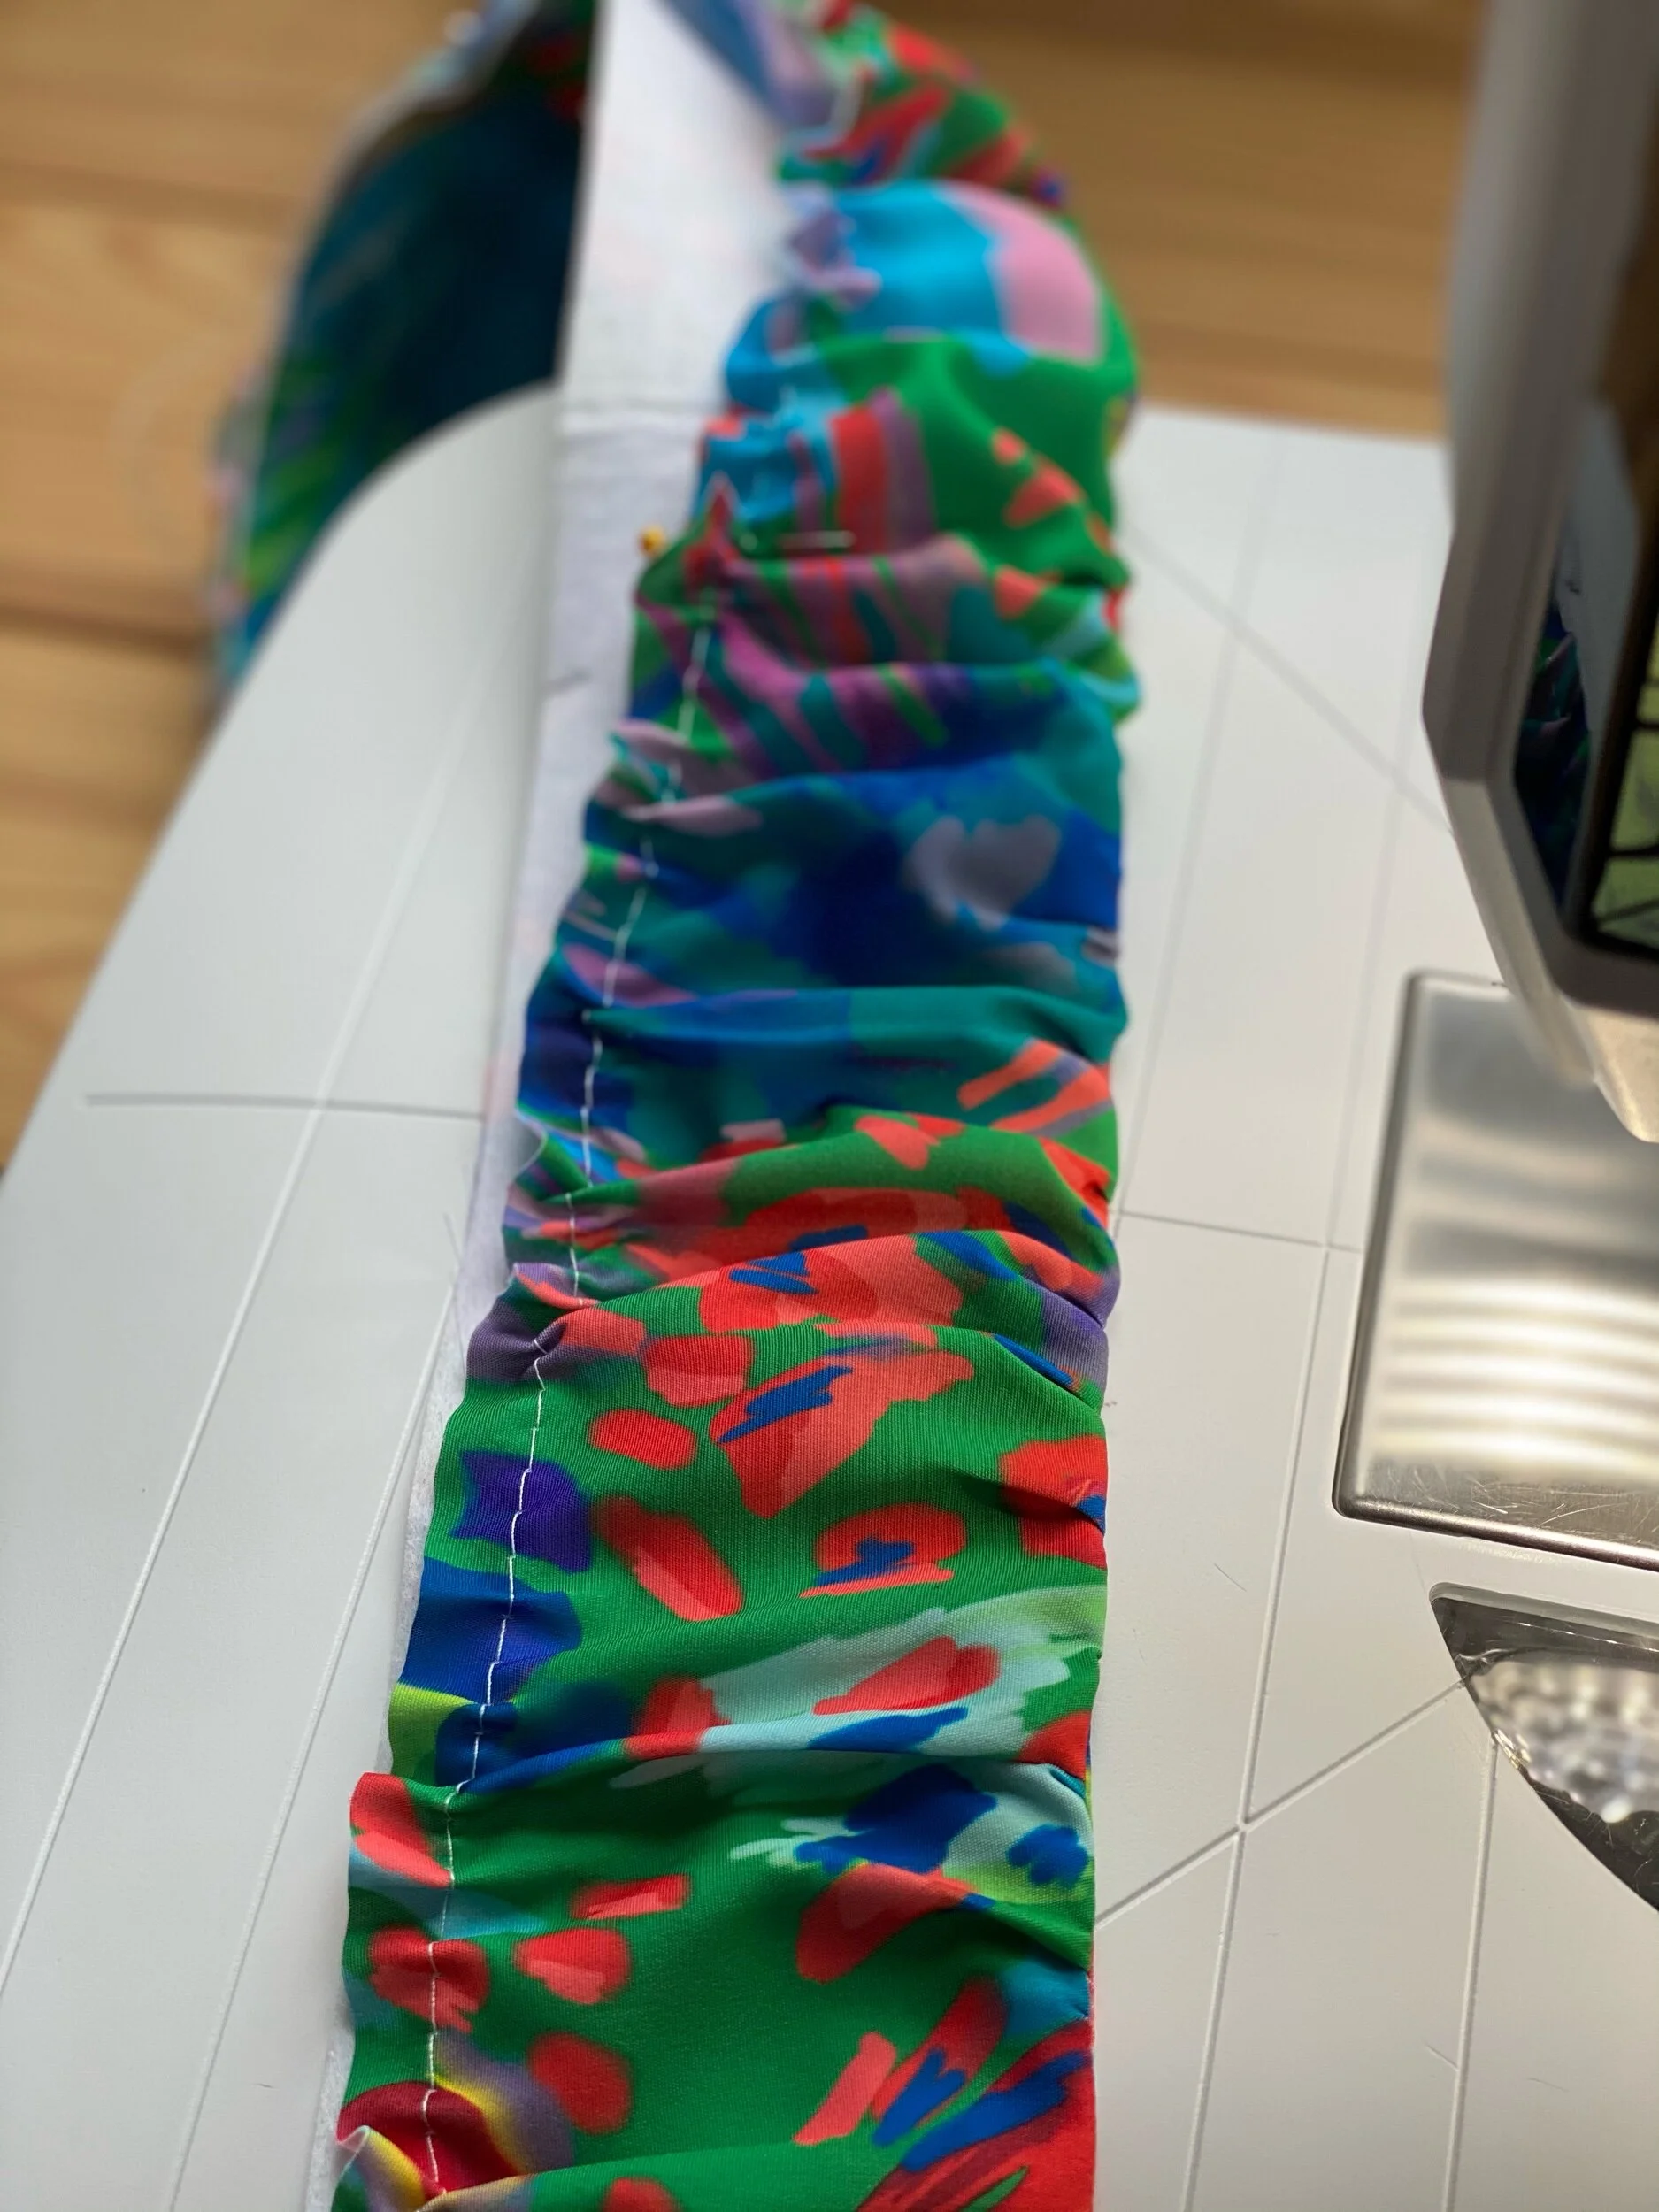
At first glance I thought that the gathered hem was achieved using elastic. Instead your gathering the outside only. I made a slight change to the sleeves and actually added elastic because the fit around the wrist was too baggy for me. This is totally by preference.


As always thanks for stopping by. I do hope you enjoyed this colorful Guy Larouche Dress.
Peace & Blessings
National Flannel Day
Are you a flannel addict?
I didn’t realize how much I actually love flannel. So much so, I think it’s only right to make December 25th National Flannel Day!
I mean how many of you, your friends, and family were rockin flannel on Christmas Eve and Christmas? Errrbody, lol.
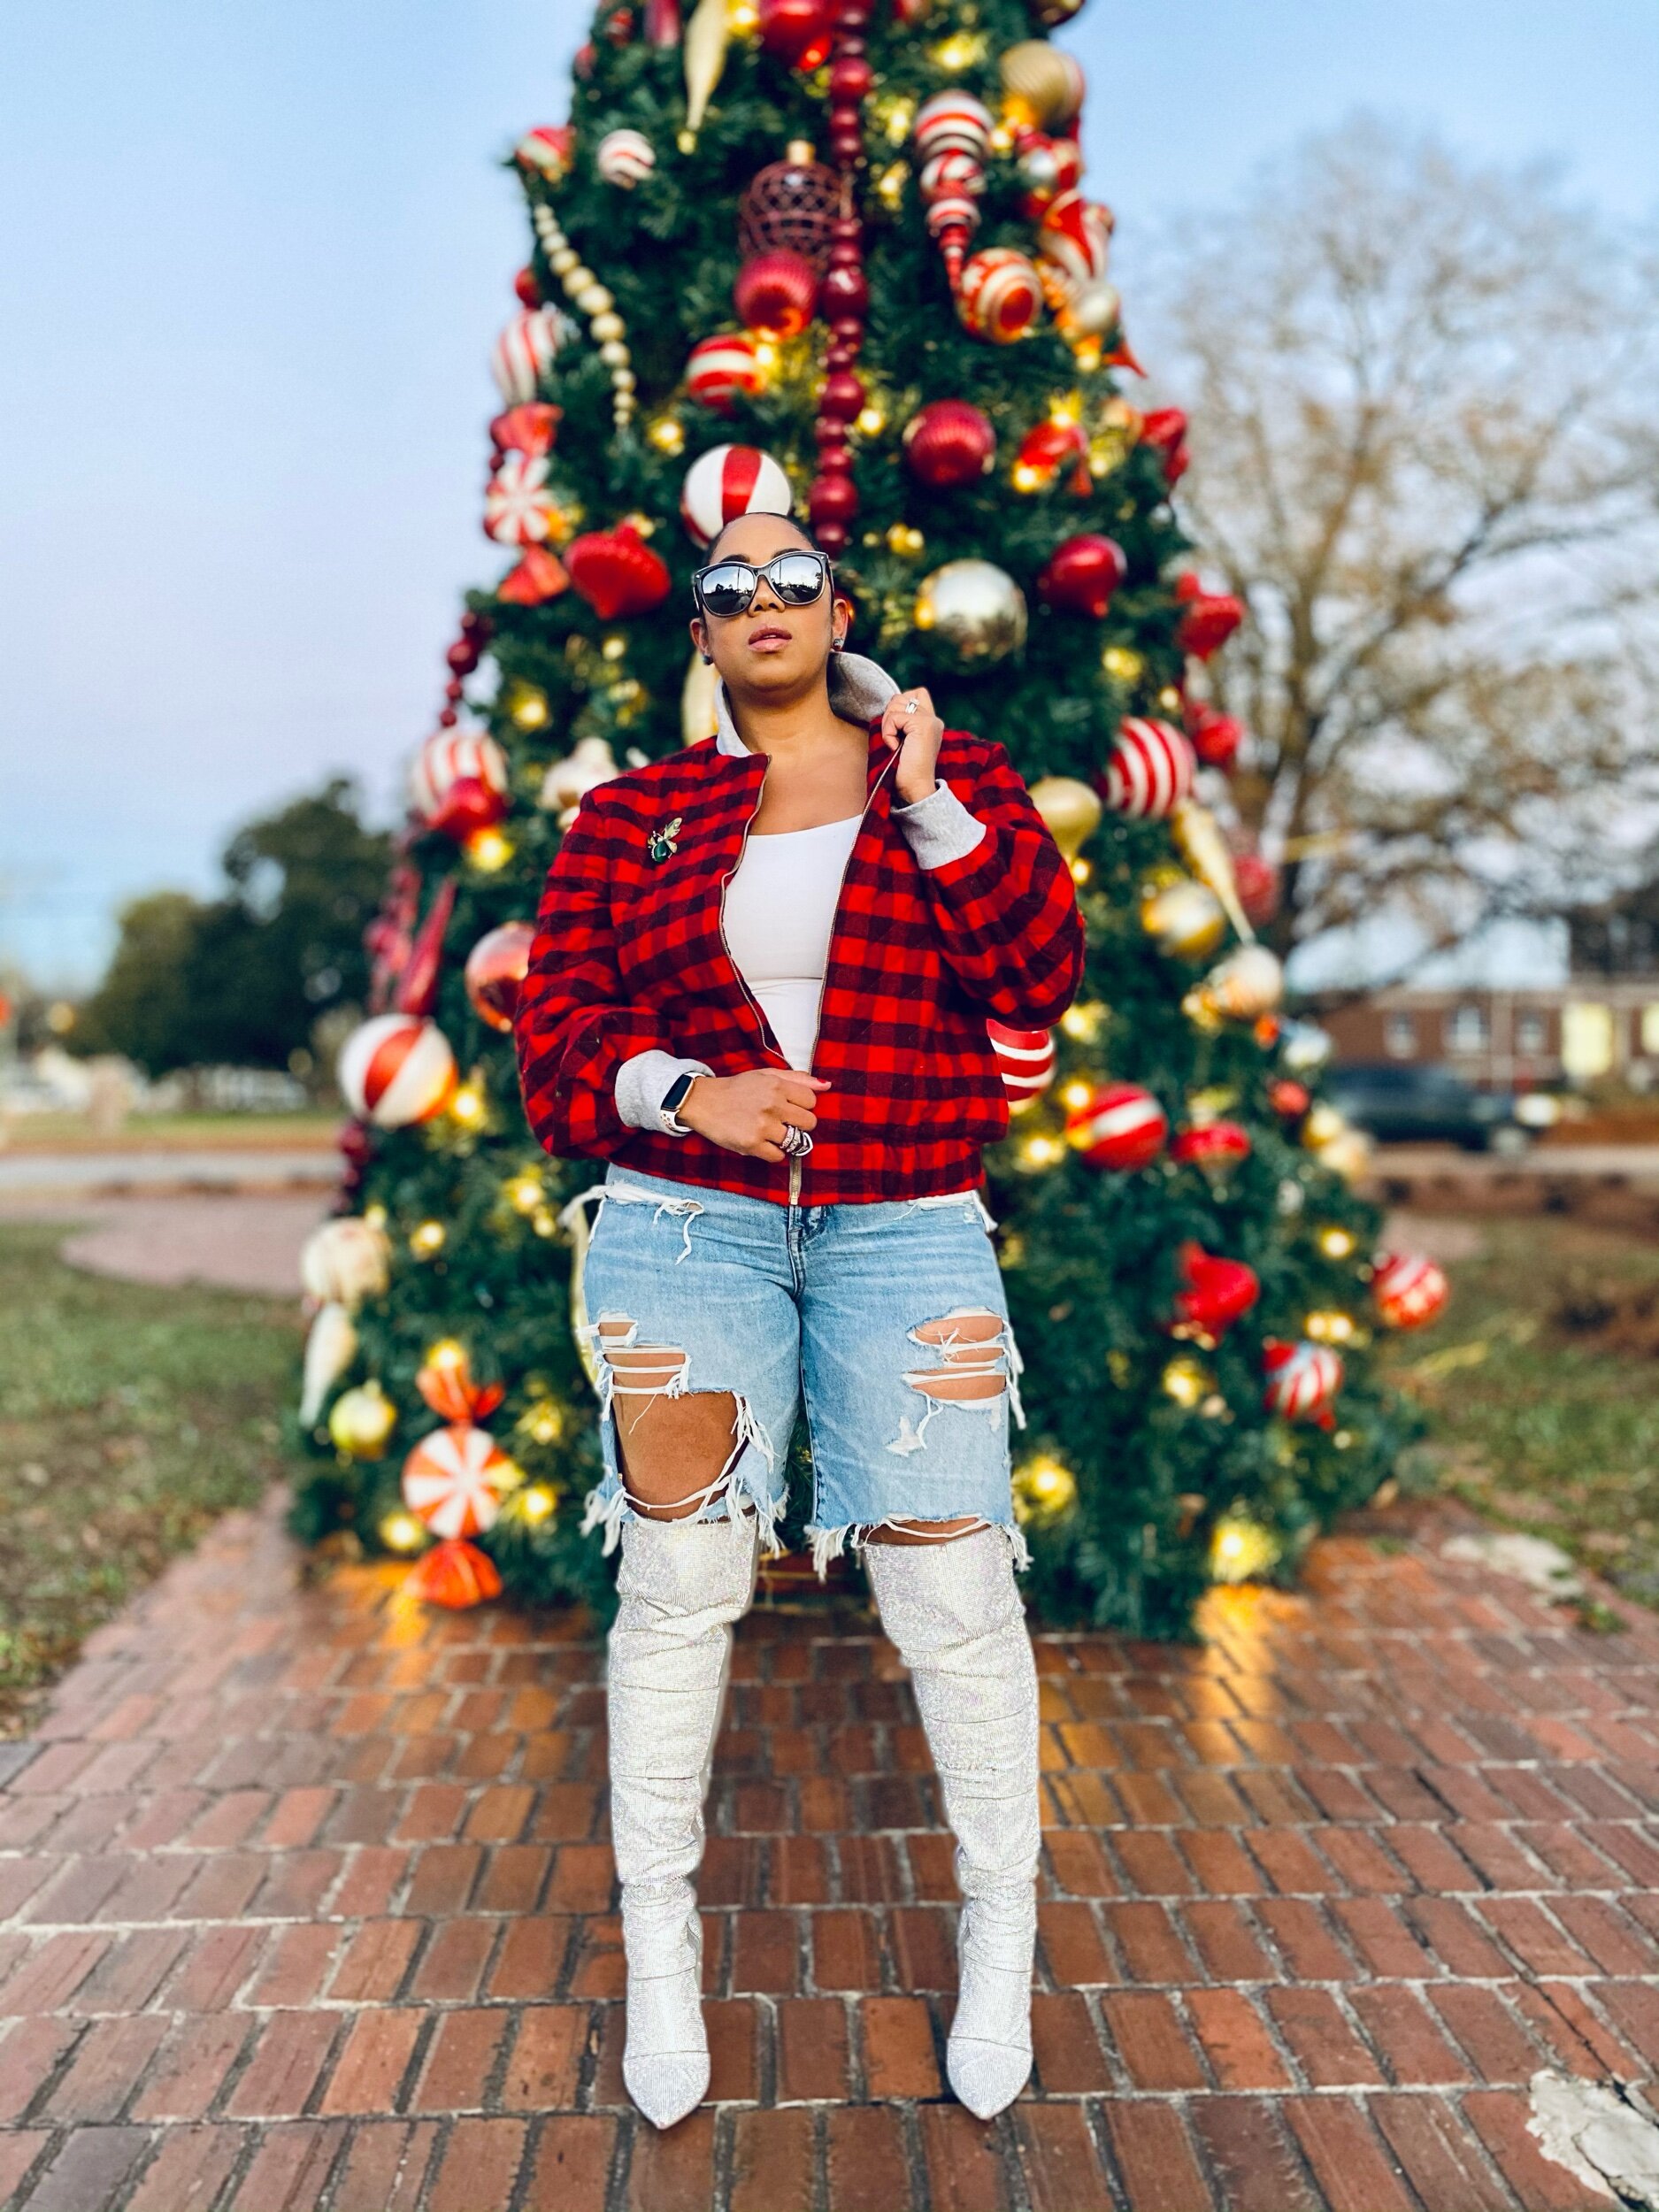
I have had this quilted flannel fabric for over two years now and finally decided I needed to bring it to life. On one of my IG scrolls I saw Mimi G’s throwback of her flannel bomber jacket with casual sneaks and shades and I remembered why I bought the fabric in the first place.

Let’s Talk construCtion
So I have flannel fabric but didn’t have gray for the cuffs and the collar…or did I? Okay, here’s a tip if you want to recreate this look and don’t want to buy the gray fabric like me. Hubs was literally throwing out old gray sweatshirts that were actually not very old at all and I looked at them (being the fabric hoarder I am) and said ummm I can repurpose these. So…I did!
There were vinyl lettering on some parts of the sweatshirts but I manage to find enough space to cut (in the appropriate stretch direction) the two pattern pieces needed for the collar and cuffs. This quilted flannel is nice and fluffy and it is definitely keeping me warm even in below 30 degree weather.
If you caught my previous blog then you will notice I also used the same animal print fabric as my Jogger Season bomber for lining (no fabric left behind).

To match or not to match? that’S the question
Here’s where some sewers may say flannel matching, HELL NO! I’m usually HELL YES!! The sizing of the flannel in this fabric is not too small where I feel I can’t pattern match but if it were smaller, I might rethink that idea. But guess what? If you don’t want to pattern match flannel that’s okay and that’s yo business! I managed and purposely patterned matched this jacket with the exception of the shoulder and sleeves seams. I tried but my eyes eventually said that’s enough honey!
Below you can see for my zipper install I stitched down one side of the separating zipper and then marked the remaining unsewn zipper piece on the wrong side of the zipper where patterns match. This helps me to eliminate pulling out my seam ripper because my prints aren’t lining up once zipped together.
I live for an exposed zipper and I had a nice gray zipper handy so I stitched a little closer to the edge than the pattern called for.
If you made it this far I bet you’re also wondering if I used a pattern? Yes I did use a pattern but I didn’t follow it to a tee. This pattern by Nikki Brooks of Beaute’ J’adore M7636 is one of my faves. I opted out of the cording and made the sleeves one pattern piece instead of two. I do want to add that if you have a basic shirt sloper you can achieve this look without this pattern. You would need to make sure the fit is to your liking (baggy or fitted) and cut down the middle of the front piece to add a zipper. You would also need to factor in length to fold up to create the waistband of the jacket and pockets if you choose. I like welt pockets for bombers but I didn’t want to make time to insert them this go round.


The jacket has a few seams and in my opinion can be sewn within a few hours (not including cutting). I managed to cut and sew both jacket and lining, with zipper install in under 3 hours but I was rolling lol.
I think this pattern is easy to moderate depending on confidence with zippers, pleating (sleeves), and cording (if using). I would definitely recommend it and once you try it, you will probably use it again and again.


I hope you all enjoyed this creation. Tell me what you think below. I’d love to hear from you.
Until next YEAR!! Bye 2020
Peace & Blessings
