
Lush & Wild
Lush & Wild
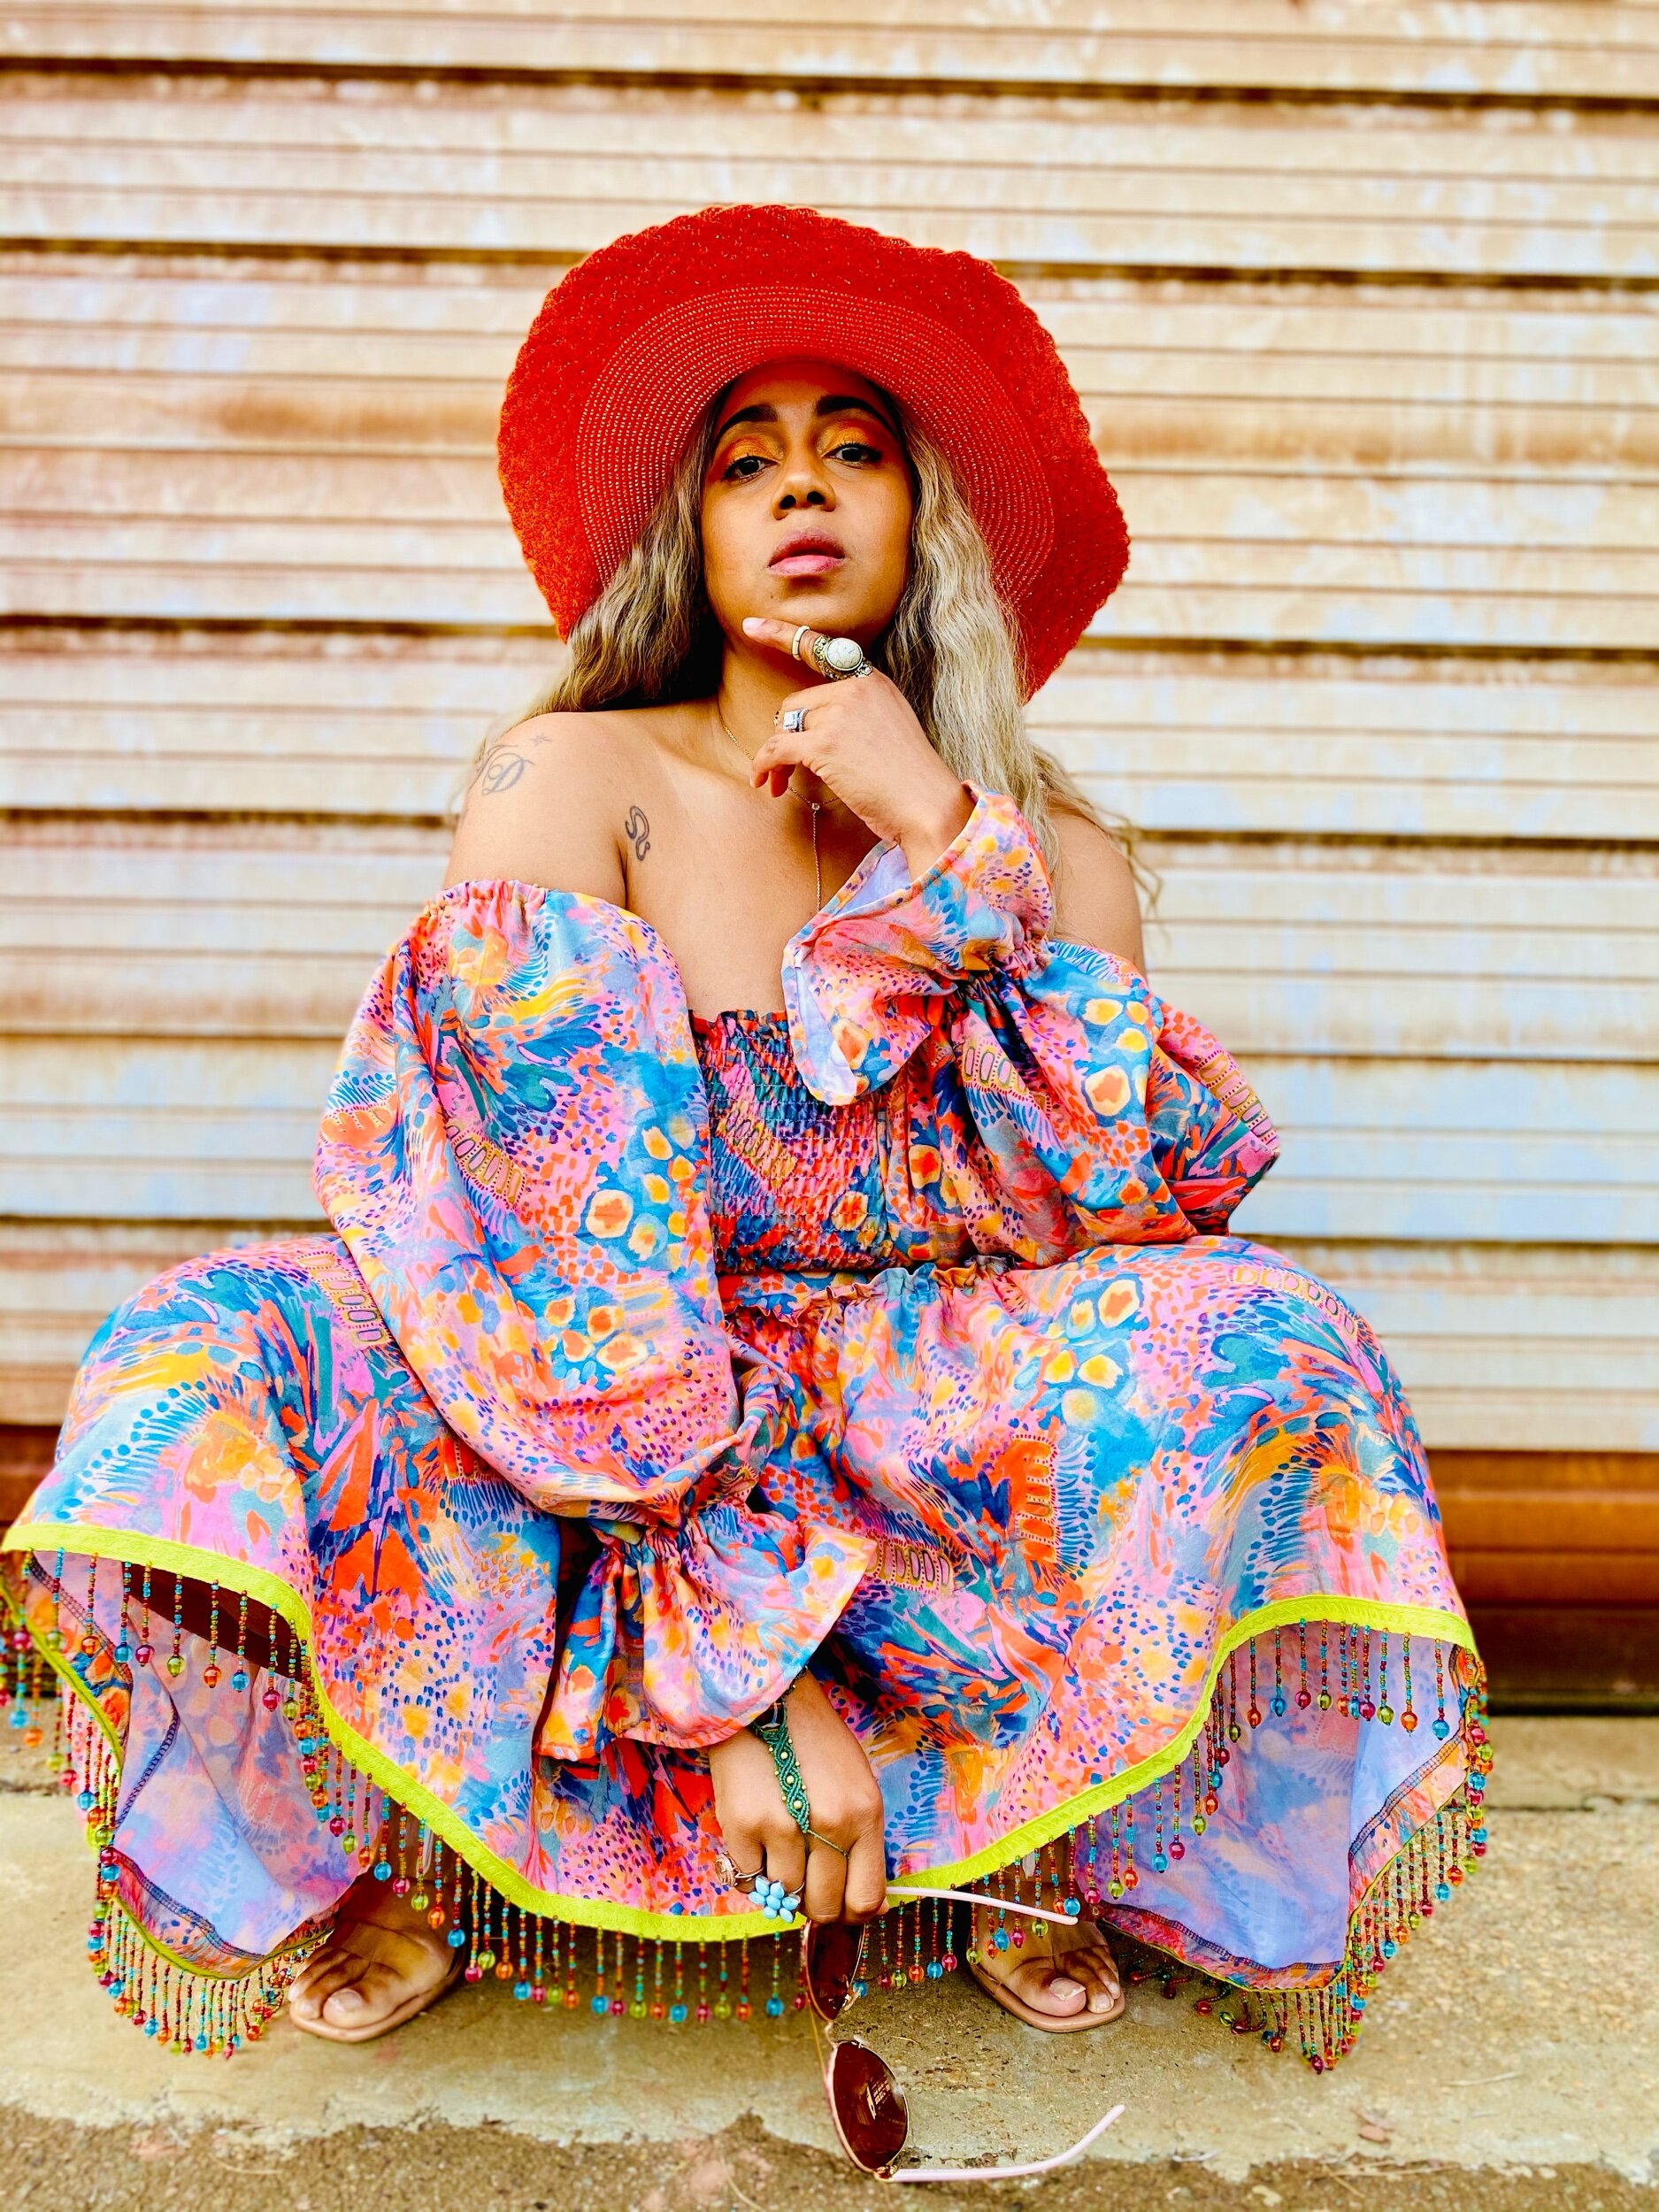
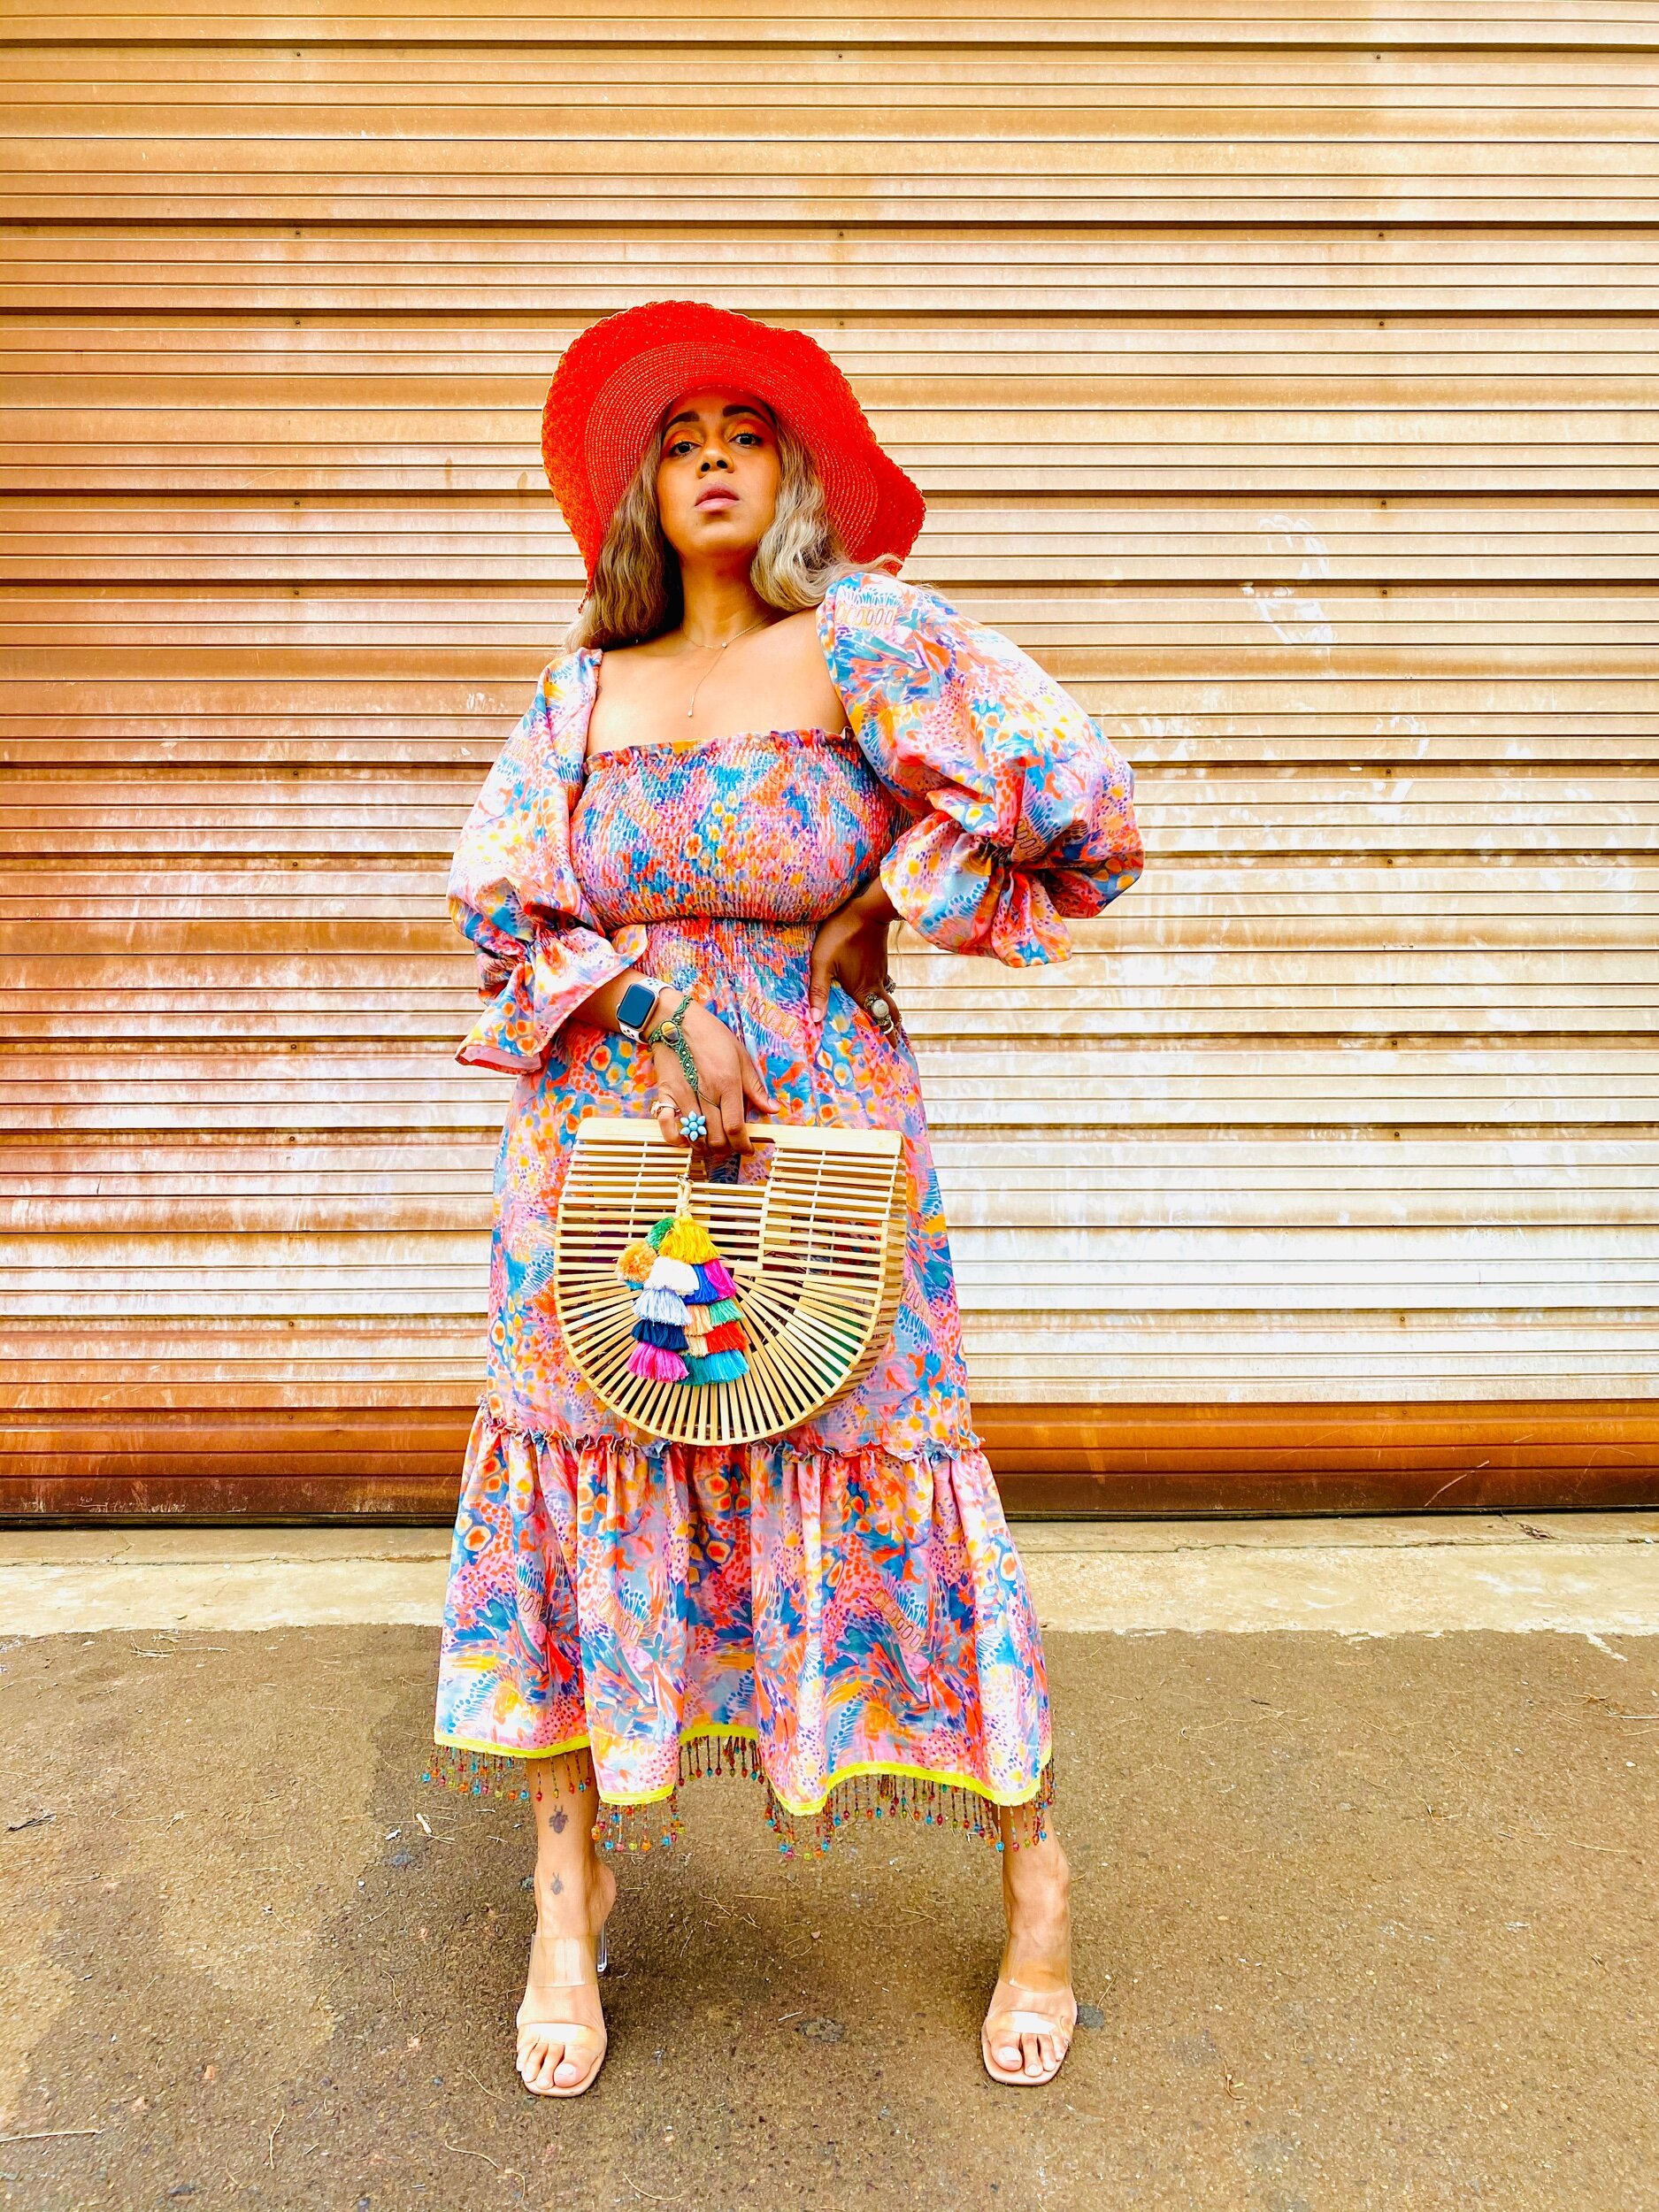
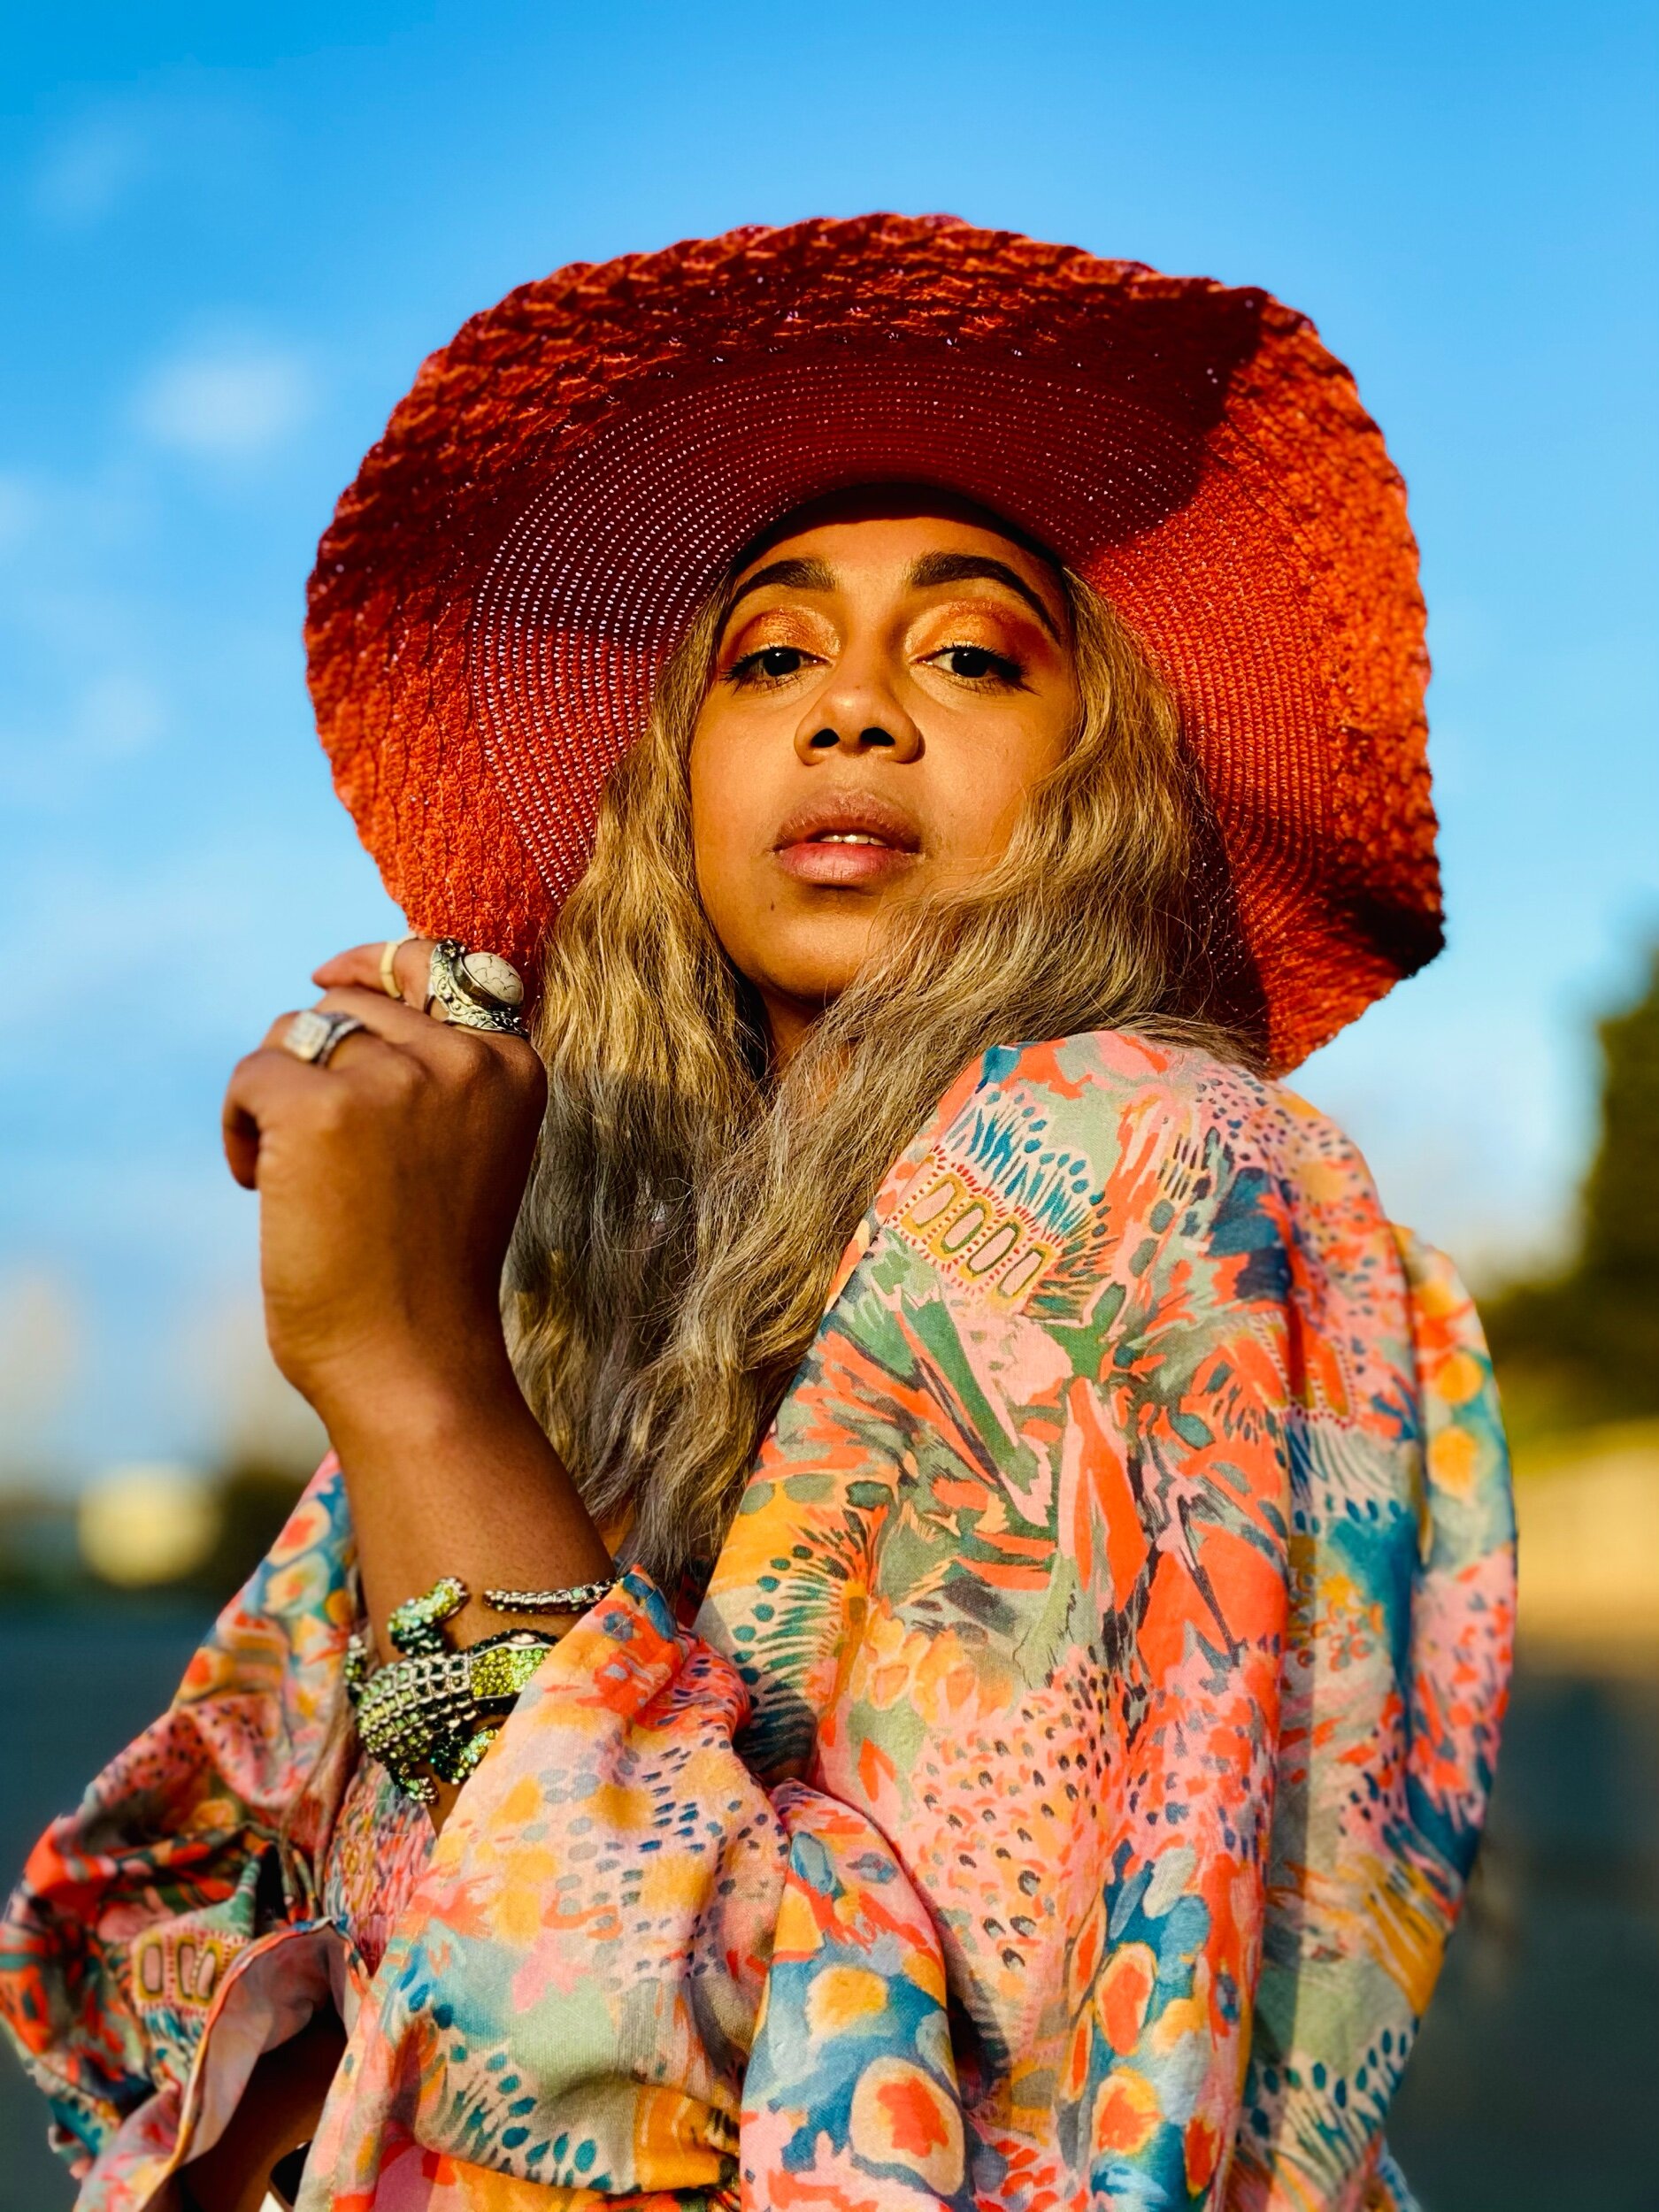
I had the pleasure of receiving Katie Kortman’s Lush & Wild double gauze fabric in this beautiful print before it was released April 19th on Fabricdotcom. Click the link here to view the entire collection. Let’s just say I absolutely love these prints
The fabric choices include double gauze, sateen, canvas, and quilting cotton. The hand on the double gauze is a nice soft drape and perfect for Spring and Summer. After sharing a sneak peak of this look on my IG, this print sold out on the 1st day lol. But don’t worry they will print more and it will be available again soon.

Shirring
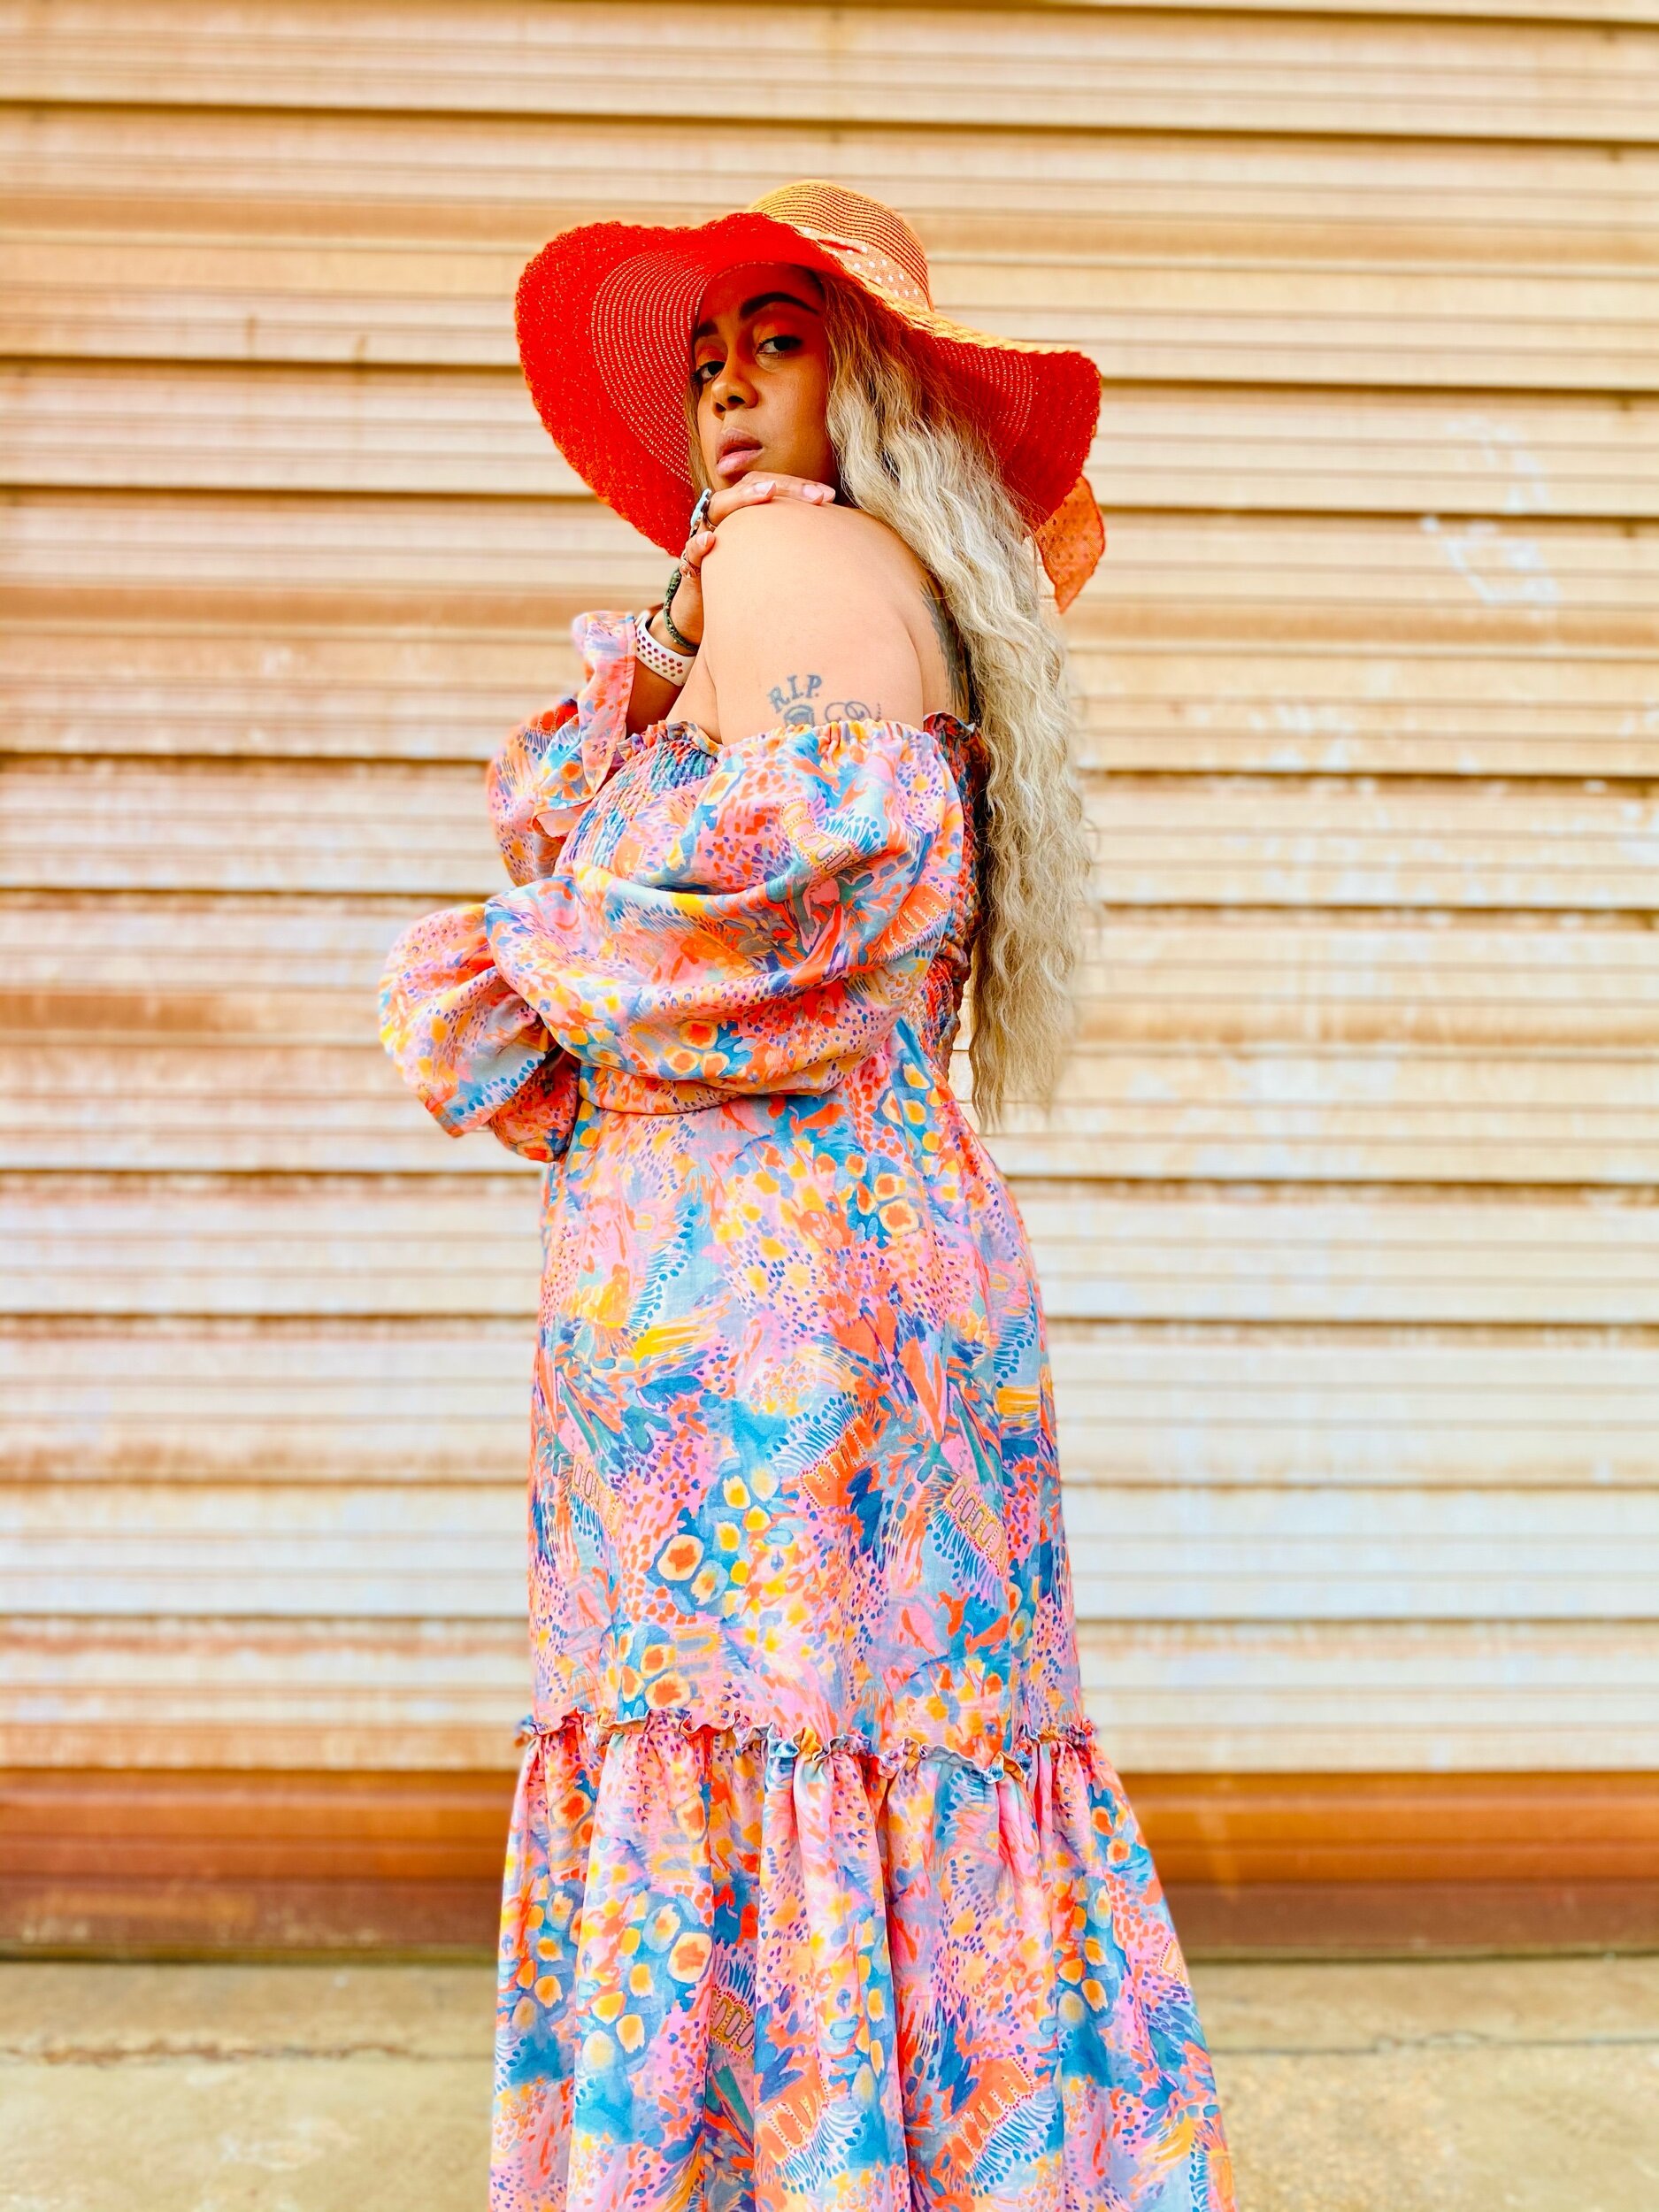
I had never tried shirring and with the 4 yards of fabric I had, I figured I could squeeze out shirring, big sleeves, and a gathered skirt. Luckily I was able to finish this dress with about 1/4 of a yard to spare.
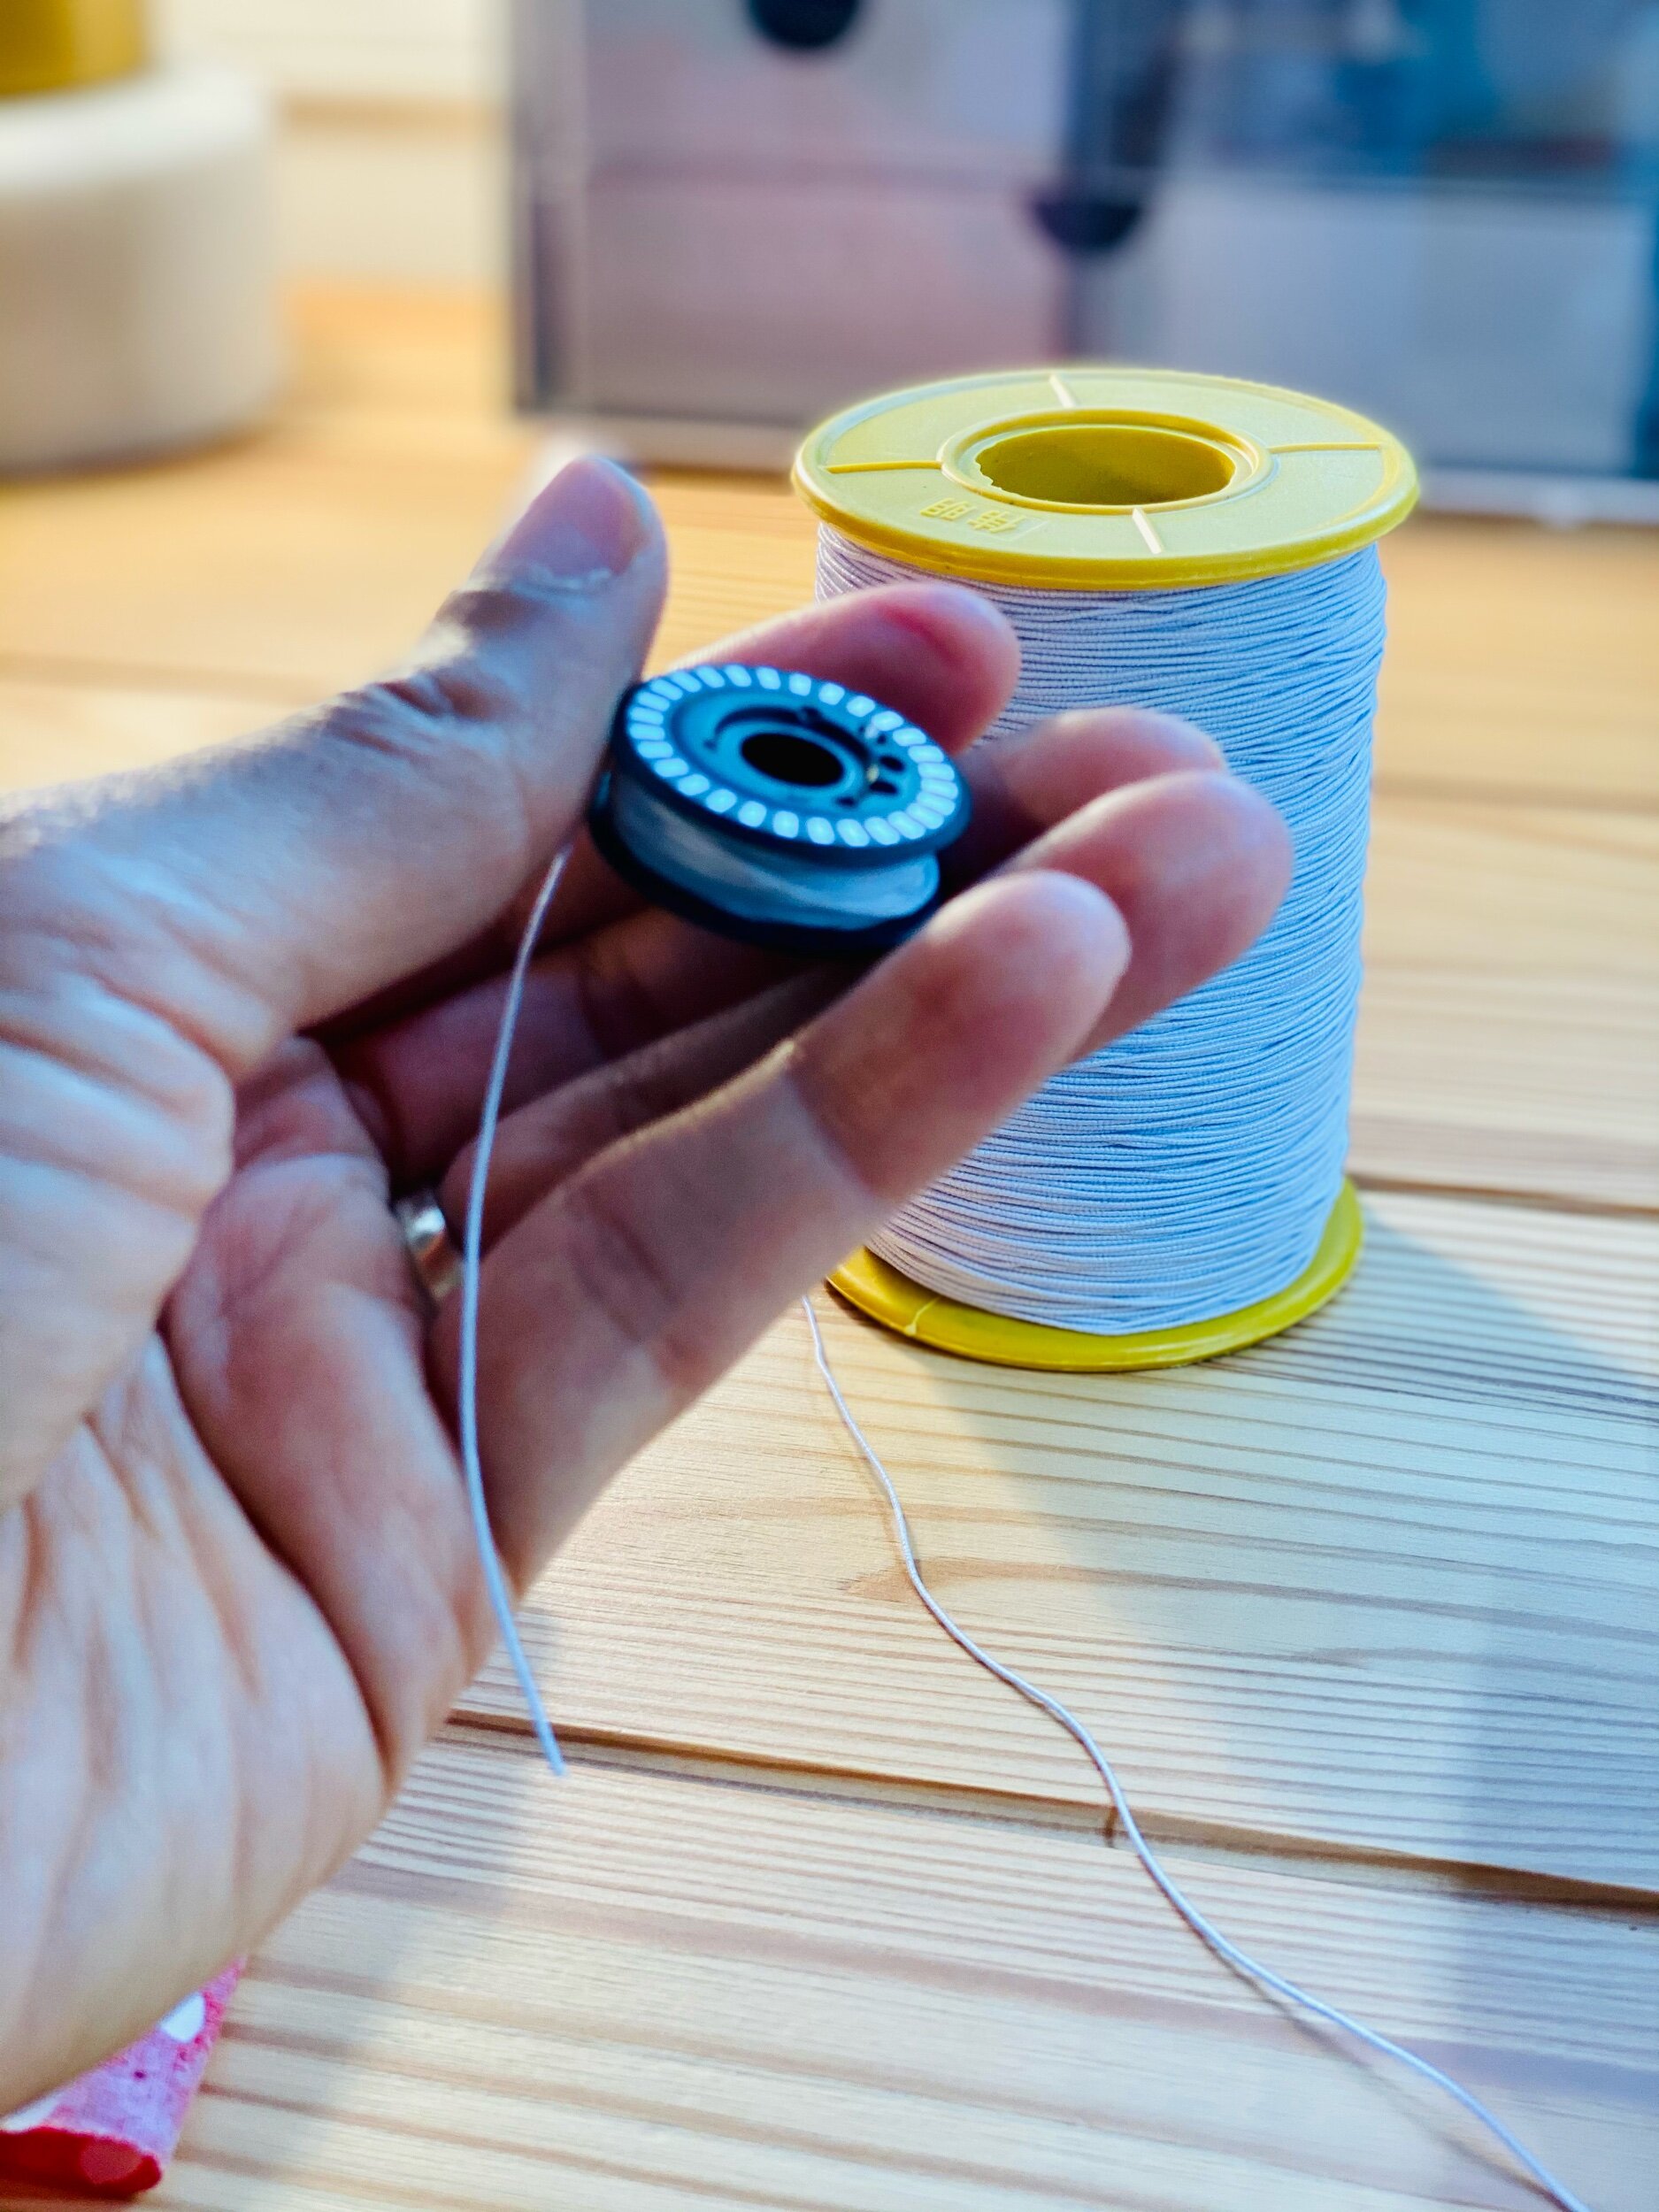
Okay, so many people told me they’re afraid of shirring. I too was skurrd lol. But I finally put my fears aside after my friend Raven assured me that it wasn’t that bad. One of the most tedious things about shirring is hand winding your bobbins. I sew on my Bernina 880 plus and the elastic thread is too thick to feed through my automatic bobbin threader. If your machine can, then by all means do you. The great thing about my 880 is that the bobbins are jumbo size so I only used about 3 and a half bobbins for my elastic thread.
Please keep in mind the amount of shirring you choose and spacing will determine how much elastic thread you will need. I will say you will about 3-5 bobbins for shirring spaced 1cm apart and on an average of 20-30 rows of shirring should be enough. You want to be sure not to wind your bobbin too loose or too tight!
For this project you will need:
Sewing machine
elastic thread (check out my Amazon shop here)
all purpose thread
Binding or bias tape (for sleeves)
Lingerie Elastic 3/8” or 5/8” (for sleeves)
This dress is the By Hand London Shirred dress. It’s literally 4 rectangles. What you will need is your bust measurement x 1.5 and whatever length you want for your dress. For the bottom tier, multiply your dress measurement by 2 and the length about 20 inches (you can make this shorter or longer). For the sleeves cut two rectangles 24” long and 30” wide. You can find more in-depth details in the highlights of @Byhandlondon for this shirred dress.

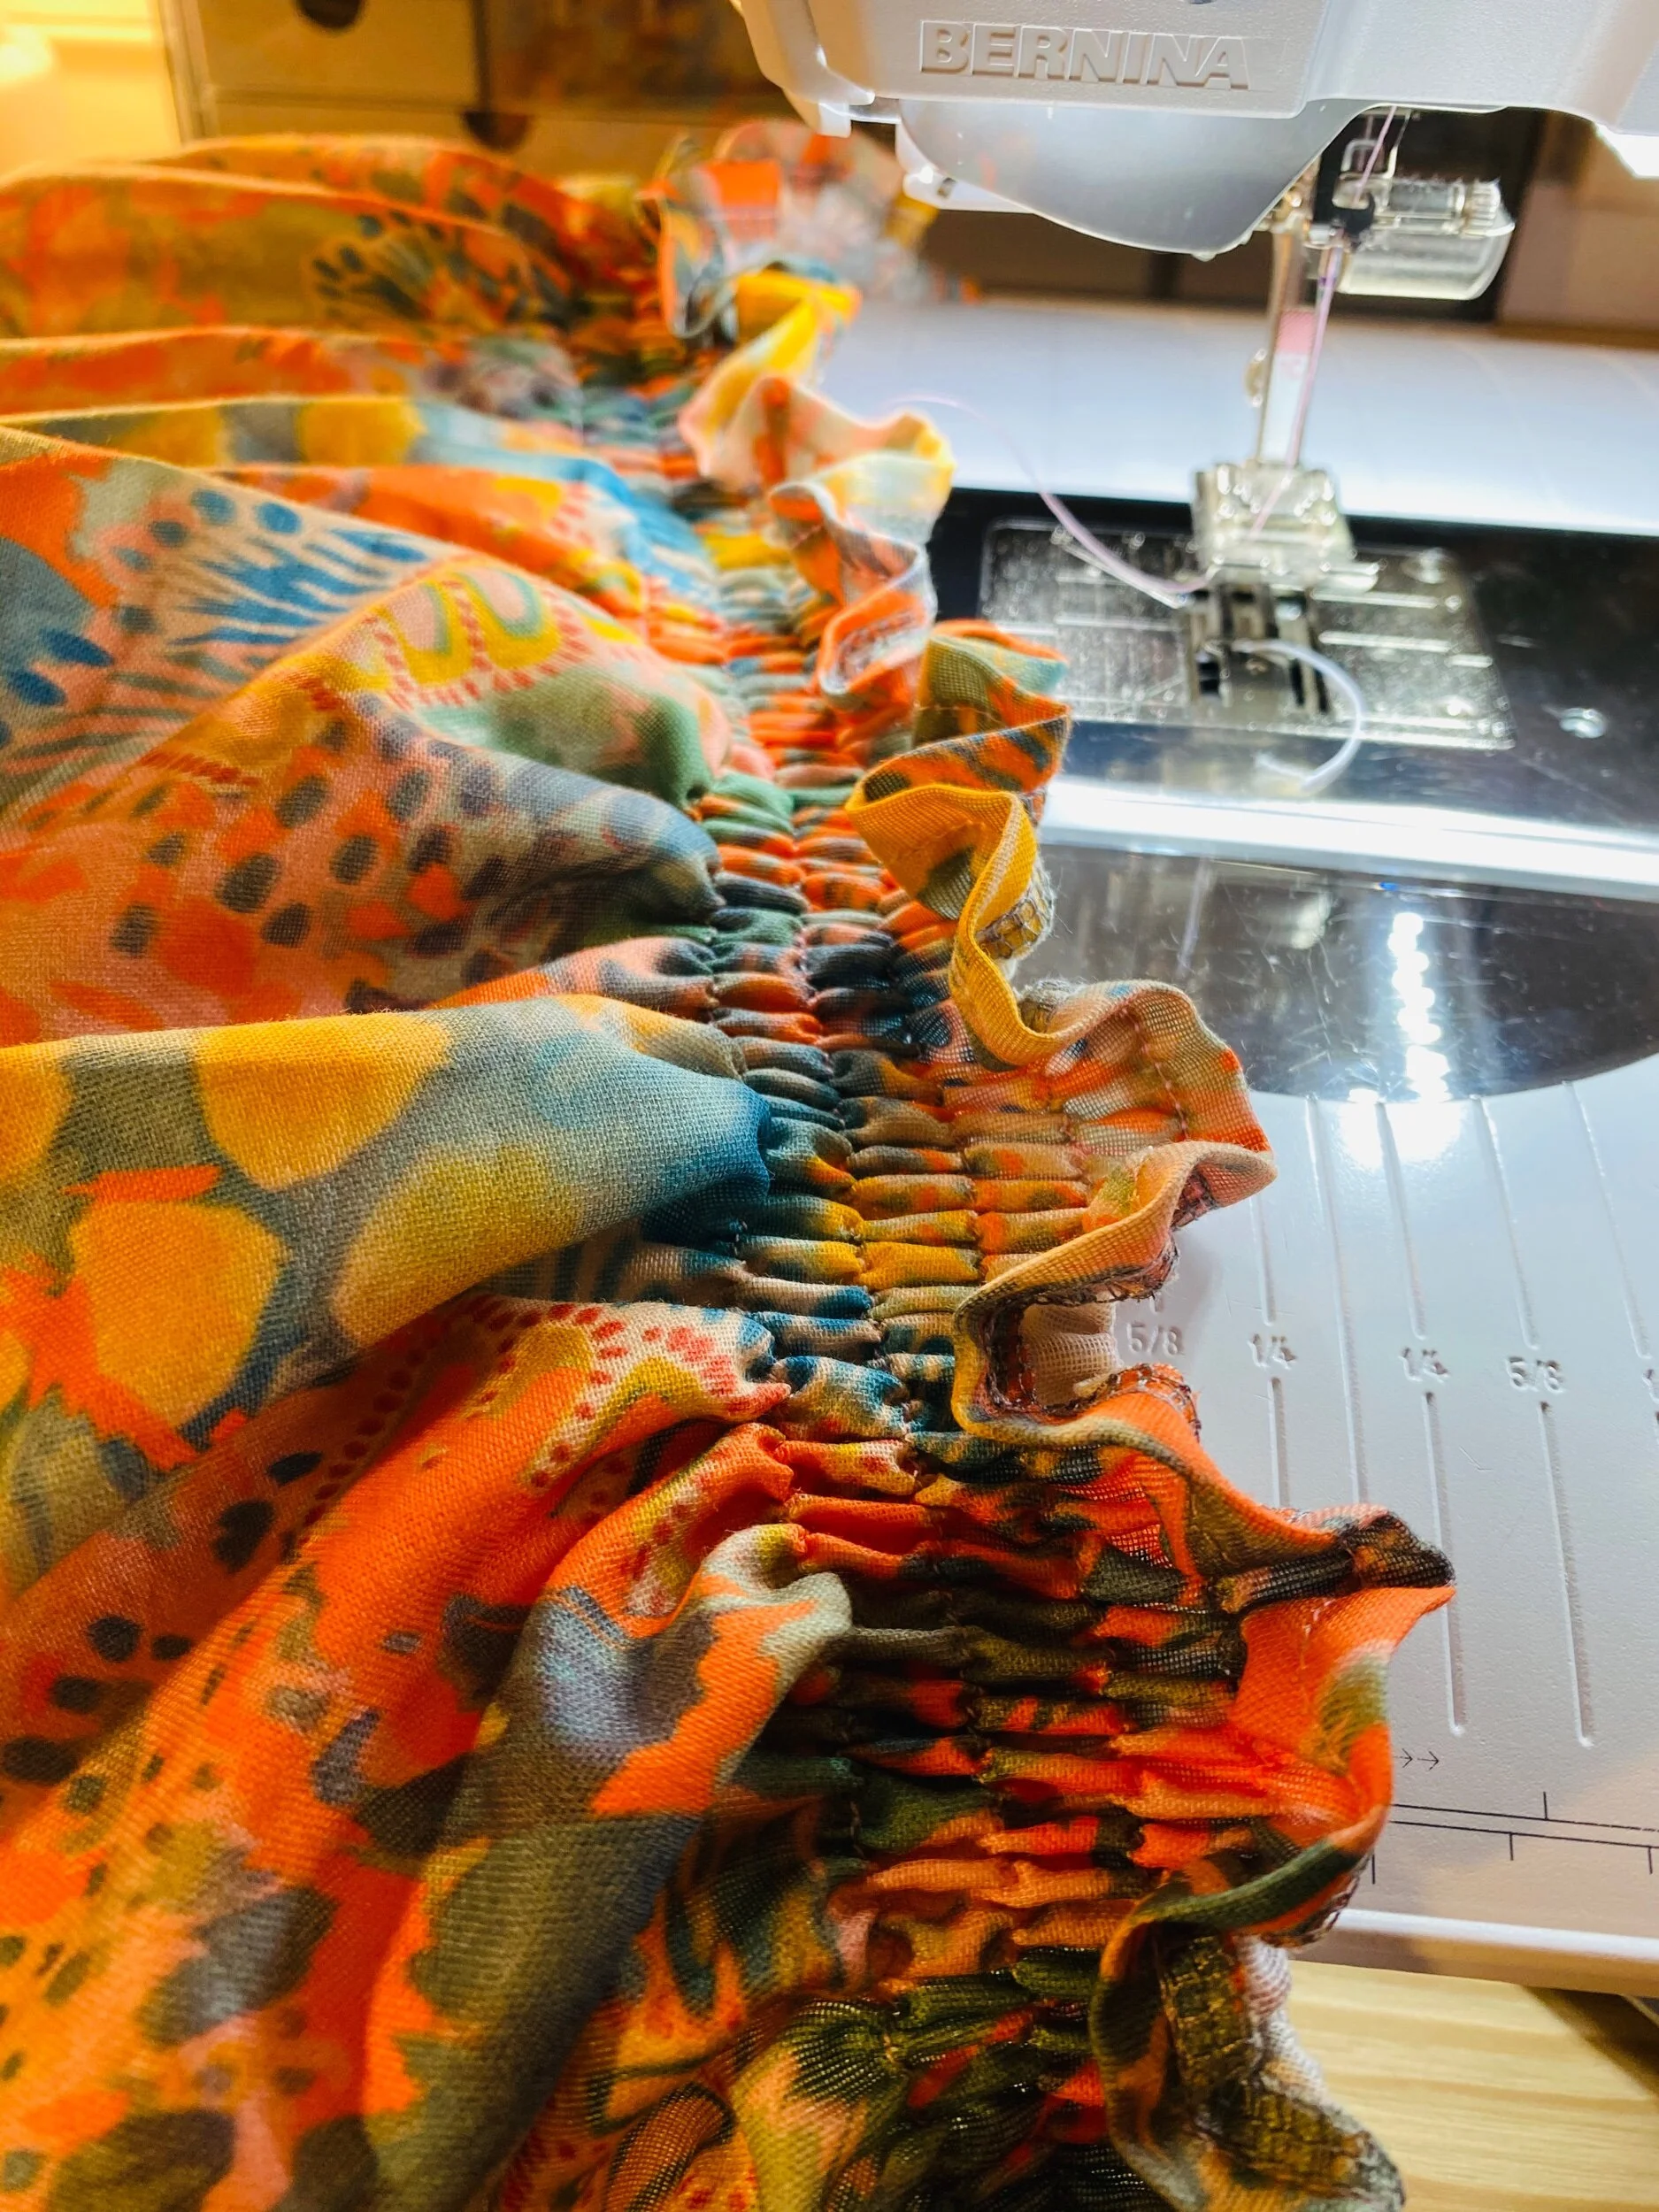
I sewed 29 rows of shirring for my dress. My bust measurement is 42” so I needed more than the suggested 20 rows of shirring.
For the bottom tier I wanted an exposed gathered look so I did a rolled hem on the top and gathered by using my Bernina Ruffler foot.
I wanted a little razzle dazzle so I added this beaded trim I had on hand to the bottom hem of the dress.


I do hope you enjoyed this look and that you go check out the new Lush & Wild Collection by Katie Kortman! Thanks for stopping by and as always
Peace & Blessings!
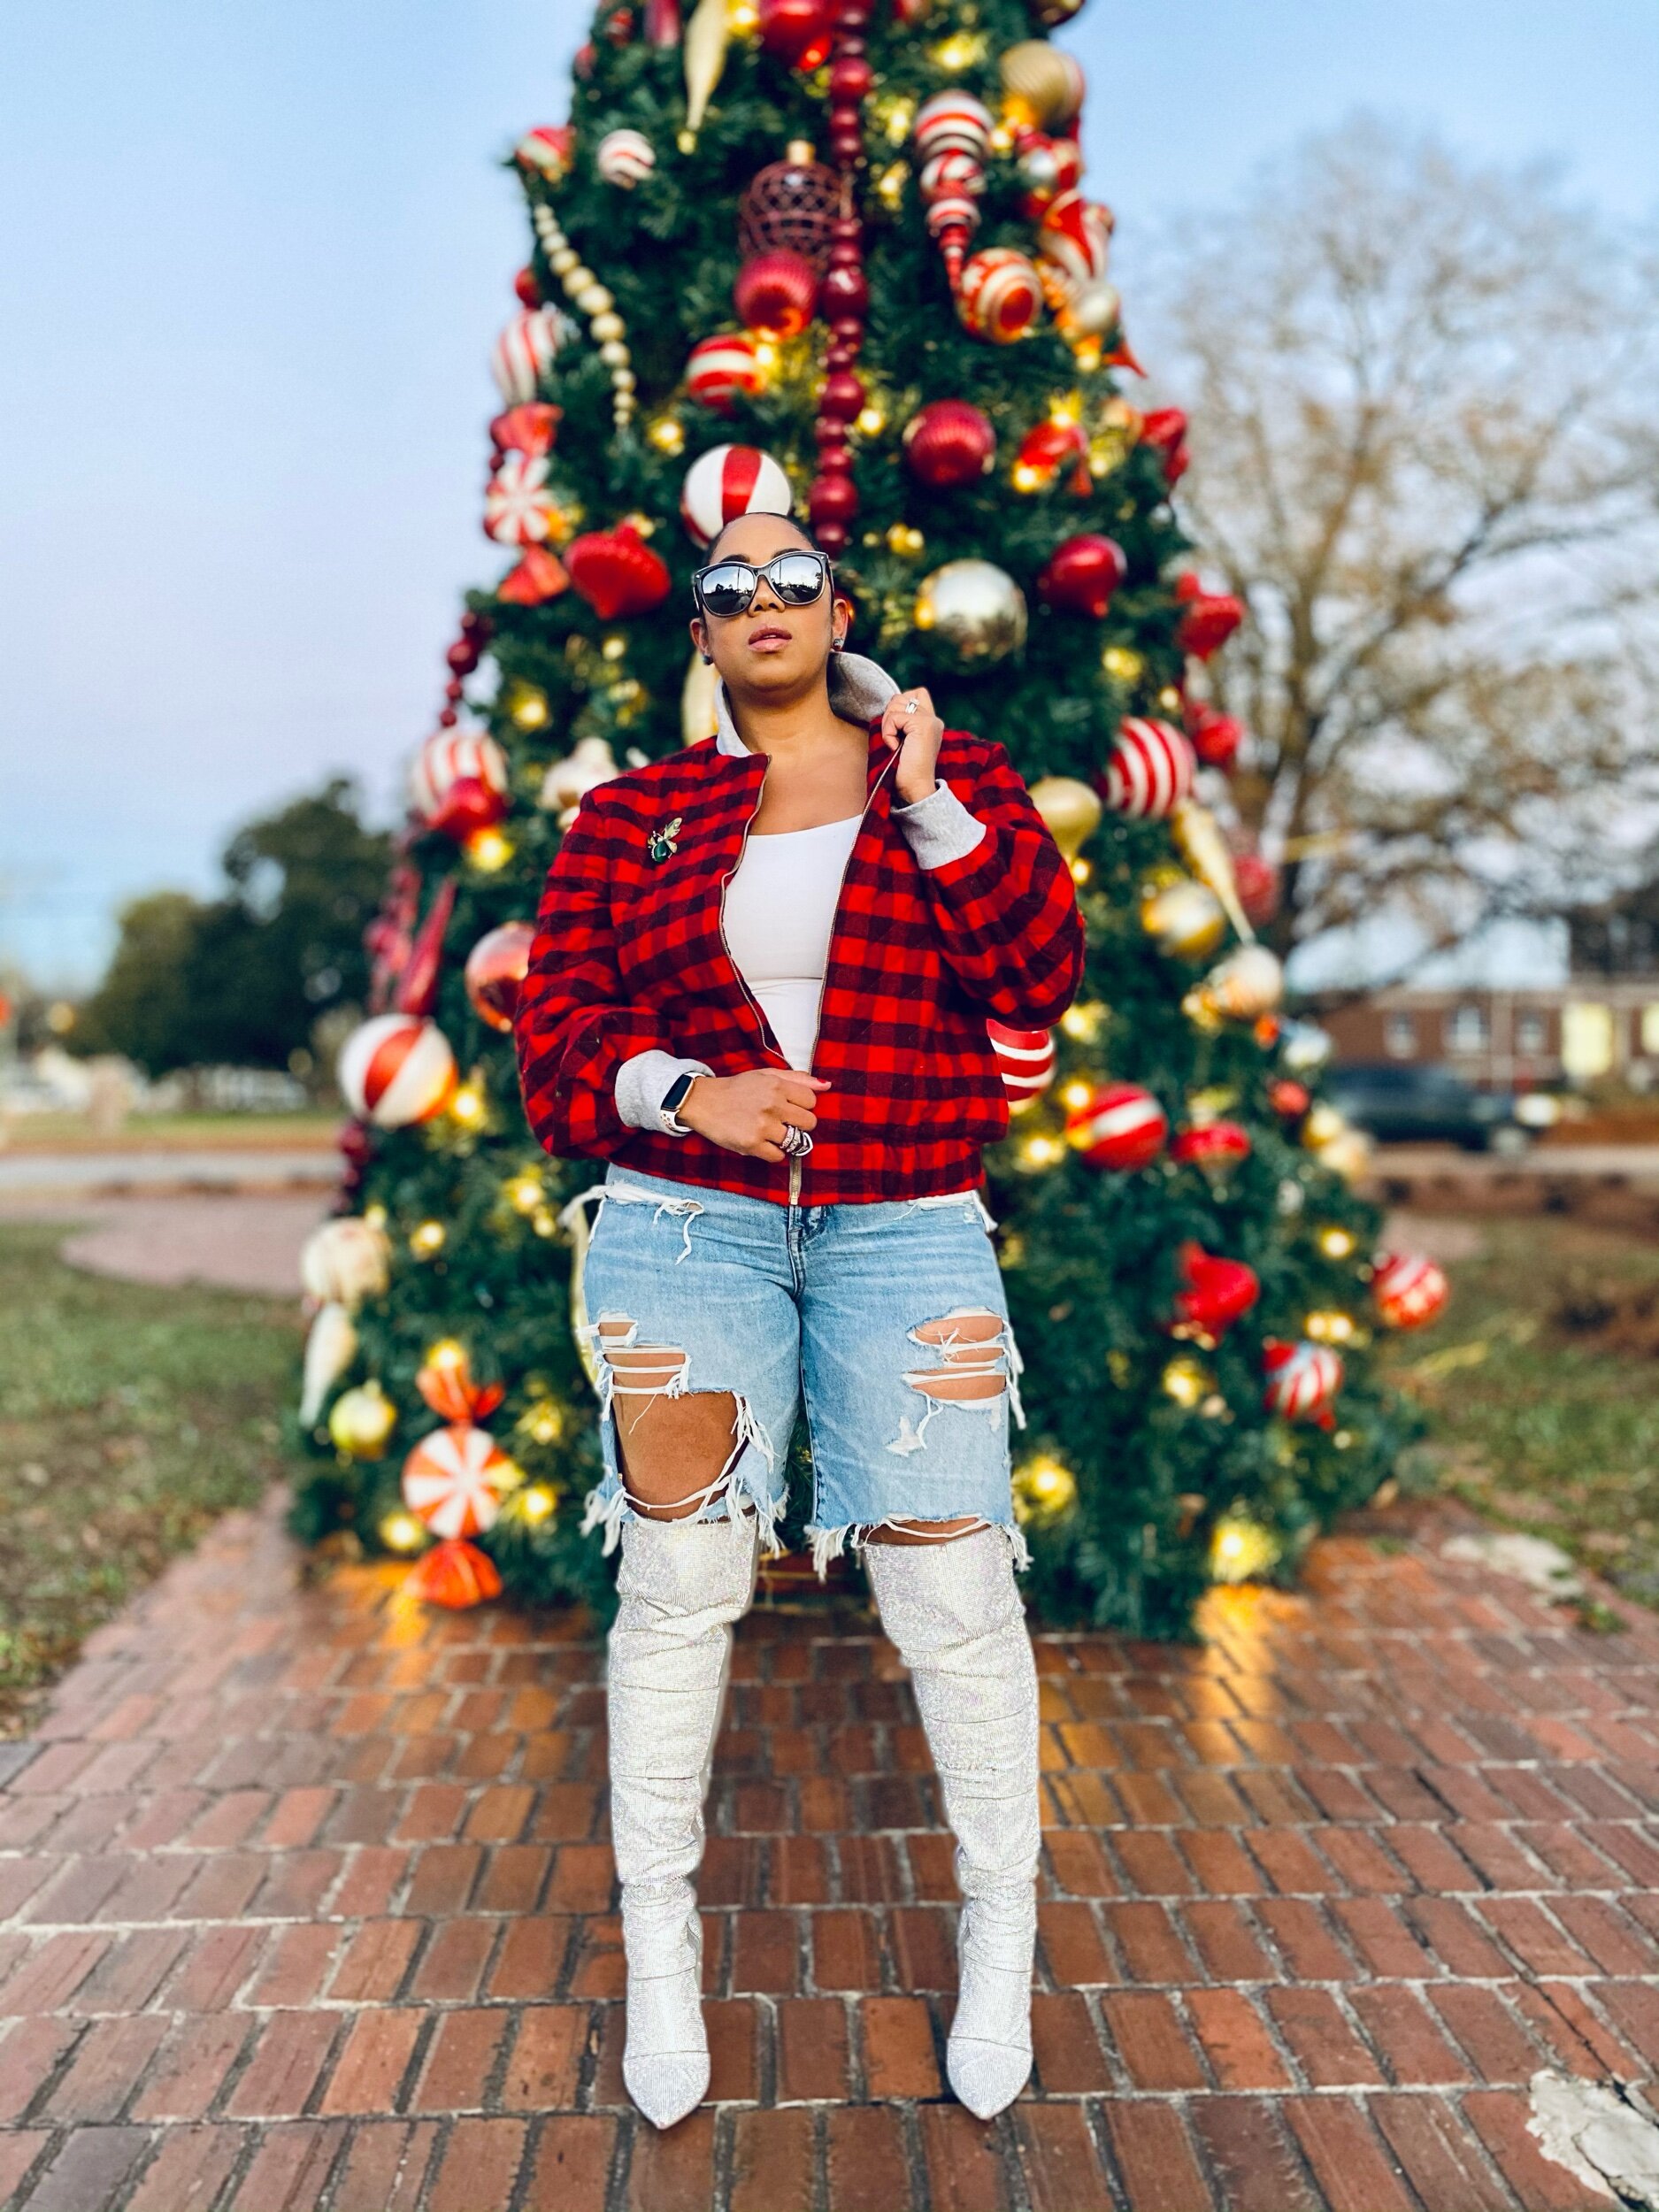
National Flannel Day
Are you a flannel addict?
I didn’t realize how much I actually love flannel. So much so, I think it’s only right to make December 25th National Flannel Day!
I mean how many of you, your friends, and family were rockin flannel on Christmas Eve and Christmas? Errrbody, lol.
I have had this quilted flannel fabric for over two years now and finally decided I needed to bring it to life. On one of my IG scrolls I saw Mimi G’s throwback of her flannel bomber jacket with casual sneaks and shades and I remembered why I bought the fabric in the first place.

Let’s Talk construCtion
So I have flannel fabric but didn’t have gray for the cuffs and the collar…or did I? Okay, here’s a tip if you want to recreate this look and don’t want to buy the gray fabric like me. Hubs was literally throwing out old gray sweatshirts that were actually not very old at all and I looked at them (being the fabric hoarder I am) and said ummm I can repurpose these. So…I did!
There were vinyl lettering on some parts of the sweatshirts but I manage to find enough space to cut (in the appropriate stretch direction) the two pattern pieces needed for the collar and cuffs. This quilted flannel is nice and fluffy and it is definitely keeping me warm even in below 30 degree weather.
If you caught my previous blog then you will notice I also used the same animal print fabric as my Jogger Season bomber for lining (no fabric left behind).

To match or not to match? that’S the question
Here’s where some sewers may say flannel matching, HELL NO! I’m usually HELL YES!! The sizing of the flannel in this fabric is not too small where I feel I can’t pattern match but if it were smaller, I might rethink that idea. But guess what? If you don’t want to pattern match flannel that’s okay and that’s yo business! I managed and purposely patterned matched this jacket with the exception of the shoulder and sleeves seams. I tried but my eyes eventually said that’s enough honey!
Below you can see for my zipper install I stitched down one side of the separating zipper and then marked the remaining unsewn zipper piece on the wrong side of the zipper where patterns match. This helps me to eliminate pulling out my seam ripper because my prints aren’t lining up once zipped together.
I live for an exposed zipper and I had a nice gray zipper handy so I stitched a little closer to the edge than the pattern called for.
If you made it this far I bet you’re also wondering if I used a pattern? Yes I did use a pattern but I didn’t follow it to a tee. This pattern by Nikki Brooks of Beaute’ J’adore M7636 is one of my faves. I opted out of the cording and made the sleeves one pattern piece instead of two. I do want to add that if you have a basic shirt sloper you can achieve this look without this pattern. You would need to make sure the fit is to your liking (baggy or fitted) and cut down the middle of the front piece to add a zipper. You would also need to factor in length to fold up to create the waistband of the jacket and pockets if you choose. I like welt pockets for bombers but I didn’t want to make time to insert them this go round.


The jacket has a few seams and in my opinion can be sewn within a few hours (not including cutting). I managed to cut and sew both jacket and lining, with zipper install in under 3 hours but I was rolling lol.
I think this pattern is easy to moderate depending on confidence with zippers, pleating (sleeves), and cording (if using). I would definitely recommend it and once you try it, you will probably use it again and again.


I hope you all enjoyed this creation. Tell me what you think below. I’d love to hear from you.
Until next YEAR!! Bye 2020
Peace & Blessings

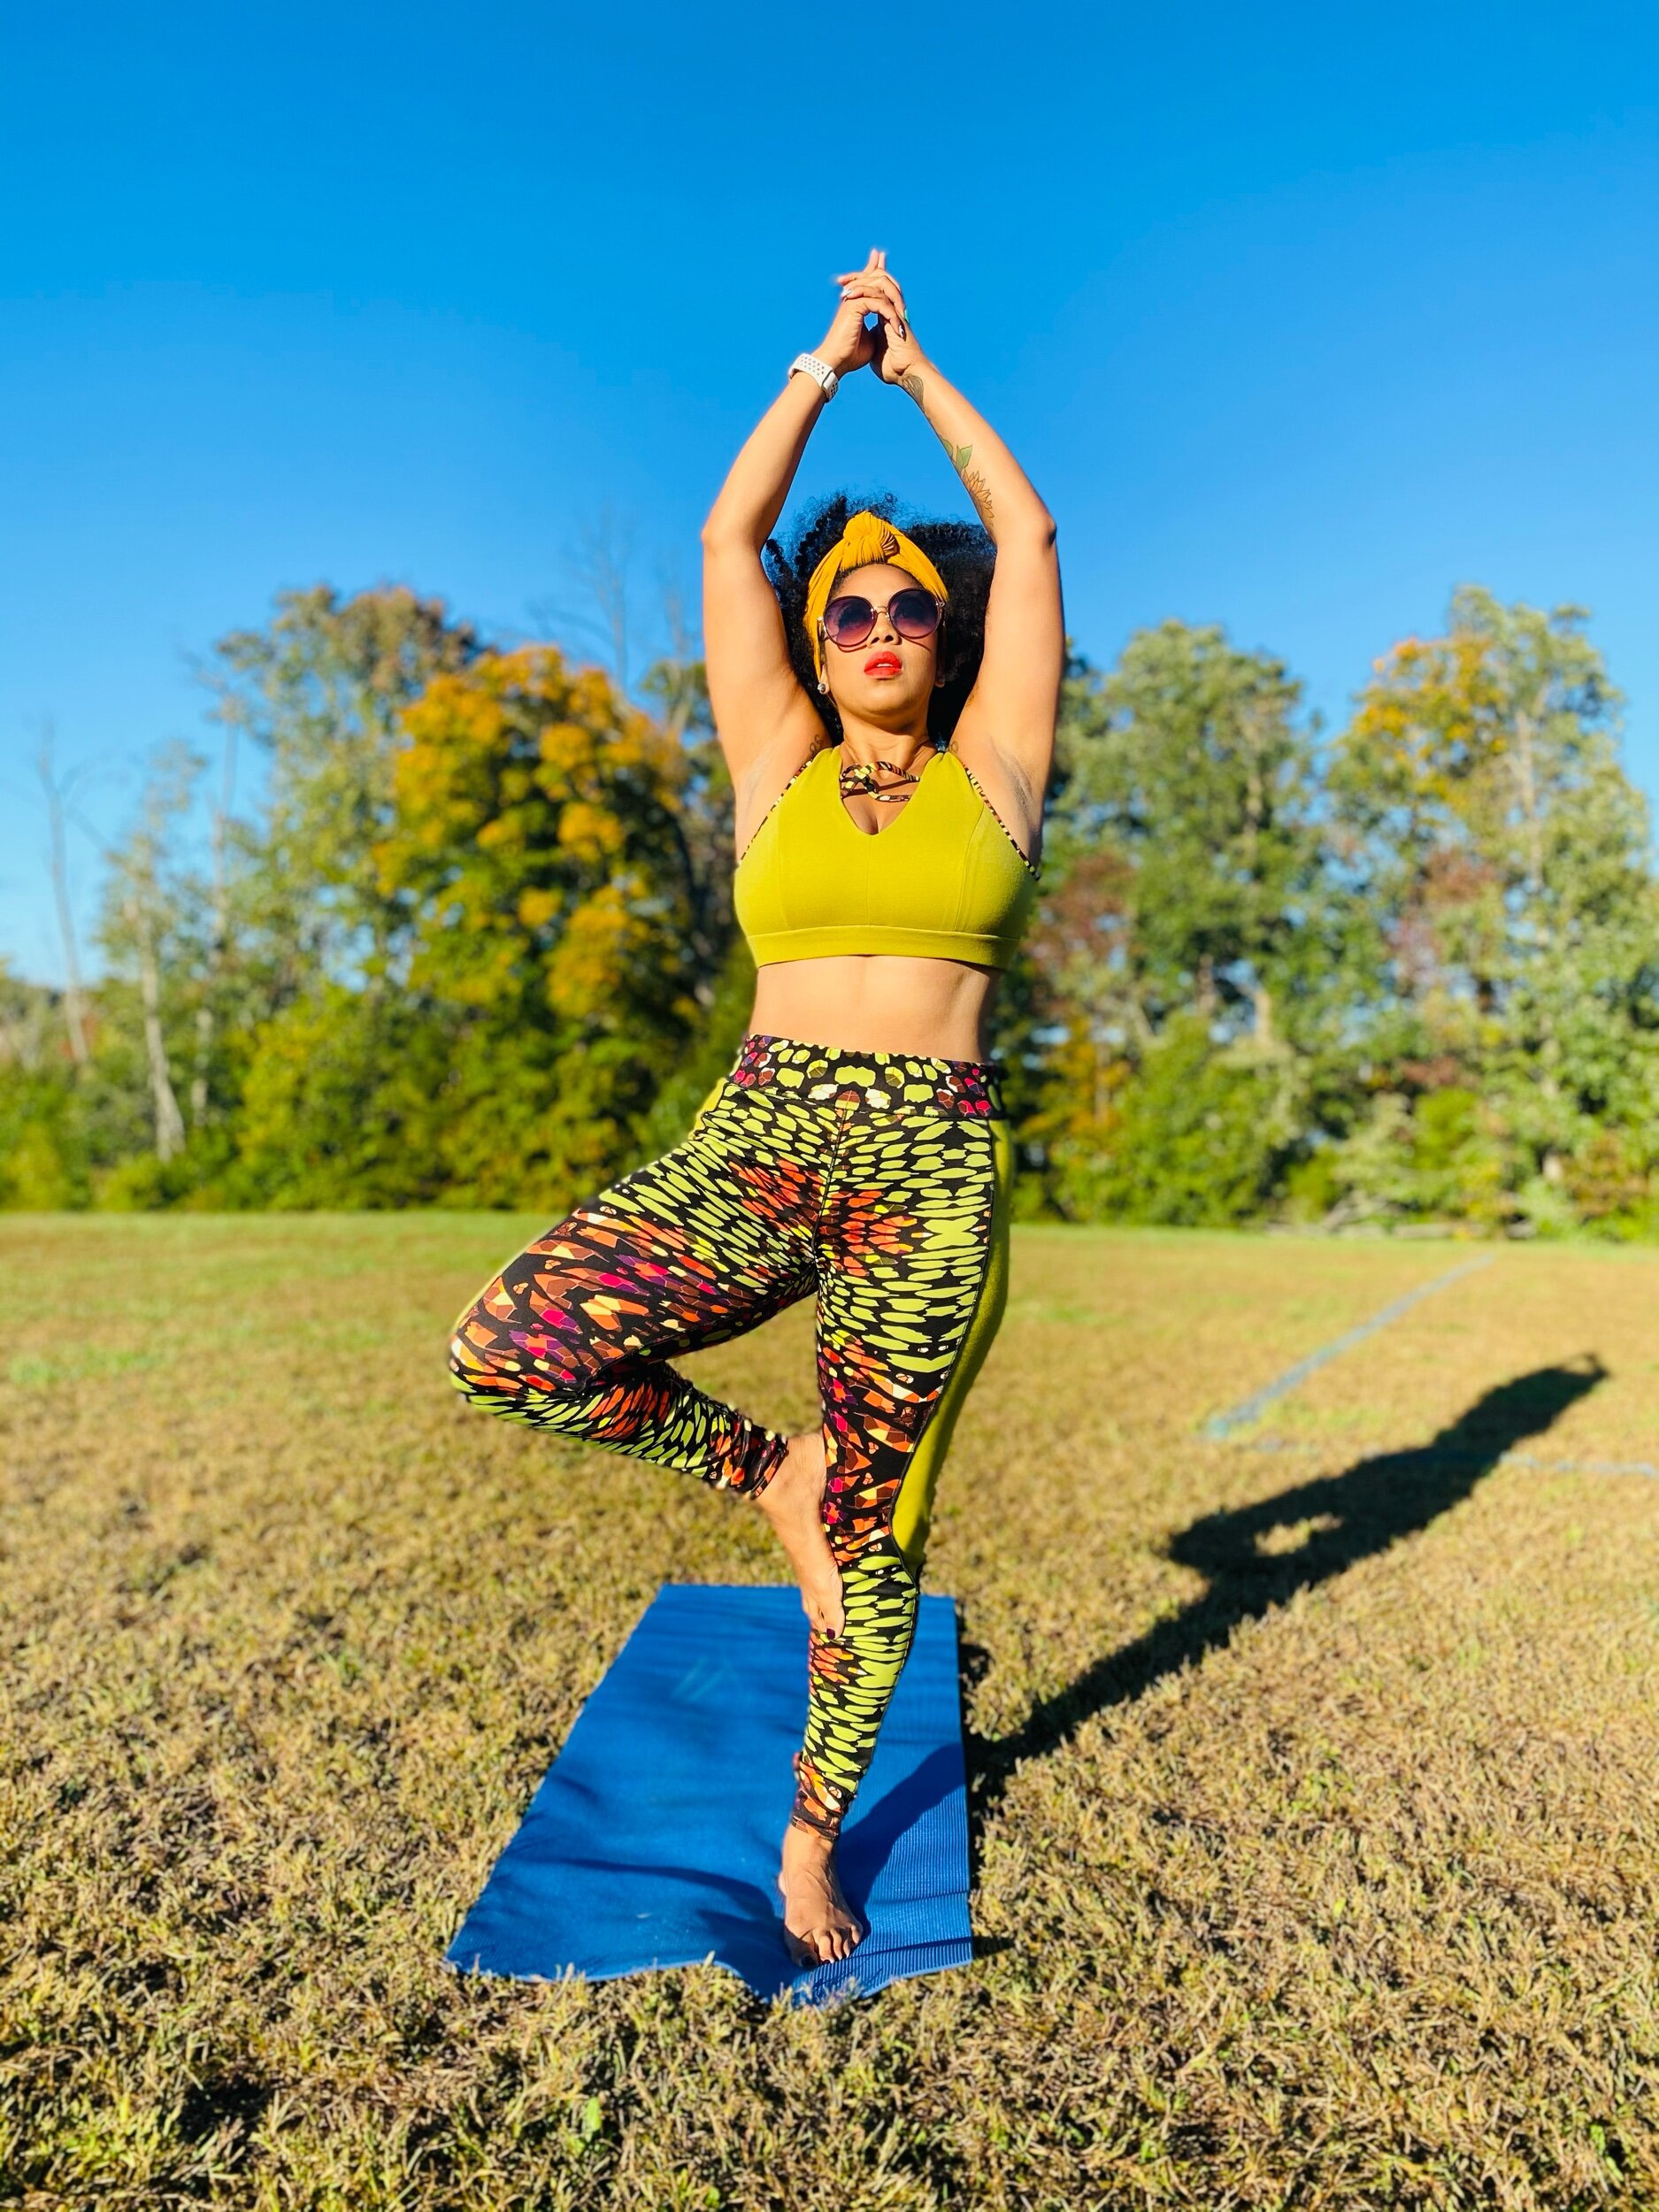
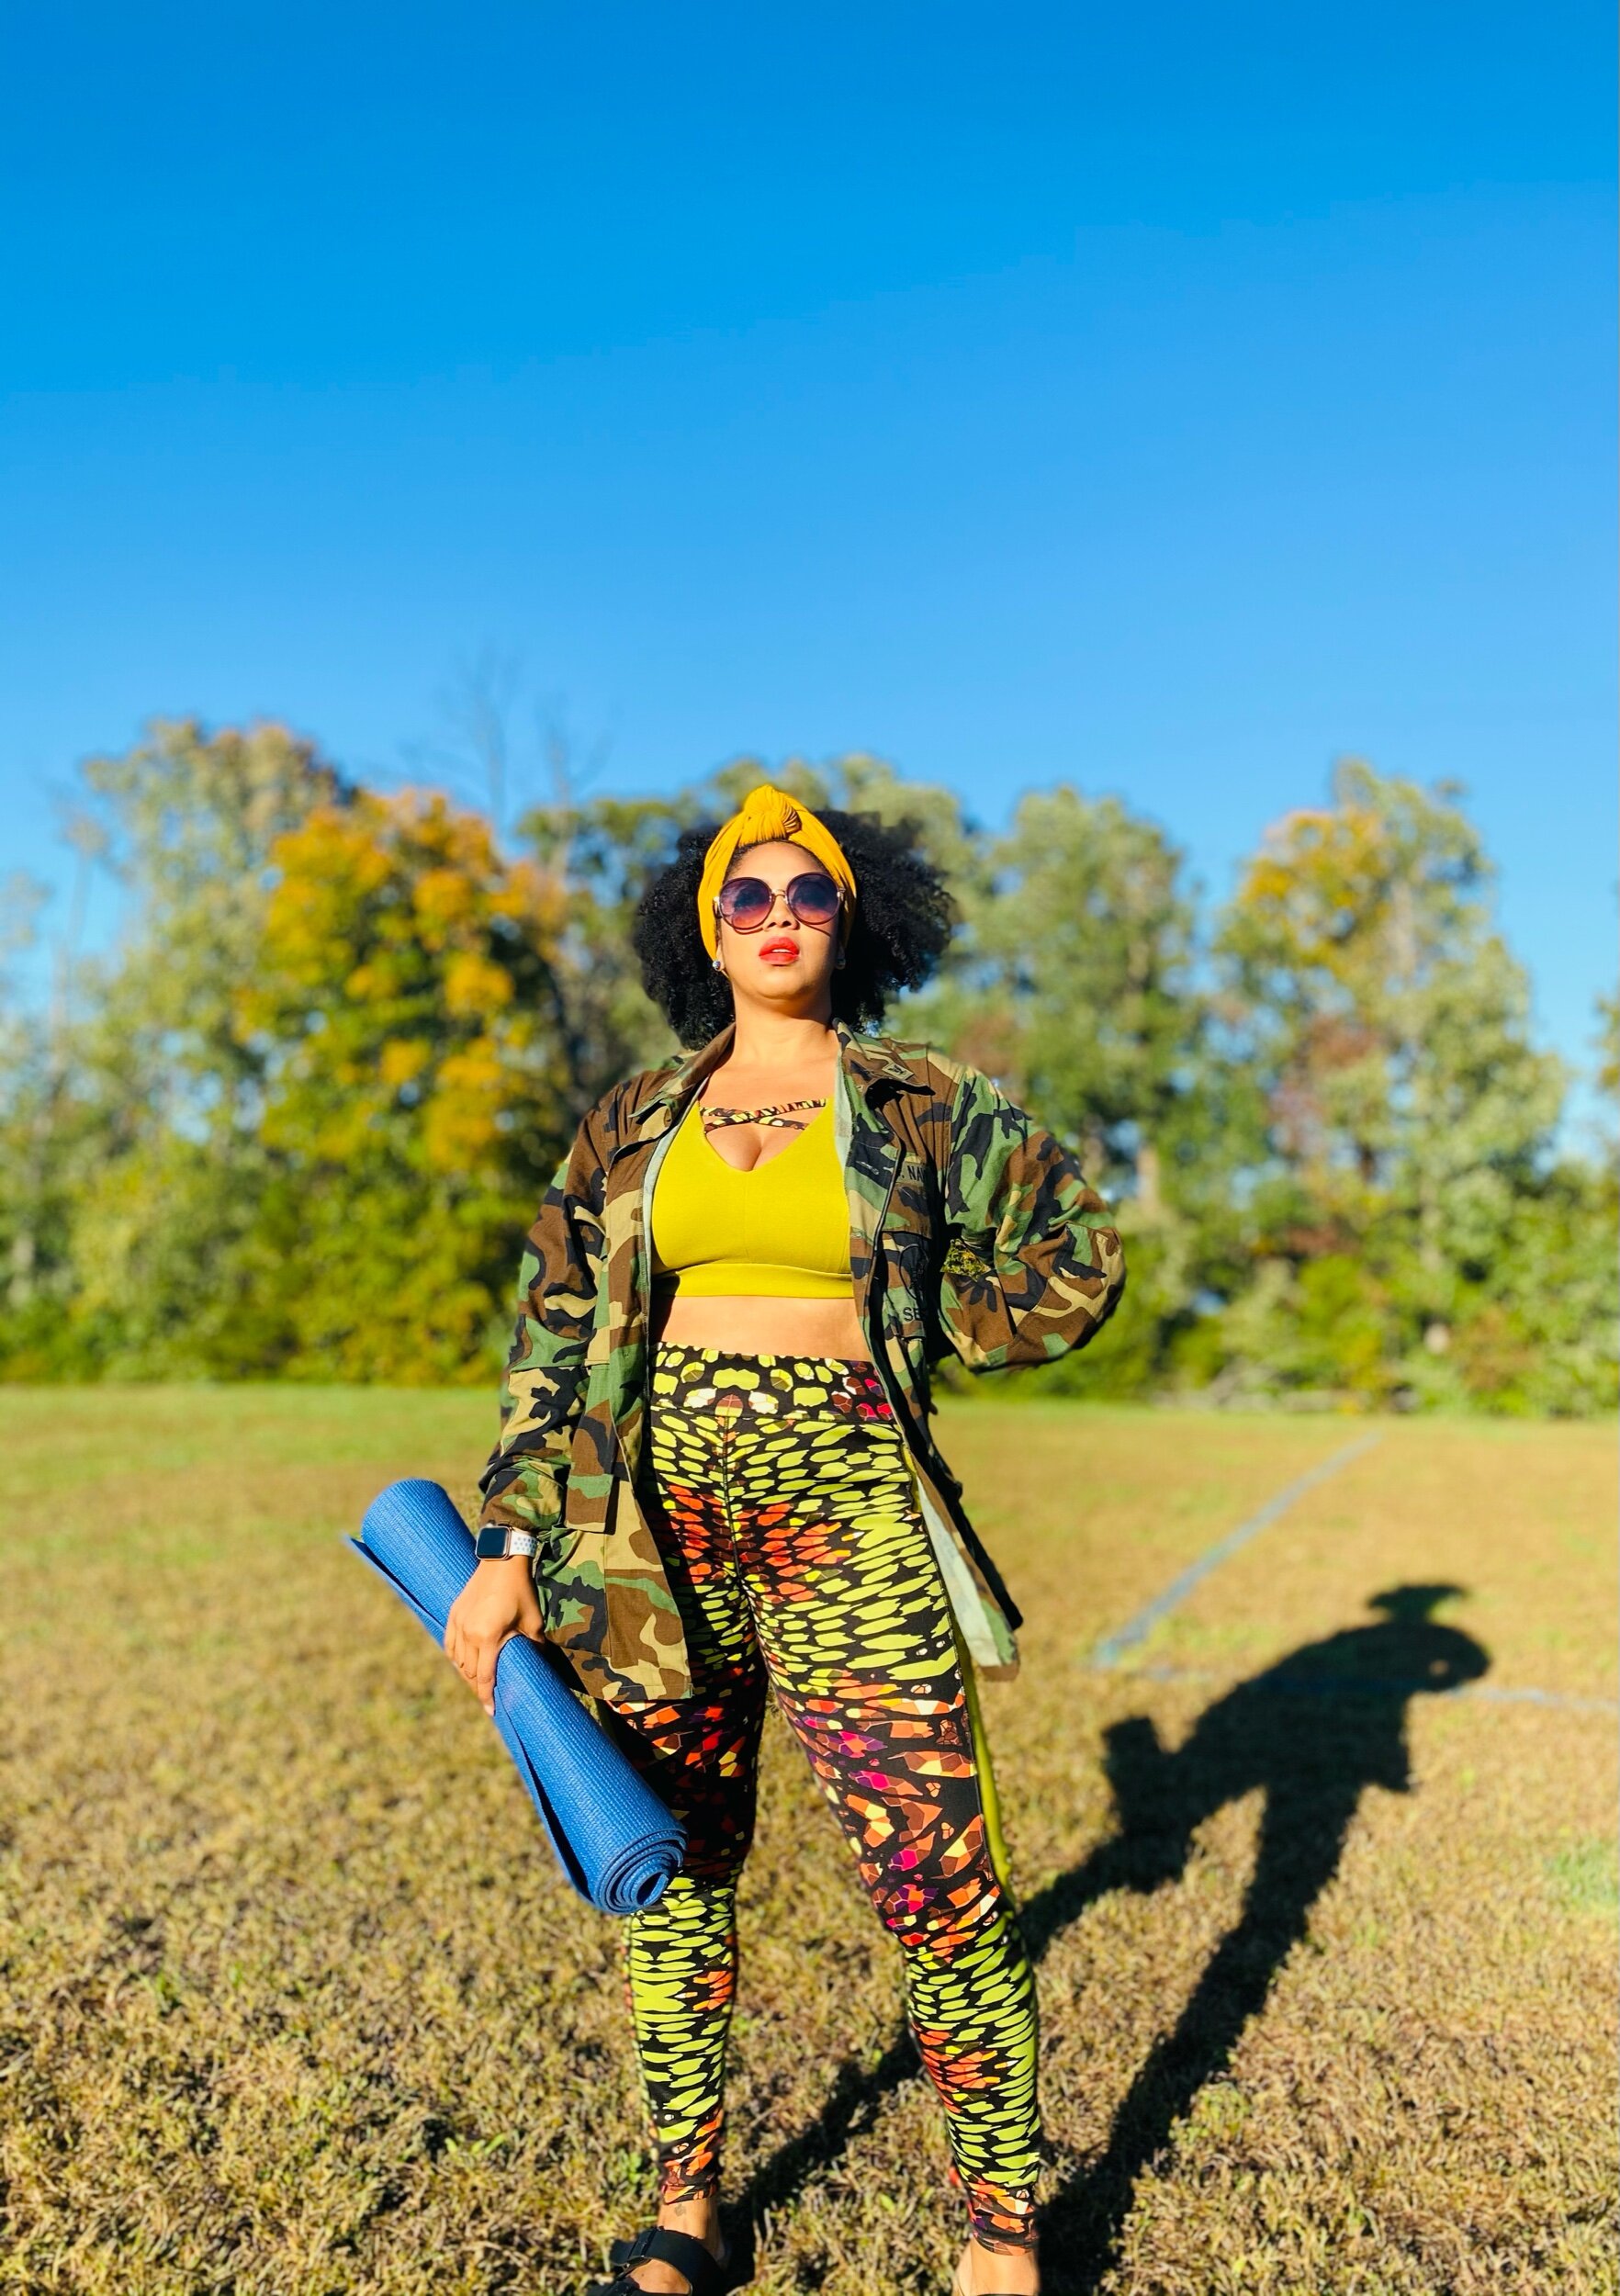
OLIVE OIL
fall ATHLEISURE
Greetings friends! It’s officially fall here and what I love the most about the fall breeze and the beautiful leaves is getting grounded outdoors!
I just recently became the proud owner of a Peloton (oh hey new side abs) and I couldn’t help but crave new workout gear. So I went through my pattern stash and found Simplicity #8560 and Mccalls #7482.

Prep
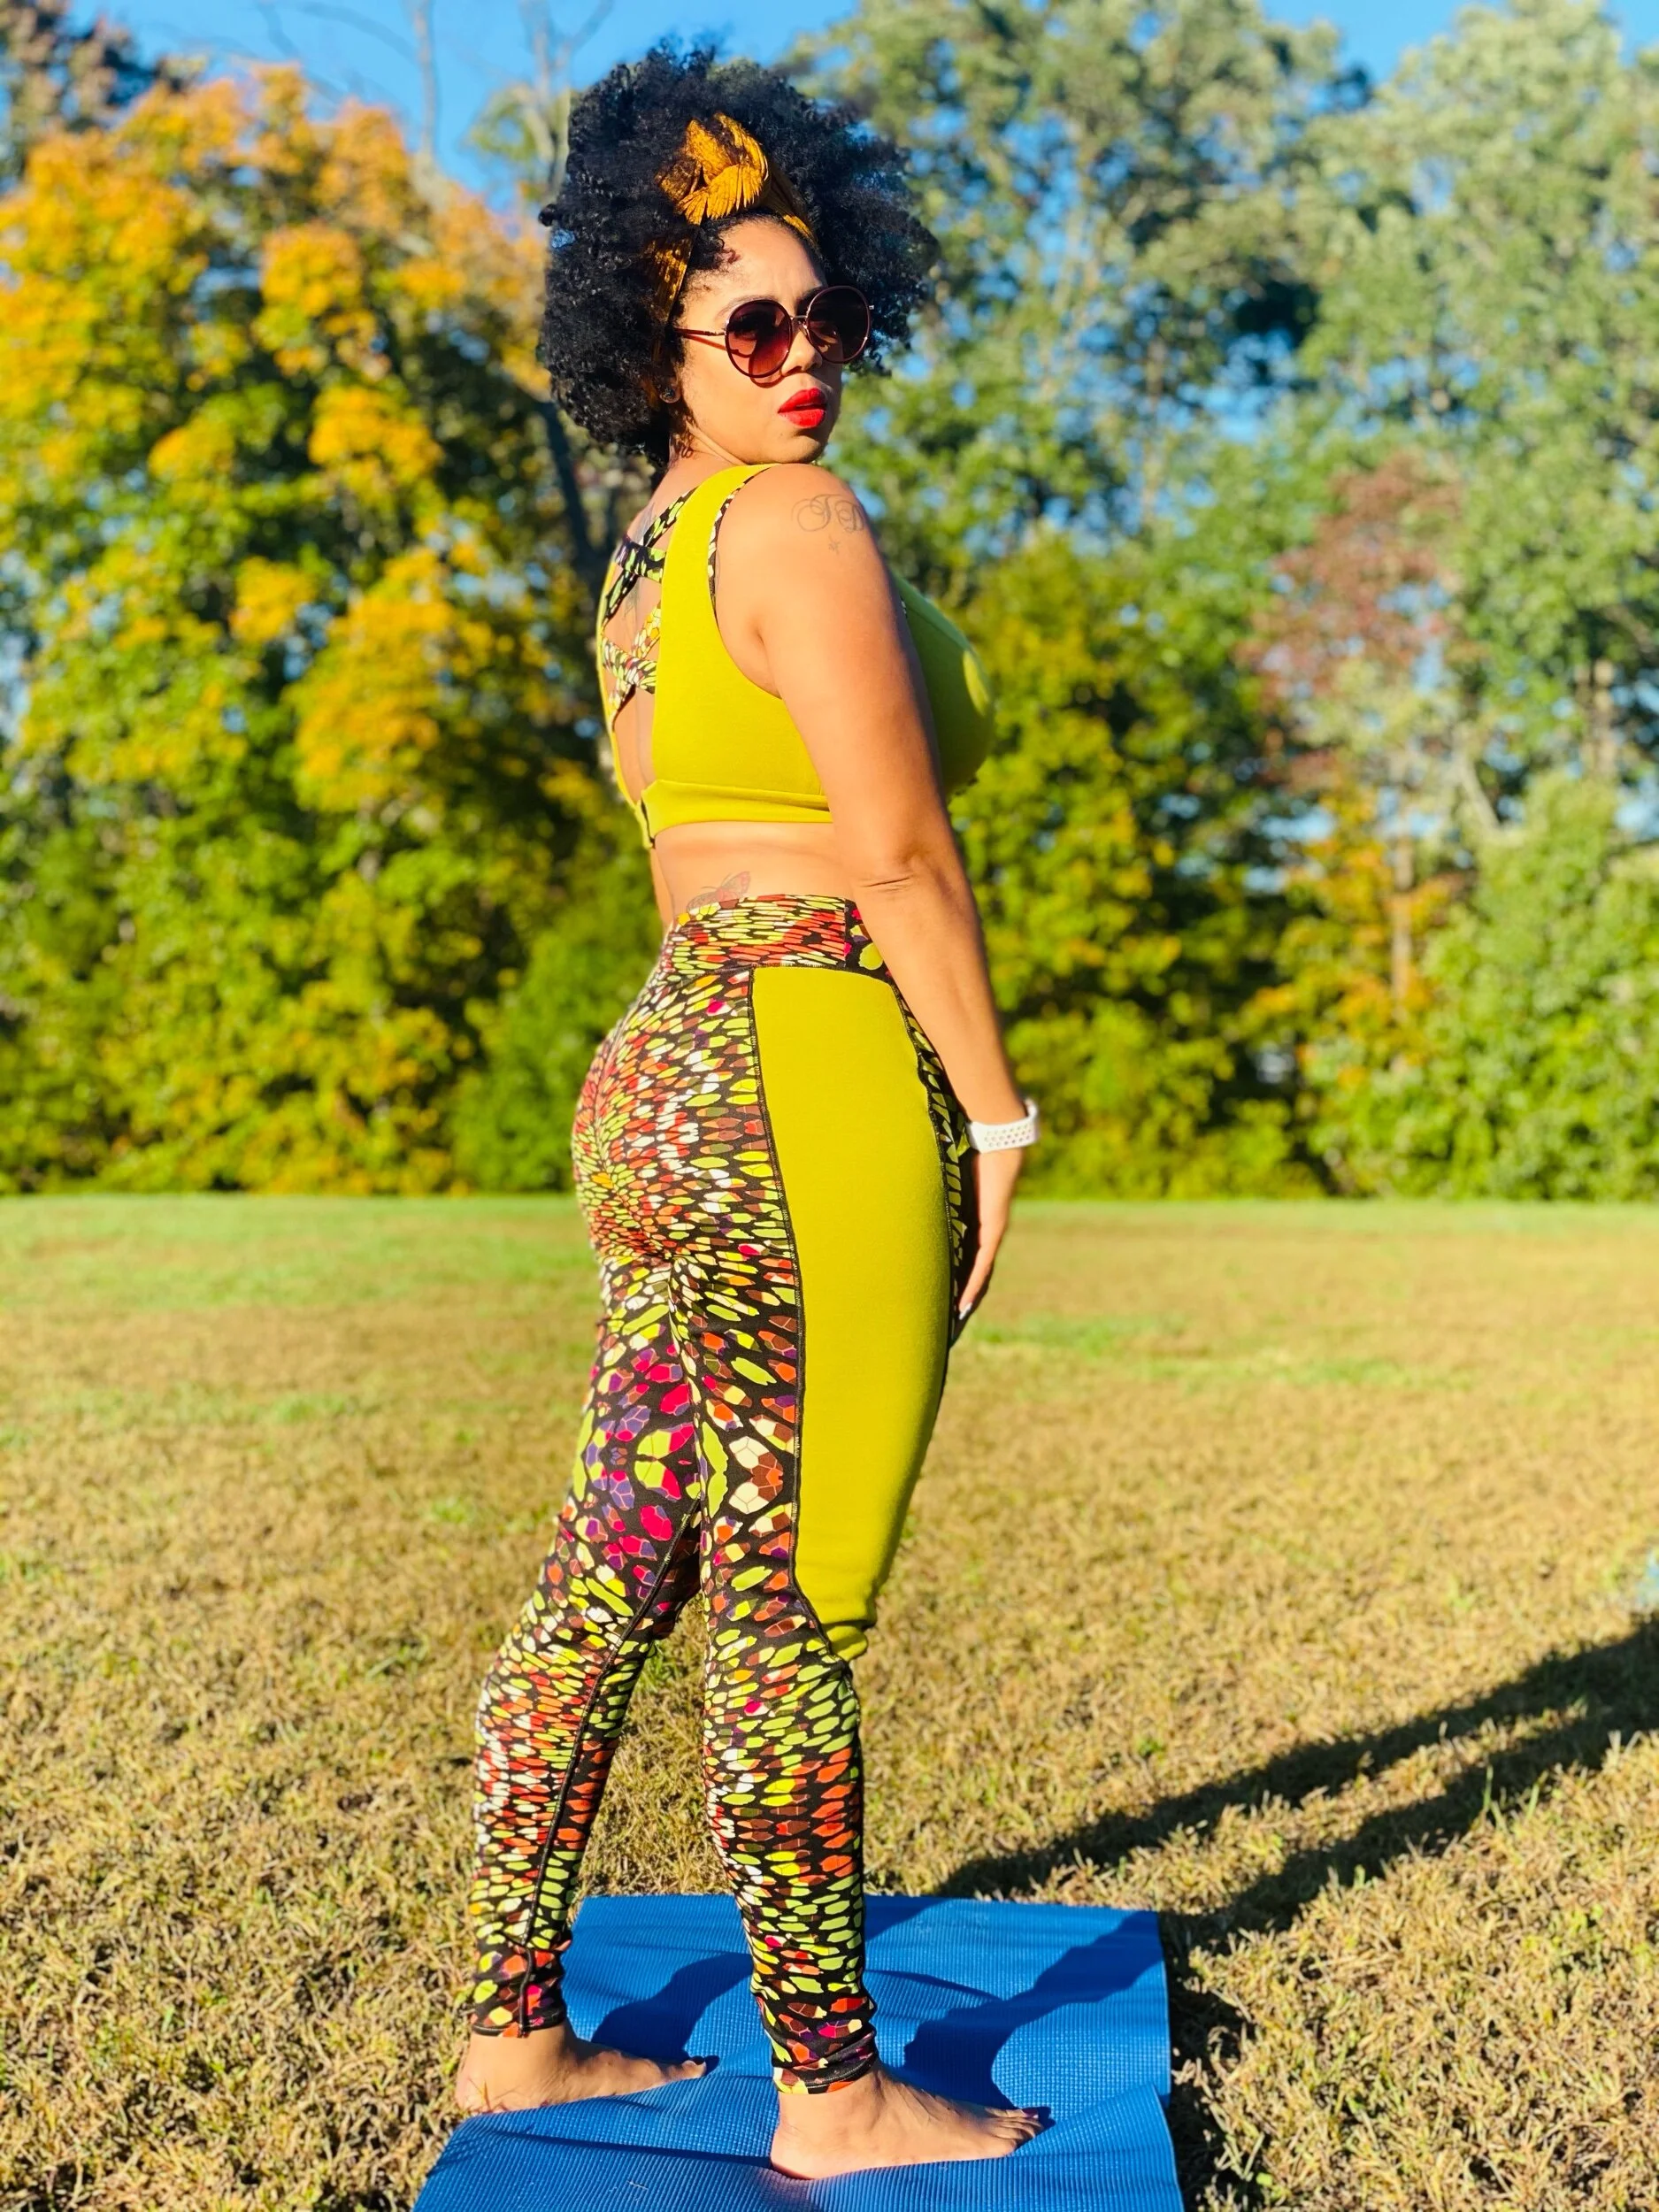
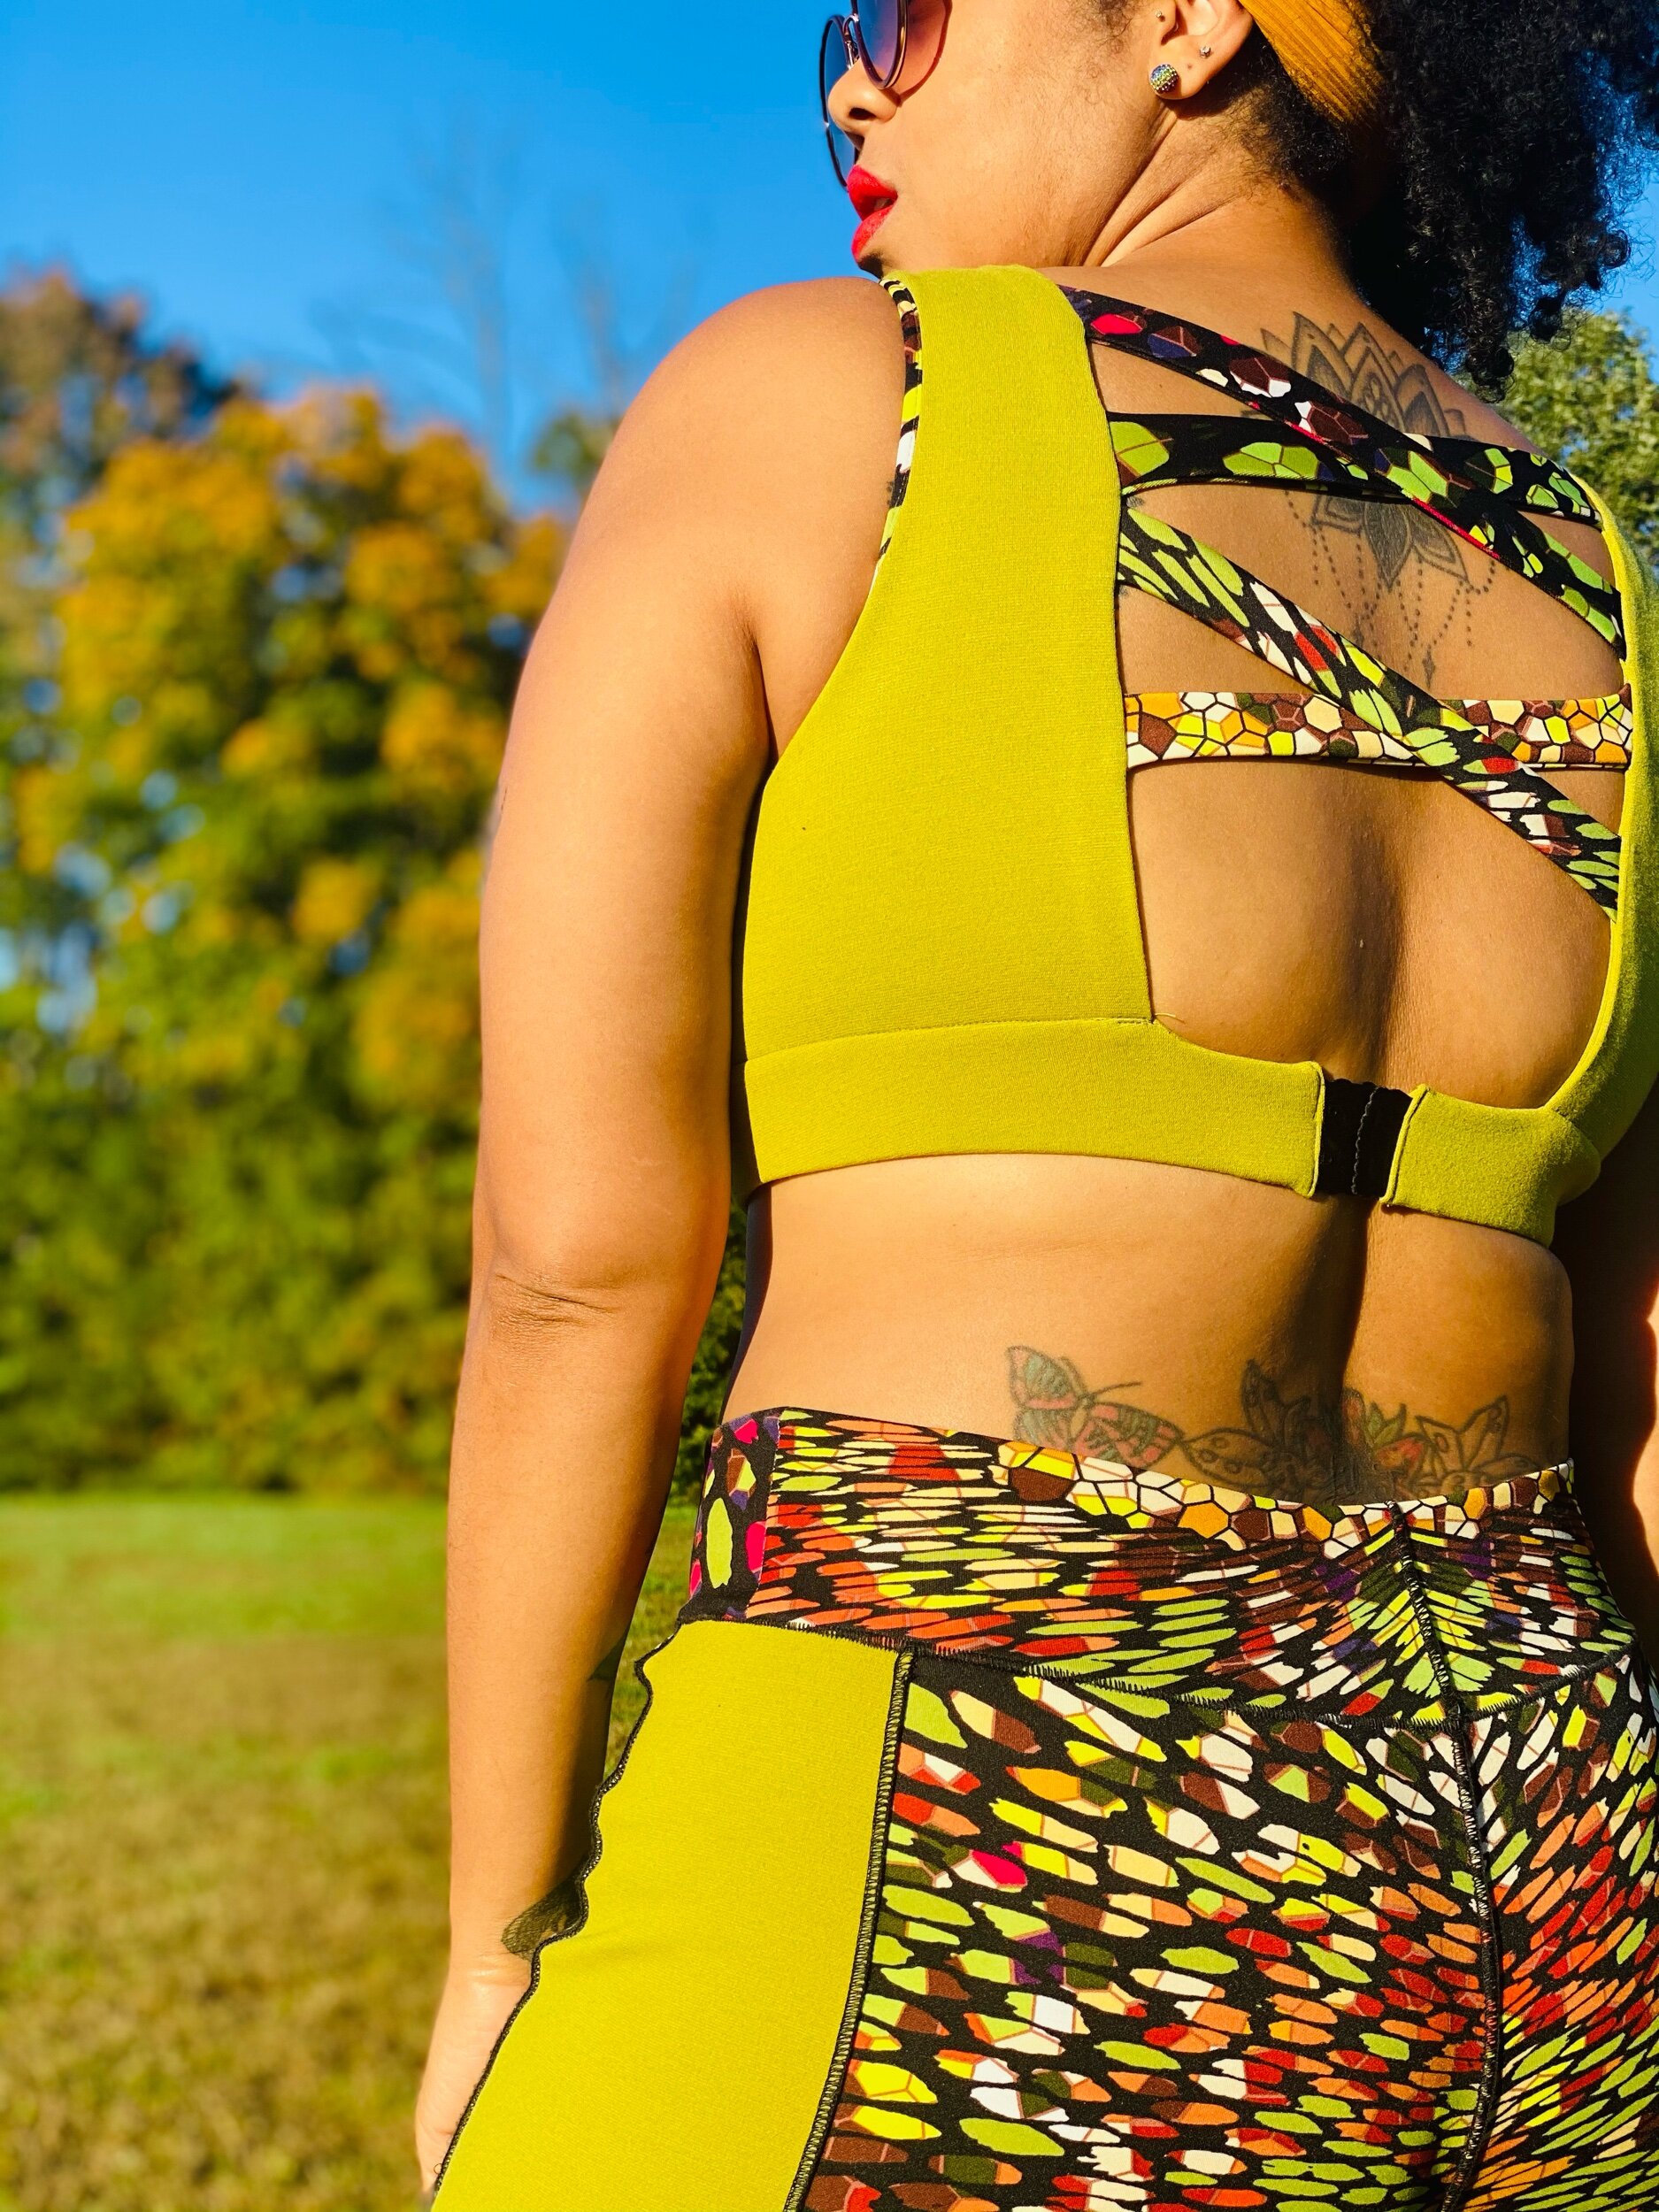
I love this sports bra pattern because it gives the option to change the cup size which is very important for me. I don’t know about y’all but my DD’s don’t always fit comfortably into store bought sports bras. The pattern called for me to use cup size F but I used size 36 with an E cup to test the waters. My bra size is 36DD. For fabric choice, I used an olive green ponte knit I had on hand and a funky, I think neoprene fabric also from my stash. I only had 1.5 yds of the print and I’m stoked I was able to slightly pattern match with the pants (thank God the width of the fabric was 60”).
Okay so now for the fun part, threading my serger to a flatlock stitch! For the entire pants pattern I used Erica Bunker’s M7482 YouTube tutorial. It was a game changer y’all! In this tutorial Erica used a 2-thread flatlock stitch (see here) but my serger wasn’t having it so I went with 3-threads. If you have a serger and don’t have a cover-stitch machine you can definitely pull off the look with these sergering tips. If you’re anything like me you didn’t know the flatlock stitch existed until recently. I also didn’t know how rewarding it would be to pull the seams apart! I’m not kidding, it’s like magic lol.

Construction
I made the pants first and you wouldn’t believe they were actually a very quick make going along with Erica’s tutorial but keep in mind the higher the tension on your serger, the more likely you are to experience the thread popping. Hell, I know mind did and it was not fun doing the entire seam over or pulling out the seam ripper (insert red mad face emoji).
For my sports bra I did not use the flatlock stitch. For the very first seam on the bust I tested out a stretch stitch suggested for knits on my Bernina and I didn’t like the way the seam laid. I thought about serging the entire bra but decided not to. When you’re sewing knits you normally use the zig-zag stitch or serger and I did not on a few seams. One seam being the bust and side seam. I used 3.2 stitch length and it worked out fine for me. I like to think the straight stitch in the bust helped to support the girls better. Keep in mind the stretch is different for every knit fabric type. A straight stitch might not be the best option for you. I made a second sports bra with swimwear jersey and serged every stitch and the support is not as strong. Honestly this is something you have to test out for yourself. I used view A and view C because I loved the crisscross front and back. I went without the topstitching around the edges because that’s my business, lol. I cut the back straps out at size 36 but I would suggest going down a size or two for the back straps (they were not as fitted as I expected).
Technically, the sports bra is lined but I used the same olive green fabric for the lining and I know that also added support. This is also a preference and you can choose to use performance stretch lining or a mesh stretch fabric.
I found a few old bras I could no longer wear and cut the closures off of them. The pattern calls for the closures to be more hidden and only has one row of closures. I used 2 rows, also preference. I got lazy and did not hand sew back connectors to the closures. If your machine gets close enough and you don’t break needles, go for it but handsewing is best. For my second sports bra with this same pattern, I only use 1 row of closures and I did handsew….it looks a lot neater lol.


Overall
You can conquer athleisure/workout gear! Is my first sports bra perfect? Not quite. But guess what? Practice makes better, makes perfect! I know lots don’t usually want to try their sewing hands at knits and activewear but you’ve gotta start somewhere. The tips and tools are out there for help and you don’t have to have a coverstitch or even a serger to sew activewear but if you have either, just do it! My hope is to inspire you to give it a go or pull out that UFO you gave up on years ago and practice.
As always thanks for stopping by. Tell me your thoughts on sewing activewear in the comments. I’d love to hear about it!
Peace & Blessings!
